How to Fix Xbox Error Code 0x87E00013 on Windows?
The Error 0x87e00013 typically occurs when gamers try to update a game from the Xbox Game Pass library on a Windows computer. This error code is typically evidence that something went wrong while the game was updating or the game files was corrupted. This issue is confirmed on both Windows 10 and Windows 11.
Potential causes that might trigger the 0x87e00013 include an update stuck in a limbo state, a game installation inconsistency, a firewall interference, a bad Windows Update or a problem with the Microsoft Store. In certain scenarios, you might find yourself in a scenario where the main service dependency (Gaming Services) is not properly working and needs to be reinstalled.
Here’s a list of confirmed fixes that you can follow to troubleshoot the 0x87e00013 error.
1. Cancel & Retry the update
If you’re beginning to troubleshoot the issue, you should cancel the update before prompting it to install once again. This 0x87e00013 error might sometimes happen when a network inconsistency affects the download stream.
If the issue is temporary and network access is restored, going to My games & apps > Manage Queue and stopping the update before deploying it again should allow you to fix the issue.
Follow the instructions below to cancel the current update and start it up again:
- Open your Xbox app and open up your Xbox Game Pass library.
- Next, access the game that triggers the 0x87E00013 error when you try to update.
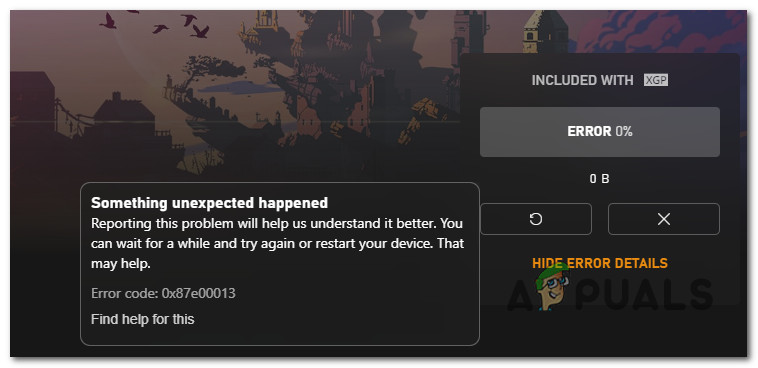
- Once you see the game listing with the frozen update, click on the X button from the right-hand side.
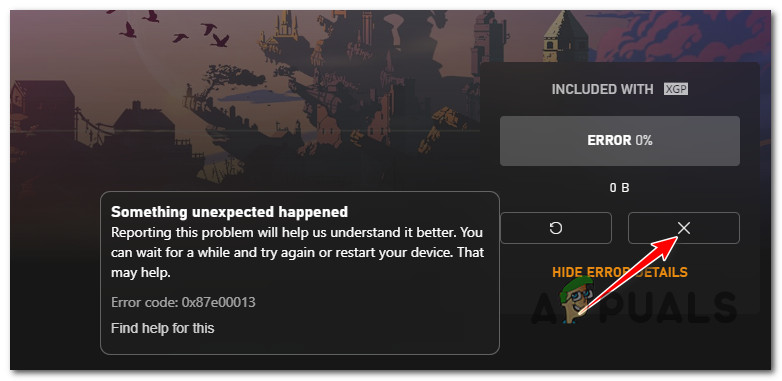
Stopping the update on Xbox - Once the update has been stopped, restart the Xbox app and install the update once again.
- If it’s still stuck at 0% with the same 0x87e00013 error, move down to the next method below.
2. Reinstall the game
Xbox app doesn’t have a repair or integrity check feature (like Steam or Battle.net), so your best choice for ensuring that you’re not dealing with corrupted game files is to reinstall the game that throws the 0x87e00013 error.
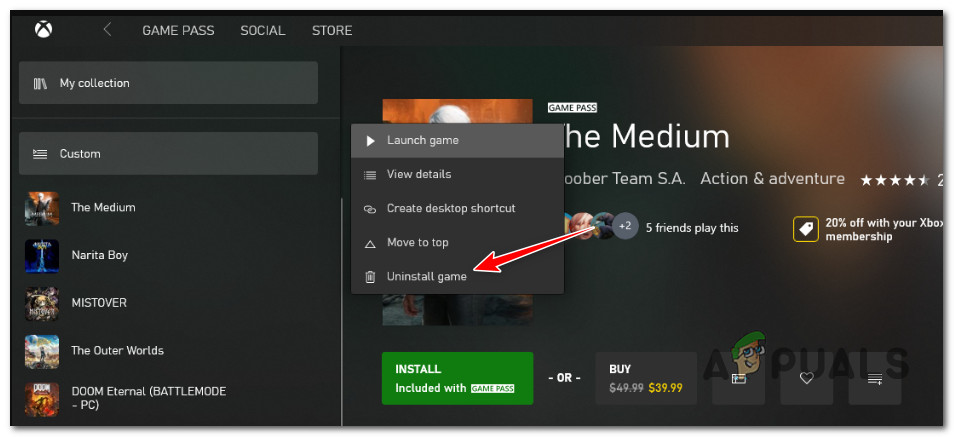
The easiest way to uninstall the problematic game is by opening the Xbox app, searching for the problematic game (using the search bar at the top), right-clicking on it, and selecting Uninstall game.
If the above action throws the same error or the game doesn’t show up in the My Collection menu, follow the steps below to carry on the uninstallation from the Apps & features menu:
Note: The steps below will work on both Windows 10 and Windows 11.
- Press the Windows key + I to open up the Settings menu of Windows 10 or Windows 11.
- Once you’re inside the Settings screen, use the vertical menu on the left to click on Apps.
- Move over to the right-hand pane and click on Installed Apps.
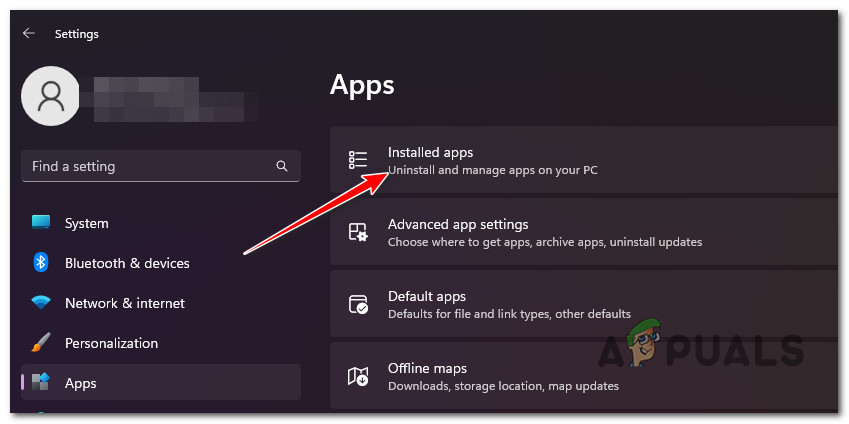
Access the installed apps menu - Scroll down through the list of apps and locate the game triggering the 0x87e00013.
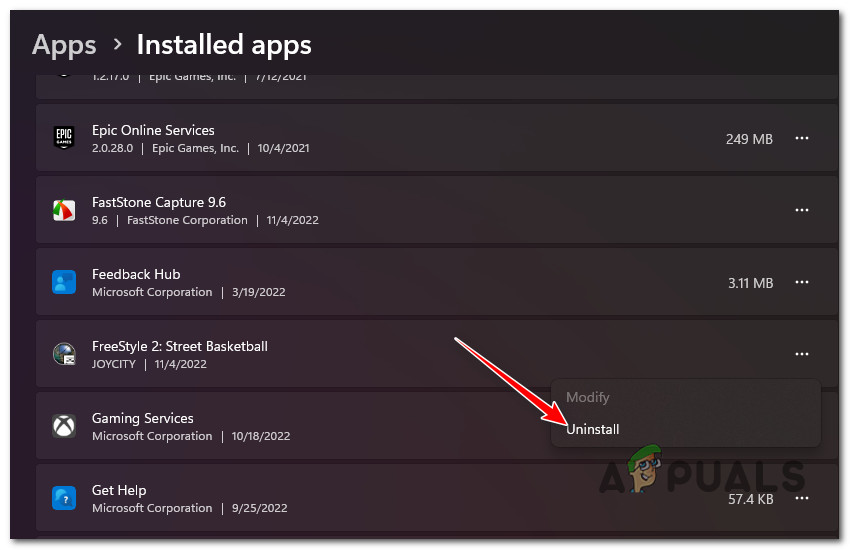
- Click on the action button (three-dot icon) associated with the game you want to uninstall.
- Click on Uninstall from the existing context menu and confirm the uninstallation.
Uninstall the game - After the operation, open the Xbox app again and reinstall the game.
If the problem is still not fixed, move to the next method below.
3. Reset Microsoft Store
If you get this error with a game directly from the Windows 10 store, you might be experiencing this issue due to an MS Store glitch affecting many Xbox Game Pass titles.
If you haven’t tried this fix, reset the entire Windows Store component and see if the update finally installs without the 0x87e00013 error.
Note: This method will only work if you downloaded the game via Microsoft Store and not directly from the Xbox app.
Follow the steps below to reset the Windows Stoe using an elevated Command Prompt window:
- Start by pressing the Windows key + R to open a Run dialog box.
- Inside the Run text box, type ‘cmd’ and press Ctrl + Shift + Enter to open up an elevated Command Prompt.
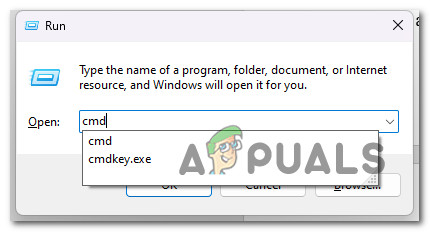
Open a CMD window - Click Yes to grant admin access at the User Account Control (UAC).
- Once you’re inside the elevated Command Prompt, type the following command and press Enter to reset the entire Windows Store component and every dependency:
wsreset.exe
- Once the command has been processed successfully, close the elevated Command prompt and check if the issue is fixed at the next startup.
If you’re still experiencing the same 0x87e00013 error when updating certain games from the Xbox Game Pass library, move down to the next method below.
4. Reinstall the Gaming Services app (if applicable)
When the Gaming Services infrastructure is stuck in a limbo state. In most cases, simply reinstalling the Gaming Services component should fix the issue.
However, reinstalling the Gaming Services component is not as easy on every Windows version. N & Education editions of Windows 10 and 11 will not allow you to reinstall this component conventionally, so you need to rely on a PowerShell terminal.
The fix below is universal and will allow you to reinstall the Gaming Services component on every edition of Windows 10 and Windows 11:
- Press the Windows key + R to open the Run dialog box, then type “powershell” in the search bar and press the CTRL + SHIFT + ENTER keys to open PowerShell as an administrator.
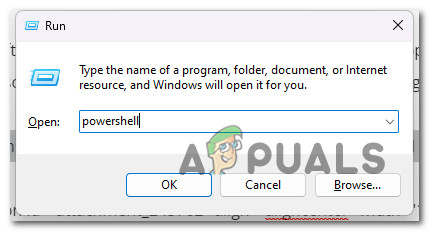
Reinstalling the Powershell app - The User Account Control (UAC) will ask if you want to give PowerShell admin privileges. Click “Yes” to do this.
- Once you are in the PowerShell, type the following command and press Enter to uninstall the Gaming Services:
get-appxpackage Microsoft.GamingServices | remove-AppxPackage -allusers
- After that, type the following command to open the Microsoft Store on the exact page where you can download the Gaming Services:
start ms-windows-store://pdp/?productid=9MWPM2CQNLHN
- Your screen should show you the Microsoft Store. Now, all you need to do is click the Install button, which should be on the right.
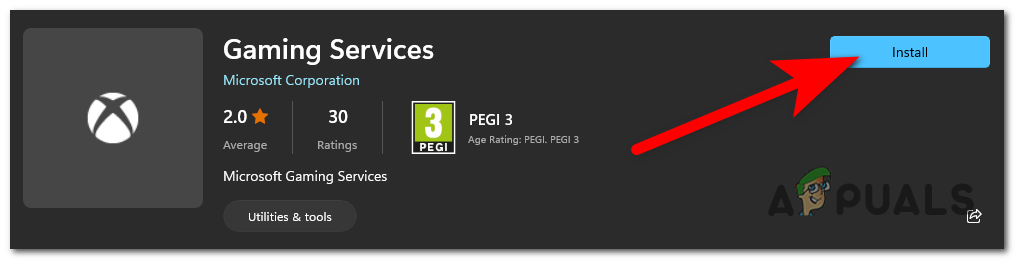
Reinstall the Gaming Services app - Wait until the Gaming Services app is completely installed and set up.
- Restart your PC and see if the problematic game update installs without triggering the 0x87e00013 error.
Then you have to restart your computer. When it starts up again, try using Xbox Live again.
5. Disable firewall (if applicable)
If you’re using a 3rd party firewall solution, keep in mind that it might indirectly block Game Pass access. This is especially common if you are accessing the Game Pass Library from a territory not officially supported by Microsoft.
See if this scenario is accurate by temporarily disabling your firewall’s real-time protection before installing the pending update once again.
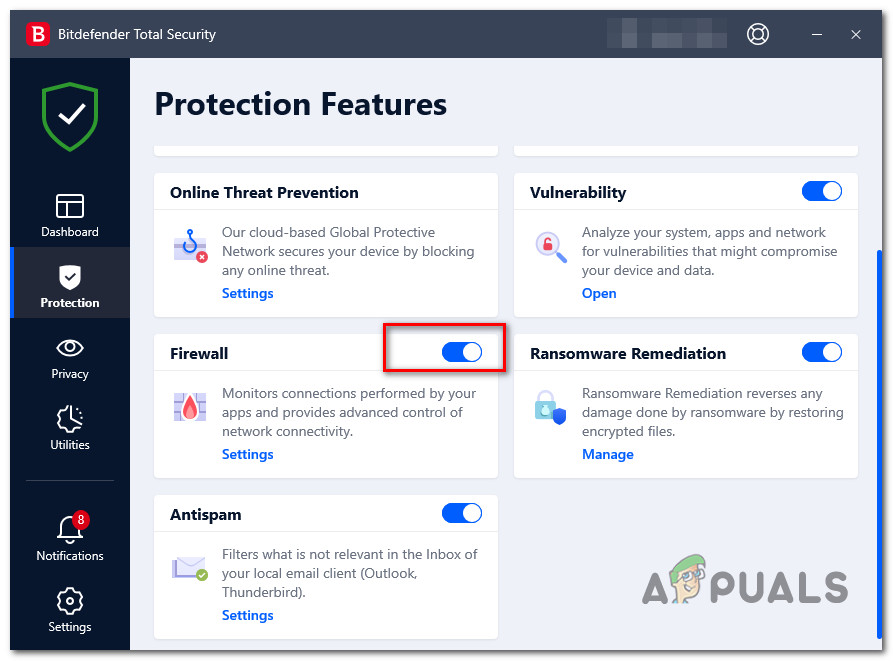
Note: The steps of disabling your firewall will vary depending on which provided you’re using. If you are using a local firewall + AV component, you can disable it directly from the tray bar or from the Protection tab.
Once the active firewall is disabled, reboot your PC to ensure that the security suite is not producing any network effects, then attempt to install the problematic game update again.
You can safely re-enable the firewall if the update installs just fine (without the 0x87e00013 error). Remember to do this again if another game update gets stuck in the same way.
If disabling the firewall didn’t fix the issue or you don’t use a 3rd party security suite, move down to the next method below.
6. Install on a different drive (if applicable)
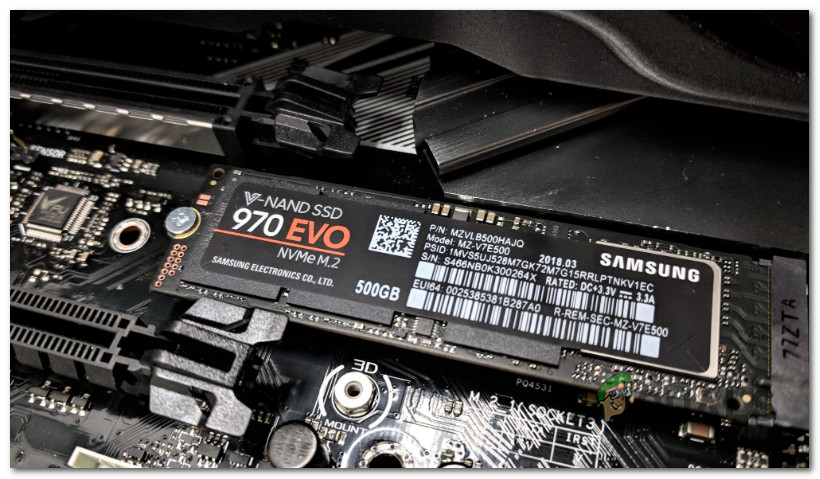
Another reason why you can expect to deal with this issue is a new NVME game drive that is not fully supported by the Xbox app. Users experiencing this issue have confirmed that they could avoid this 0x87e00013 error entirely simply by installing the game on a different drive.
Note: NVME (nonvolatile memory express) is still a new technology that seems to cause many issues with Game Pass titles.
If you have an external drive that you can use, try installing the game on it first, then apply the update and see if the error is no longer occurring.
Update: Drive-related 0x87e00013 errors only seem to occur when the game is installed on a secondary (slave) drive. If the game is not installed on your primary drive, reinstall it and see if the problem is fixed.
If this scenario is not applicable, move to the final potential fix below.
Perform a System Restore
If you only started to experience this problem after installing a pending Windows update or a new driver version, chances are a bad update is responsible for this issue.
Since there is no definitive way of verifying if this is true, your best way of reverting your PC to a state where this issue was not occurring is by using System Restore.
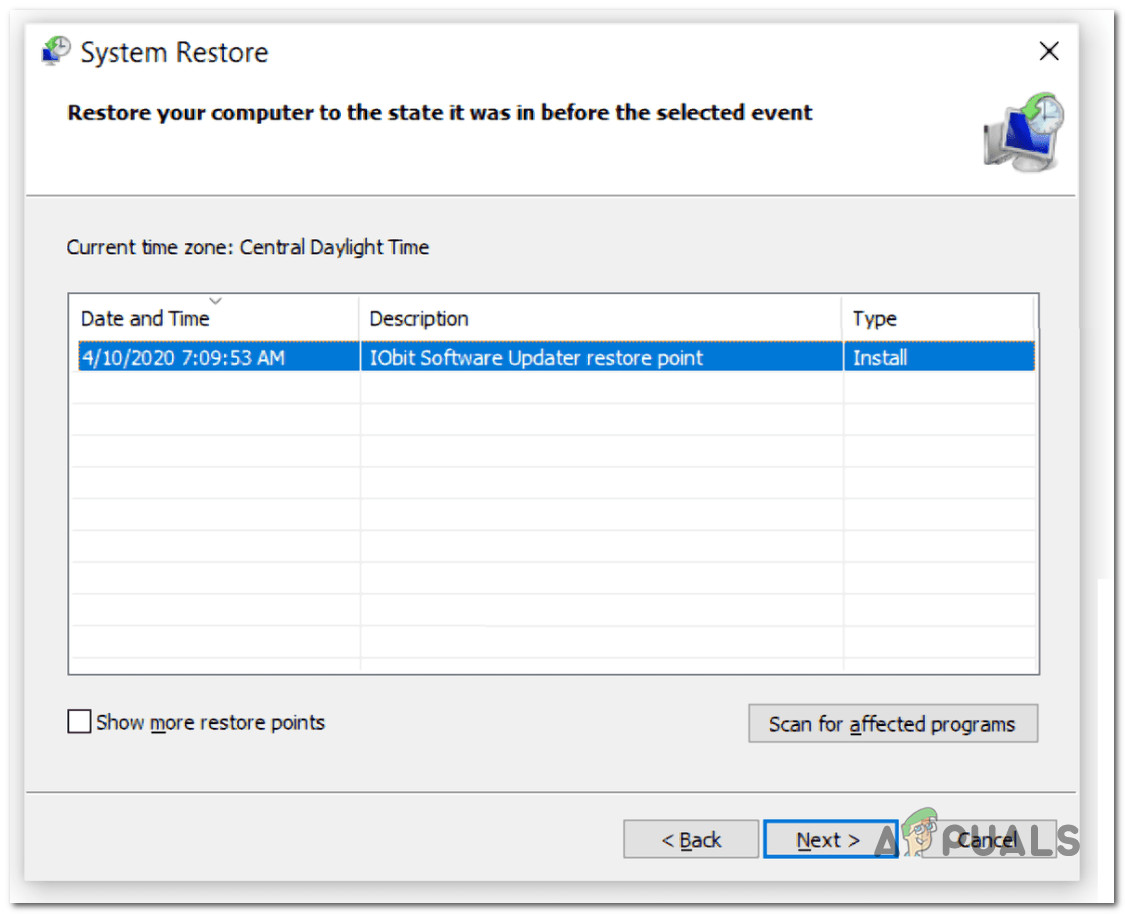
Note: You can use a System Restore snapshot to revert all changes made to your system after the snapshot was created. This includes installed WU updates, drivers, WU updates, system preferences, etc.
For complete steps to perform a system restore, follow the instructions in this guide.


