How to Wrap Text Around an Image in Microsoft Word?
Microsoft Word is a word processor that allows you to create documents, resumes, letters, and reports. Most of the time users will only require text in their documents. However, sometimes they will need to add images, symbols, and artwork. Adding pictures to a document can be a great way to illustrate important information. Humans also process pictures easier than words. In Microsoft Word, users can add images randomly or wrap text around the images. In this article, we will show you methods about how one can wrap text around an image.
Wrapping Text Around an Image in Microsoft Word
There are several ways to access the layout of the image. There will be different options for wrapping text around an image in the layout option. In this method we have only provided steps to give the idea about how this works, further the user can modify things to their needs. Down below we have included each step through which user can access the layout of the image:
- Double-click on the shortcut of Microsoft Word on the desktop to open it. You can also search Microsoft Word through the Windows Search feature.
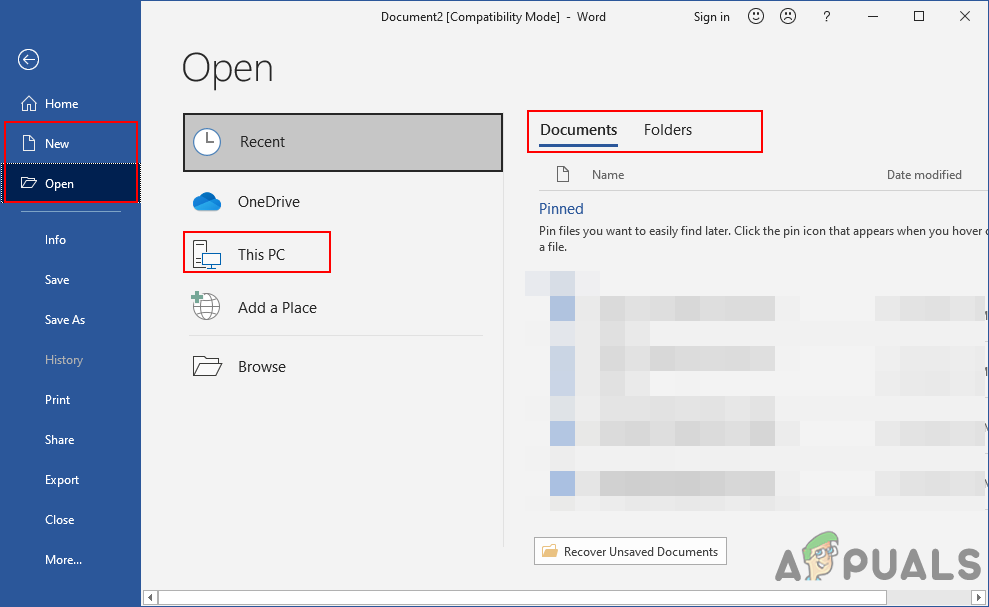
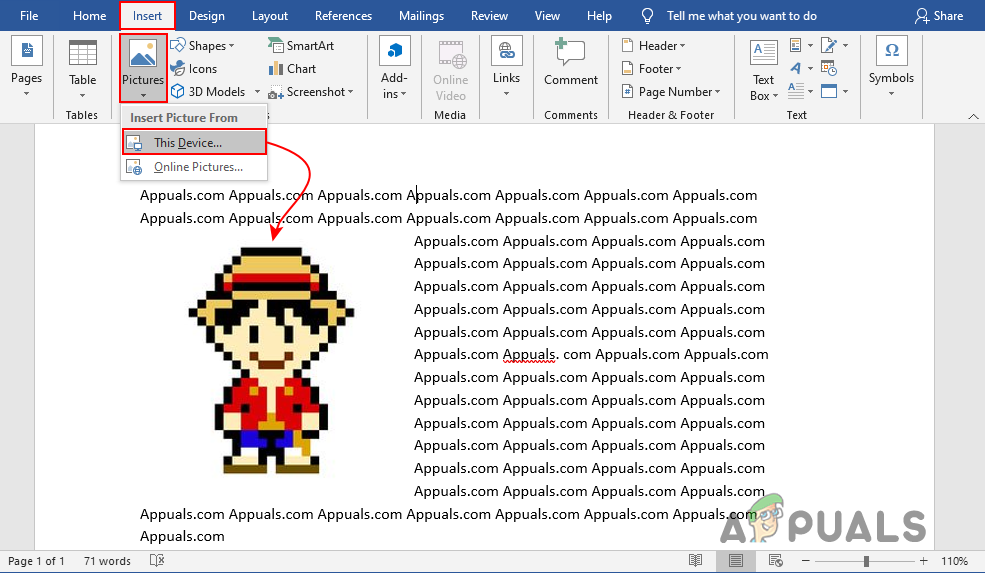
Opening a document in Microsoft Word - Open an already existing document or just create a new one. Select the place where you want to put the image, click on the Insert tab, and click on the Picture icon. You can choose This Device or Online Pictures option.
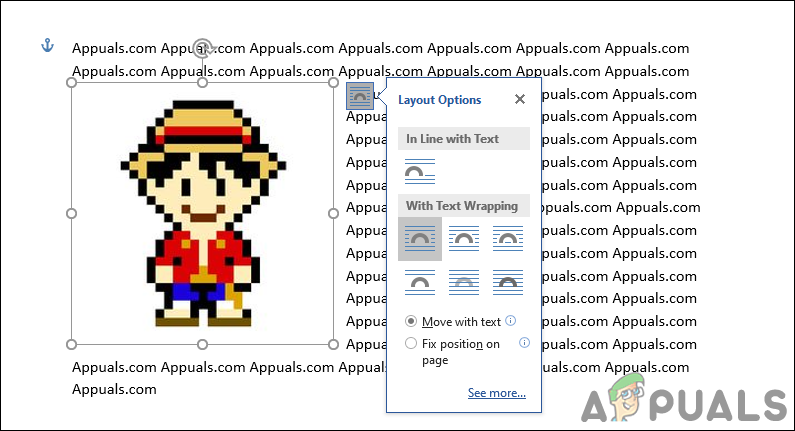
Inserting Image into the document - Select the image by clicking on it, you will get extra options around the image. A layout icon will appear around it, click on that and choose one of the options in the “With text wrapping“.
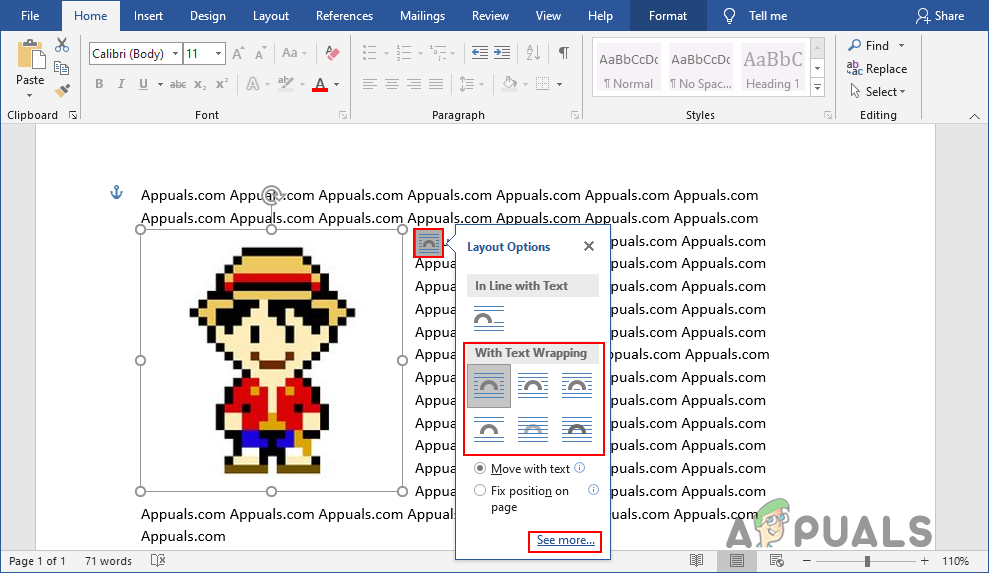
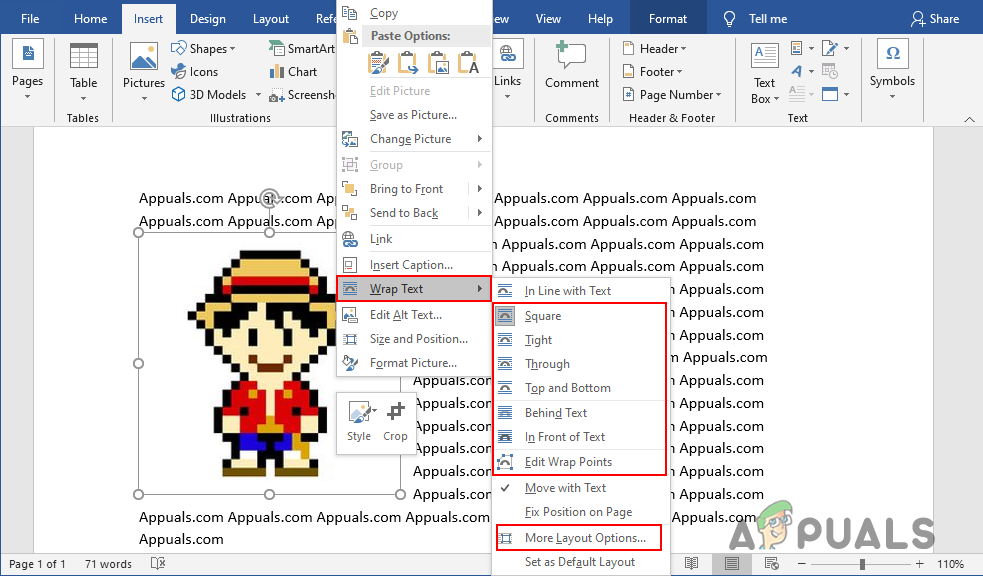
Changing Text Wrapping with Layout icon around the image - You can also right-click on the image, choose the Wrap Text option, and then select any of the options in the list. You can also select More Layout Options, which will open another window with more options in detail.
Opening Wrap Text option by right-clicking on the image - Another way is by selecting the image, then go to the Layout tab, and click on the Wrap Text icon as shown below.
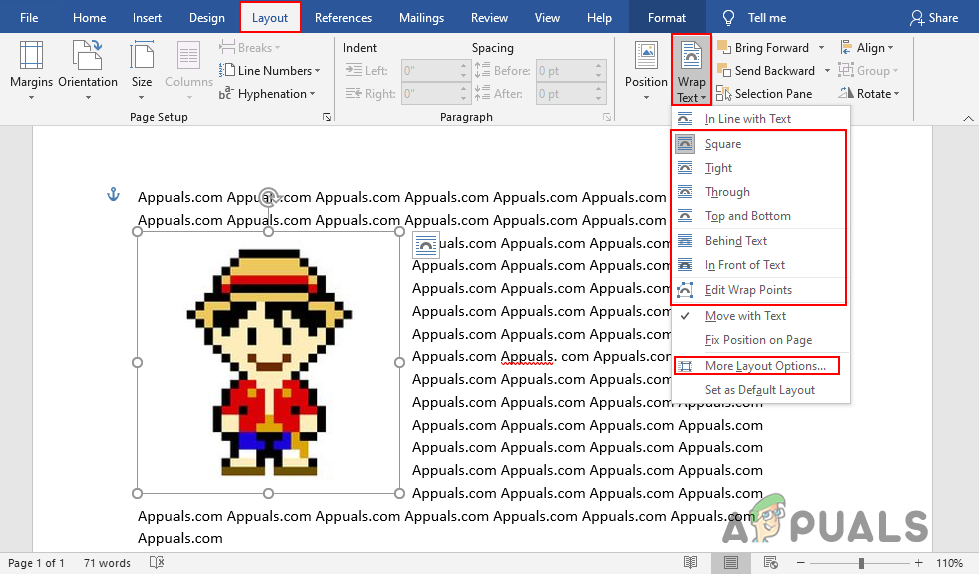
Navigating to the Wrap Text option in the Layout tab - Some of the Text Wrapping Layout options will allow the users to use additional options. In the More Layout Options, the first tab is for Position, which can be used to adjust the position of the image horizontally and vertically.
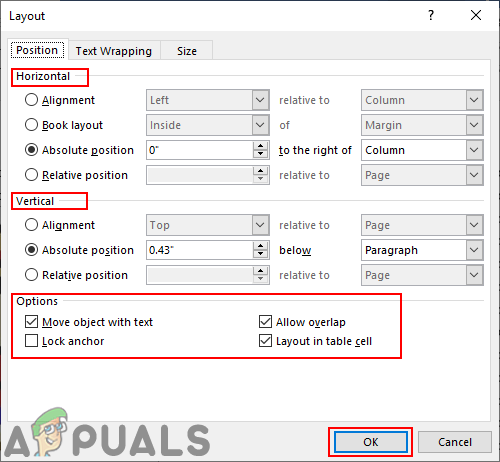
Adjusting the position of the image in the More Layout Options window - The Text Wrapping tab also provides options for the distance of the text with the image. The distance of the text can be adjusted through all four directions.
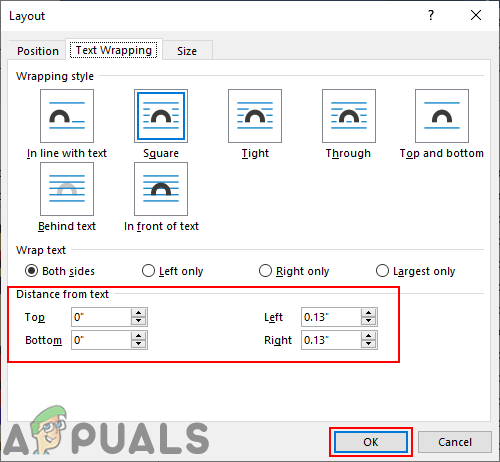
Adjusting the distance of the text in the More Layout Options window - You can also use wrap text for group images and more. In the end, it all depends on what you are trying to achieve with the Text Wrapping feature in Microsoft Word.


