How to Fix 0x800f0983 Error When Updating Windows?
When encountering Windows Update error 0x800f0983, the update process typically fails, leaving the system unable to install necessary updates. This error indicates an issue with the servicing stack or the cumulative update package.
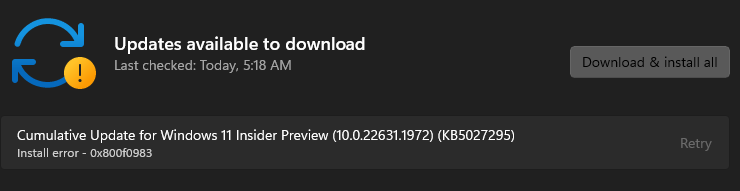
The most common cause of the error is corrupt or missing components in the update cache, often due to incomplete previous updates or conflicts with installed language packs.
In some cases, specific system files can become damaged, further complicating the update process. This usually affects cumulative updates for Windows 10 and 11, particularly after major version changes.
1. Troubleshoot Windows Update
Windows provides a built-in troubleshooter to detect and recover issues in the Windows update component. It resolves problems that prevent you from downloading or installing updates.
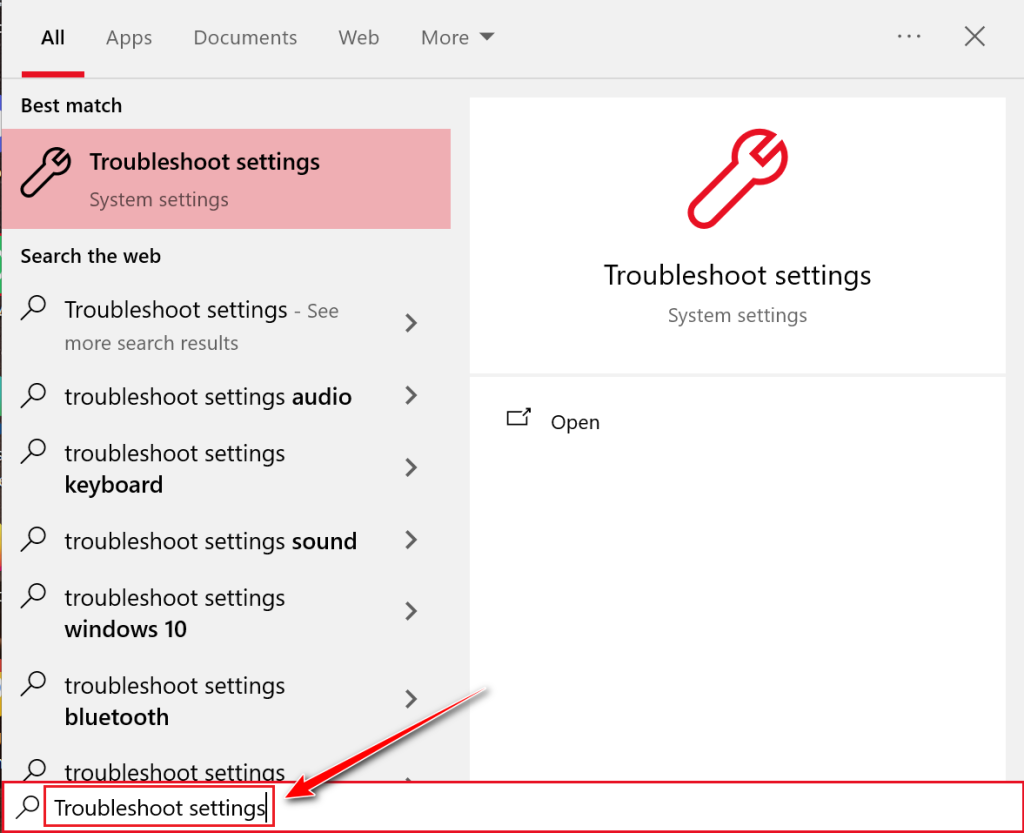
- Type “Troubleshoot settings” in the Windows search box.
- Click on the Open button.
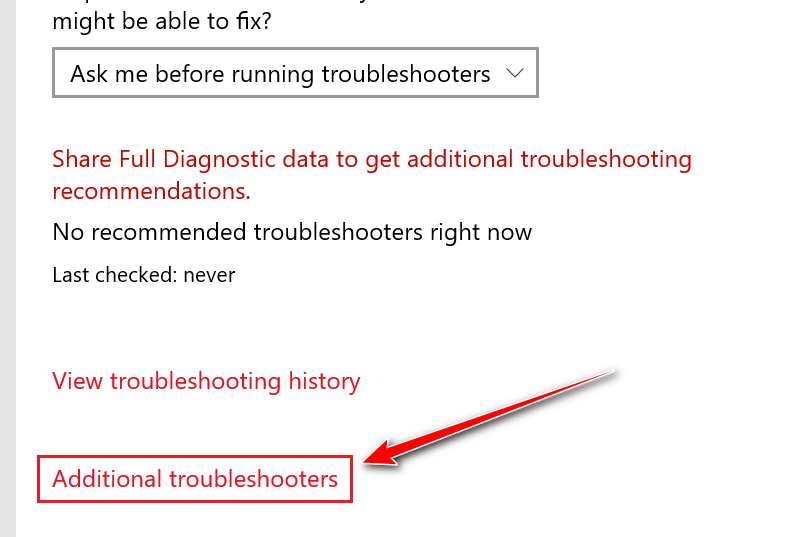
- Choose the Additional troubleshooters option.
- Tap on the Windows Update tab.
- Select the Run the troubleshooter button.
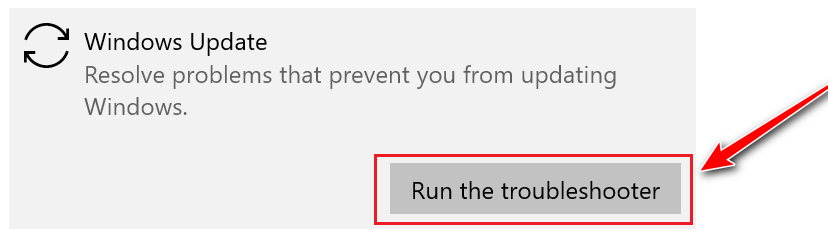
- It will start resolving your issues.
2. Install In-place Upgrade
An in-place upgrade is a troubleshooting process that reinstalls core components of the operating system, upgrading it to the latest version. This upgrade repairs many corrupted files, drivers, and apps without deleting any files.
Things to do before installing an in-place upgrade
- Ensure a stable internet connection during the process.
- Disable or uninstall any third-party antivirus software.
- Use an admin account on your computer for this process.
- Unplug all external devices except the keyboard, mouse, and network cables.
- Back up important data, as there are risks even with an in-place upgrade.
In-place upgrade
- Open your web browser.
- Go to the Microsoft website to download Windows 11 media files.
- Scroll down until you see the Select Download drop-down menu for Windows 11 ISO.
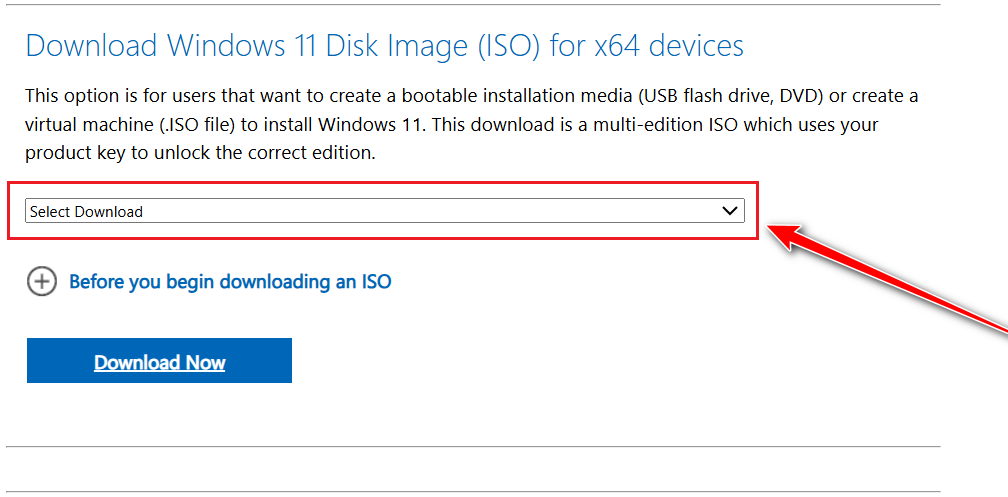
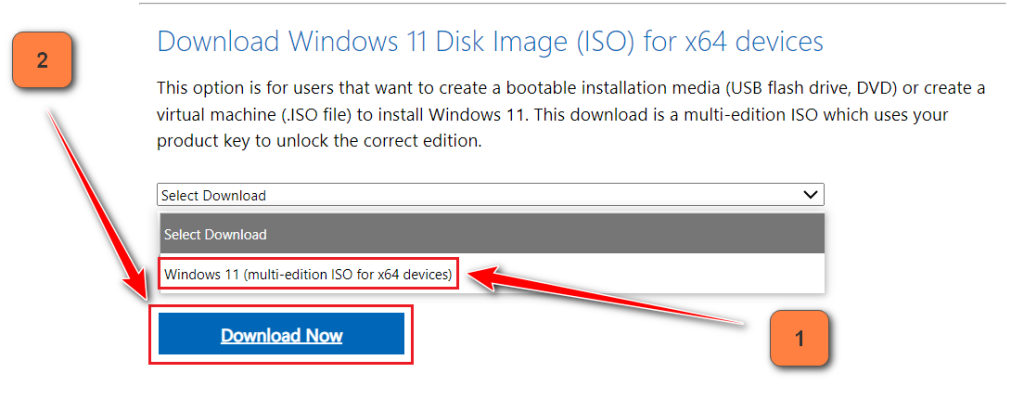
- From the drop-down menu, choose Windows 11 (multi-edition ISO for x64 devices).
- Click the Download button.
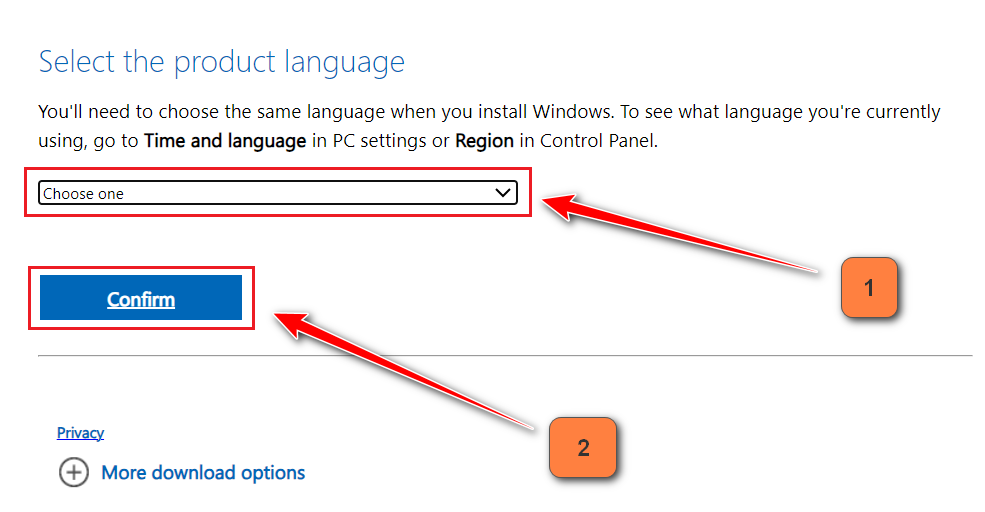
- Next, click on the Choose one drop-down menu for language selection.
- Select the language that matches your operating system.
- Click on the Confirm button.
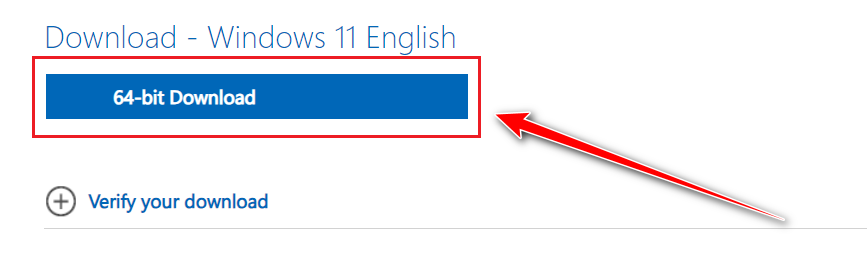
- Click the 64-bit Download button.
- Once the download is complete, go to your browser’s downloads tab and select the Open file option.

- Locate the ISO file setup and open it.
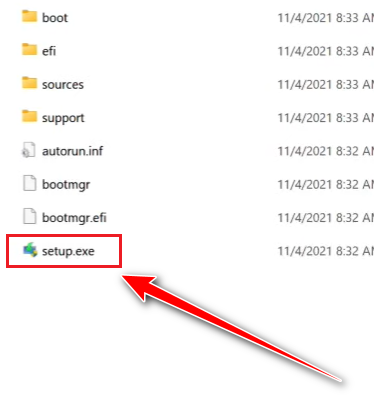
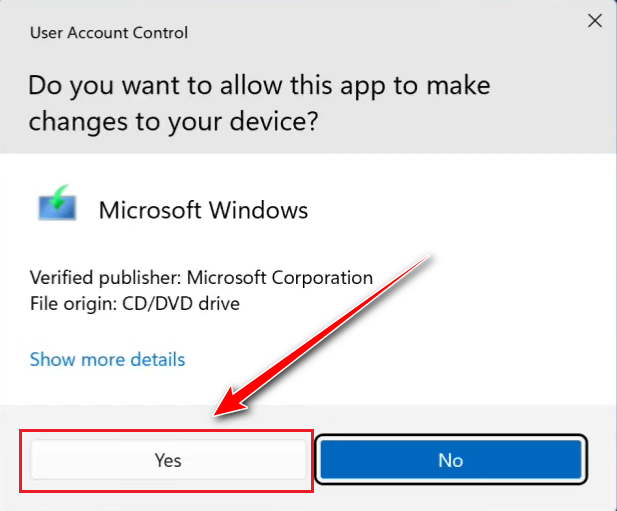
- If prompted, click on the Yes button to allow the setup to run.
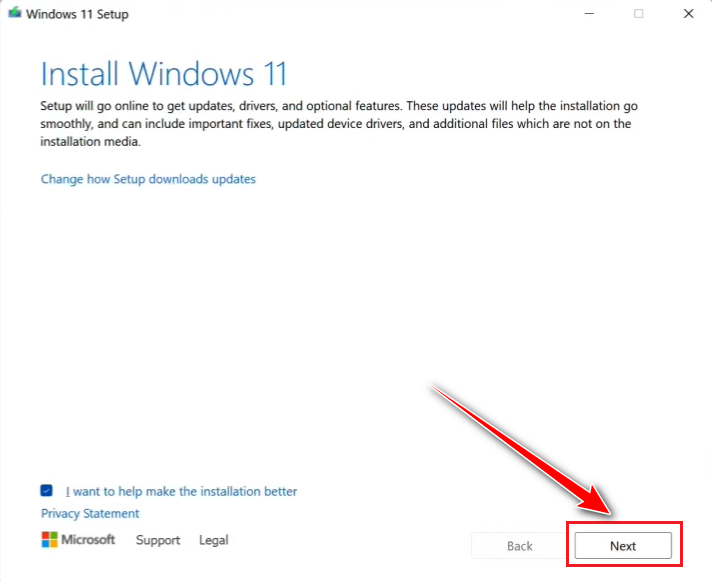
- Click the Next button to proceed.
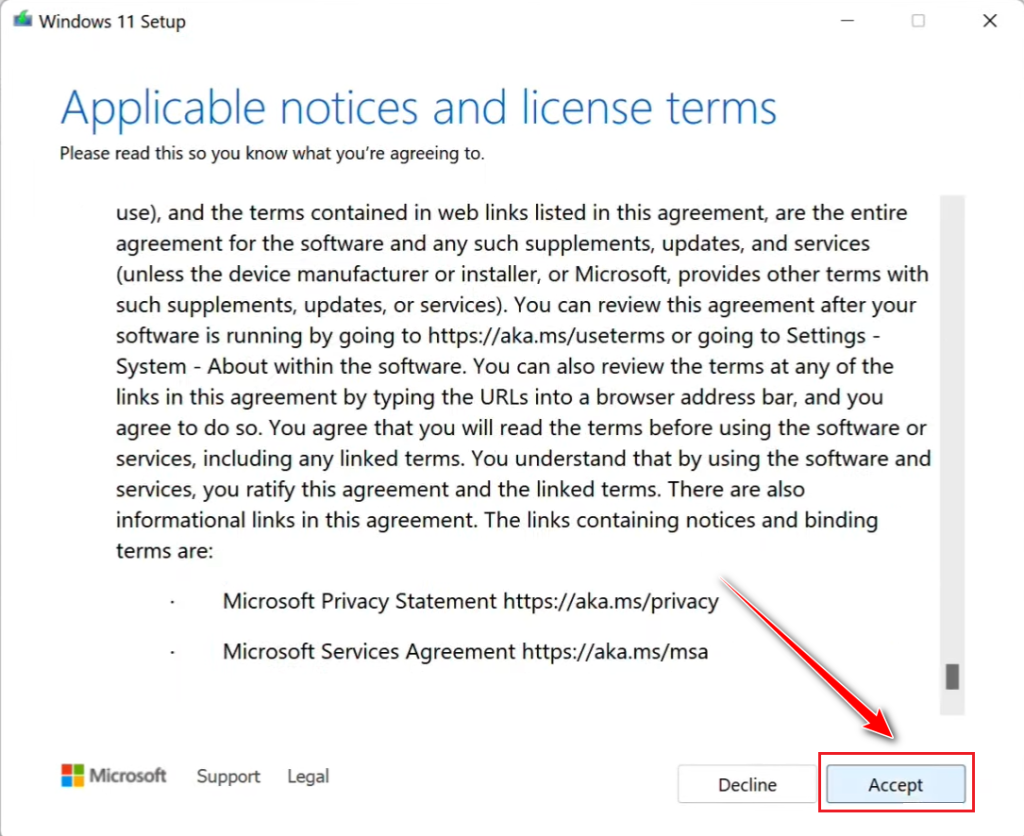
- Click the Accept button to agree to the license terms.
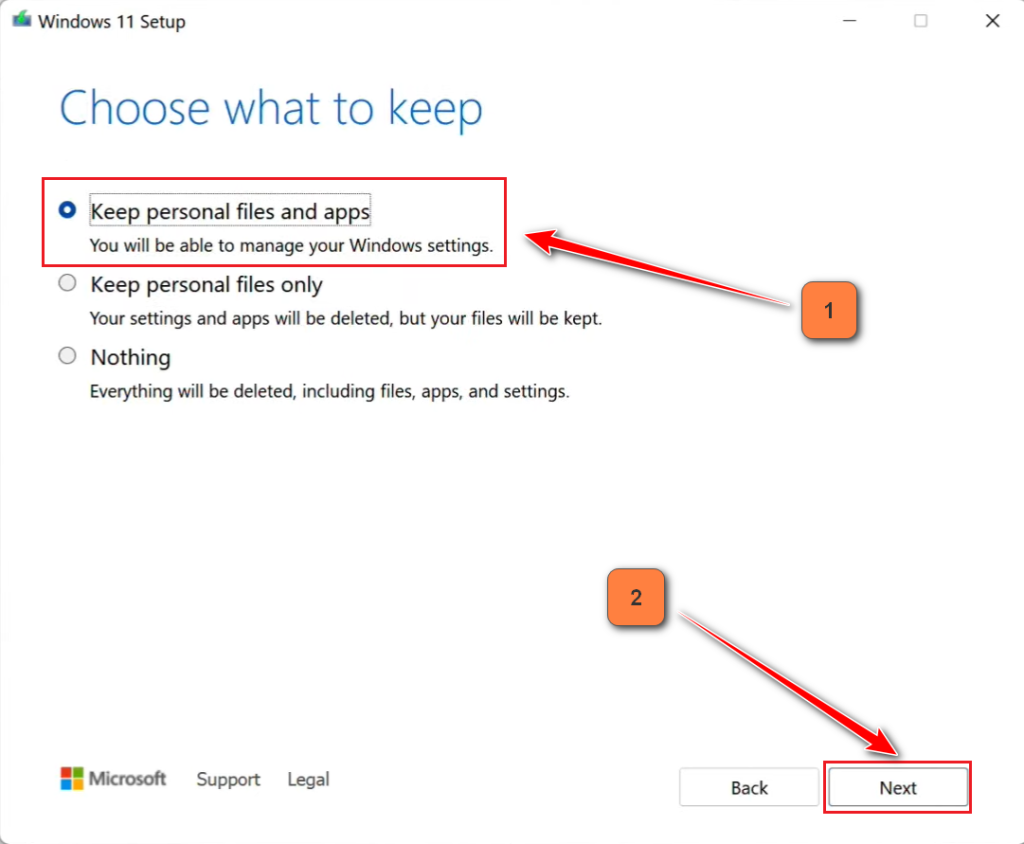
- Select the option to Keep personal files and apps.
- Click the Next button.
- Finally, click the Install button to begin the installation process.
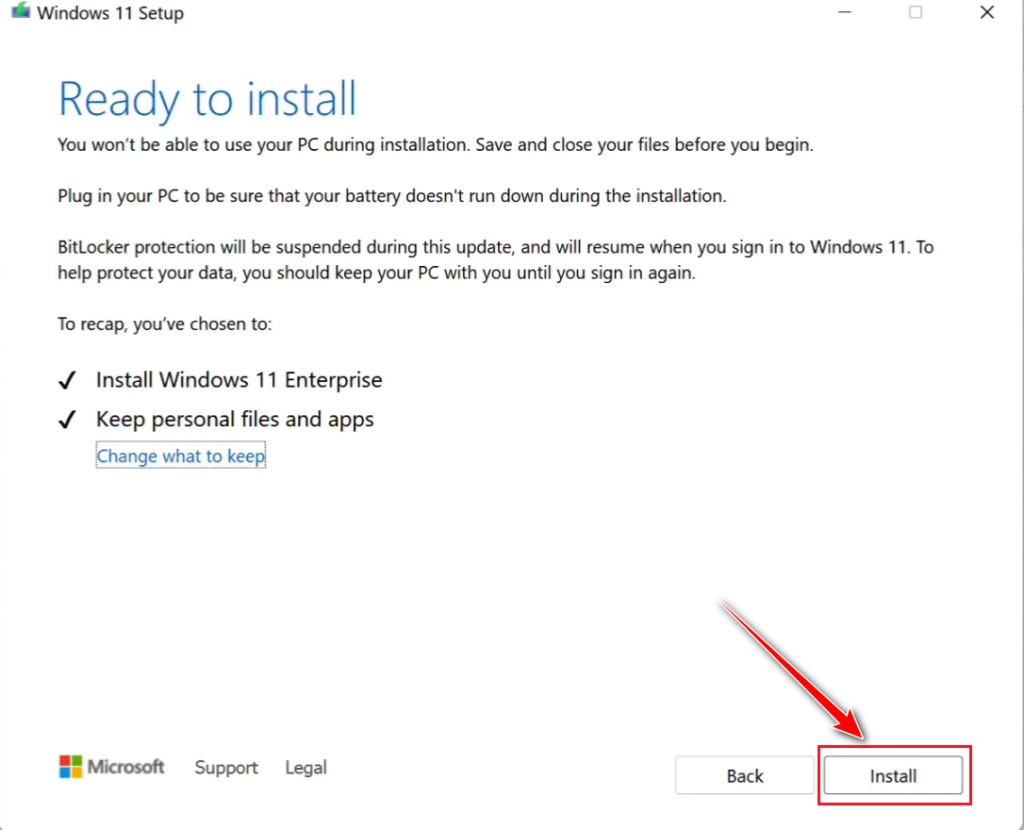
- Wait for the installation to complete; your PC may restart several times during the process.


