Fix: Error 0x800f0838 When Installing Windows Updates
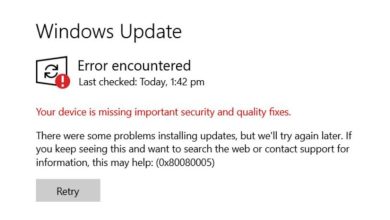
Error 0x800f0838 is an issue that occurs during the installation of Windows updates, especially when using .MSU (Microsoft Standalone Update) files. This error abruptly terminates the installation process, rolls back any partially applied changes, and displays a failure message along with the error code. The root cause is often missing checkpoint updates, a feature introduced in Windows 11 24H2 to reduce the size of monthly updates.

This error can also occur in environments using offline update methods, such as manual installations or third-party patch management tools, where update dependencies aren’t resolved automatically. Other common causes include corrupted Windows system files, malfunctioning Windows Update services, and damaged update cache files.
Below, we’ll guide you through proven fixes to resolve this error and restore proper update functionality.
1. Run SFC and DISM Scan
Running SFC (System File Checker) and DISM (Deployment Image Servicing and Management) scans can repair corrupted system files and restore a healthy Windows image. These tools address common causes of update failures by repairing essential components.
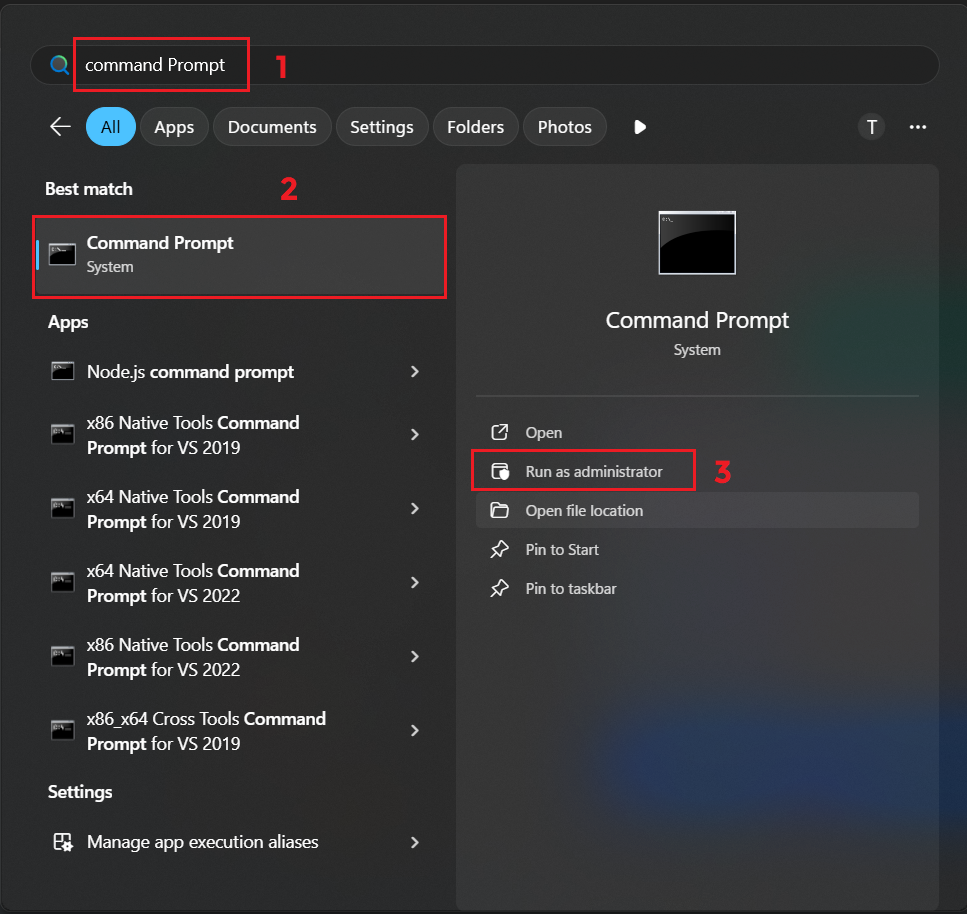
- Open the Windows Start menu.
- Search for “Command Prompt” and run it as an administrator.
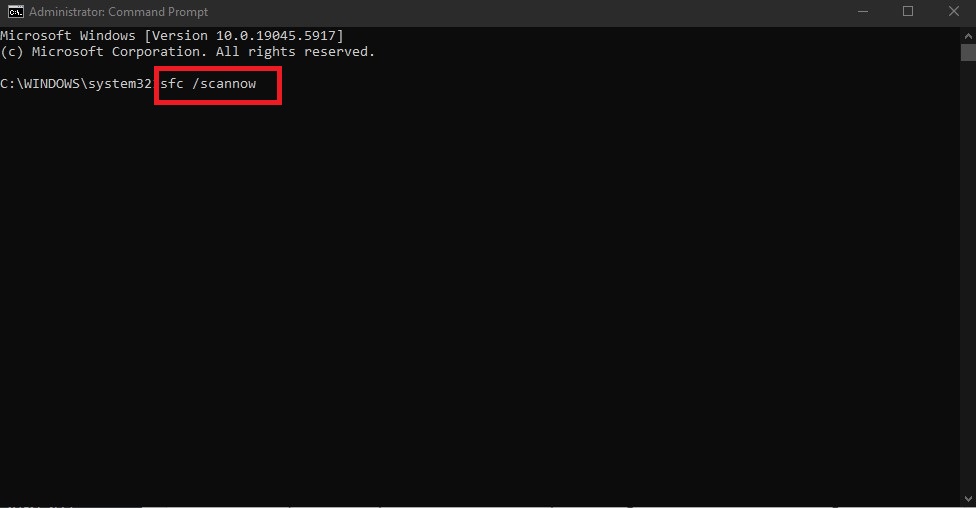
- In the Command Prompt, enter the following command:
sfc /scannow
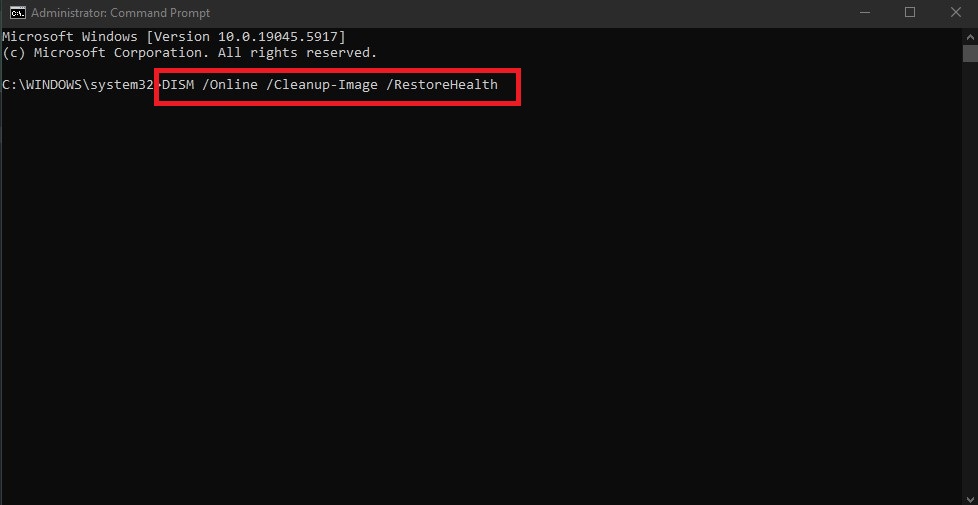
- Once complete, keep the Command Prompt open and run:
DISM /Online /Cleanup-Image /RestoreHealth
- After both scans finish, retry the Windows Update process.
2. Reset Windows Update Components
Resetting Windows Update components clears corrupted temporary files and resets related services. This gives the update process a clean state and resolves errors caused by file conflicts or partial update attempts.
- Open the Windows Start menu.

- Search for “Command Prompt” and run it as an administrator.
- Execute the following commands one by one:
net stop wuauserv
net stop bits
net stop cryptsvc
ren C:\Windows\SoftwareDistribution SoftwareDistribution.old
ren C:\Windows\System32\catroot2 Catroot2.old
net start wuauserv
net start bits
net start cryptsvc
3. Manually Install Updates
Installing updates manually through PowerShell or Command Prompt allows you to bypass broken update mechanisms. Begin by installing the SSU (Servicing Stack Update) to ensure compatibility, followed by the main update (e.g., KB5050009). This method is useful when Windows Update fails due to service errors or corruption.
- Open your preferred browser.
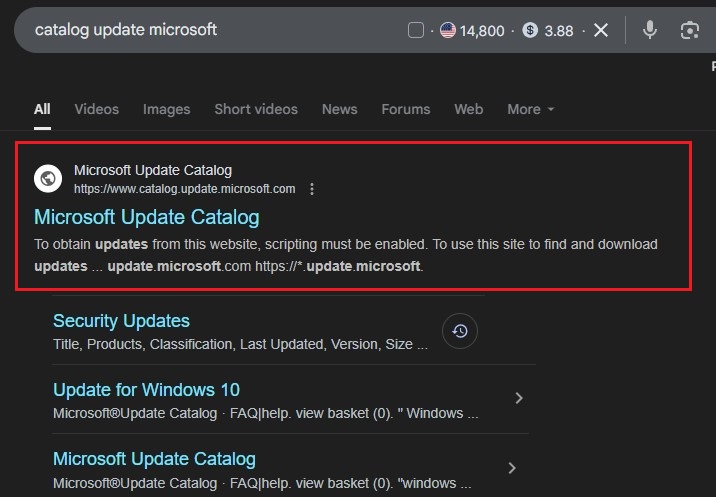
- Go to https://www.catalog.update.microsoft.com
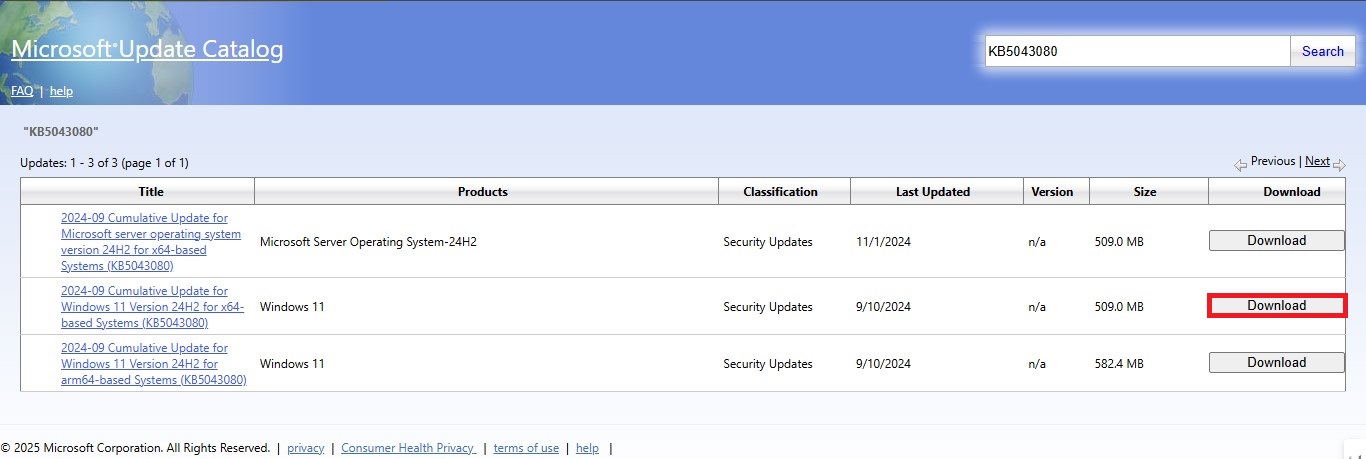
- Search for:
Latest SSU (e.g., "KB5043080") Your target update (e.g., "KB5050009")
- Download the “Windows 11” and “x64” .msu files.
- Create a folder in C: (e.g., C:\Updates) and move both files there.
- Open Command Prompt or PowerShell as Administrator.
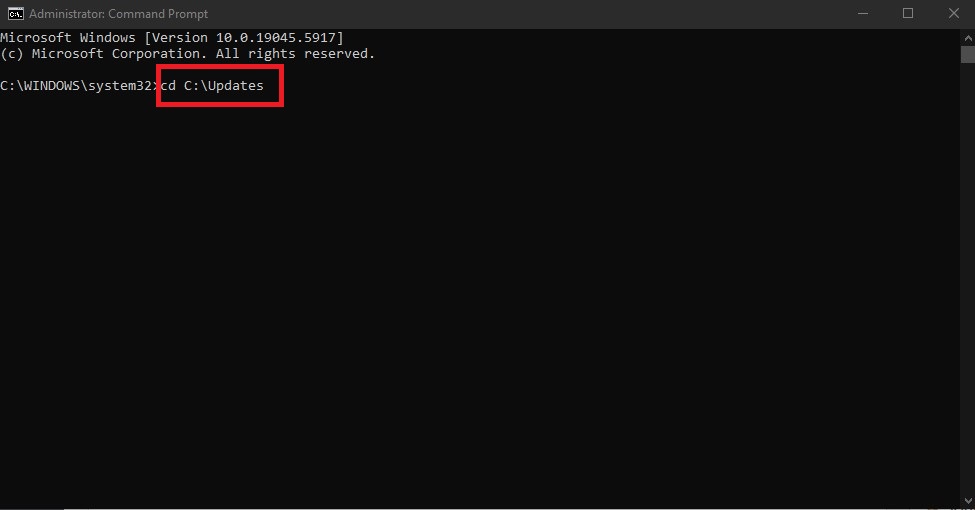
- Navigate to your update folder:
cd C:\Updates
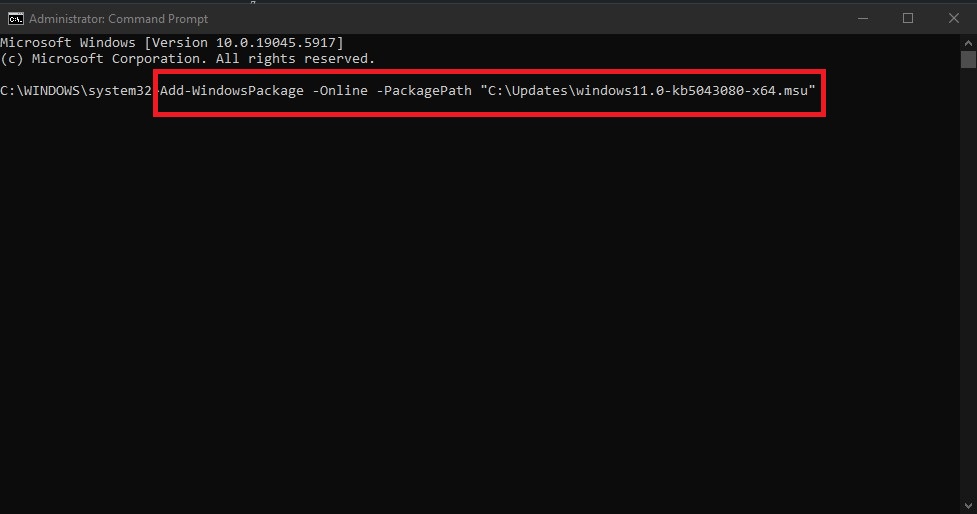
- Run the SSU installer (adjust filename if needed):
Add-WindowsPackage -Online -PackagePath "C:\Updates\windows11.0-kb5043080-x64.msu"
 Wait for the process to complete.
 - Then, install the Main Update:
Add-WindowsPackage -Online -PackagePath "C:\Updates\windows11.0-kb5050009-x64.msu"

- Restart your PC after installation completes.