How to Fix Printers Error Code 0x0000011B in Windows?
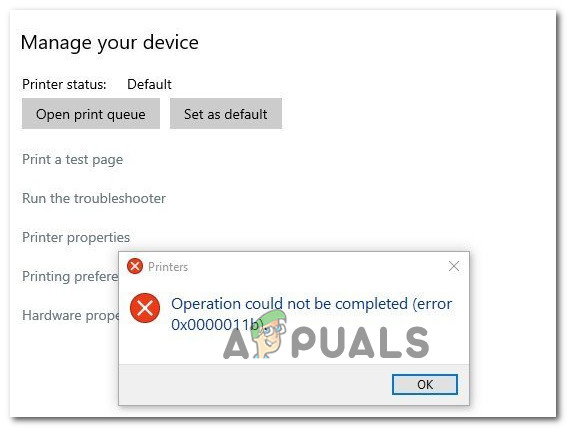
When error code 0x0000011B occurs on a network-connected printer, printing usually fails with the message “Operation could not be completed.” This issue often appears after recent Windows security updates. The error is related to network printing and is usually tied to changes in Remote Procedure Call (RPC) authentication made by updates to improve security.
The most common cause of this issue is the KB5005565 update, which added stricter RPC encryption to fix vulnerabilities like PrintNightmare. It can also happen if there are mismatched or outdated drivers on the client or print server.
This problem is more common with network-shared printers where the main computer uses stricter security settings, causing connection issues. While uninstalling updates can help, many users find it more effective to change registry settings, like disabling RpcAuthnLevelPrivacyEnabled, to revert the RPC communication changes.
Now that we know what causes this issues lets move on to the solutions of this error.
1. Install every pending update
Since KB5005565 caused printer issues by increasing security measures, later updates often include fixes for the network printing problem, removing the need for complex workarounds like changing registry settings.
- Press Windows key + R to open the Run dialog box. In the text box, type ‘ms-settings:windowsupdate’ and press Enter to open the Windows Update page of the Settings menu.

Opening the Windows Update screen - On the Windows Update screen, go to the right-hand side menu and click Download Now if new updates are available.
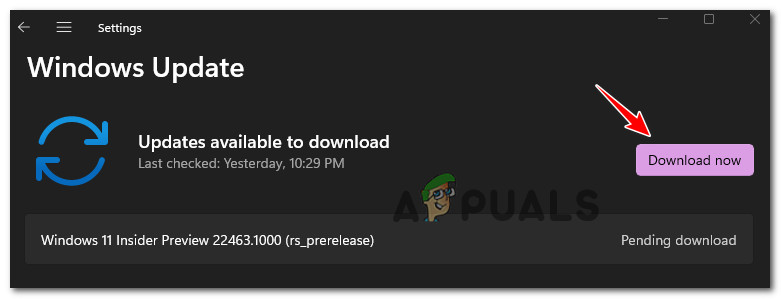
Downloading the Windows Update Note: If no updates are pending, click Check for updates to run a scan.
- Wait for all pending updates to install, then reboot your PC and wait for the restart to complete.
2. Install the local printer driver for the local port
One way to fix the 0x0000011B error is by installing the printer as a local device using a local port. This trick makes your computer treat the network printer as if it’s directly connected, avoiding network issues. By adding the printer as a “local printer” through the control panel, you set up a direct connection, often bypassing the security updates that caused the error. This can solve the issue without changing your network security settings.
- Press Windows key + R to open the Run dialog box. Type ‘control’ in the text box and press Enter to open the classic Control Panel interface.
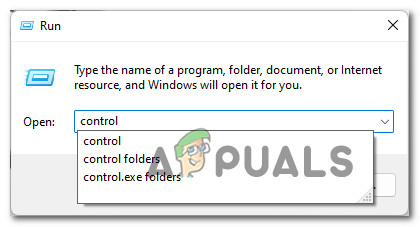
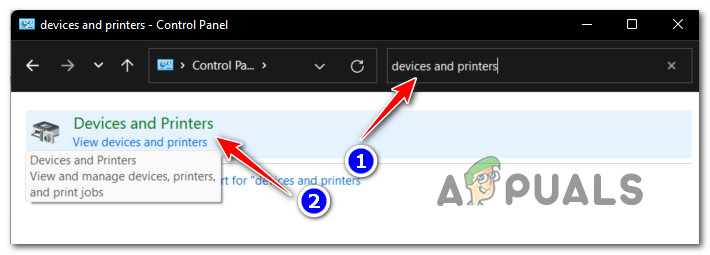
Open the classic Control Panel interface - In the Control Panel interface, use the search functionality (top-right corner) to search for ‘devices and printers’.
- From the search results, click on Devices and Printers.
Accessing the Devices and Printers screen - In the Devices and Printers screen, click Add a printer from the ribbon bar at the top of the window.
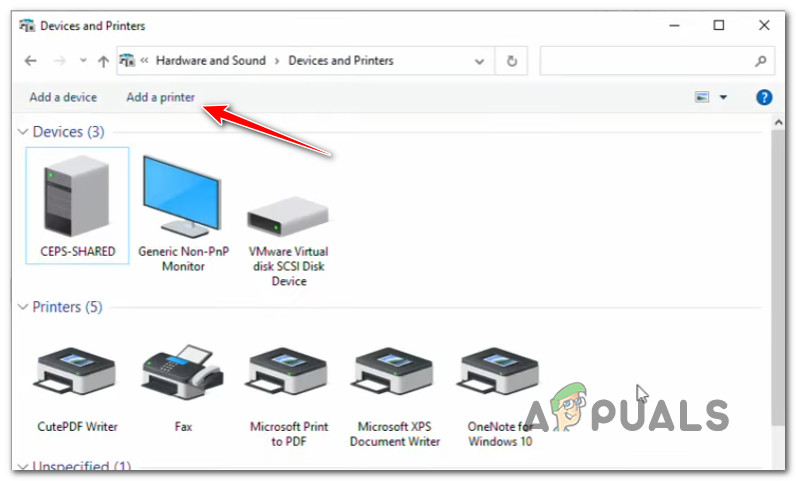
Adding a new printer driver to Windows manually - On the first screen, wait for the initial scan to complete, then click on The printer that I want isn’t listed (under the box of drivers).
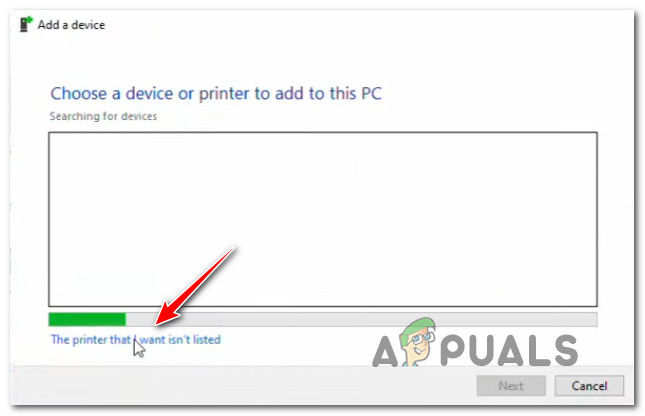
Choose a printer that is not listed - Select Add a local printer or network printer with manual settings and click Next.
- Select Create a new port, then choose Local Port from the drop-down menu.
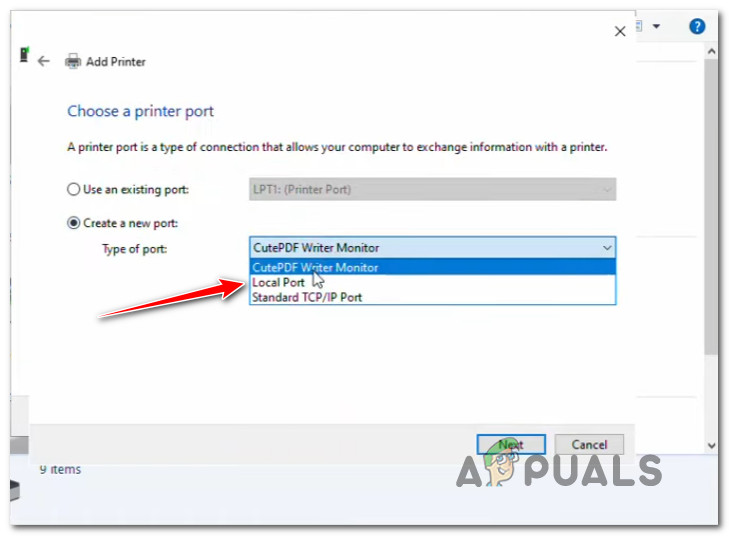
Selecting a new local port to be added - Click Next, then enter the file path followed by the name of the network printer (e.g., \\kevin\cannon 244).
- Click OK to save the changes.
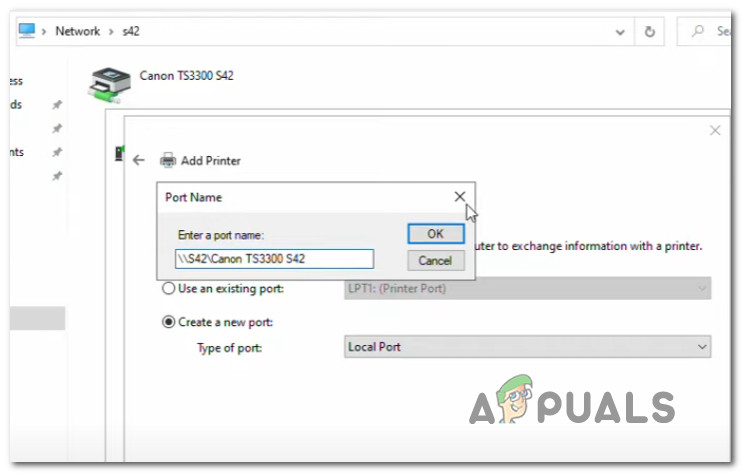
Adding the correct local printer port - Select your printer’s manufacturer from the column on the left, then choose the correct driver from the column on the right and click Next.
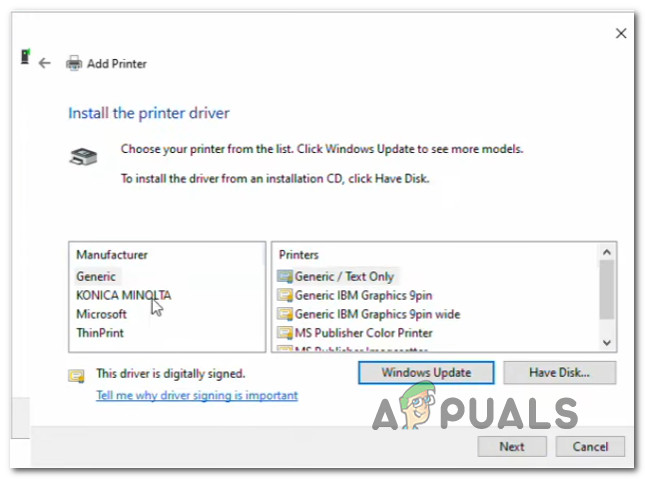
Loading the correct printer drivers Note: If the printer driver is not listed, you can download the driver locally and click Have Disk to load it from a local folder. Alternatively, click Windows Update to download all available drivers directly into this interface.
- Choose a name for the local printer driver you are installing, then click Next and wait for the installation to complete.
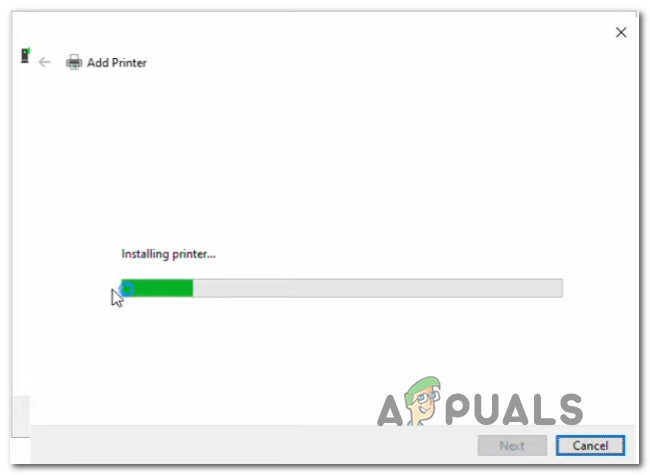
Installing the correct local port printer driver - Once you click Finish, the printer will be listed under Devices and Printers. Print a test page to ensure everything is working smoothly.
3. Disable CVE-2021-1678 mitigation
Turning off CVE-2021-1678 is crucial to fixing printer error 0x0000011B, which appeared after the KB5005565 update. This update enforced stricter RPC encryption, blocking network printer connections. Changing the registry setting RpcAuthnLevelPrivacyEnabled to 0 bypasses these security measures and restores network printer functionality.
Note: Rolling back also reopens security vulnerabilities, so users should be cautious before applying it
- Press Windows key + R to open a Run dialog box. Next, type ‘regedit’ and press Ctrl + Shift + Enter to open the Registry Editor with administrative privileges.
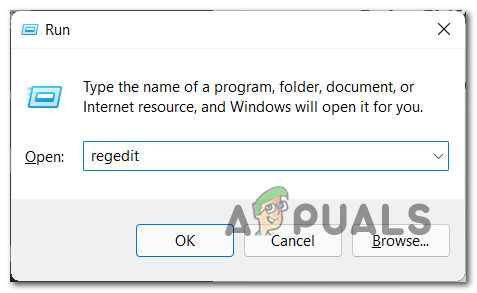
Opening a new Registry Editor window - When prompted by the User Account Control prompt, click Yes to grant administrative privileges.
- In the Registry Editor, use the menu on the left to navigate to the following location:
HKEY_LOCAL_MACHINE\System\CurrentControlSet\Control\Print
Note: You can navigate manually or paste the full path into the navigation bar at the top and press Enter to get there directly.
- Ensure the Print key is selected. Then, in the right-hand section, right-click an empty space and select New > 32-bit DWORD Value.
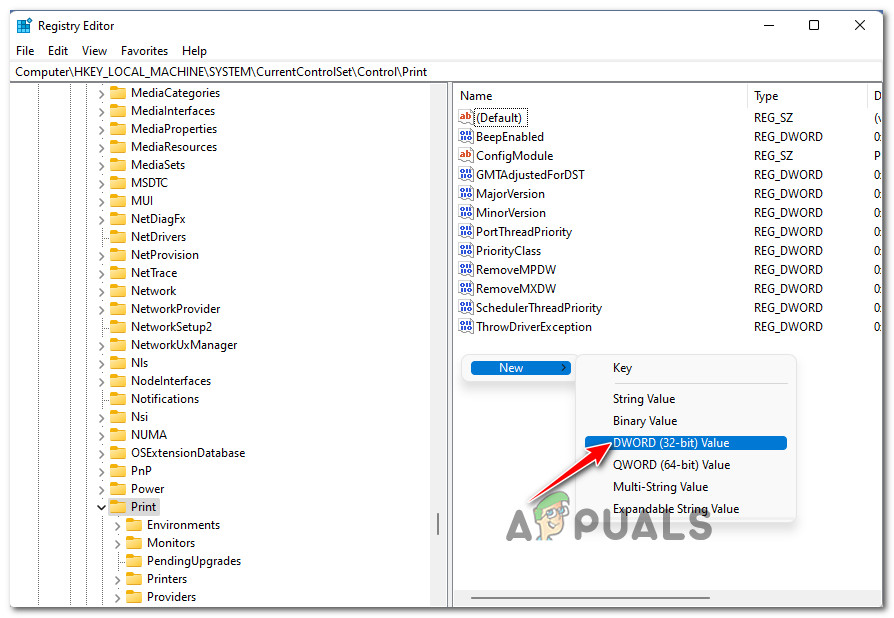
Creating a new DWORD value - Name the newly created registry value RpcAuthnLevelPrivacyEnabled and press Enter to save the changes.
- Double-click the newly created RpcAuthnLevelPrivacyEnabled value.
- In the Edit menu, set the Base to Hexadecimal and the Value data to 0. Click OK to save the changes.

Editing the RpcAuthnLevelPrivacyEnabled key - Restart your PC.
4. Uninstall the problematic update (KB5005565)
Removing the KB5005565 update can fix the 0x0000011B printer error. This update introduced stricter security for RPC communication, which can block network printer connections. Uninstalling it reverts the system to its previous state, allowing printers to connect without the extra restrictions.
- Press Windows key + R to open a Run dialog box. Type ‘appwiz.cpl’ in the text box and press Enter to open the Programs and Features menu.
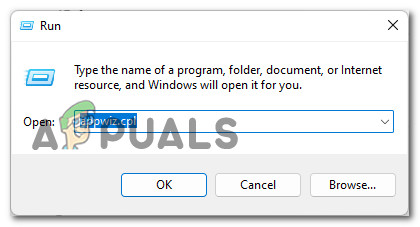
Opening the Programs and Features menu Note: If prompted by the User Account Control prompt, click Yes to grant administrative privileges.
- In the Programs and Features menu, click View Installed Updates from the menu on the left.
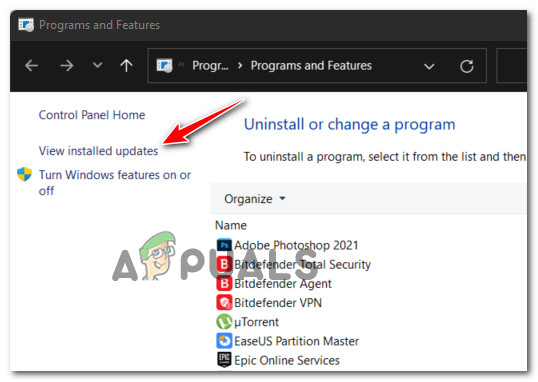
View Installed Updates - If prompted to grant administrative privileges again, click Yes.
- In the Installed Updates tab, browse the installed updates and locate the KB5005565 update.
- Right-click on KB5005565 and choose Uninstall from the context menu.
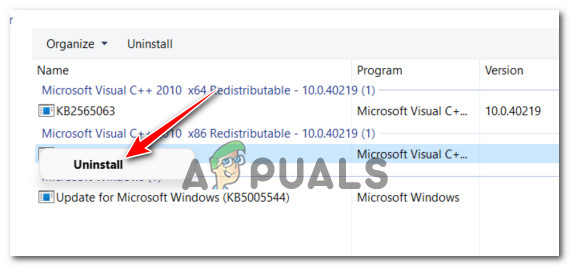
Uninstall the problematic update - At the prompt, click Yes to confirm the uninstallation of the update.
- Once the uninstallation is complete, reboot your PC and check if the problem is resolved.


issue persists after all of this