Windows Won’t Boot Into Safe Mode? – Try These Fixes!
In most cases, outdated systems, corrupted system files, and outdated drivers cause Safe Mode to not launch. When this happens, the users fail to boot Windows with only the set of minimal drivers through any of the different options available.

Below, we take a look at the troubleshooting methods to try if you are facing a similar problem. We suggest that you go through the solutions first to understand the cause of the issue. Once that is done, you can proceed with the most appropriate fix.
1. Install the Latest Update
The first thing that we recommend doing is installing the latest updates on your system. It is common to encounter such problems because of an outdated system, and installing the pending updates can fix it.
Here is how you can check for the available updates and install them:
- Open the Settings app by pressing the Win + R keys together.
- Choose Windows Update from the left pane.
- In the right pane, click on the Check for updates button. Windows will now show you any pending updates that need to be installed.

Check for the Windows updates - Install the pending updates one by one by clicking on the Download & install button.
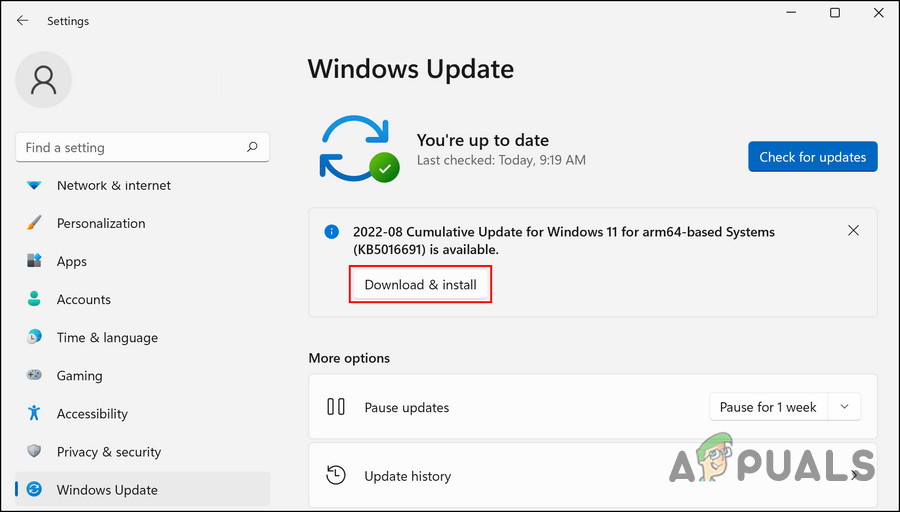
Click on the Download & install button - Finally, restart your computer and check if you can now boot into Safe Mode with networking without any problems.
2. Run System Scans
Corruption errors and bugs are another common issue that prevents users from launching the system in Safe Mode. These problems can be caused by many different factors, but fortunately can be fixed and identified quite easily.
In the event that installing the update fails to fix the issue, you should run DISM and SFC to rule out any corruption errors in the system. If you do not know already, DISM is responsible for repairing a corrupt system image. It deploys the original image online so that you do not have to reinstall Windows.
On the other hand, SFC (System File Checker) checks your files’ integrity and gets your PC back to normal using the DISM image. Simply put, both tools work together to fix errors you’re encountering on your Windows PC.
Here is how you can run both utilities:
- Press the Win + R keys together to open a Run dialog box.
- Type cmd in the text field of the dialog box and press Ctrl + Shift + Enter to launch Command Prompt with administrative privileges.
- Inside the Command Prompt window, type the command mentioned below and hit Enter.
DISM.exe /Online /Cleanup-image /Restorehealth
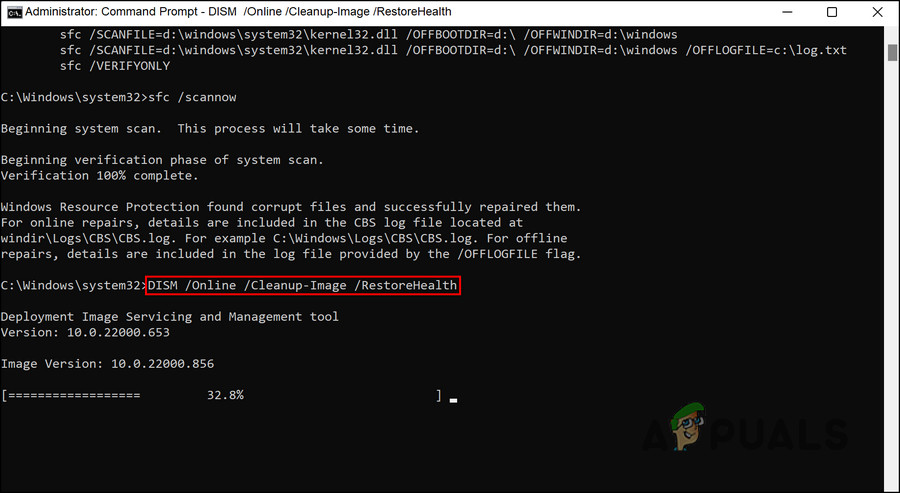
Run the DISM scan - Let the command execute successfully, and then execute the following command in the same window.
sfc /scannow
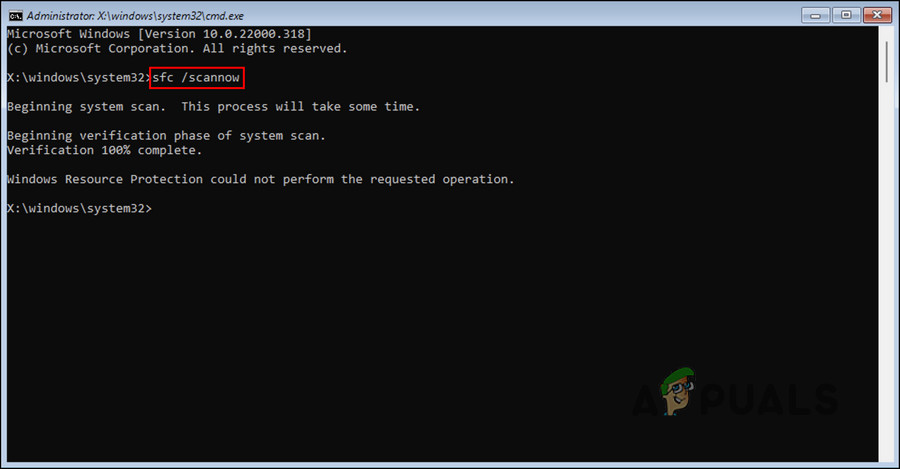
Execute the SFC command - Once it is executed, restart your PC and check if the error is resolved.
3. Update the Driver
Another fix that worked for users was updating or downgrading their ethernet drivers. This can be done in two ways. You can either use the Device Manager utility to install the latest update, or you can head over to the manufacturer’s website and download a new driver from there.
If updating does not work, you can try downgrading the driver as well. This will place it back to a state where the driver is functioning fine, allowing you to launch the Safe Mode.
If you want to use the Device Manager for this process, follow these steps:
- Type Device Manager in Windows search and click Open.
- In the following window, expand the Network adapters section and right-click on the ethernet driver.
- Choose Update driver from the context menu.
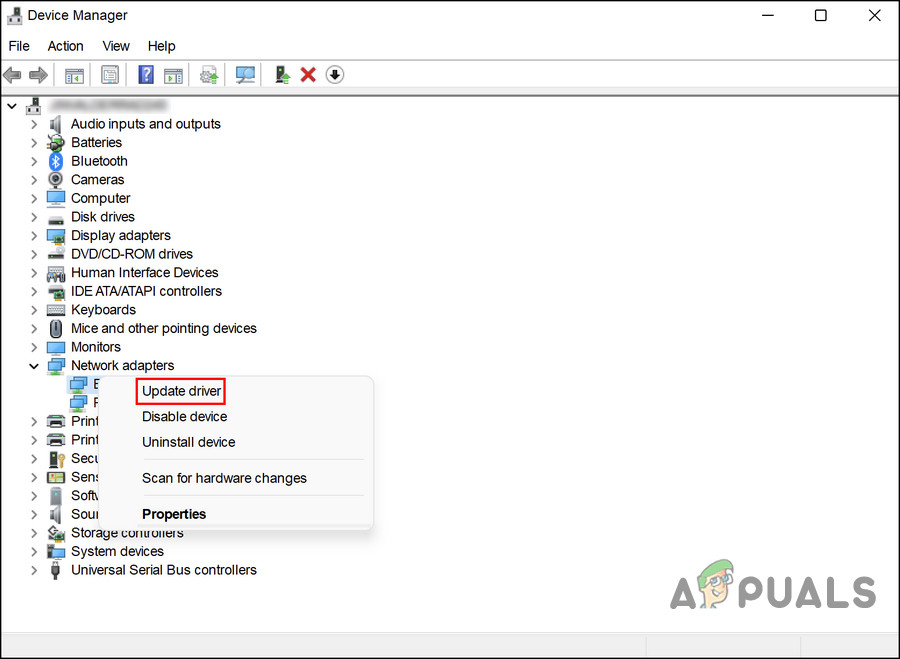
Choose the Update driver option - Next, click on Search automatically for drivers and wait for the system to find an appropriate alternative.
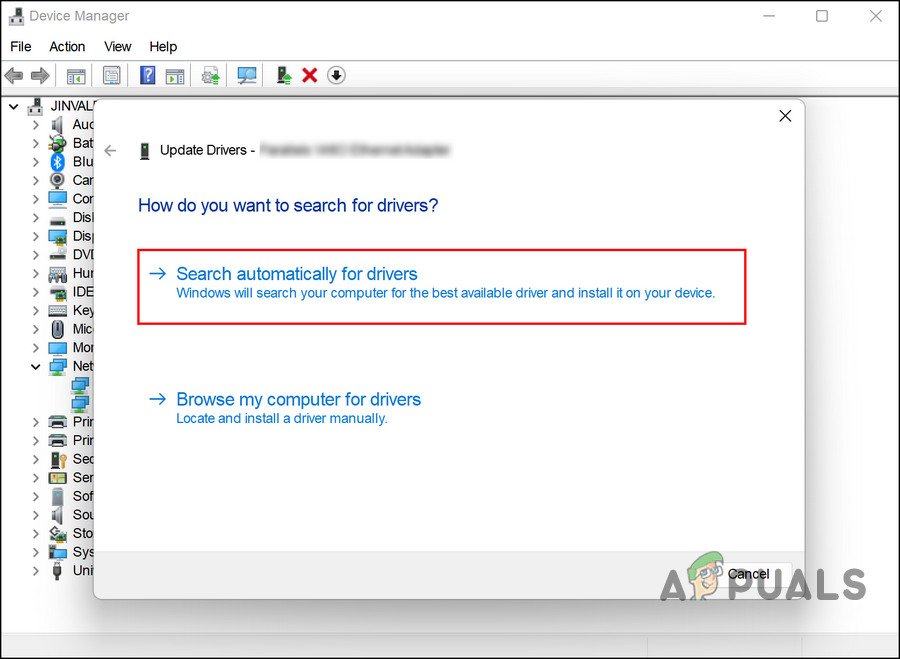
Click on the Search automatically for drivers option - Once found, follow the on-screen instructions to proceed.
In case you want to roll back the driver to a previous working state, follow these steps:
- Launch Device Manager and expand the Network adapters section by following the same steps described above.
- Right-click on the Ethernet driver and choose Properties from the context menu.
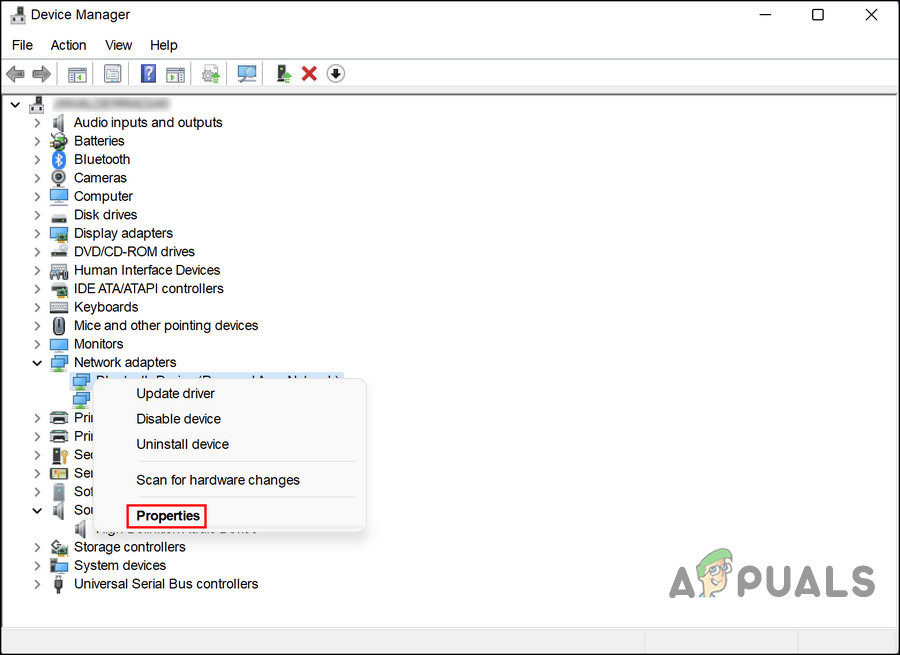
Choose Properties from the context menu - In the Properties dialog, head over to the Drivers tab and click on the Roll back driver button.

Click on the Roll back driver button - Follow the on-screen instructions to proceed and then check if the issue is resolved.
If you do not want to use the Device Manager, then you can also head over to the official manufacturer’s site and download the latest driver from there. However, a few of the users reported that using this method caused the taskbar items to disappear in Safe Mode.
In case you face the same problem, restarting the Windows Explorer process can help. Here is how:
- Press the Ctrl + Shift + Esc keys together to open Task Manager.
- In the Processes tab, look for the Windows Explorer process and right-click on it.
- Choose Restart.
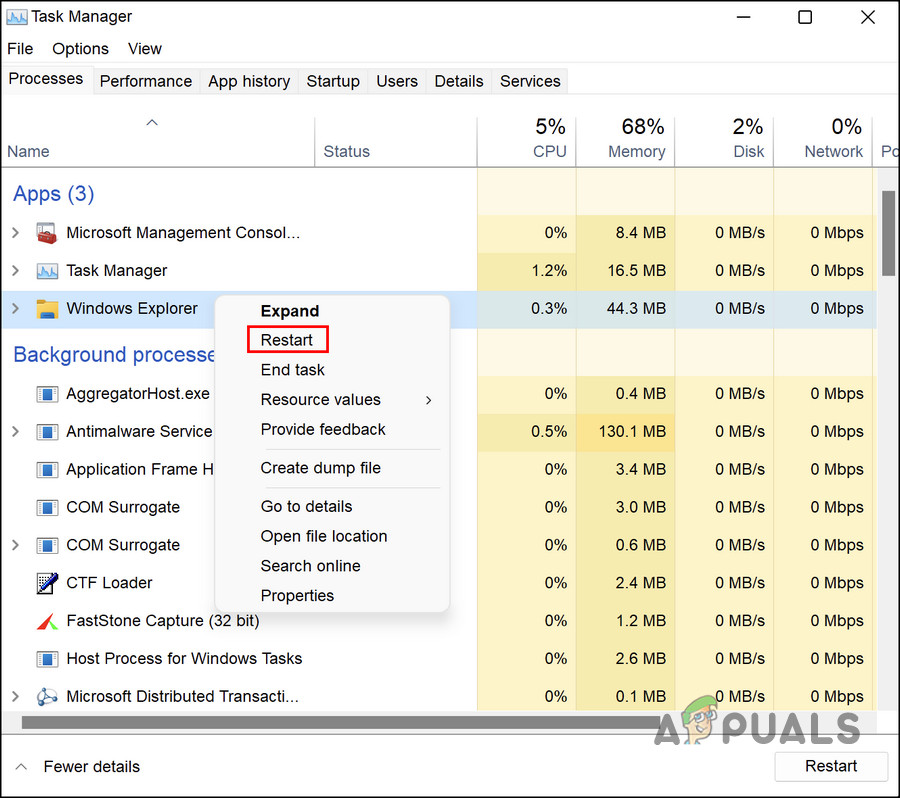
Choose Restart from the context menu
This should bring the taskbar icons back in no time.
4. Use System Restore
The system restore utility on Windows creates restore points periodically. When something goes wrong, you can use a restore point to restore your operating system as it stood at any particular point in time.
In this case, we will restore the system to a previous state that wasn’t affected by the problem using the System Restore utility.
Follow the steps below to proceed:
- Press the Win + R keys together to open Run.
- Type control in Run and click Enter.
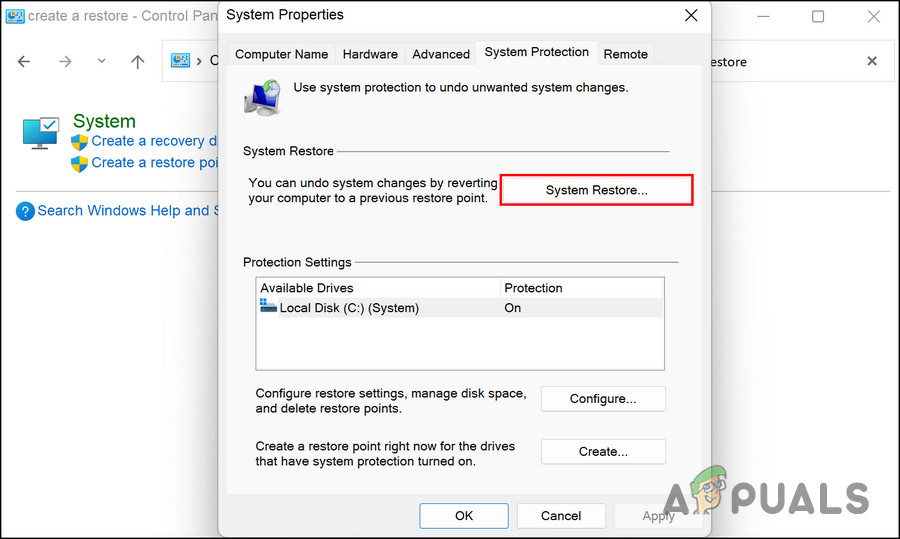
- Search for System restore in the top-right search bar and then choose Create a restore point as shown below.
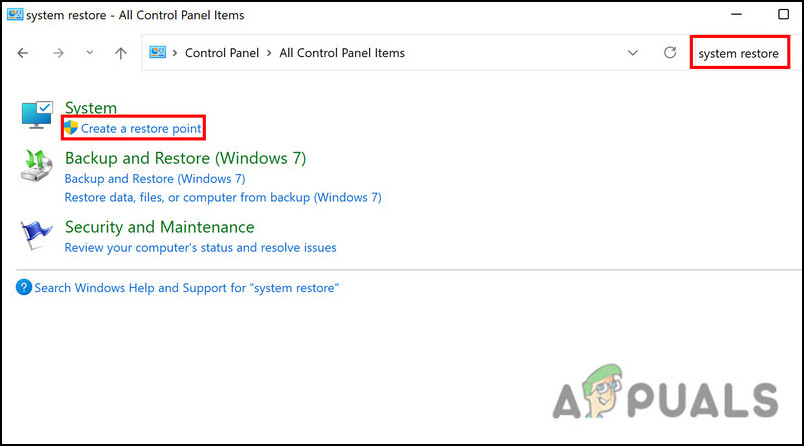
Click on the Create a restore point button - In the next dialog, click on the System Restore button.
Click on the System Restore button - Your system restore points should now be displayed. Choose your preferred one and click Next to proceed.
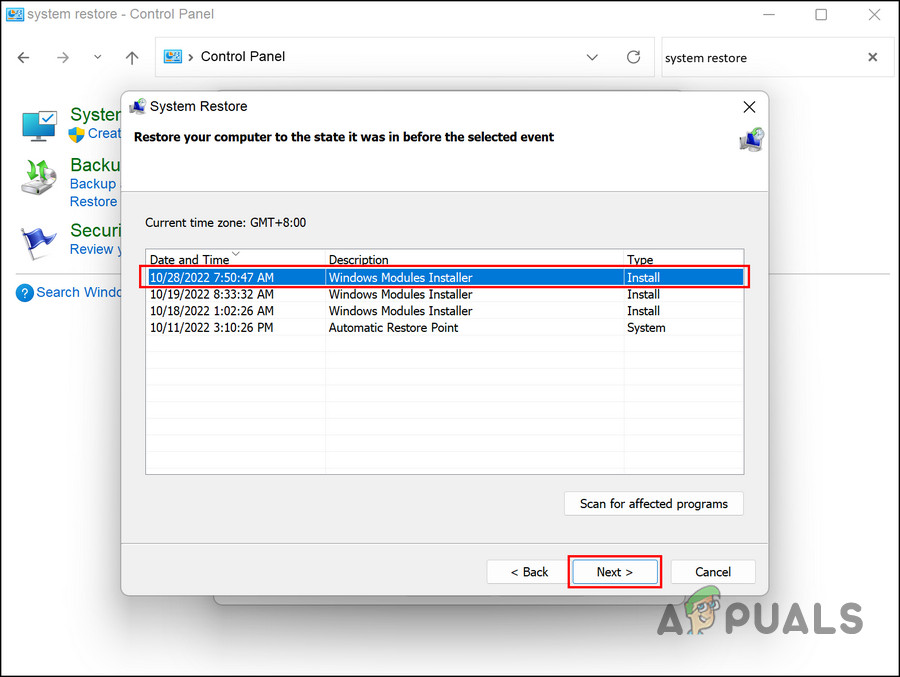
Click on the Next button to proceed - Follow the on-screen instructions to proceed.


