How to Fix Wi-Fi Not Connecting Automatically on Windows Startup?
When Wi-Fi does not connect automatically on Windows startup, the system fails to establish a wireless connection, requiring you to manually connect to a network each time. This can become frustrating over time. This issue occurs when the “Connect automatically” option is enabled but does not function as expected.
The most common cause is incorrect power management settings, where the system turns off the wireless adapter to save power, thus preventing automatic connection. Other causes include outdated drivers, system updates, and hardware issues, such as a depleted CMOS battery.
1. Change Power Plan Options
Adjusting the Power Plan to favor Maximum Performance prevents energy conservation from interrupting network connectivity, ensuring that your Wi-Fi adapter remains powered and ready to connect at startup.
- Open the Start Menu, search for Edit Power Plan, and click to open it.
Opening Power Plan Options - Click Change advanced power settings.
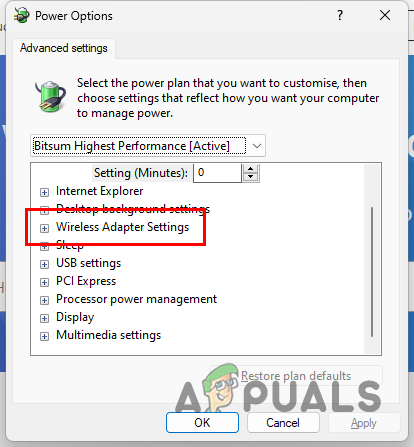
- In the Power Options window, expand the Wireless Adapter Settings category.
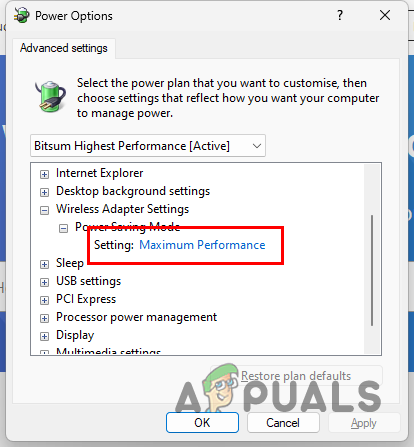
Expanding Wireless Adapter Settings - Expand Power Saving Mode and select Maximum Performance.
Changing Wireless Adapter Power Saving Mode - Click Apply, then OK, and check if the problem is resolved.
2. Install Proper Network Drivers
Network drivers connect your computer’s operating system to its networking hardware. Incorrect or outdated drivers can cause issues with automatic Wi-Fi connections. Updating to the latest manufacturer-specific drivers can resolve these issues.
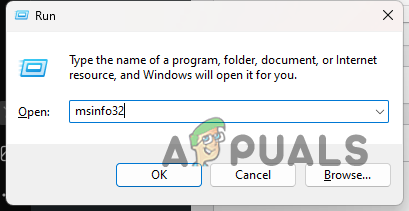
- Press Win + R, type msinfo32 in the Run dialog, and press Enter.
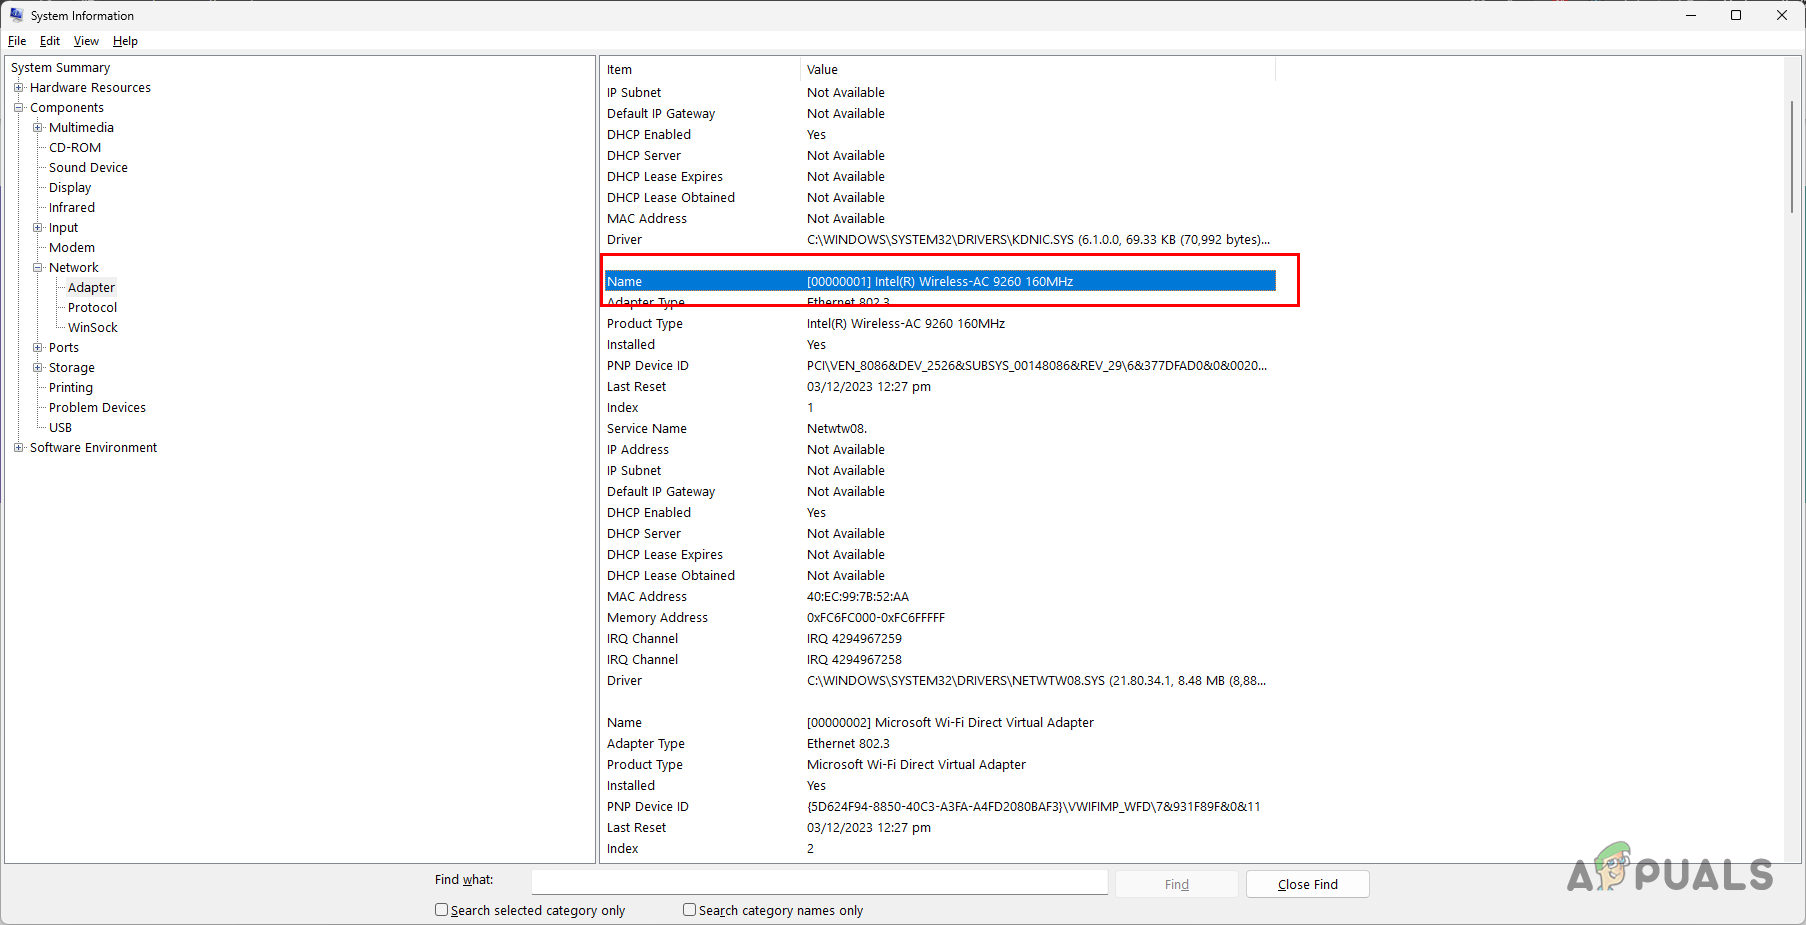
- In the System Information window, go to Components > Network > Adapter.
- Find your Wi-Fi adapter and manufacturer in the details list.
- Download and install the manufacturer-specific drivers for your Wi-Fi adapter.
- After installation, check if the drivers have resolved the automatic connection issue.
3. Disable IPv6 Protocol (If Applicable)
If a network relies mainly on IPv4 and the router or ISP’s infrastructure isn’t optimized for IPv6, disabling IPv6 on the network adapter can resolve connectivity issues by reverting to the more universal IPv4.
- Press Win + I to open Settings.
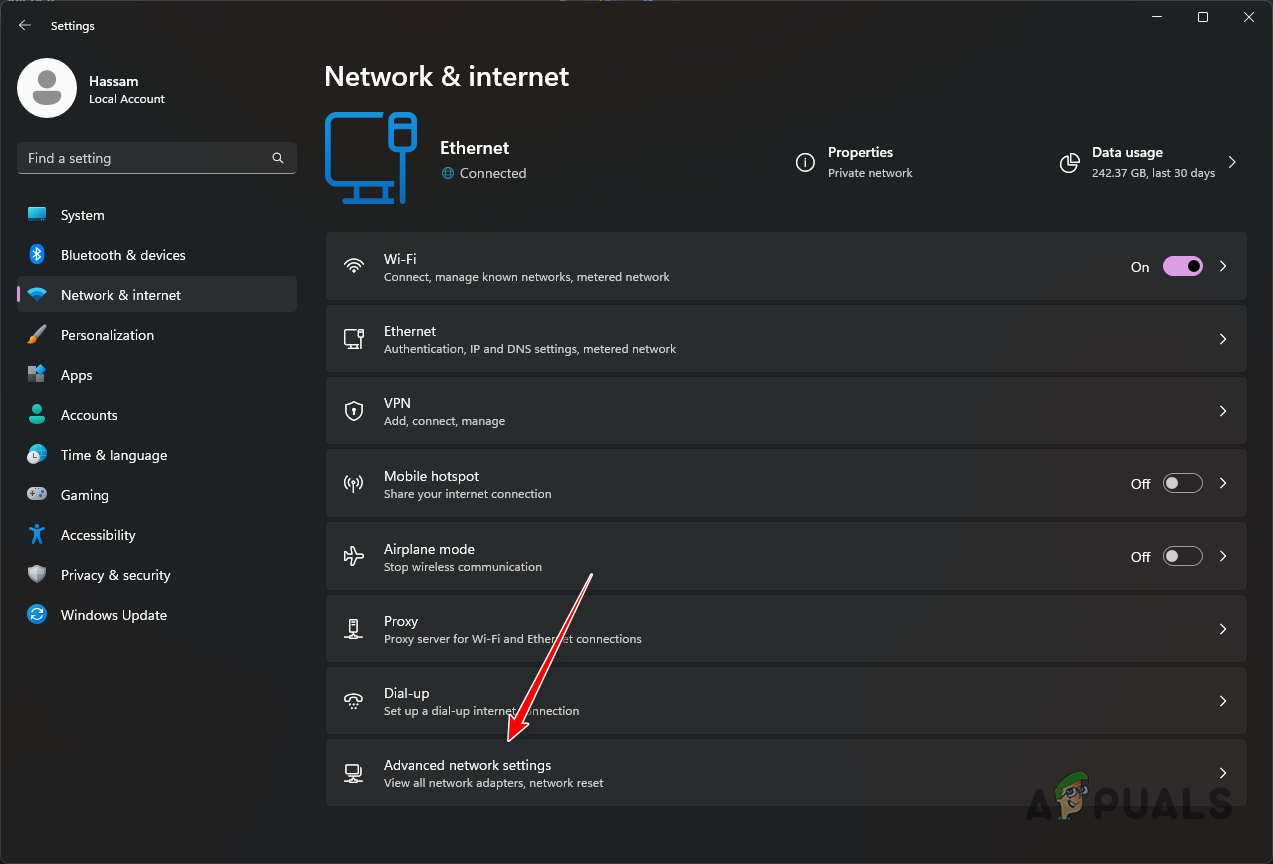
- Navigate to Network & Internet > Advanced Network Settings.
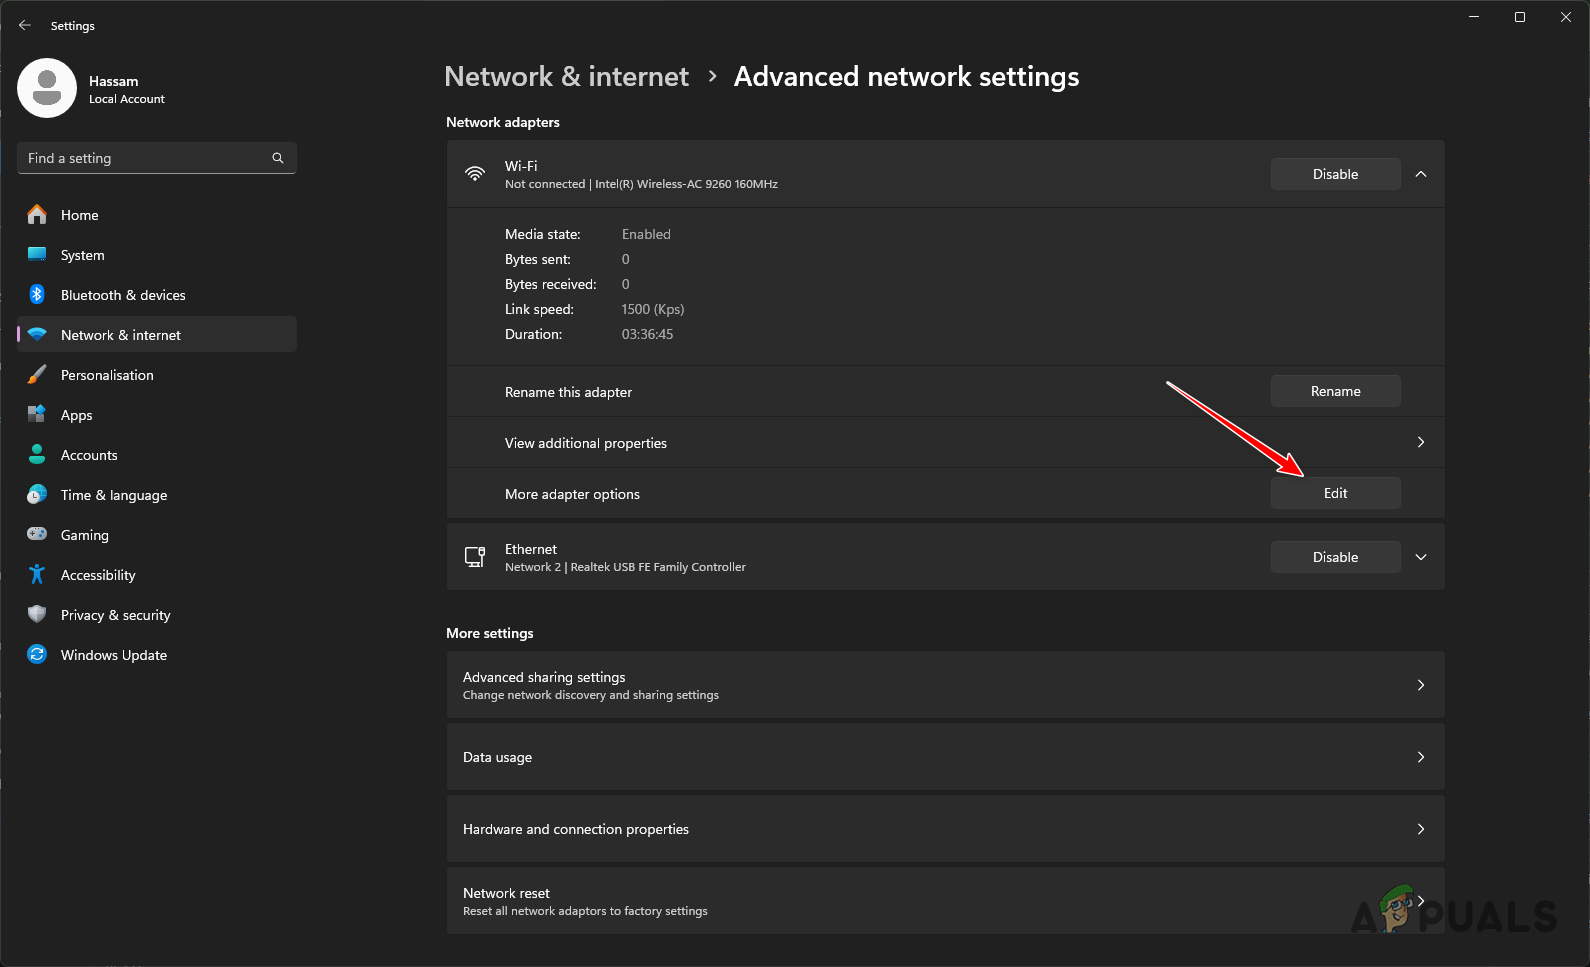
Navigating to Advanced Network Settings - Under your Wi-Fi adapter, click the down arrow.
- Choose Edit.
Editing Wi-Fi Adapter Options - In the Wi-Fi properties, uncheck Internet Protocol Version 6 (TCP/IPv6).
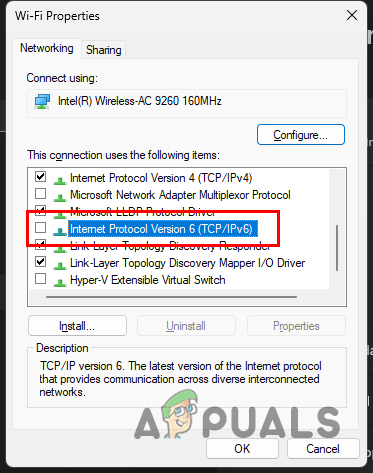
Disabling IPv6 - Click OK and see if this resolves the issue.
4. Disable Background Apps
Background applications can consume network resources or interfere with the Wi-Fi adapter’s functionality. Stopping these apps through Task Manager can help your adapter function better during startup.
- Right-click the Start Menu icon and select Task Manager.
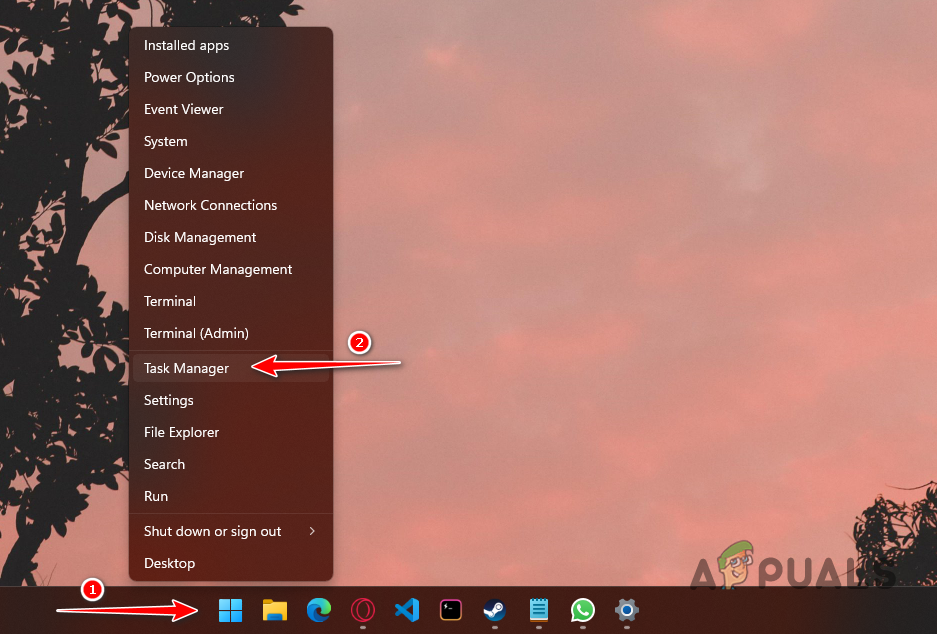
Opening Task Manager - Identify any non-essential third-party apps.
- Select each application and click End task.
- Toggle your Wi-Fi off and back on to test connectivity.
5. Disable Wi-Fi Adapter Power Management
Power management settings may turn off your Wi-Fi adapter to save energy, hindering automatic reconnection. Disabling this option ensures your adapter is ready to connect whenever your computer starts.
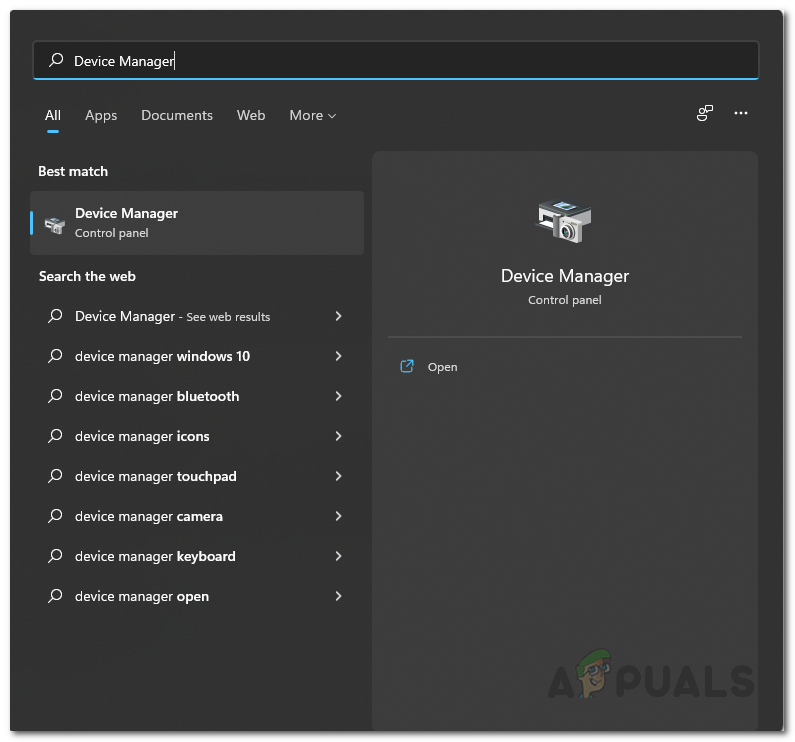
- Search for and open Device Manager from the Start Menu.
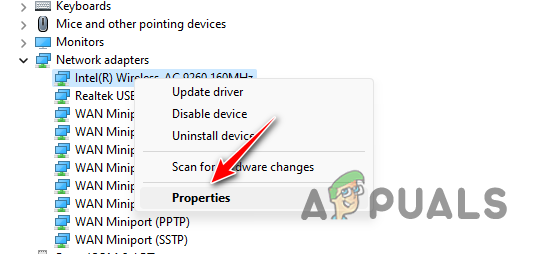
Opening Device Manager - Expand the Network adapters section.
- Right-click your Wi-Fi adapter and select Properties.
Navigating to Wi-Fi Adapter Properties - Go to the Power Management tab.
- Uncheck the Allow the computer to turn off this device to save power option.
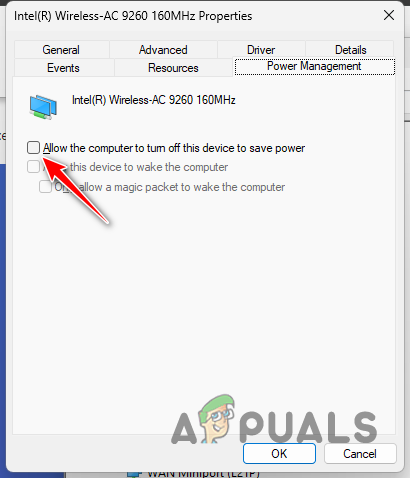
Disabling Power Management for Wi-Fi Adapter - Click OK.
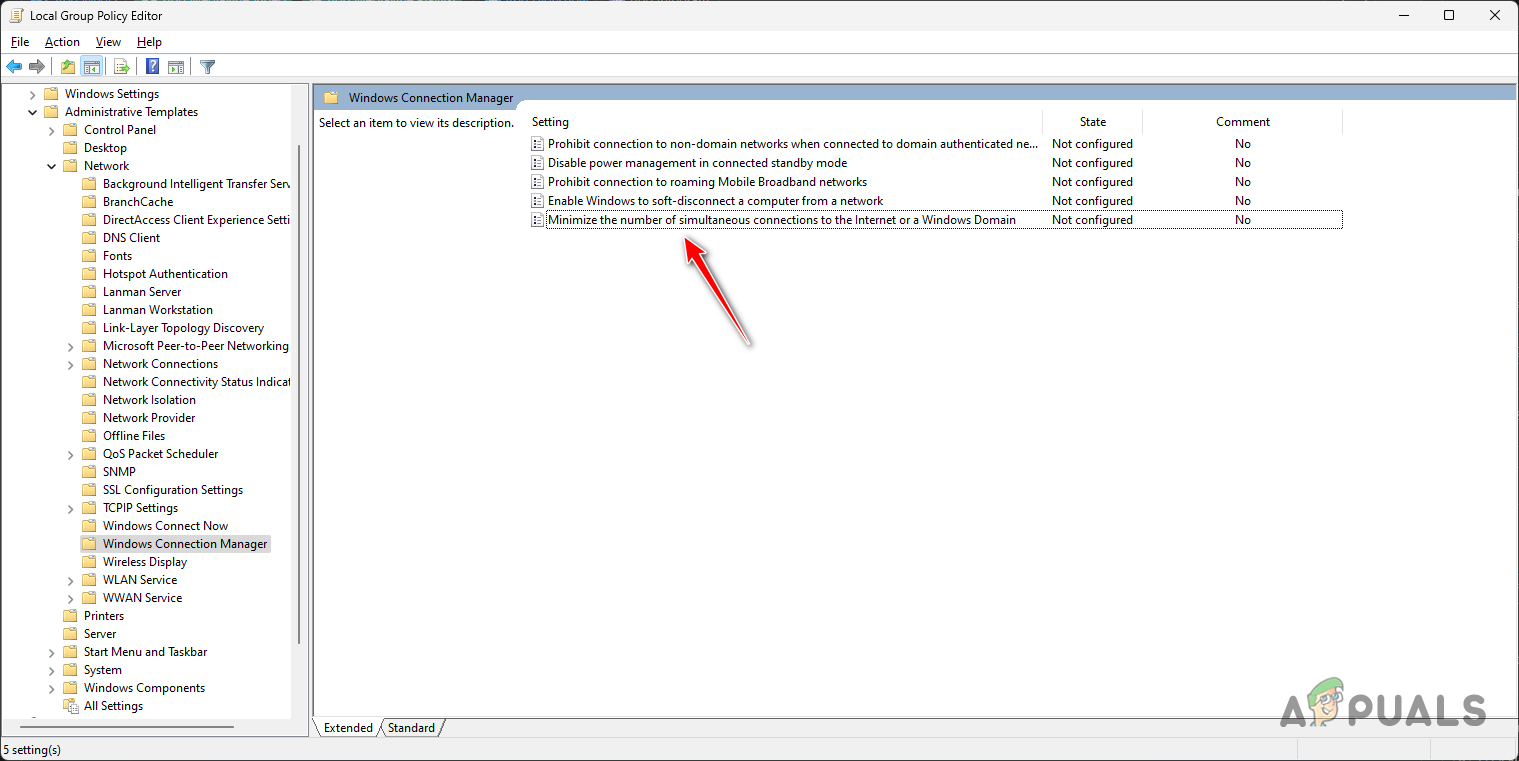
6. Disable Simultaneous Connection Minimization
Disabling a Windows policy that limits simultaneous network connections can improve automatic Wi-Fi connectivity. Turning off this feature removes restrictions that might prevent smooth connections at startup.
- Search for and open Edit group policy.

Opening Local Group Policy Editor - Go to Computer Configuration > Administrative Templates > Network > Windows Connection Manager.
- Double-click Minimize the number of simultaneous connections to the Internet or a Windows Domain policy.
Opening Simultaneous Connection Minimization Policy - Set the policy to Disabled, click Apply, then OK.
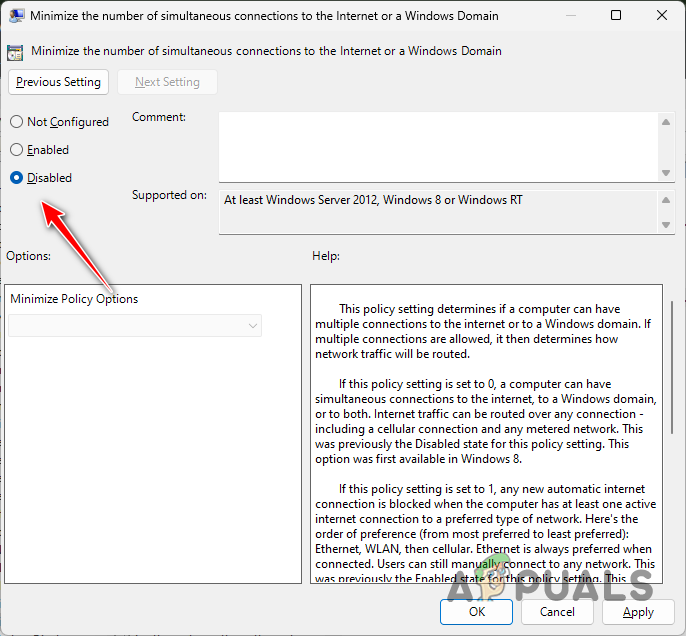
Disabling Simultaneous Connection Minimization Policy - Restart your computer for the changes to take effect and check your Wi-Fi connectivity.
7. Reset Network Settings
Resetting network settings clears any configurations that may cause issues, such as incorrect settings or corrupt profiles. It restores default settings, helping to rebuild network connections and fix Wi-Fi connection problems.
- Press Win key + I to open the Settings app.
- Go to Network & Internet > Advanced Network Settings > Network Reset.
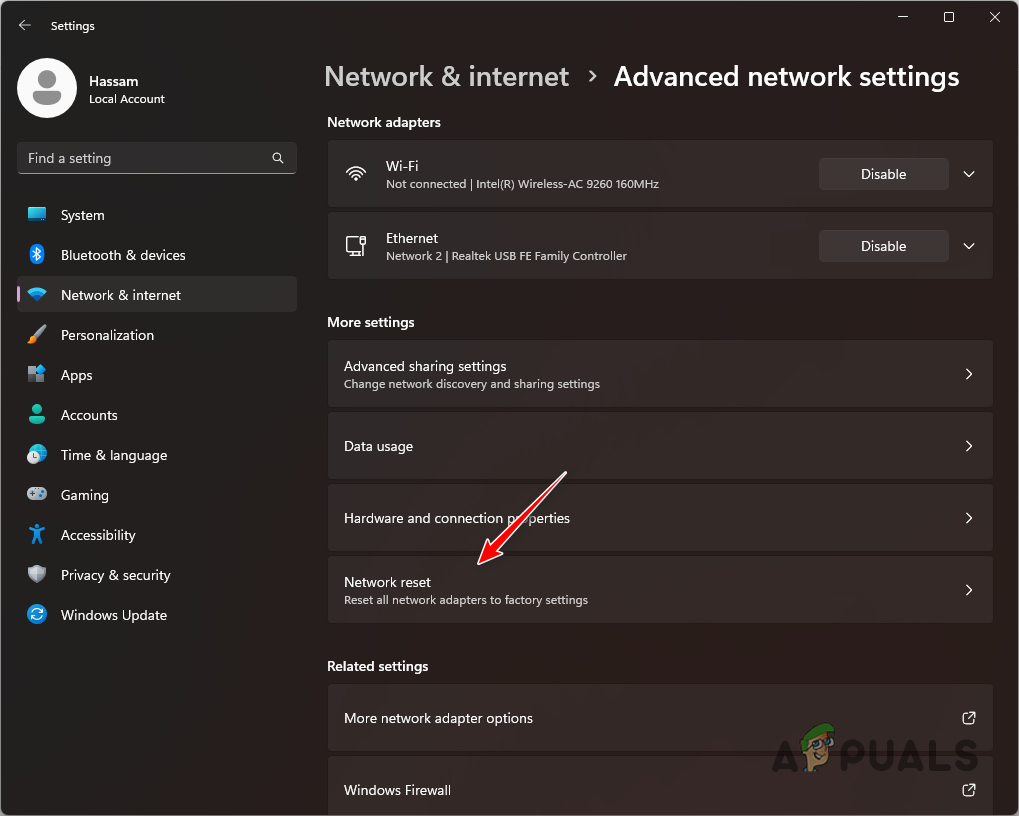
Navigating to Network Reset - Click Reset now to start resetting your network settings.
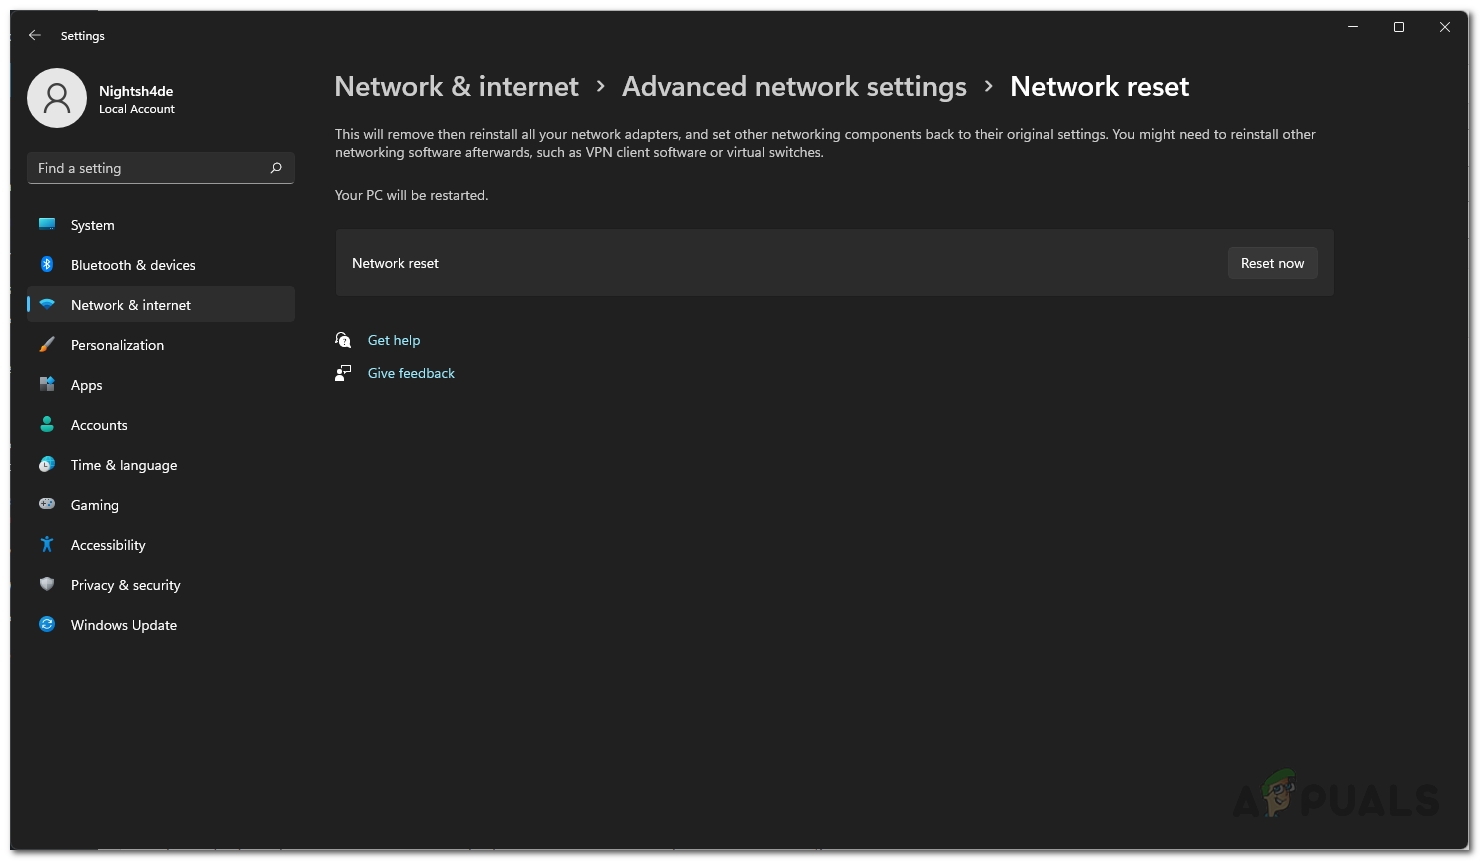
Resetting Network Settings - Once the reset is complete, check if your Wi-Fi connects automatically at startup.
8. Manually Assign IP Address
Setting a static IP address prevents potential DHCP inconsistencies, ensuring uninterrupted Wi-Fi connection when powering up by providing a stable point for connection.
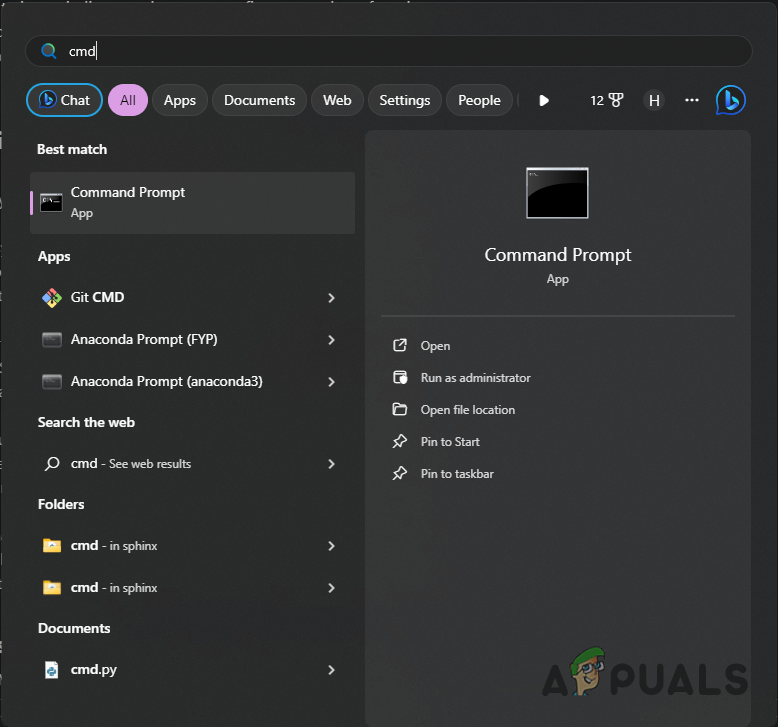
- Press Windows Key + R, type cmd, and press Enter to open the Command Prompt.
Opening Command Prompt - Enter ipconfig to view your network details, including the Default Gateway and Subnet Mask.

Network Connection Details - Go to Settings > Network and Internet > Advanced Network Settings.
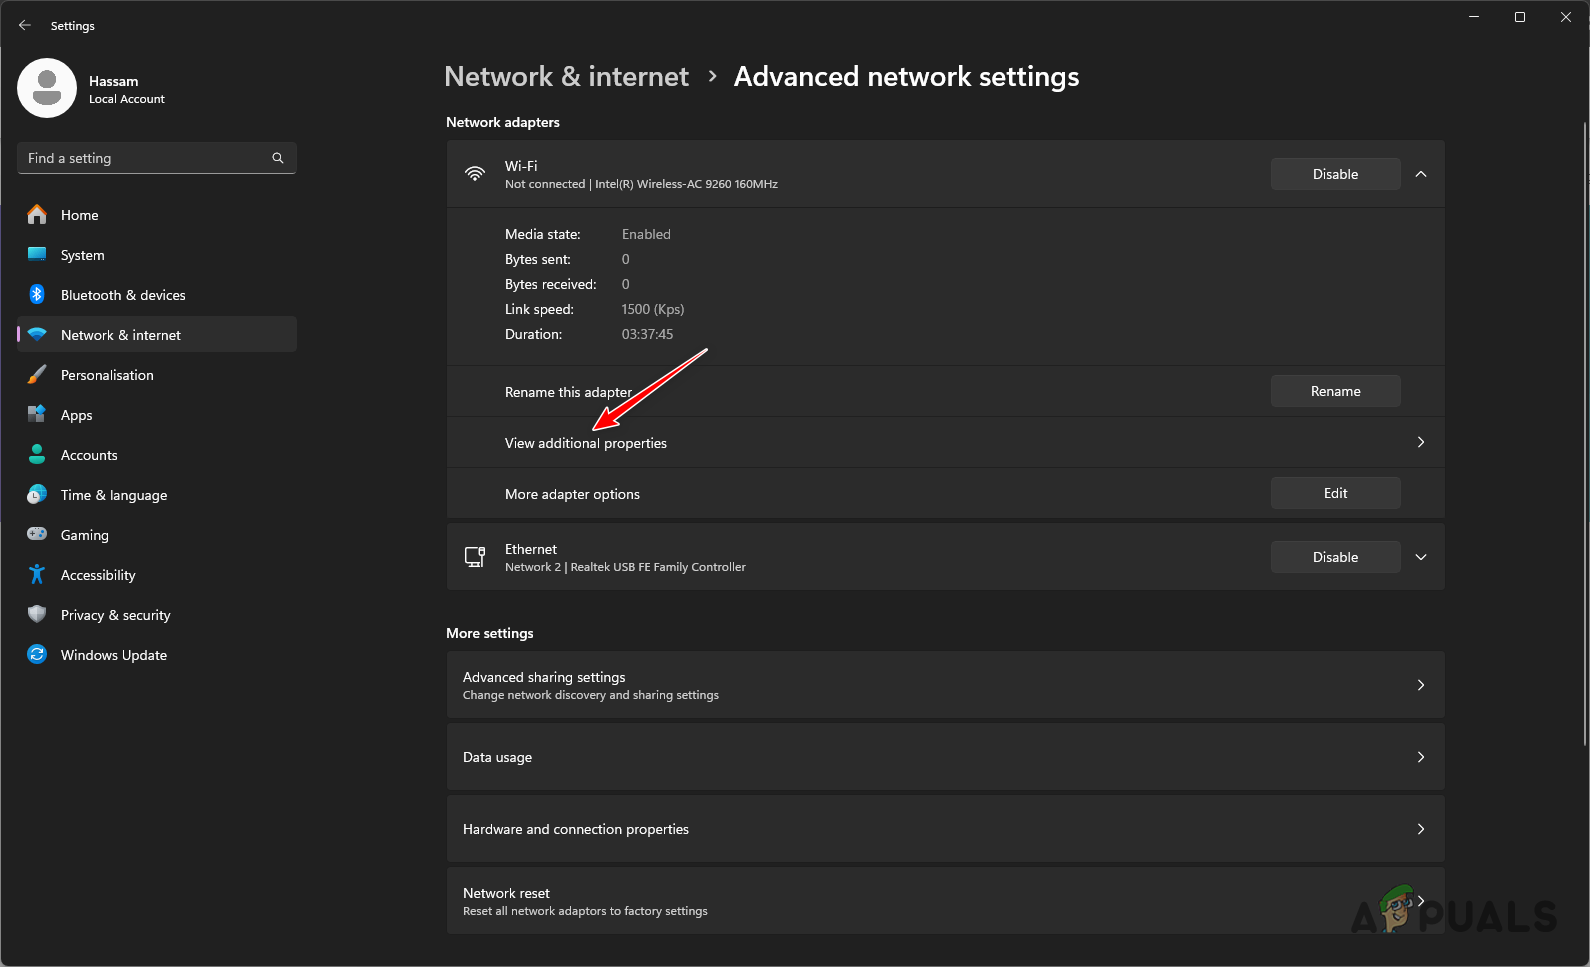
Navigating to Advanced Network Settings - Select your Wi-Fi adapter, click View additional properties, then click Edit next to IP Assignment.
Navigating to Wi-Fi Adapter Details - Enable IPv4, then enter the Subnet Mask and Default Gateway. Choose an IP address outside your DHCP range and set DNS servers, such as Google’s.

Enabling IPv4 - Save the settings and verify the Wi-Fi connection.
Following these methods should help resolve the issue of Wi-Fi not connecting automatically. If problems persist, consider seeking further assistance from the official Microsoft support team.
When I click on the Wi-Fi icon, all my neighbors Wi-Fi are there but not my own! Note that every one in the house are connect to my own Wi-FI without any problems: PC running Win8,XP, Cell phone, wireless printer , ect. What in the world is this crapping windows 10? and what is the solution please?
Note again: If I go to the router and reset it, it now appear in the list and I can now connect. That append just whit this windows 10. That is weird, I’m getting crazy!!!