How to Fix “This App Can’t Open” Error in Windows?
The ‘This app can’t open’ error message occurs when you attempt to open one of the core utilities in Windows. This issue is usually the result of inconsistencies in the app’s installation files or the User Account Control feature in Windows.
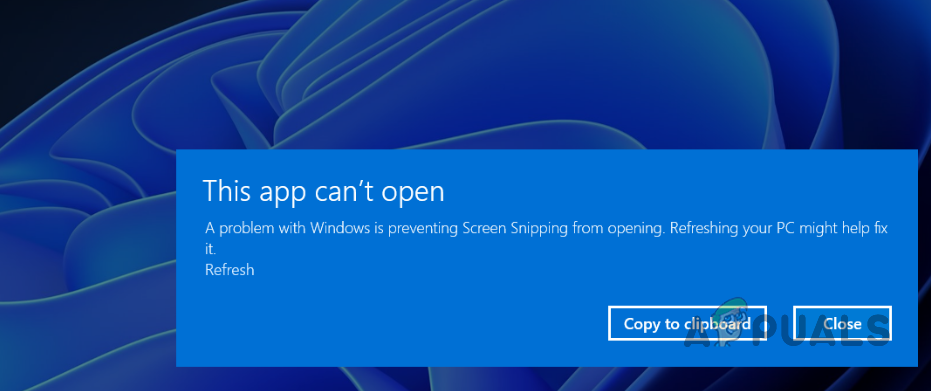
Interference from third-party programs may also be a contributing factor, though it is less common. In this guide, we will present various methods to help you resolve the ‘This app can’t open’ error message.
1. Reset Problematic App
If an app isn’t working correctly, resetting it may resolve the issue, as this action will erase the app’s data and any stored settings.
- Open the Settings app by pressing the Win key + I.
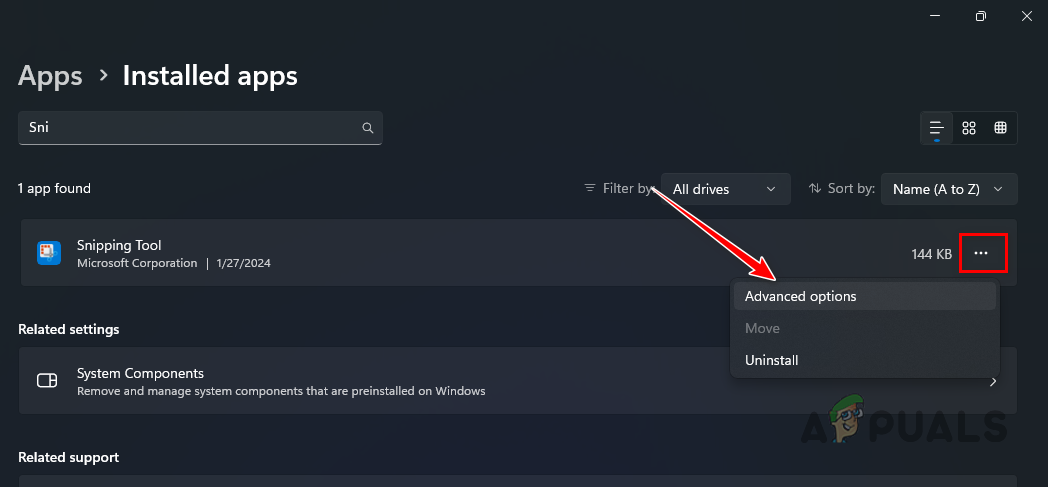
- Navigate to Apps > Installed Apps.

Navigating to Installed Apps - Locate the affected app by searching for it in the list.
- Click on the three dots at the end and select Advanced Options from the dropdown menu.
Navigating to the Advanced Options Menu - Scroll down and click the Reset button.
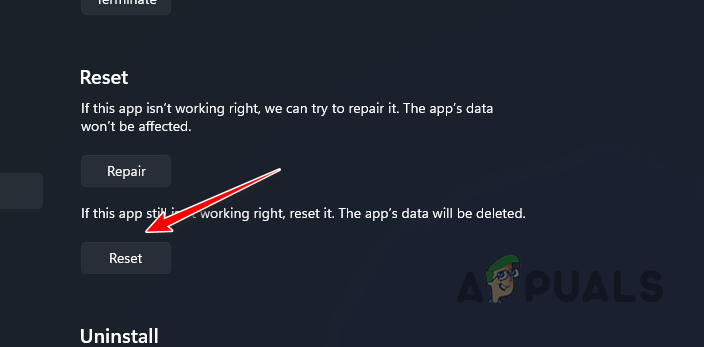
Resetting Problematic App - Check if the problem still persists after resetting the app.
2. Clear Microsoft Store Cache
Sometimes the ‘This app can’t open’ error message is due to issues with the Microsoft Store app, which mainly manages these apps. Clearing Microsoft Store’s cache can often fix such issues.
- Open the Run dialog box by pressing Win key + R.
- Type wsreset.exe and press Enter.
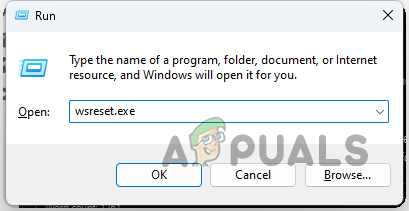
Clearing Microsoft Store Cache - Wait until the blank Command Prompt window closes.
- Afterward, close the Microsoft Store window and check if the issue persists.
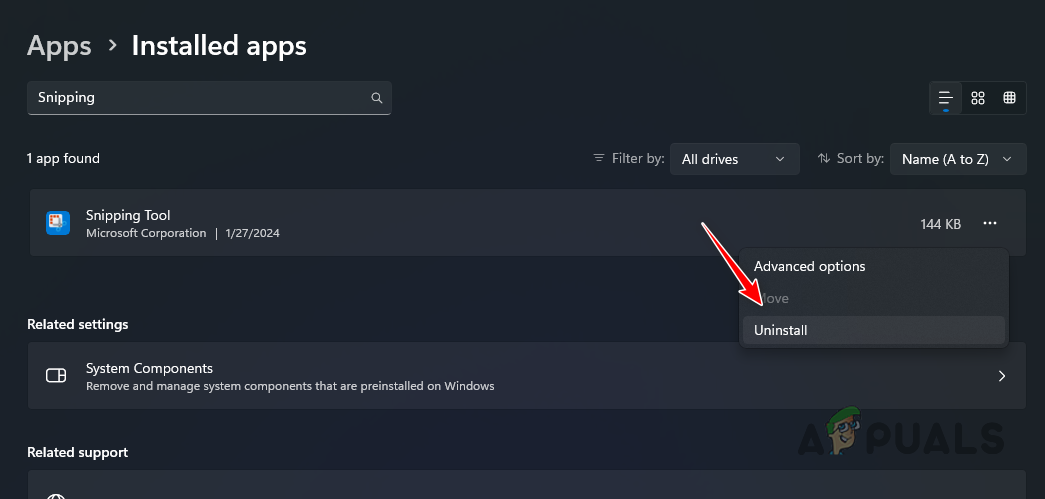
3. Reinstall Affected App
Corrupted installation files can prevent an app from running properly. In such cases, you will need to reinstall the affected app.
- Open the Settings app with Win + I.
- Go to Apps > Installed Apps.
Navigating to Installed Apps - Find the problematic app in the list.
- Click the three dots and select Uninstall.
Uninstalling Problematic App - Open the Microsoft Store by searching for it in the Start Menu.
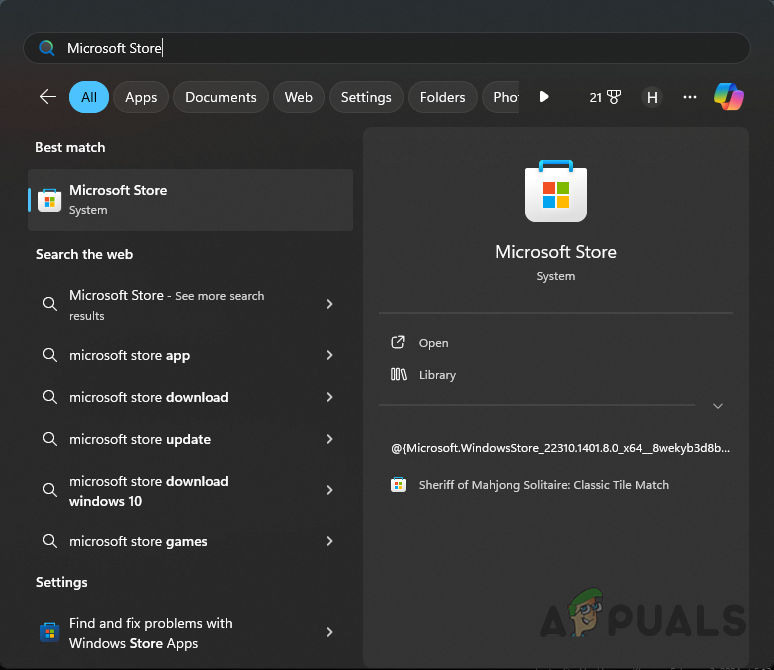
Opening Microsoft Store - Search for the app and reinstall it.
- Verify if the error message still appears after the reinstallation.
4. Enable User Account Control
Disabling the User Account Control (UAC) feature can interfere with the functionality of some Windows apps. UAC is a security feature designed to thwart potential damage to your system by restricting unauthorized changes.
Re-enabling UAC can often fix related issues. If you have previously disabled UAC, you should use the same method to re-enable it. If you haven’t disabled UAC before, you may choose any method below.
4.1. Using Control Panel
- Search for User Account Control in the Start Menu and open it.

Opening User Account Control Settings - Adjust the slider to the second position from the top.
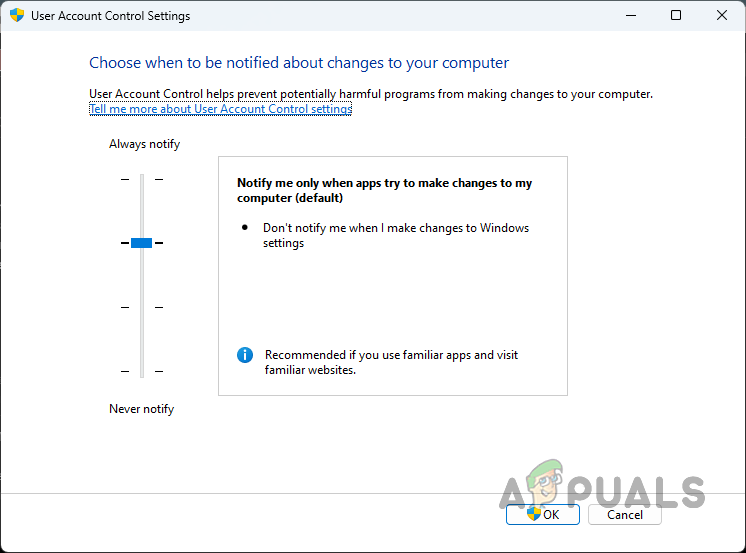
Enabling User Account Control - If you’re on a corporate or work network, it may be advisable to set the slider to the third position from the top.
- Click OK.
4.2. Using Windows Registry
-
- Press Win key + R, type regedit, and press Enter.
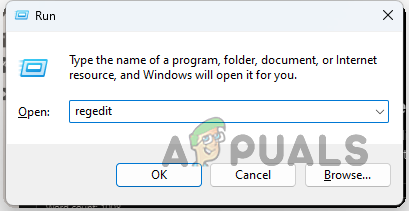
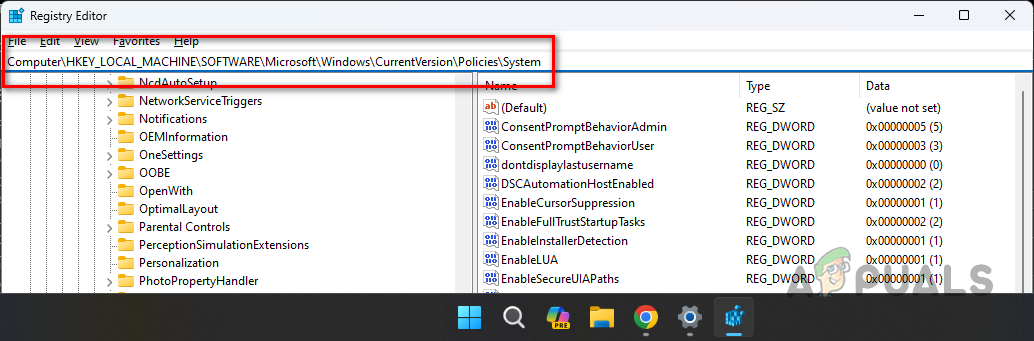
Opening Windows Registry - Navigate to:
HKEY_LOCAL_MACHINE > SOFTWARE > Microsoft > Windows > CurrentVersion > Policies > System
- Press Win key + R, type regedit, and press Enter.
- Double-click on the EnableLUA key and set its value to 1.
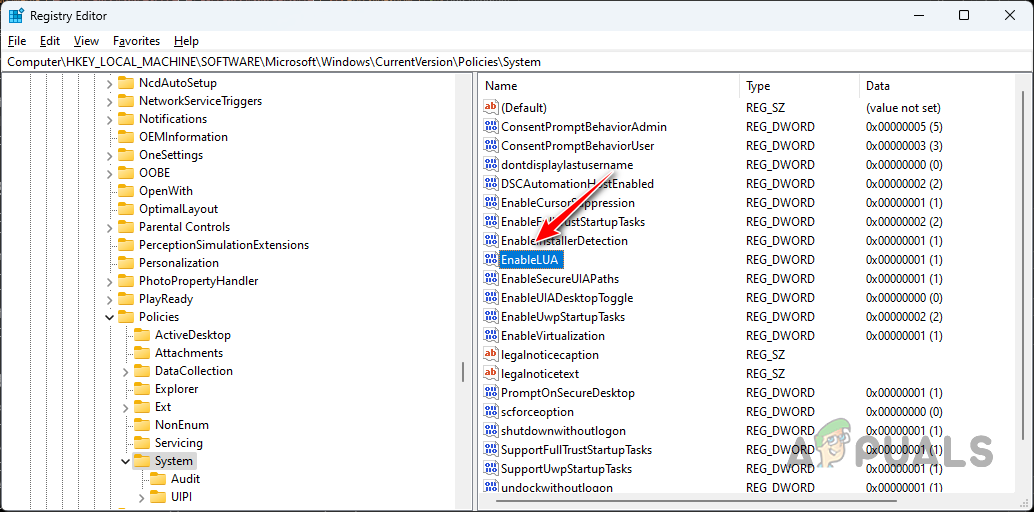
Enabling UAC via Registry - If a FilterAdministratorToken key is present, double-click on it and also set its value to 1.
- After making these changes, close the Registry Editor and restart your PC.
4.3. Using Group Policy Editor
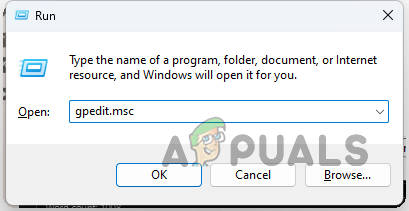
- Open the Run dialog box with Win key + R, type gpedit.msc, and press Enter.
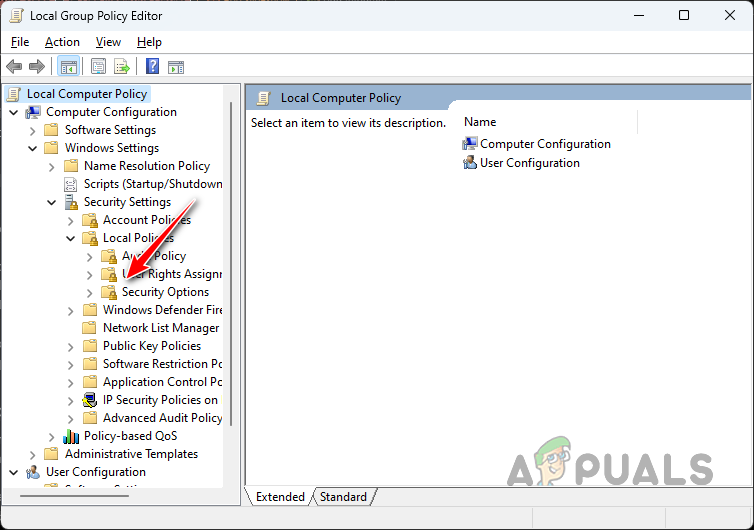
Opening Local Group Policy Editor - In the Group Policy Editor, navigate to:
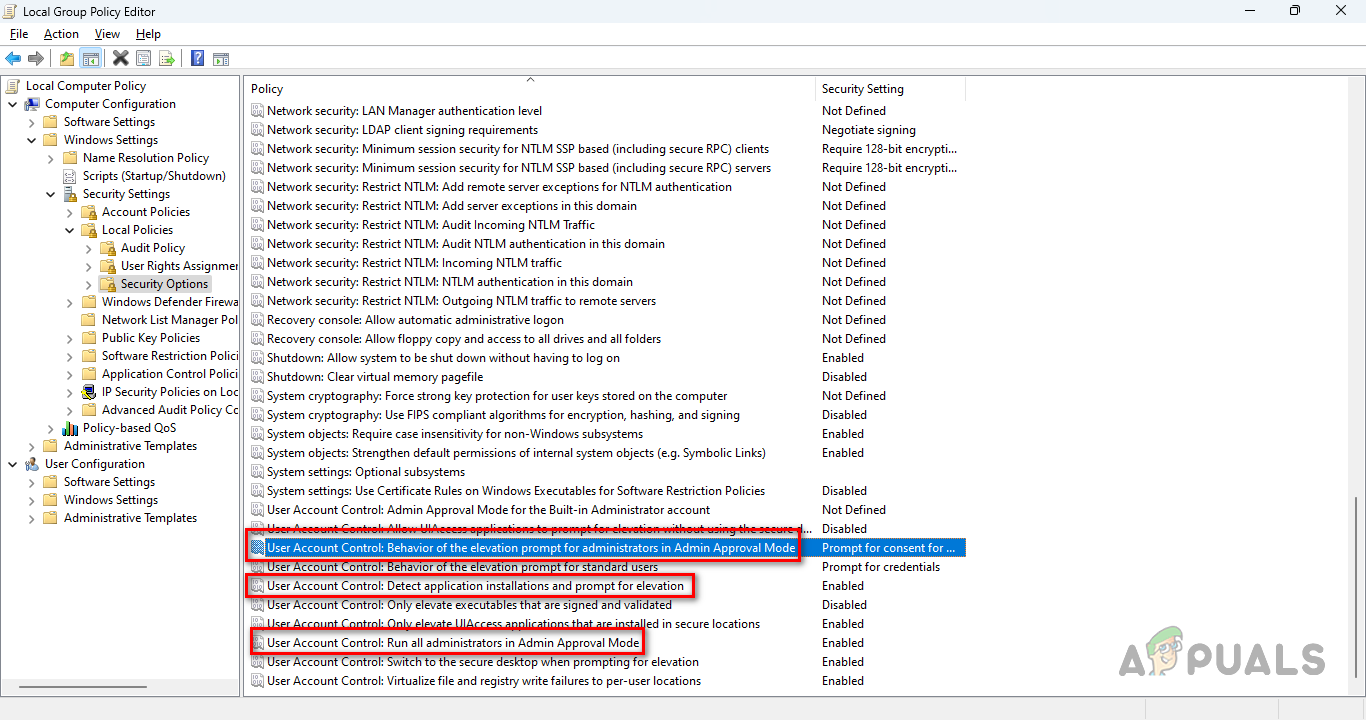
Computer Configuration > Windows Settings > Security Settings > Local Policies > Security Options
Navigating to Security Options Policies - Make the following adjustments to the appropriate policies:
User Account Control: Detect application installations and prompt for elevation - Enabled

User Account Control: Run all administrators in Admin Approval Mode - Enabled

User Account Control: Behavior of the elevation prompt for administrators in Admin Approval Mode - Prompt for consent for non-Windows binaries
User Account Control Policies - Restart your PC.
5. Re-register Apps via PowerShell
If all built-in Windows utilities are failing to open with the ‘This app can’t open’ error message, you may need to re-register their related app packages as they might be corrupted.
- Search for PowerShell in the Start Menu, right-click on it, and select Run as administrator.

Running PowerShell as Admin - In PowerShell, enter the following command:
Get-AppXPackage -AllUsers | Foreach {Add-AppxPackage -DisableDevelopmentMode -Register '$($_.InstallLocation)\AppXManifest.xml'} - Allow the command to complete and check if the error message is resolved.
6. Create a New User Account
Issues with your Windows user profile can also lead to problems opening apps. Creating a new user account can be a useful troubleshooting step.
- Press Win key + I to access the Settings app.
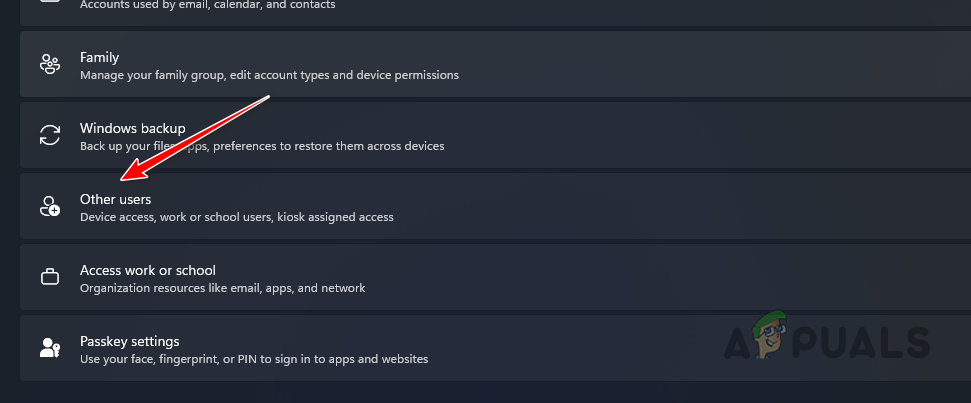
- Navigate to Accounts > Other Users.
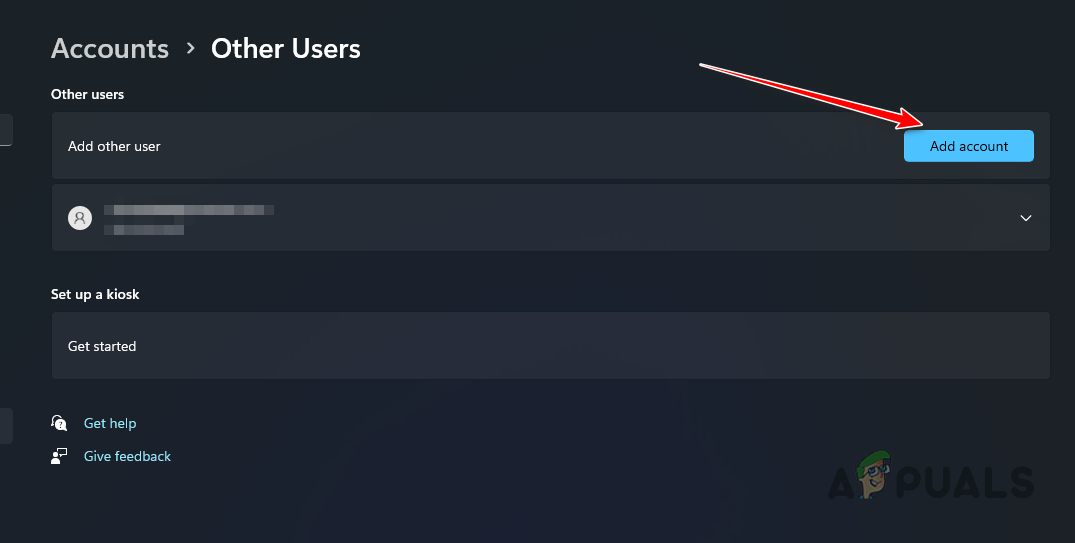
Navigating to Other Users in Windows - Click on Add account.
Adding a New Windows User - Follow the prompts to set up the new account.
- Once the account is created, click the down arrow to expand options next to it.
- Choose Change account type.
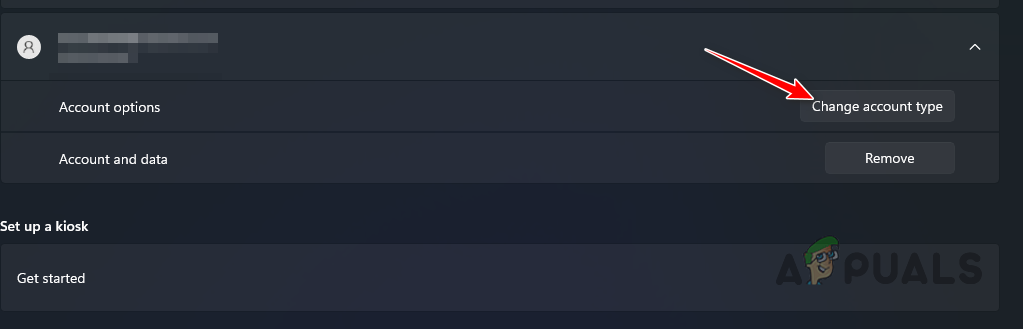
Changing Account Type - Select Administrator from the Account type dropdown menu.
- Restart your computer, log in with the new user account, and check for the issue.
7. Perform a Clean Boot
Third-party applications running in the background might conflict with Windows services, causing the error message.
Performing a clean boot will start Windows with only essential services, helping you determine if third-party software is at fault. If the error is not present during a clean boot, enable services one by one to identify the problem.
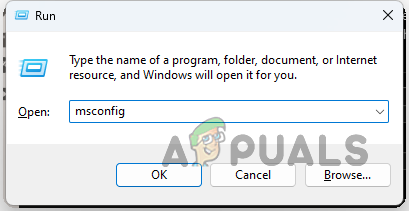
- Access the Run dialog box with Win key + R, type msconfig, and hit Enter.
Opening System Configuration - In the System Configuration window, switch to the Services tab.
- Check the Hide all Microsoft services box and then click Disable all.
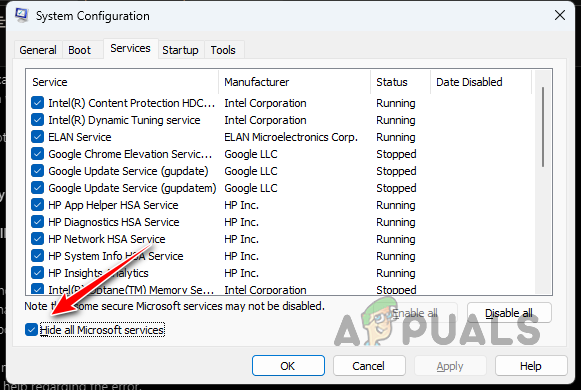
Hiding System Services - Click Apply to save changes.
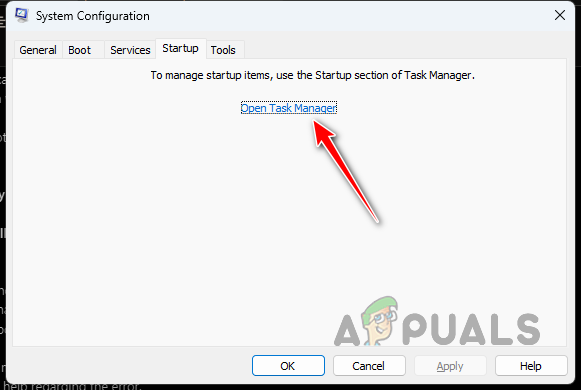
- Next, move to the Startup tab and click Open Task Manager.
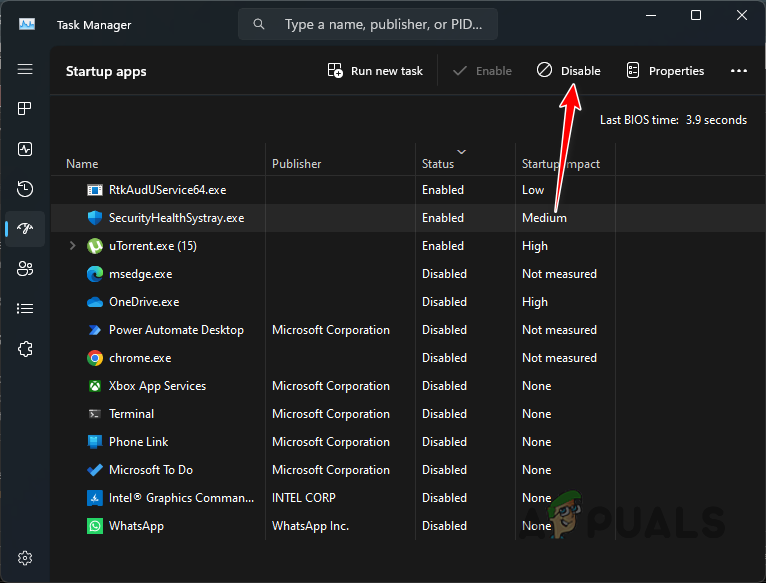
Opening Task Manager via System Config - In Task Manager, disable all startup apps using the Disable button.
Turning Off Third-Party Apps on Startup - Restart your PC to complete the clean boot process, and then check if the problem remains.
8. Clean Install Windows
Should none of the above solutions resolve the error message, a clean installation of Windows may be necessary.
Please remember to back up any important data before proceeding since a clean install will erase your drive. Refer to our comprehensive guide on performing a clean install of Windows for detailed instructions.
After a clean install, you should no longer encounter the error message, allowing you to use the Windows utilities without issue.
ive tried what seems like all the command line for seperate and all windows 10 apps…a buuunch are missing for some reason….cant even access my camera please help