Fix: Windows 10 Creators Update Audio Problems
Among the plethora of issues being reported by Windows 10 users who have updated their computers to the Windows 10 Creators Update are complains of sound quality issues post-update. Sound quality issues being experienced by Windows 10 Creators Update users include, but are not limited to, sound being odd, audio sounding tiny, distant and muffled, sound being bland and bass and treble in audio being virtually non-existent. We live in an era where the average person has tons of different song playlists on half a dozen different music platforms and where the average person listens to a significant amount of songs throughout the day. In this era, sound quality is something no computer user can compromise on.
Thankfully, though, many Windows 10 users affected by sound quality issues post-Creators Update have been able to resolve them, meaning that doing so certainly is possible in most cases. The following are some of the most effective solutions that you can use to try and fix sound quality problems after installing the Windows 10 Creators Update:
Solution 1: Reinstall the Beats audio app
In most instances, sound quality problems post-Creators Update are caused by the update, for some unidentified reason, uninstalling the Beats audio app responsible for audio playback on the affected computers. This is especially true in the case of HP computers as they come with the Beats app pre-installed as their one and only audio playback app, but it can also be the cause of sound quality issues for computers manufactured by other brands.
If you had the Beats audio app before the update but it has disappeared ever since the Creators Update was installed, congratulations – you have more than likely found the cause of your sorrows. To resolve the problem, all you need to do is reinstall the Beats audio app on your computer. If you have an HP computer, you can reinstall the Beats audio app from the Drivers section of HP’s official Support website.
Solution 2: Disable and then Enable your computer’s sound controller
- Right-click on the Start Menu button or press the Windows Logo key + X to open the WinX Menu, and click on Device Manager.
- In the Device Manager, double-click on the Sound, video and game controllers section to expand it.
- Locate your computer’s active sound controller under the Sound, video and game controllers section, right-click on it and click on Disable in the context menu.

- In the consequent popup, click on Yes to confirm the action.
- Once the sound controller has been disabled, wait for a couple of minutes, right-click on it once again in Device Manager, and click on Enable.
- Close the Device Manager and restart your computer. Check to see whether or not sound quality has been restored when the computer boots up.
Solution 3: Update your sound controller’s driver software
- Right-click on the Start Menu button or press the Windows Logo key + X to open the WinX Menu, and click on Device Manager.
- In the Device Manager, double-click on the Sound, video and game controllers section to expand it.
- Locate your computer’s active sound controller under the Sound, video and game controllers section, right-click on it and click on Update Driver Software….
- Click on Search automatically for updated driver software, and wait for Windows to conduct the search.
If Windows finds new driver software for your computer’s sound controller, they will be automatically downloaded and installed. If new drivers are downloaded and installed, restart your computer when the process is complete and test sound quality when it boots up. If Windows does not find any updated driver software, however, go to the Downloads/Drivers section of your sound controller manufacturer’s official website and search for driver software for your sound controller and Operating System combo just to be sure that you have the latest drivers available.
Solution 4: Uninstall (and then reinstall) your computer’s sound controller
- Right-click on the Start Menu button or press the Windows Logo key + X to open the WinX Menu, and click on Device Manager.
- In the Device Manager, double-click on the Sound, video and game controllers section to expand it.
- Locate your computer’s active sound controller under the Sound, video and game controllers section, right-click on it and click on Uninstall.
- Enable the Delete the driver software for this device option in the resulting popup by checking the checkbox beside it, and click on OK.
- Wait for the sound controller to be successfully uninstalled.
- Once the sound controller has been uninstalled, restart your computer.
When the computer boots up, Windows will automatically detect and reinstall the sound controller and its drivers. After that happens, check to see whether or not the sound quality problems you were experiencing have been resolved.
Solution 5: Roll back to the Windows 10 build you were previously using
If none of the solutions listed and described above have worked for you, your only remaining course of action, provided that you want your computer to play quality sound, is to roll back to the Windows 10 build you were using before you installed the Creators Update. Rolling back to the Windows 10 build you were using before updating your computer to a newer build is not only possible but is also pretty easy, provided that it hasn’t been 30 days since you migrated over to the newer build. If you are past the 30-day mark, your computer will have deleted the installation files required for the rollback.
If you are having sound quality issues on the Windows 10 Creators Update, you can simply roll back to your previous Windows 10 build and wait for Microsoft to fix the issues you were experiencing, after which you can make your way up to the Creators Update once again. In order to roll back to the Windows 10 build that you were previously using, you need to:
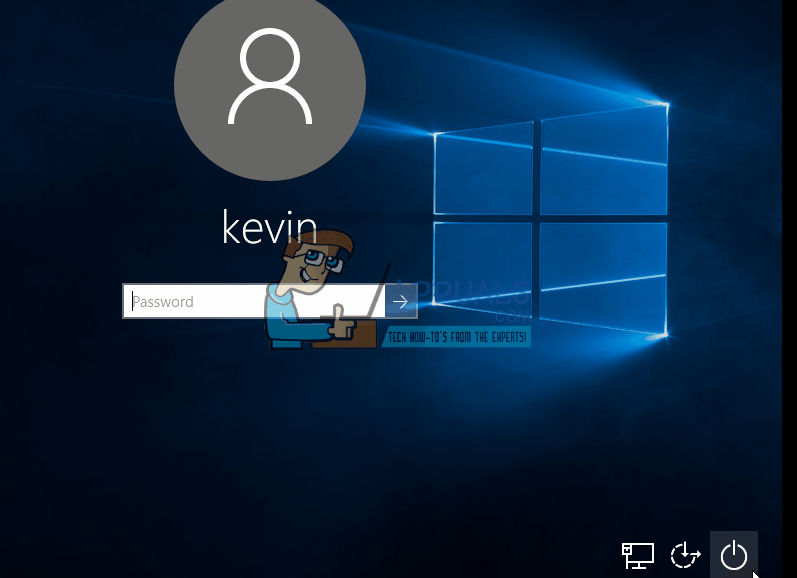
- To do this, at the login screen HOLD the SHIFT key and click the Power (icon) located on the lower right corner. Whilst still Holding the SHIFT key choose Restart.
- Once the System boots into the Advanced Mode, choose Troubleshoot and then choose Advanced Options. From Advanced Options, choose the option titled Go back to previous build.
- After a few seconds, you will be asked to choose your User Account. Click on the User Account, key in your password and choose Continue. Once done, choose the option Go Back to Previous Build again.