[FIX] White Bar covering Top Portion of Windows Explorer
This is a common issue encountered by users who use Windows 10 with dual screens. The white bar is still interactive but it does not display anything. And after a simple restart or logging out and then logging in makes the white bar disappear but this is not a permanent fix. The problem is not specific to a hard or a software version. Sometimes the Graphics card is configured in such a way that it causes a problem with the display output. Changing the settings of the display driver can solve this problem.
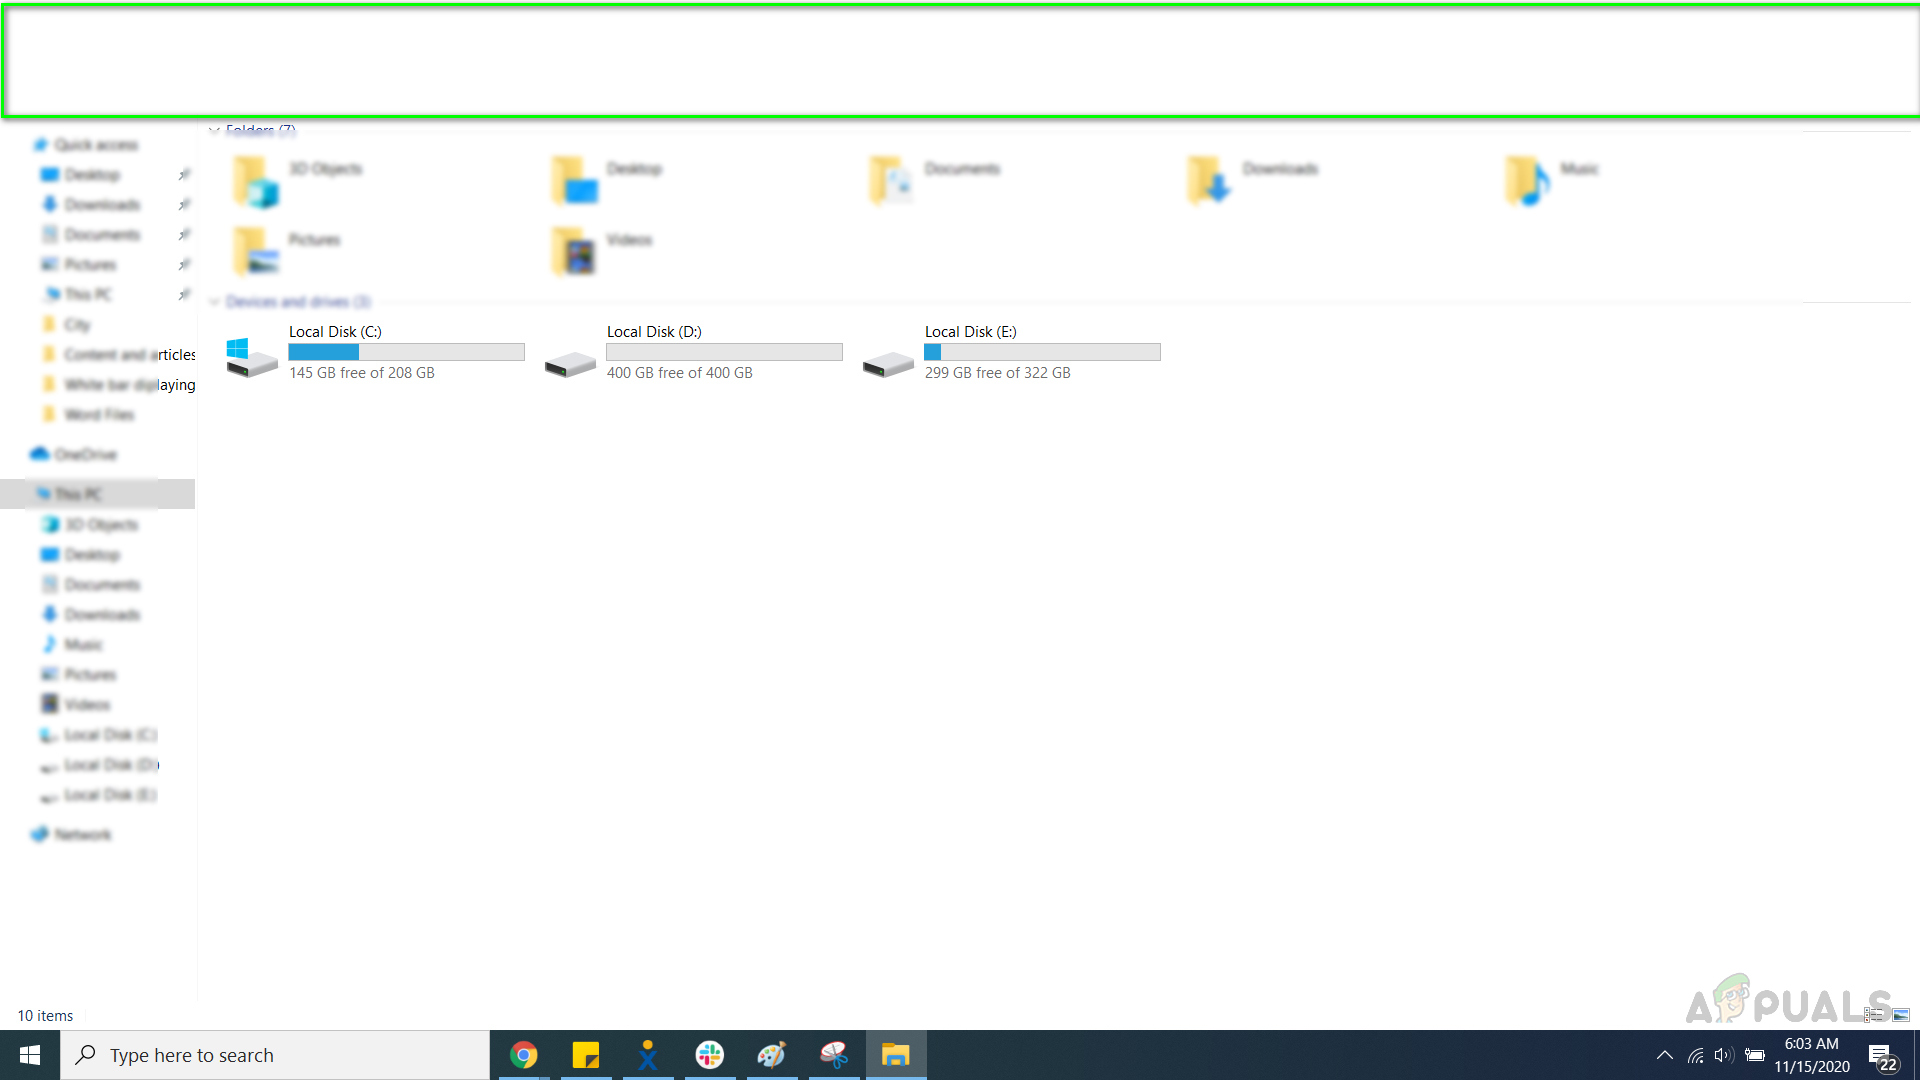
Method 1: Change the Screen Resolution for both Screens
In this method, we will change the screen resolution for both screens (if you are using a dual-screen) temporarily and then change it back to the original resolution.
- Go to your Graphics Card Settings (In this case it is intel)
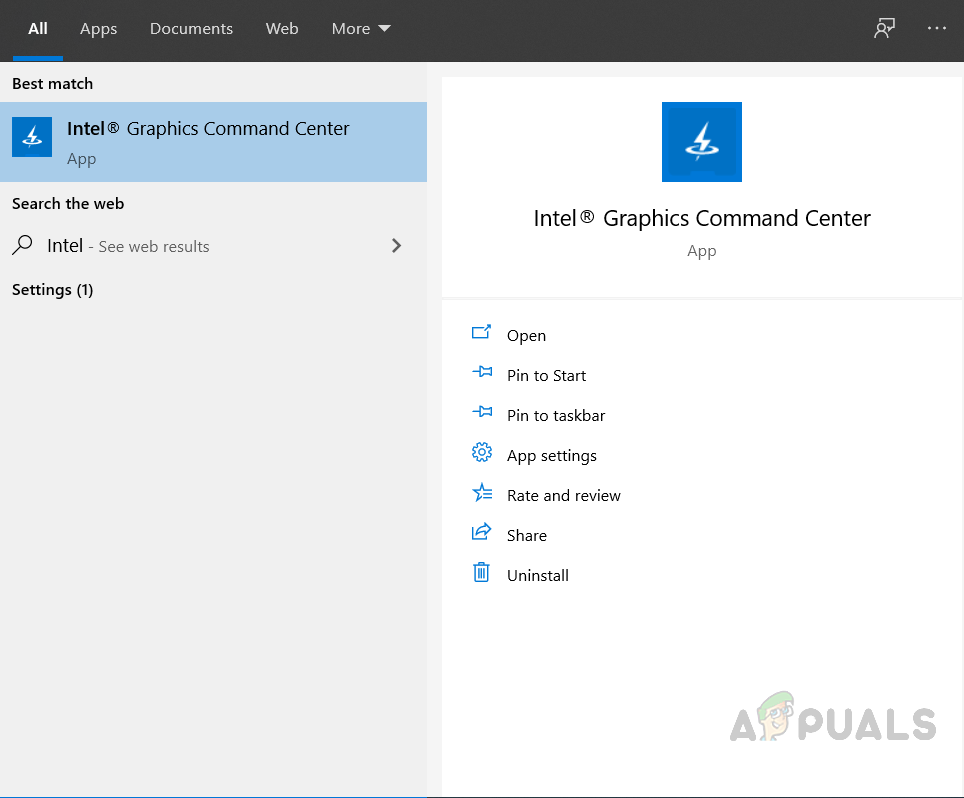
Go to your Graphics Card Settings - Select Display and select the screen for which you want to change the resolution
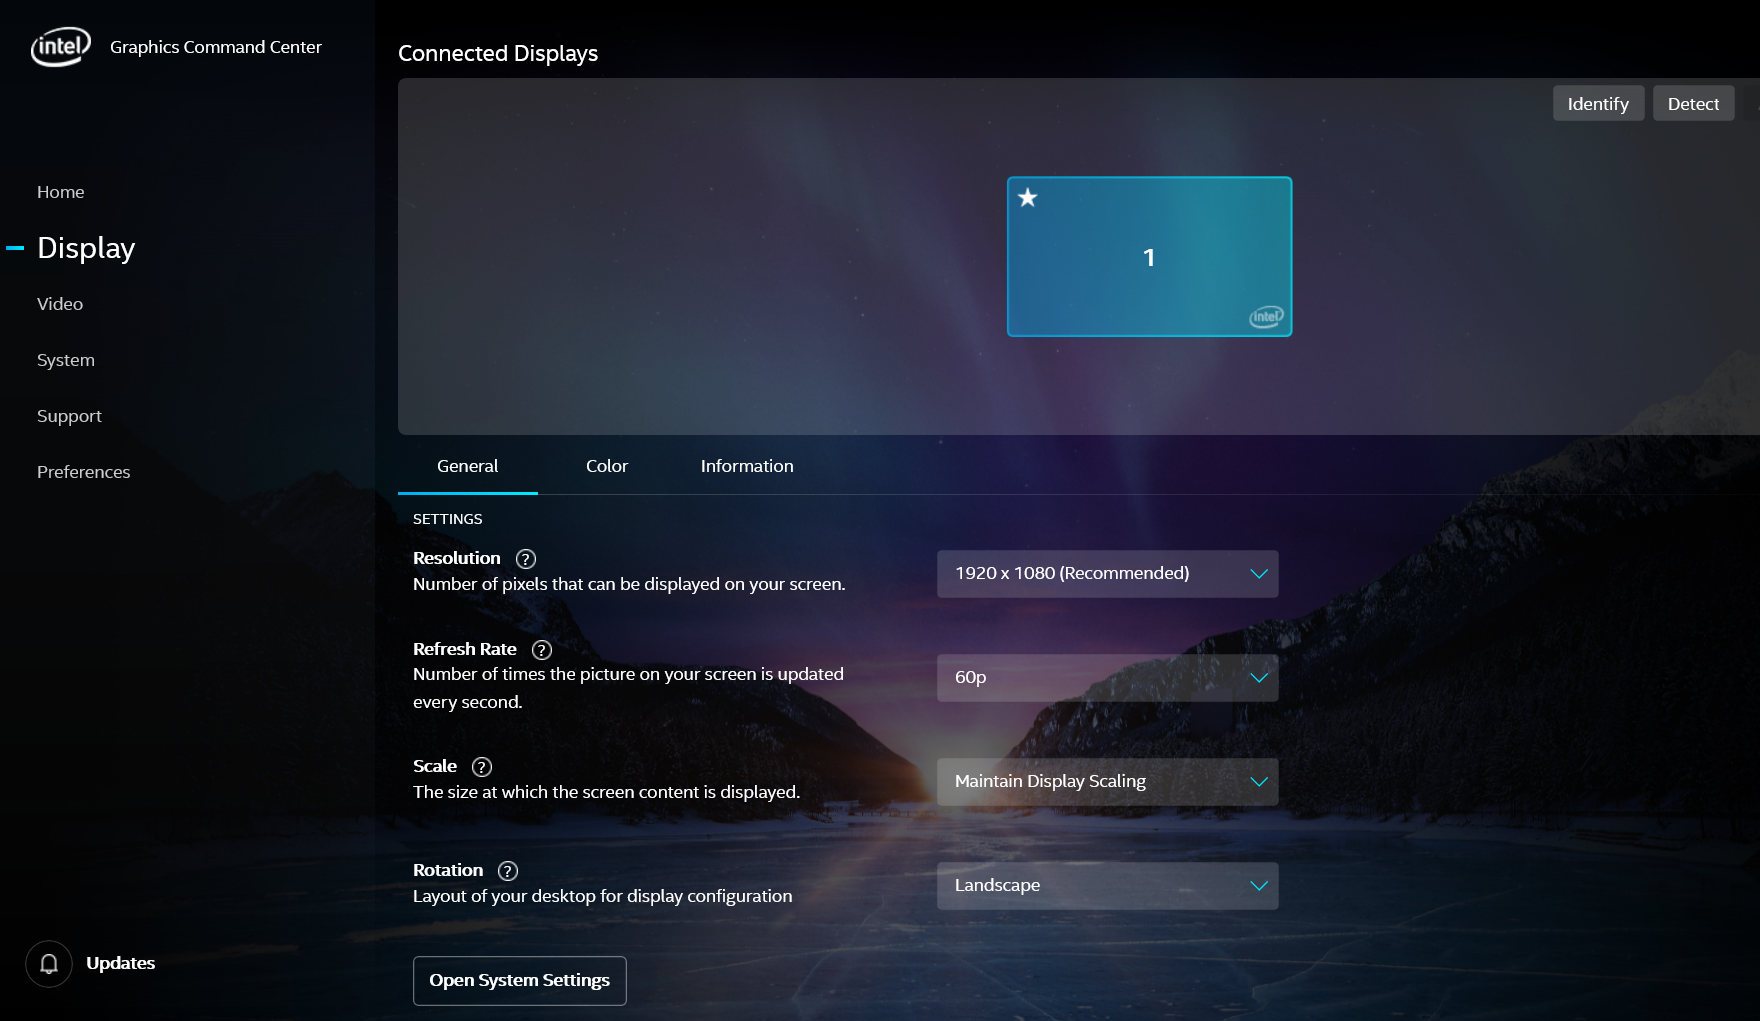
Select Display and select the screen for which you want to change the resolution - Change the resolution to any other except the one selected originally
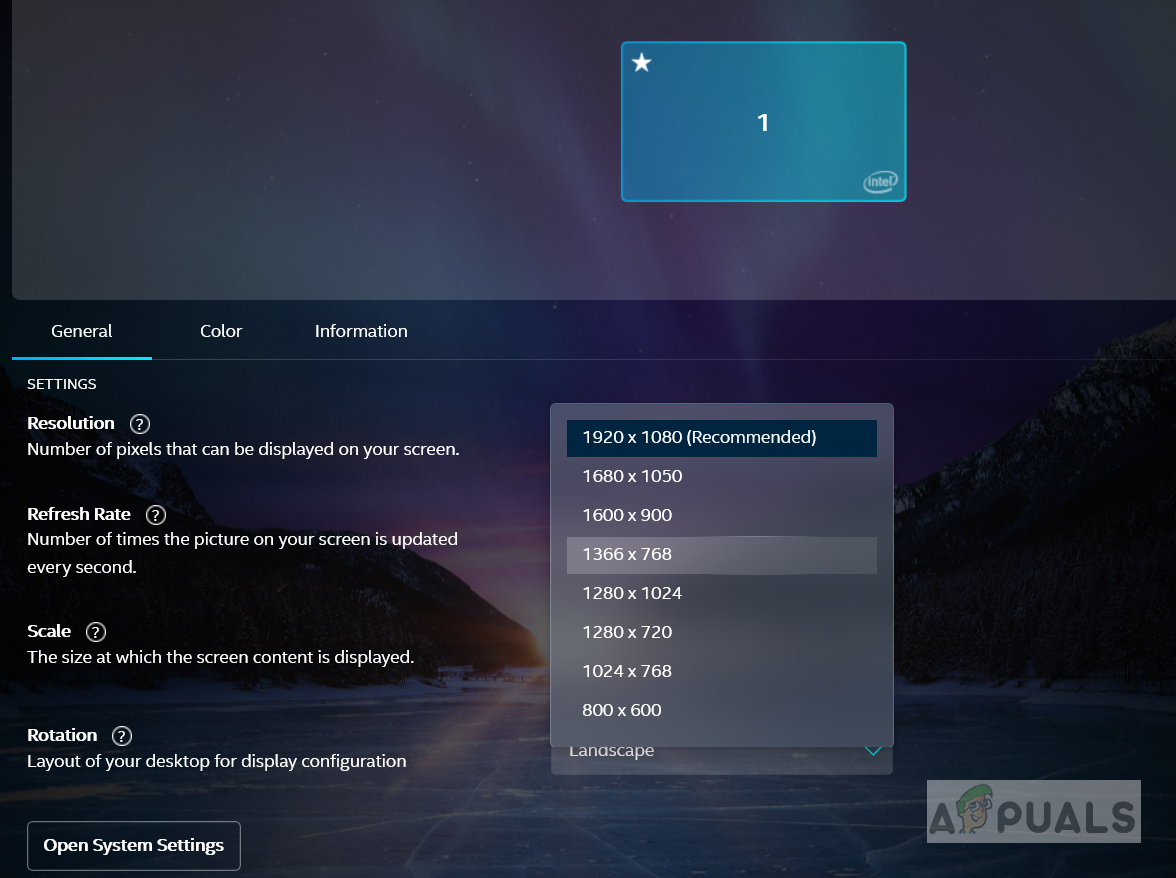
Change Resolution and save the settings - Click apply and repeat the same steps for another screen
- Now wait for few seconds and change the resolutions for both the screens to the original resolution.
Method 2: Enable the Scale Full-Screen Option in your Display Settings
In this method, we will enable the “Scale Full Screen” option in the Graphic card settings. This method has been reported to solve the problem for many users. The Scale Full-Screen option will expand the Desktop screen to the maximum and at the same time will maintain the same dimensional aspect ratio. In other words, this setting enables to Desktop to expand to the entire screen.
- Go to your Graphics Card Settings (In this case it is intel)

Go to your Graphics Card Settings - Select Display and select the screen which is showing the white bar at the top

Select Display and select the screen which is showing the white bar at the top - Select the Scale Full-Screen option and make sure that you checked the box that says Override Application Settings
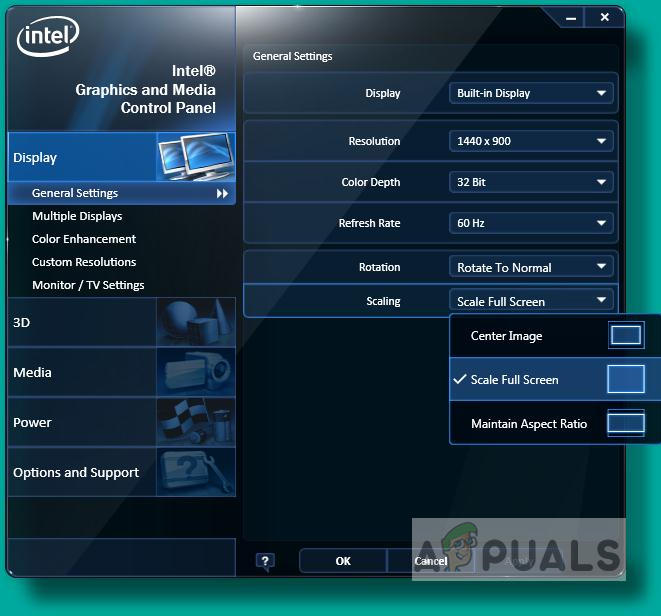
Check the Box that says Scale Full Screen - Now apply these settings
If this method did not work for you then please keep reading, you might need to make some changes in the Registry Editor for the Graphic Card Settings to apply.
Method 3: Disable Hardware Acceleration in the Regedit Utility
If the previous method did not work for you then you need to disable hardware acceleration through the registry editor. We create a new DWORD (Double Word) which is one of the five data types used in Registry Editor. Registry editor stores the information related to the various drivers installed including the Graphic Card Driver and we can configure various settings of these drivers by changing the values of variables in the Registry Editor.
- Type Regedit in the Windows search bar
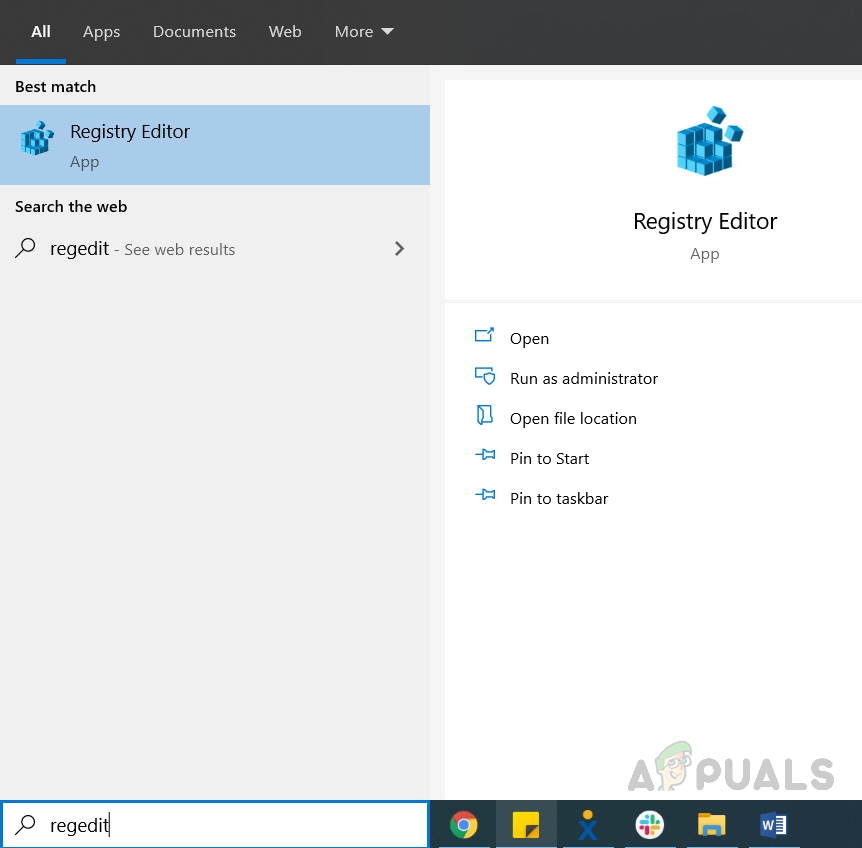
Search Regedit in Windows Search bar - In the left side pane, navigate to the following path
HKEY_CUREENT_USER\Software\Microsoft\Avalon.Graphics
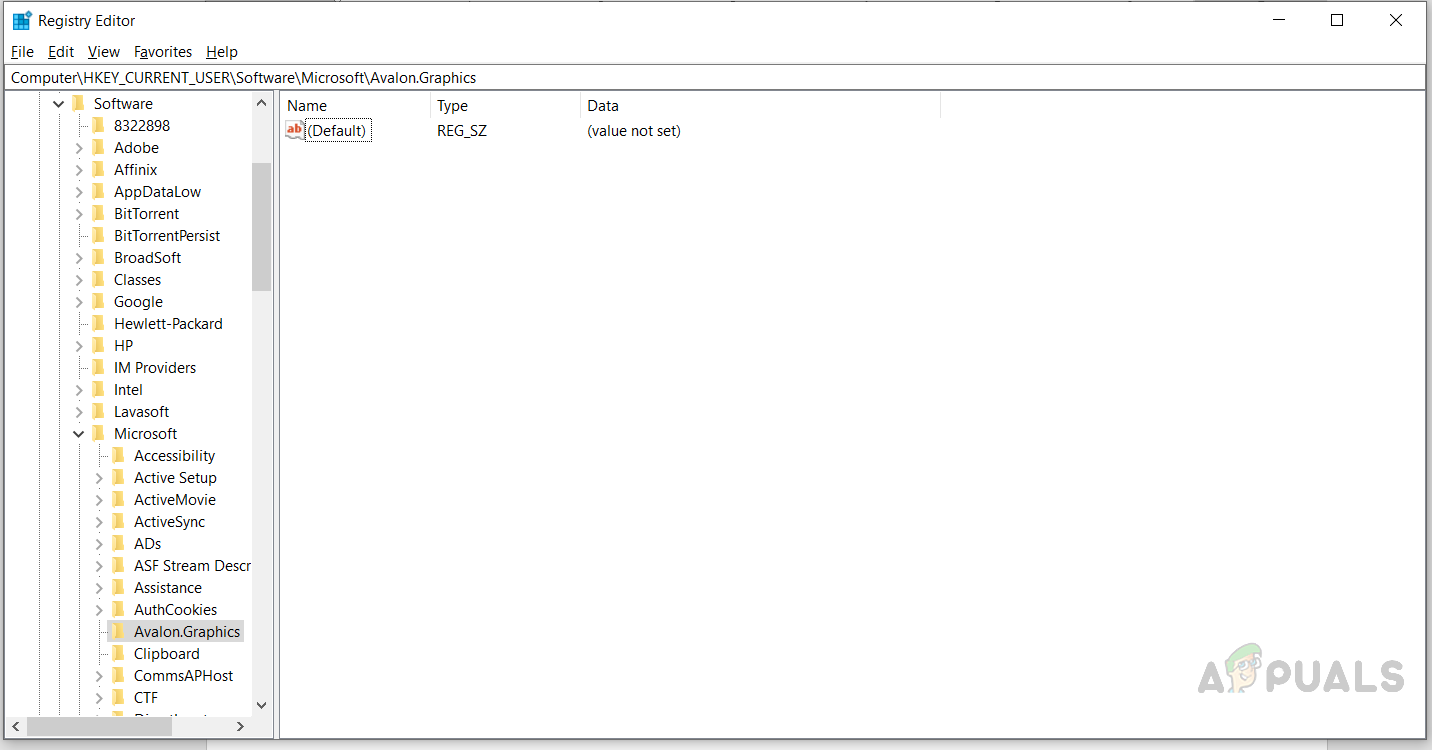
Navigate to HKEY_CURRENT_USER Avalon Graphics - Right-click on the right panel and click on DWORD (32-bit value)
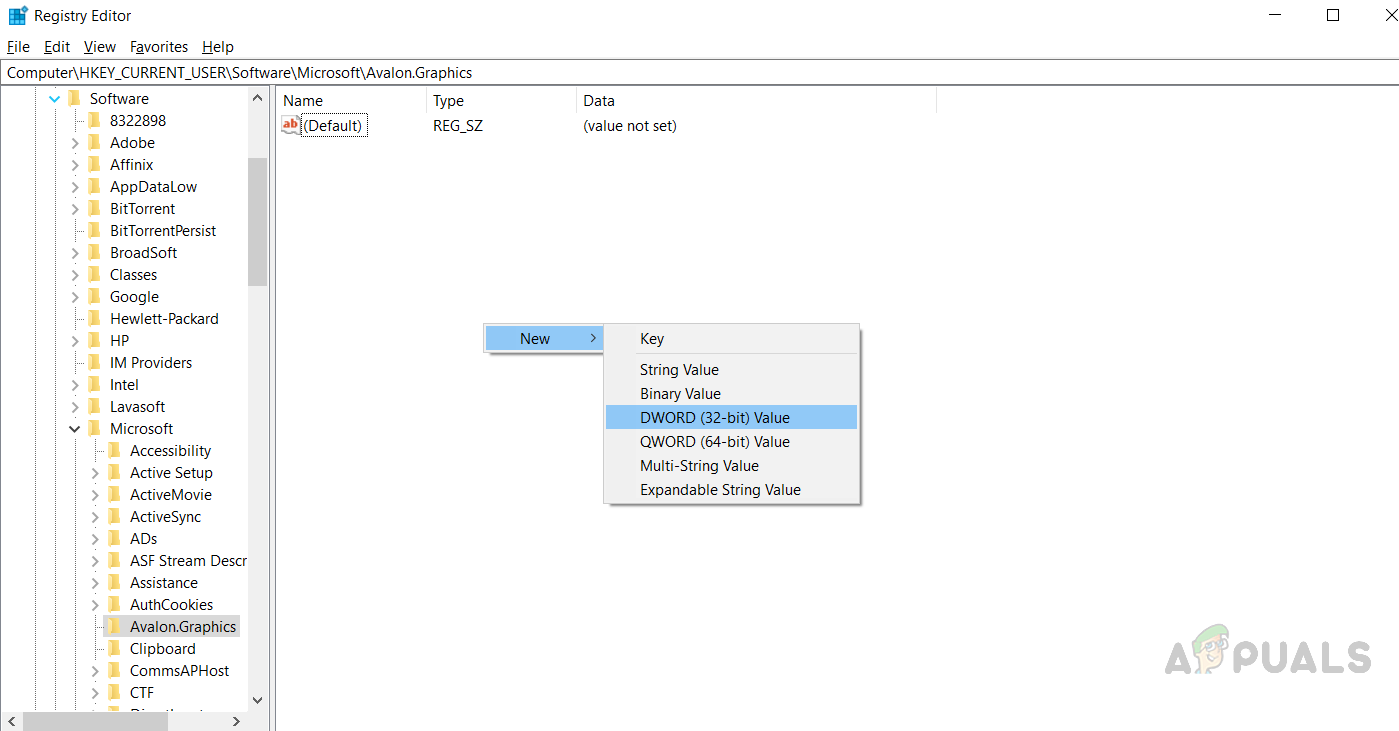
Create a new DWORD - Rename the DWORD to DisableHWAcceleration and right-click on it and click Modify and enter the value 1 and save it.
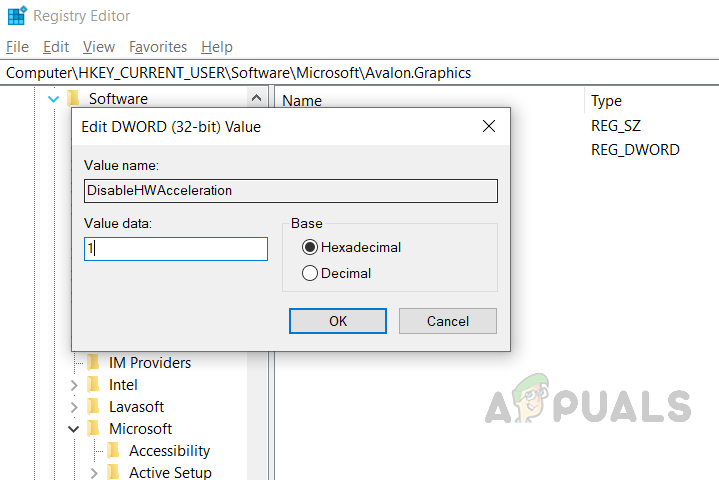
Enter 1 and save the value


