What is SMB1? Why Should You Disable it?
SMB (Server Message Block) is a network-layered protocol mainly used on Windows for sharing files, printers, and communication between network-attached computers. This protocol was mainly created by IBM/Microsoft and its first implementation was made in DOS/ Windows NT 3.1. After that, SMB is part of nearly every Windows version i.e., XP, Vista, 7, 8, 10, 11. SMB protocol is even present in the server editions of Windows. Although, the SMB protocol is a Windows native but is also supported by Linux (through SAMBA) and macOS.
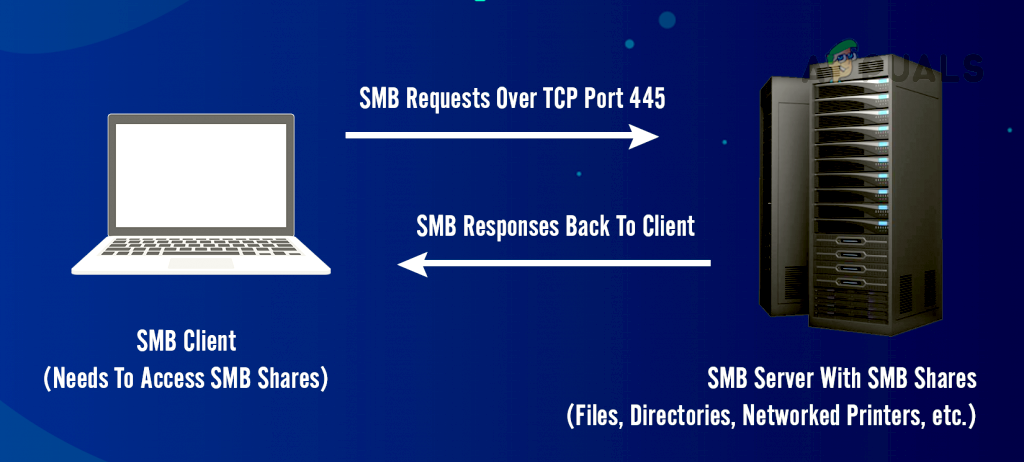
SMB Working Mechanism
In the simplest form, SMB client machines connect to an SMB server using the SMP port (port 445) to access SMB-based shares after successful SMB authentication. Once an SMB connection is established, file collaboration, printer sharing, or any other network-based operation can be performed.
History of SMB Protocol
SMB protocol was developed in the 1980s by a group at IBM. To meet evolving network requirements over the years, the SMB protocol has evolved through multiple variants, called versions or dialects. The protocol is still one of the most used protocols for resource sharing on LAN or in the workplace.
SMB Protocol Dialects or Versions
To be compatible with the ever-changing IT horizon, the SMB protocol has gone through many improvements from its original implementation of the SMB protocol. The most notable are the following:
- SMB 1 was created in 1984 to share files on DOS.
- CIFS (or Common Internet File System) was introduced in 1996 by Microsoft as Microsoft’s version of SMB in Windows 95.
- SMB 2 was released in 2006 as a part of Windows Vista and Windows Server 2008.
- SMB 2.1 was introduced in 2010 with Windows Server 2008 R2 and Windows 7.
- SMB 3 was released in 2012 with Windows 8 and Windows Server 2012.
- SMB 3.02 made its debut in 2014 with Windows 8.1 and Windows Server 2012 R2.
- SMB 3.1.1 was introduced in 2015 with Windows 10 and Windows Server 2016.
SMBv1
SMBv1 was developed back in the 1980s by IBM and renamed CIFS by Microsoft with added features in the 1990s. Although in its days, SMB 1 was a great success, it was not developed for today’s connected world (as with all the software applications developed in that era), after all, 30+ years of the information revolution have passed since then. Microsoft depreciated SMBv1 in 2013 and by default, it is no longer installed on Windows and Windows server editions.
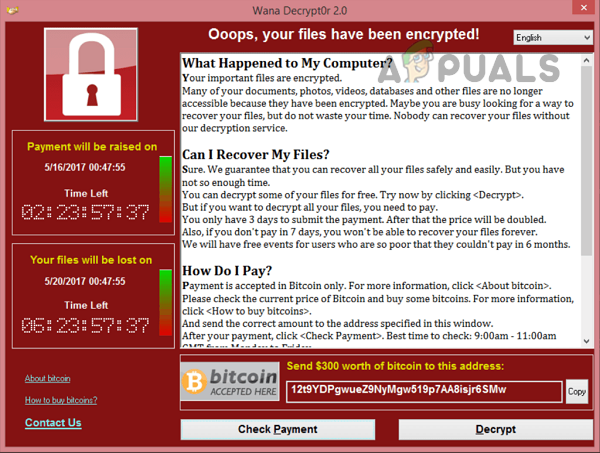
Due to its outdated technology, SMBv1 is highly insecure. It has many exploits/vulnerabilities and many of these allow remote control execution on the target machine. Although there were warnings from cyber security experts about the SMB 1 vulnerabilities, the infamous WannaCry ransomware attack made it very clear as the attack targeted vulnerabilities found in SMBv1.
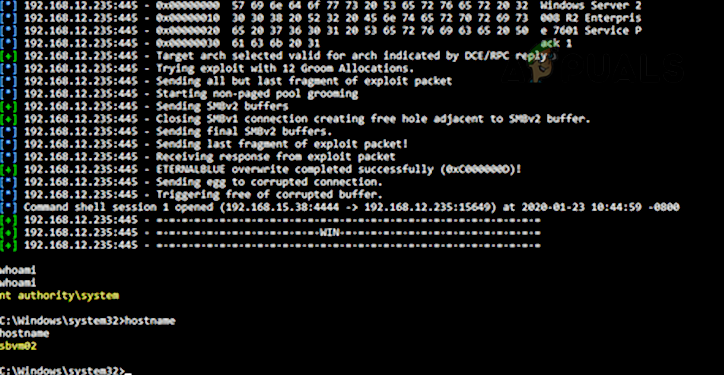
As a result of these vulnerabilities, it is recommended to disable SMB1. More details on the SMB1 vulnerabilities can be found on the Malwarebytes blog page. A user may himself check the SMB1 vulnerabilities (especially, EternalBlue) by using Metasploit.
SMBv2 and SMBv3
SMBv2 and SMBv3 offer the following enhancements to the SMB protocol (whereas SMB 1 lacks these capabilities):
- Pre-authentication Integrity
- Secure Dialect Negotiation
- Encryption
- Insecure guest auth blocking
- Better message signing
A natural question may come to some users’ minds if their systems have SMBv2 or 3, will it not cover the vulnerabilities of SMB 1 on a user’s machine? But the answer is no as these enhancements to SMB work differently and use a different mechanism. If SMBv1 is enabled on a machine that has SMBv2 and 3, then that may make the SMBv2 and 3 vulnerable as SMB 1 cannot control man in the middle (MiTM) attack. The attacker is just required to block SMBv2 and 3 on his side and only use SMB 1 to execute his malicious code on the target machine.
Effects of Disabling SMB 1
Unless essentially required (for machines running Windows XP or legacy applications using SMB 1), it is recommended by all the cyber security experts to disable SMBv1 on the system as well as on the organization level. If there is no SMBv1 application or device present in the network, then nothing will be affected but that cannot be the case in all scenarios. Every scenario to disable SMBv1 may differ but an I.T. administrator, may consider the following in disabling SMB 1:
- Un-encrypted or signed communication between hosts and applications
- LM and NTLM communications
- File shares communication between low (or high) level clients
- File shares communication between different operating systems (like communication between Linux or Windows)
- Legacy software applications and fixed SMB-based communication applications (like Sophos, NetApp, EMC VNX, SonicWalls, vCenter/vSphere, Juniper Pulse Secure SSO, Aruba, etc.).
- Printers and Print servers
- Android communication to Windows-based applications
- MDB-based database files (which may get corrupt with SMBv2 SMBv3 and SMBv1 is essential for these files).
- Backup or cloud applications using SMB 1
Methods to Disable SMB 1
Many methods can be used to disable SMB1 and a user may use the method that best suits his scenario.
Disabled by Default
SMBv1 is disabled by default on Windows 10 Fall Creators Update and later versions. SMB 1 is disabled by default on Windows 11. For server editions, Windows Server version 1709 (RS3) and later have SMB1 disabled by default. To check the current status of SMB1:
- Click Windows, search for PowerShell, right-click on it, and in the sub-menu, select Run as Administrator.
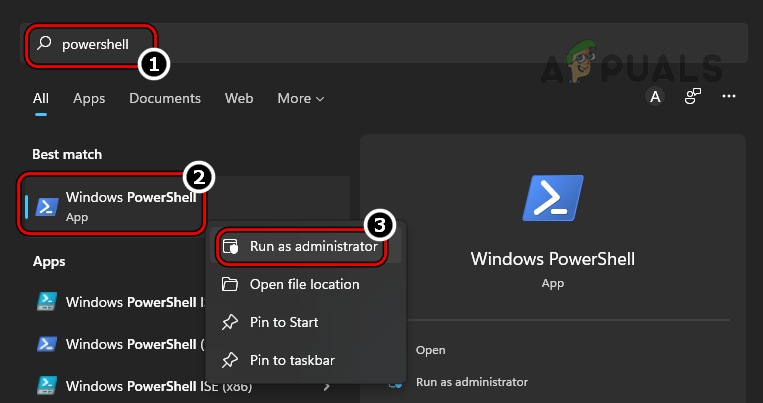
Open PowerShell as Administrator - Now execute the following:
Get-SmbServerConfiguration | Select EnableSMB1Protocol, EnableSMB2Protocol
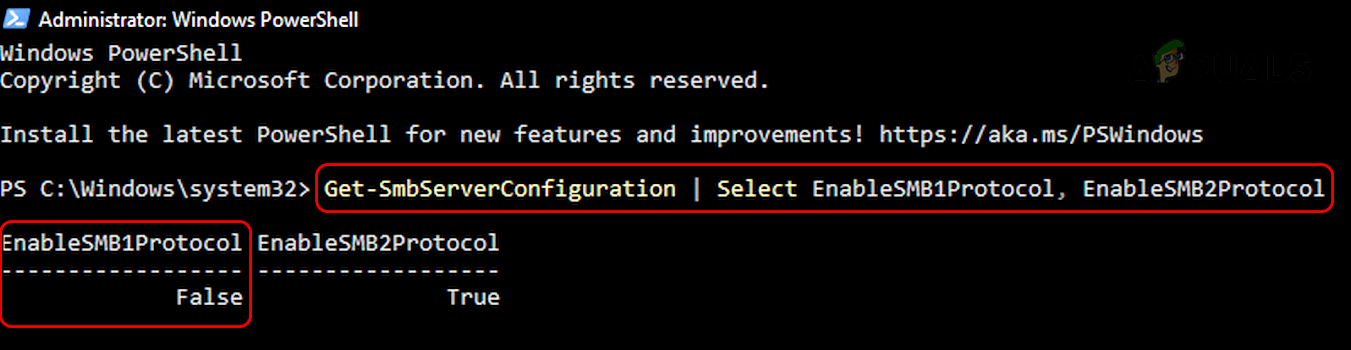
Check Status of SMB 1 Protocol Through the PowerShell
Keep in mind that Microsoft has included automatic removal of SMB 1 through Windows updates but if a user re-enables, then the protocol may not be disabled in the future and make the machine vulnerable.
Use Control Panel of Windows 10, 8, or 7
- Click Windows, search and open for Control Panel.
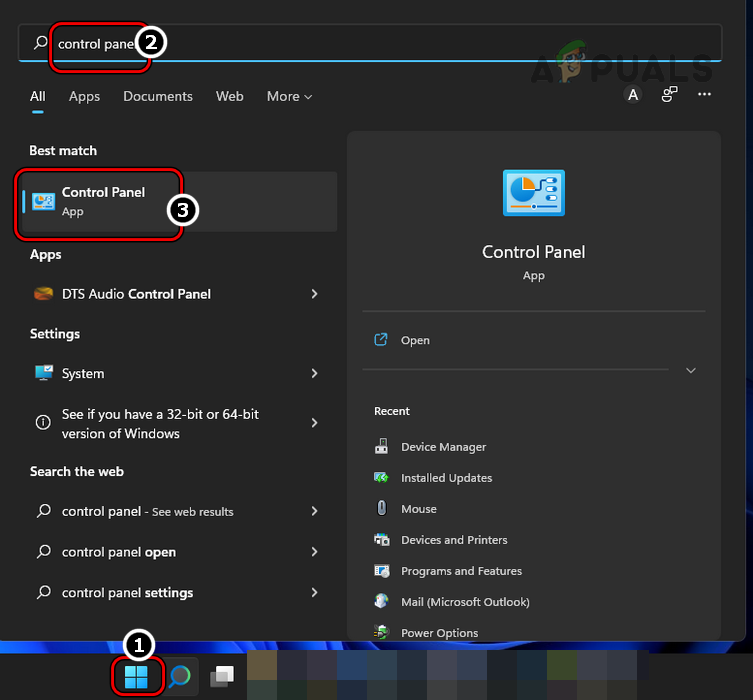
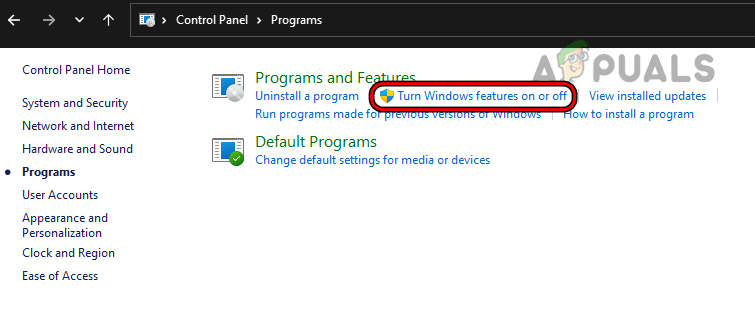
Open Control Panel - Now select Programs and open Turn Windows Features on or off.
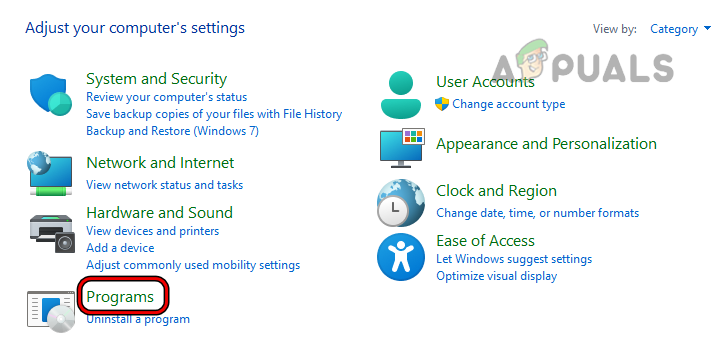
Open Programs in Control Panel - Then uncheck SMB 1.0/CIFS File Sharing Support and click on Apply.
Open Turn Windows Features on or off - Now restart your system and SMB 1 will be disabled on your system.
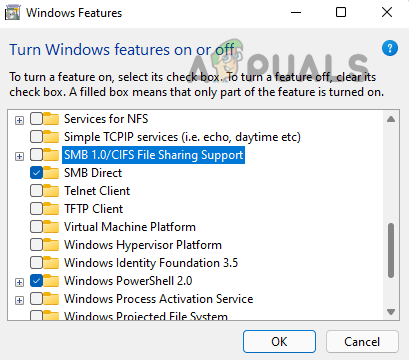
Uncheck SMB 1.0/CIFS File Sharing Support
Use Optional Features Menu of Windows 11
- Right-click Windows and open Settings.
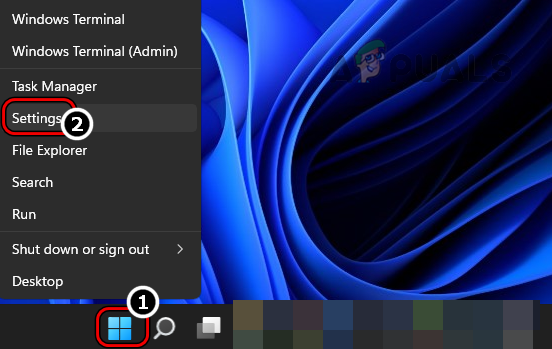
Open Windows Settings Through the Quick Access Menu - Now, in the left pane, head to Apps, and then in the right pane, open Optional Features.
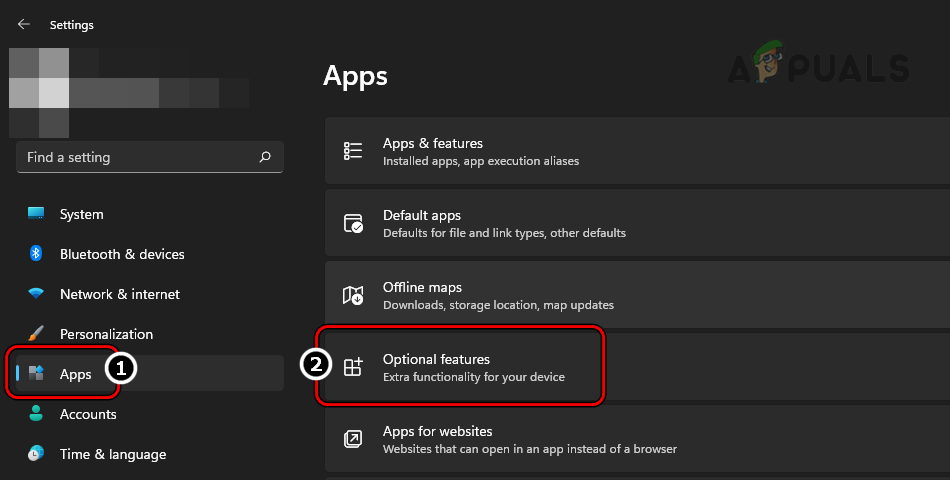
Open Optional Features in the Apps Tab of Windows Settings - Then scroll down and under Related Settings, click on More Windows Features.
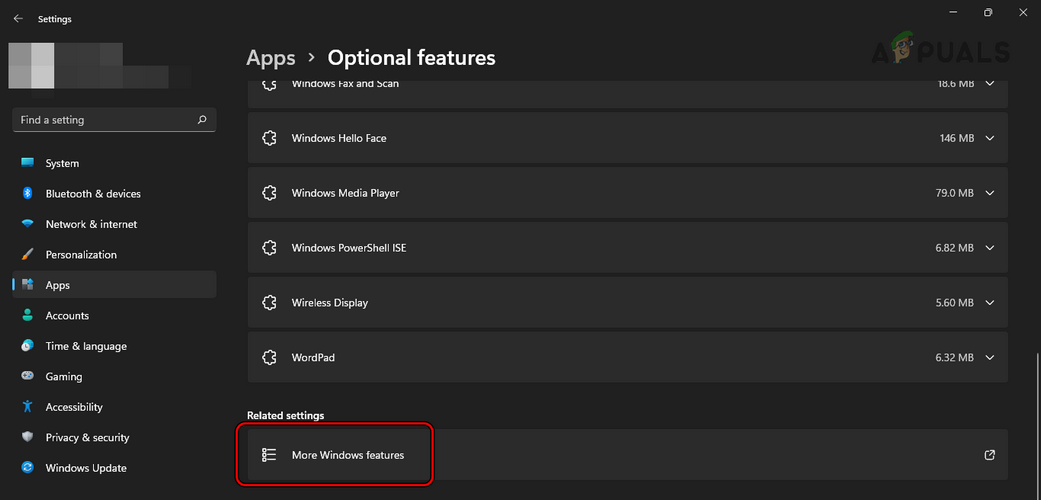
Open More Windows Features in Optional Features - Now, in the menu shown, uncheck SMB 1.0/CIFS File Sharing Support and click on Apply.

Uncheck SMB 1.0 CIFS File Sharing Support - Then restart your PC and upon restart, SMBv1 will be disabled on the PC.
Use PowerShell
The above two methods may satisfy the requirements of maximum users, but on a server system, an admin may have to use PowerShell (although, steps may also work fine on a client machine).
- Click Windows, search for PowerShell, right-click on it, and select Run as Administrator.
- Now execute the following:
Set-ItemProperty -Path "HKLM:\SYSTEM\CurrentControlSet\Services\LanmanServer\Parameters" SMB1 -Type DWORD -Value 0 –Force

or
Disable-WindowsOptionalFeature -Online -FeatureName smb1protocol

or
Set-SmbServerConfiguration -EnableSMB1Protocol $false

or on server
Remove-WindowsFeature -Name FS-SMB1

or
Set-SmbServerConfiguration -EnableSMB1Protocol $false
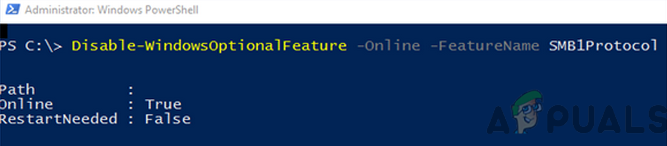
Disable SMB1 Protocol on A Client System Through the PowerShell - Then restart your system and upon restart, the system’s SMB 1 will be disabled.
Use the System’s Registry Editor
An admin on a Server machine without PowerShell (like Windows Server 2003) may disable SMB 1 by using the registry editor although steps also work fine on a client machine.
Warning:
Proceed with extreme caution and at your own risk as editing the system’s registry is a proficient task and if not done properly, you may imperil your system, data, or network.
- Click Windows, search for Regedit, right-click on it, and in the sub-menu, select Run as Administrator.
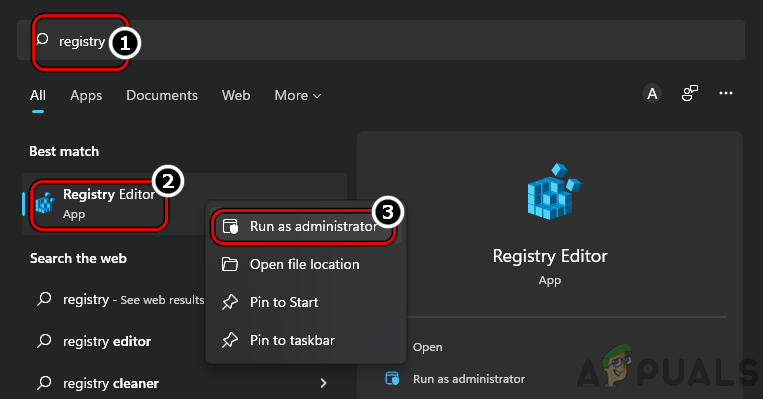
Open Registry Editor as Administrator - Now navigate to the following path:
HKEY_LOCAL_MACHINE\SYSTEM\CurrentControlSet\Services\LanmanServer\Parameters
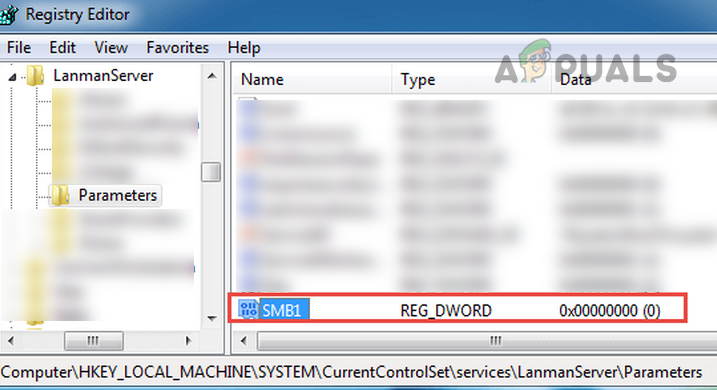
Set the Value of SMB1 to 0 in the Registry Editor - Then, in the right pane, double-click SMB1 and set its value to 0. Some users, like Windows 7 may have to create the SMB1 DWORD (32-bit) value and set its value to 0.
Use Group Policy Editor
Although the above steps work for individual machines but to disable SMB 1 on an organization level, an admin may use a Group Policy Editor.
Disable SMB 1 Server
- Launch the Group Policy Management Console and right-click on the GPO where the new preferences should be added.
- Then select Edit and head to the following:
Computer Configuration>> Preferences>> Windows Settings
- Now, in the left pane, right-click on Registry and select Registry Item.
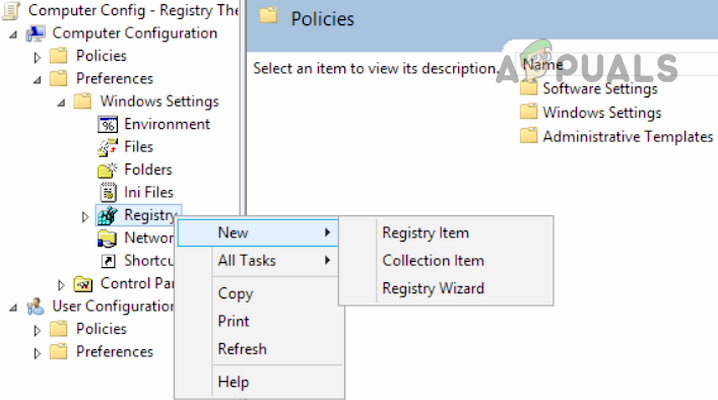
Create a New Registry Item in Group Policy Editor - Then enter the following:
Action: Create

Hive: HKEY_LOCAL_MACHINE

Key Path: SYSTEM\CurrentControlSet\Services\LanmanServer\Parameters

Value name: SMB1

Value type: REG_DWORD

Value data: 0
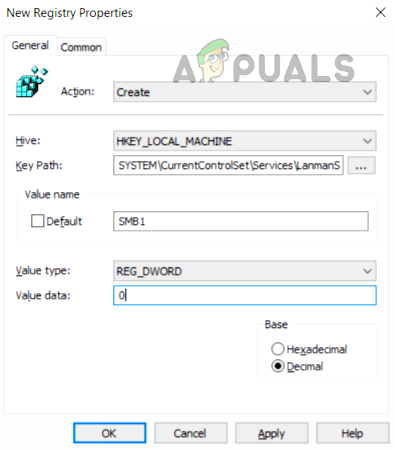
Create a New Registry Value in GPO to Disable SMB1 Server - Now apply the changes and restart the system.
Disable SMB1 Client
- Launch the Group Policy Management Console and right-click on the GPO where the new preferences should be added.
- Then select Edit and head to the following:
Computer Configuration>> Preferences>> Windows Settings
- Now, in the left pane, right-click on Registry and select New Registry Item.
- Then, enter the following:
Action: Update

Hive: HKEY_LOCAL_MACHINE

Key Path: SYSTEM\CurrentControlSet\services\mrxsmb10

Value name: Start

Value type: REG_DWORD

Value data: 4
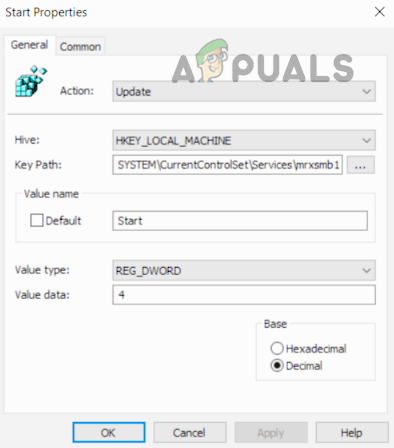
Update the Registry Value in GPO to Disable SMB1 Client - Now apply the changes and open DependOnService Properties.
- Then set the following and apply the changes:
Action: Replace

Hive: HKEY_LOCAL_MACHINE

Key Path: SYSTEM\CurrentControlSet\Services\LanmanWorkstation

Value name: DependOnService

Value type REG_MULTI_SZ

Value data:

Bowser

MRxSmb20

NSI
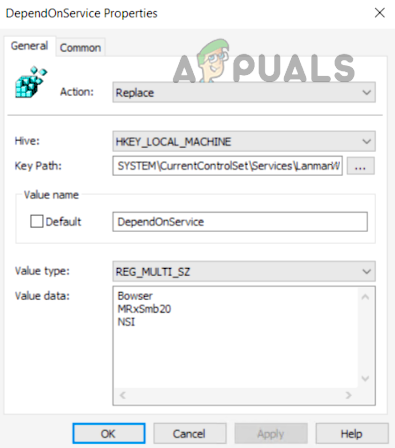
Disable MRxSMB10 Dependency in Registry Through the GPO - The final view should be as under and afterward, reboot the system.
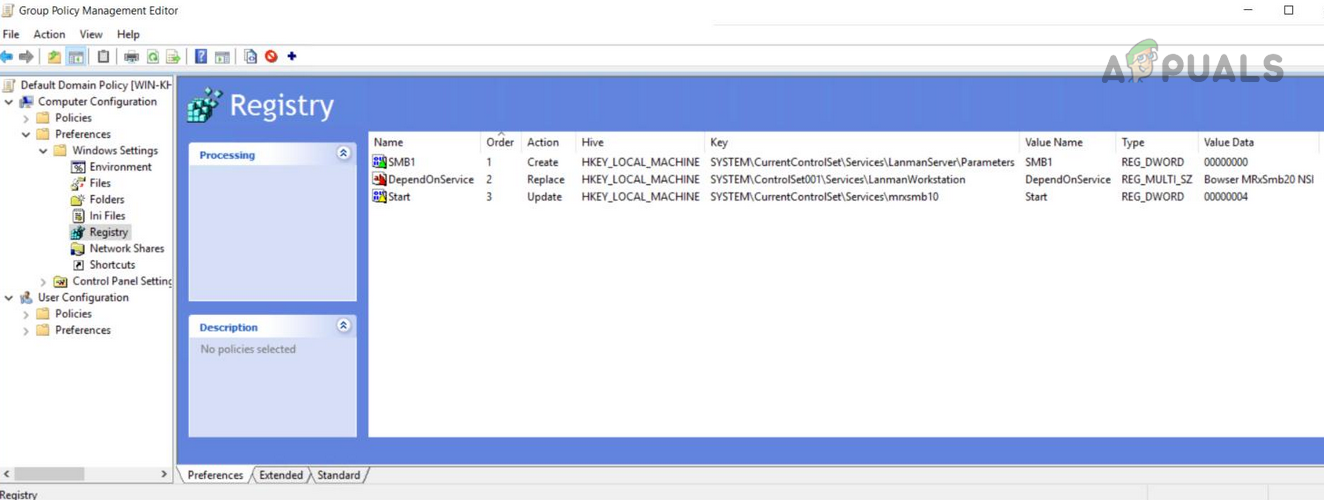
Group Policy Registry Value After Disabling SMB1
Disabling SMBv2 or 3
Some users, due to the threat level of SMB 1, may decide to disable SMBv2 or 3, which is unnecessary at this time. If a user disables SMBv2 or 3, he may lose:
- Local caching
- Large file-sharing network
- Failover
- Symbolic links
- 10GB ethernet
- Bandwidth limitations
- Multichannel fault-tolerance
- Security and encryption improvements found in the last 3 decades
Users Bind to Use SMB1
The following scenarios may force a user to use SMB 1:
- Users with Windows XP or Windows Server Machines
- Users are required to use decrepit management software that requires system admins to browse via the network neighborhood.
- Users with old printers with ancient firmware to “scan to share.”
Only use SMB1 if there is no other way possible. If an application or device requires SMBv1, then it is best to find an alternative to that application or device (it may look costly for now but it will be beneficial in the long run, just ask a user or organization which suffered from WannaCry).
So, that is it. If you have any queries or suggestions, do not forget to ping us in the comments.


