What is ‘gwx.exe’ in Windows?
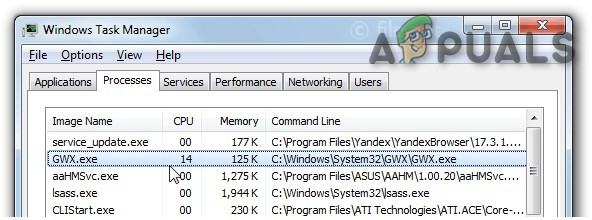
The GWX.exe file is a core system file of the Microsoft Windows operating system. Its purpose is to freely upgrade Windows operating systems from earlier versions to Windows 10. The gwx.exe file is located in the “C:\Windows\System32\GWX” directory.
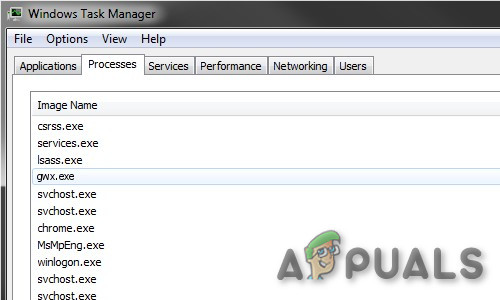
The file distributed via Windows update KB3035583. It is derived from Get Windows X (10). And will display a white windows flag present in the notification tray of the Taskbar.

Clicking on it displays the following screen:
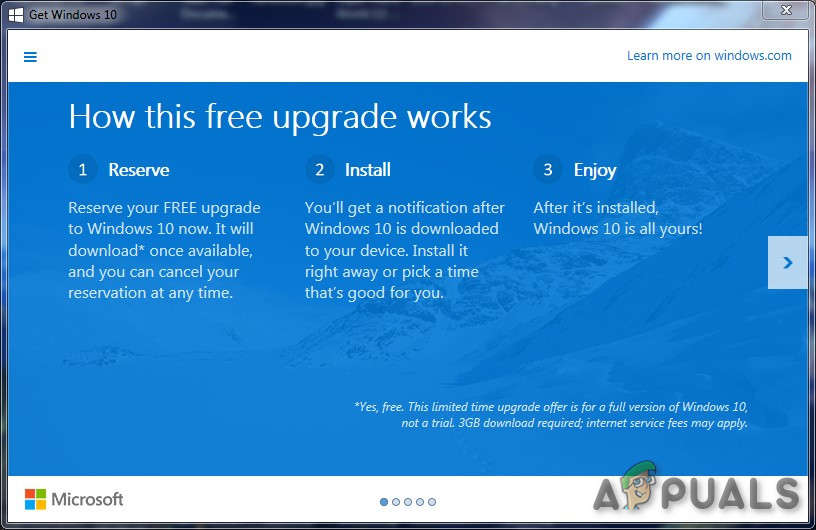
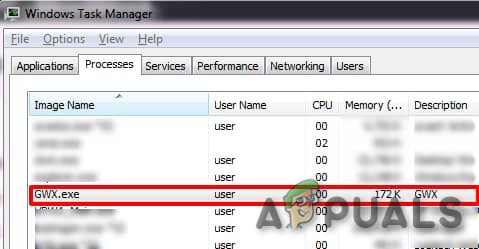
Windows 7, 8 or 8.1 users might remember the notifications that started popping up around 2015. Gwx.exe was also found in the Task Manager. Microsoft has Removed the use of the Windows 10 upgrade nag. This advertising campaign has already ended but there are very few people who are still receiving offers to upgrade installed operating systems.
Legit GWX Removal
If you want to remove gwx.exe you should uninstall KB3035583 update. You can do that by following these steps:
Method 1: Removal of Windows Update
- Reboot the computer to the Safe Mode.
- Navigate to Programs and Features.
- Click View installed updates option in the left pane.
- Find the KB3035583update, click on it and hit Uninstall
Method 2: Removal of Corresponding Entries
You can remove legit gwx.exe by removing its entries from registries, task scheduler or deleting files from folders.
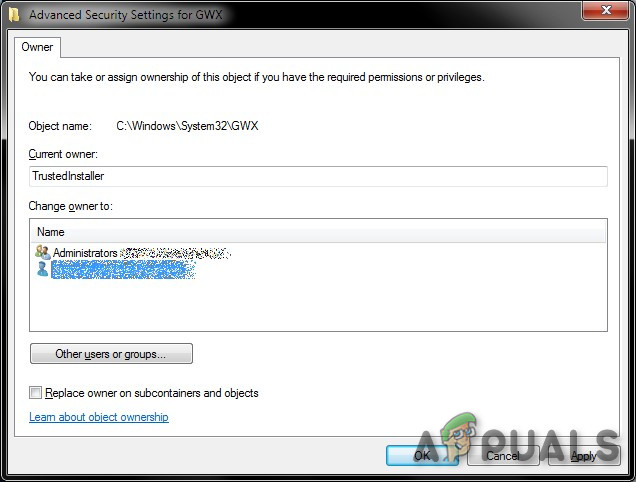
Step-1: Take ownership of the GWX folder
We need to take ownership of the GWX.exe directory.
- Go to C:\Windows\System32\GWX
- Right-click on the folder
- Then click on Properties
- Then go to the Security tab
- Then click Advanced button
- Under the Owner, click on Edit.
- Then Select your account rather than whatever is preselected.
- Make sure you tick the box that says subfolders and whatnot.
- Apply the change.
- Ignore the warnings and prompts.
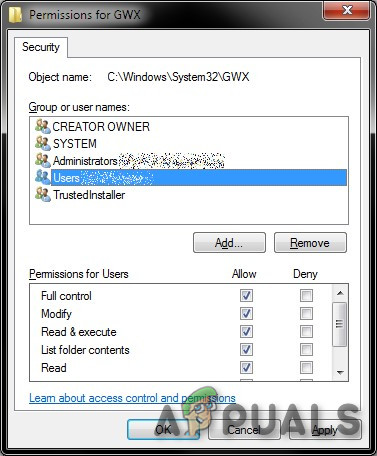
Step-2: Change folder permissions
Now we need to sort out the permissions.
- Go to C:\Windows\System32\GWX
- Right-click on the folder,
- Then click on Properties.
- Then go to the Security tab
- On the right tab, click Edit.
- Then, select your user name.
- Click the Full Control check box, and apply.
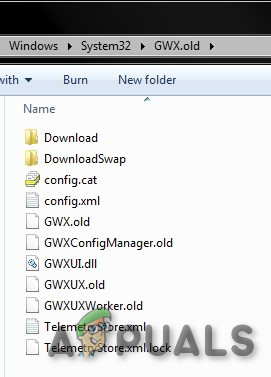
Change Permissions of Folder - Now, rename the GWX folder to something like GWX.old.
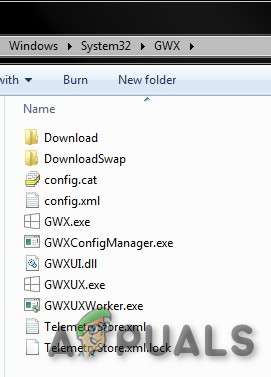
Exe files in GWX Folder - And you may also rename the four executable files. Just use any extension to cripple the executability of exe files. Problem solved.
Step-3: Delete scheduled tasks
If you want to be safe then deleting the scheduled task is advised.
- Do Windows+R and type regedit
- Navigate to the following path:
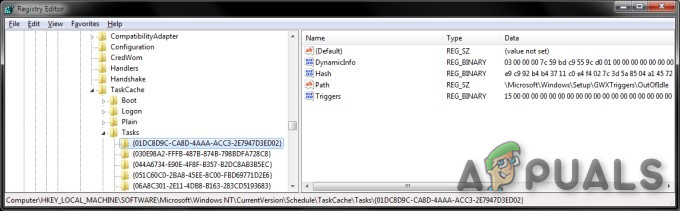
HKEY_LOCAL_MACHINE\SOFTWARE\Microsoft\Windows NT\
CurrentVersion\Schedule\TaskCache\Tasks\
- Carefully go through all the available entries. The GWX entries will have random hash values, so look in the right pane & identify the correct ones. They should have the string GWX under Path. There should be around six of them.
- For each, right-click on the entry in the left pane and export. This is a sort of backup, in case something goes wrong.
- Then, right-click the entry and delete
GWX Entries in Regedit - Do Windows+R
- Type taskschd.msc to open Task Scheduler. It should complain about missing tasks. This is a good first step. Make sure that the scheduler tasks related to refreshgwxconfig-B are gone from the system.
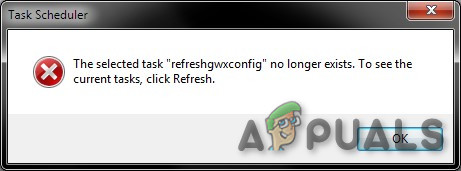
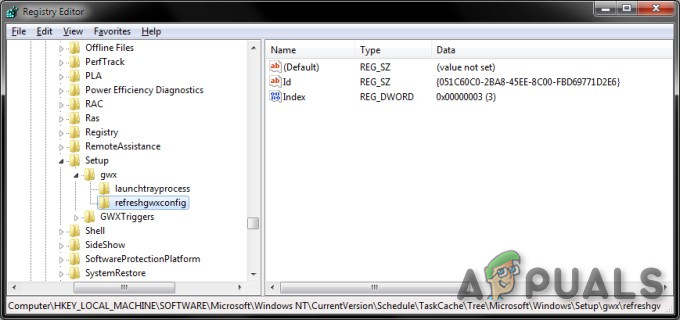
Task Scheduler Error Message - Once again in the registry, navigate to an undermentioned path – almost identical to the above:
HKEY_LOCAL_MACHINE\SOFTWARE\Microsoft\Windows NT\
CurrentVersion\Schedule\TaskCache\Tree\Microsoft\Windows\Setup
- Search for the Setup entry, which should have gwx and GWXTriggers under it. Export both these entries, and then delete them. Launch the task scheduler again, and it should run clean, pristine and without any errors.
Malicious gwx.exe file
It is a Microsoft signed file. Therefore, the technical security rating is 1% dangerous. However, many cybercriminals use names of legitimate files to disguise their malicious and malware programs and that might cause financial, data loss, privacy issues, and other problems. The legitimate gwx.exe file is typically located in one of these directories:
C:\Windows\System32\Tasks\Microsoft\Windows\Setup
C:\Windows\System32\GWX\GWX.exe
If a gwx.exe file is not in the above-said location it is very likely to be a malicious file. Similarly, if a file has a different name i.e. not gwx.exe but Gwx.exe, or something like it to confuse the user, then it should be classed as a threat. Moreover, malicious files have graphical icons in place of simple “system” icons. If a malicious file is placed on the system (a malicious process running in Task Manager), it is recommended to run a full virus scan using reputable anti-virus (or anti-spyware) software.
Moreover, if you have already upgraded to the latest Windows version, you shouldn’t see this entry. So, carefully check the system with an anti-virus program if gwx.exe running is suspicious to be malware which is trying to hide under the name of a legitimate system component.
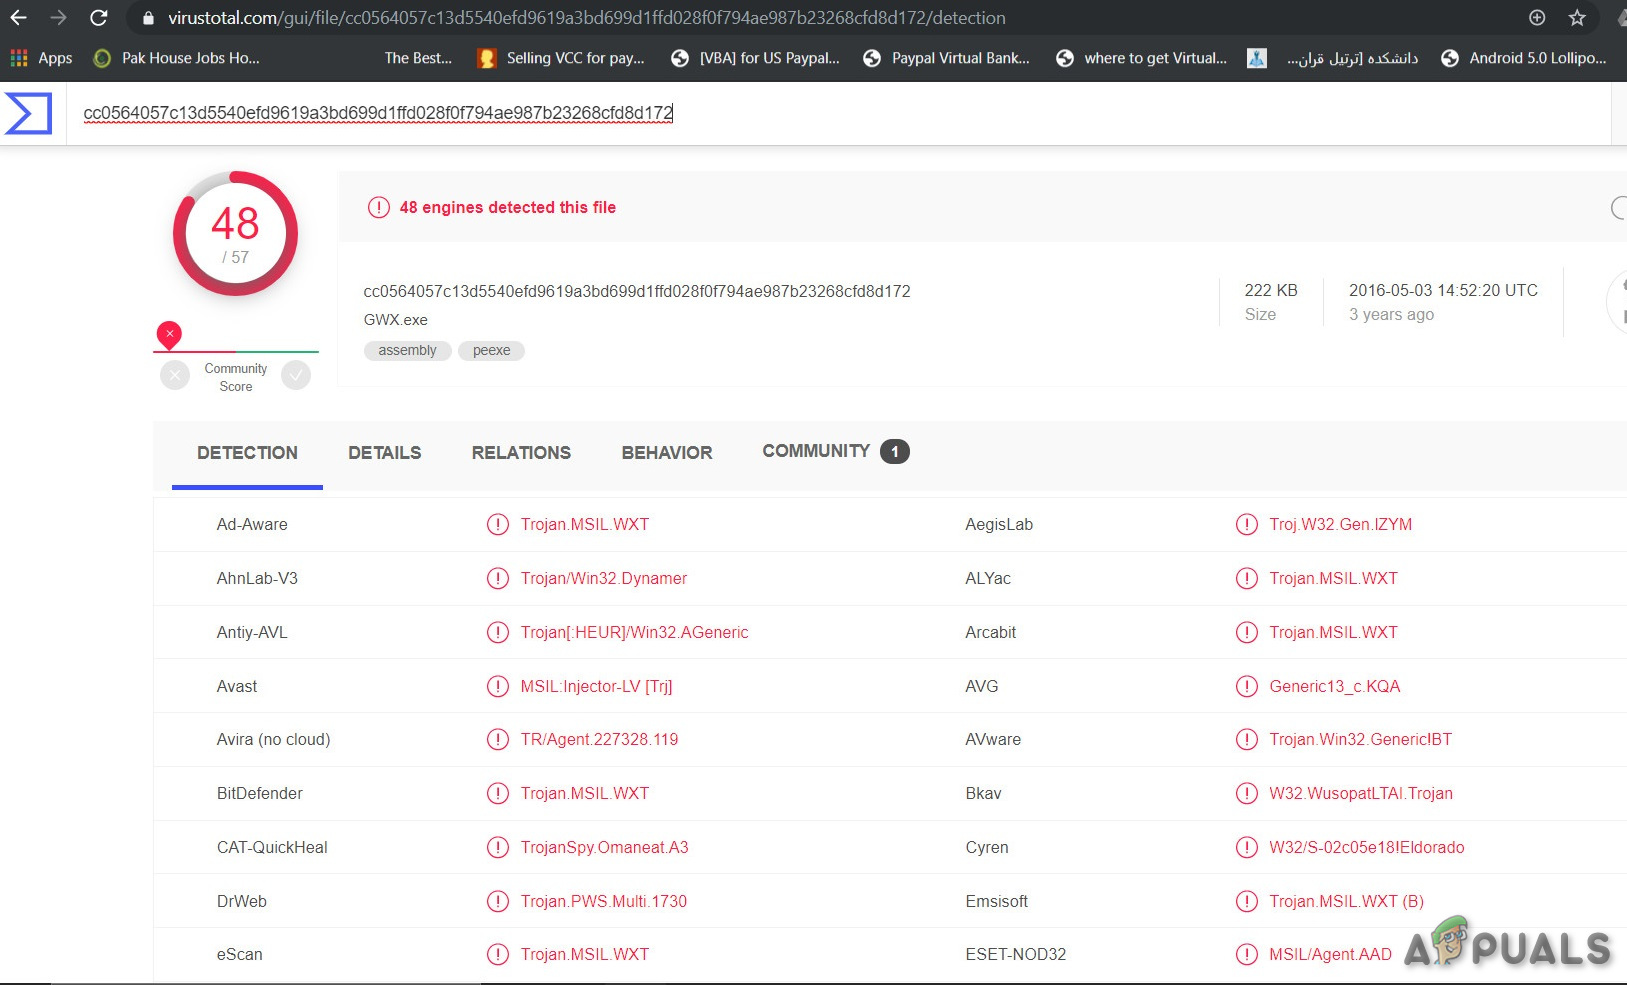
Multiple anti-virus engines have detected GWX.exe process as a threat, which is clearly shown by Screenshot:
Symptoms
Infiltration of malware triggers problems, such as:
- an increased number of ads
- Crashing programs
- Sluggish computer
- Windows errors
- Unknown processes use high CPU
- Deletion of files
- Software failure
- Displaying error messages
Therefore, if you noticed some of the above-mentioned features, you should immediately check the system for a cyber threat. Anti-Virus software should be used to get rid of malicious gwx.exe file.
Distribution methods of Malicious gwx.exe
The malicious gwx.exe installed by the following methods:
- Malicious spam emails with Infected attachments
- Malicious online advertisements
- Social engineering
- Software cracks
- Fake or illegal software downloads;
- Bogus software updates
- Exploit kits etc.
Therefore, users are advised to be careful when browsing the web. It’s important to avoid visiting questionable or potentially dangerous websites (e.g., pornographic, gaming), using only official developer’s sites for downloading software or its updates, carefully check the details of the sender before opening any unknown attachment, and stay away from malicious ads.
Damage
The malicious GWX.exe functions by installing all the malicious executable files on the PC in a highly deceptive manner. The infected files tend to copy the entire payloads in the respective folders of the Windows OS. At the same time, these files also alter the registers such that the file runs every time the PC is booted. Once the file has made its way into the computer system, it can carry out a wide range of malicious tasks on your PC.
- Ad Popups
- Hacked Email & Social
- Ransomware
- Lagging Speed
- Stolen banking information
- Stolen passwords
- Identity theft
- Victim’s computer added to a botnet
Removal of Malicious gwx.exe
After the affected GWX.exe files have injected malicious codes into the system, then it can affect the functioning of the system.
Therefore, it is vital to remove malicious GWX.exe as soon as possible from the system.
But scanning the system with a reputable malware removal tool is recommended. Automatic elimination of the threat is the best choice as the security program can easily identify & safely remove malware completely.
Method 1: By using Reputable Antivirus
Although we can eliminate the malicious GWX.exe from the infected system manually, it is recommended not to do so due to various reasons. Manual removal is a cumbersome and risky process. Most importantly, the malicious GWX.exe file highly tricky in disguising its presence.
Method 2: GWX.exe Removal tools
You can remove the malicious gwx.exe by using gwx.exe removal tools available online like Regcure Pro. Here are some steps:
- Download the application Regcure Pro and execute its installed on your PC.
- From this tool, you can modify the scanning process catering to your personal needs including general scan, application scan, scheduled scan, and so more.
- The Regcure Pro application will now start scanning the entire PC for searching all the infected files.
- Once the scanning process is complete, you can come across the message “Fix All”. Click this icon to repair all the errors present in your computer system.
Method 3: Manual Removal
Manual malware removal is not an easy task and requires a certain skill level. To remove malware manually, the first step is to identify the name of the malware that has to be removed e.g. a suspicious program running on a user’s computer:
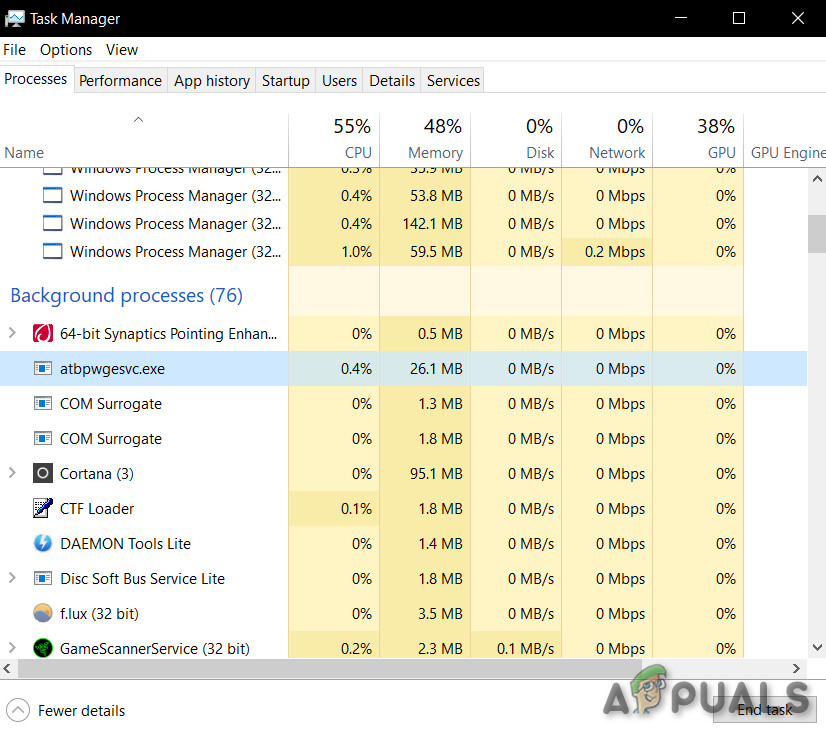
By checking the list of programs running on your computer e.g. by using task manager, and after identification of a program that looks suspicious, the following steps are recommended:
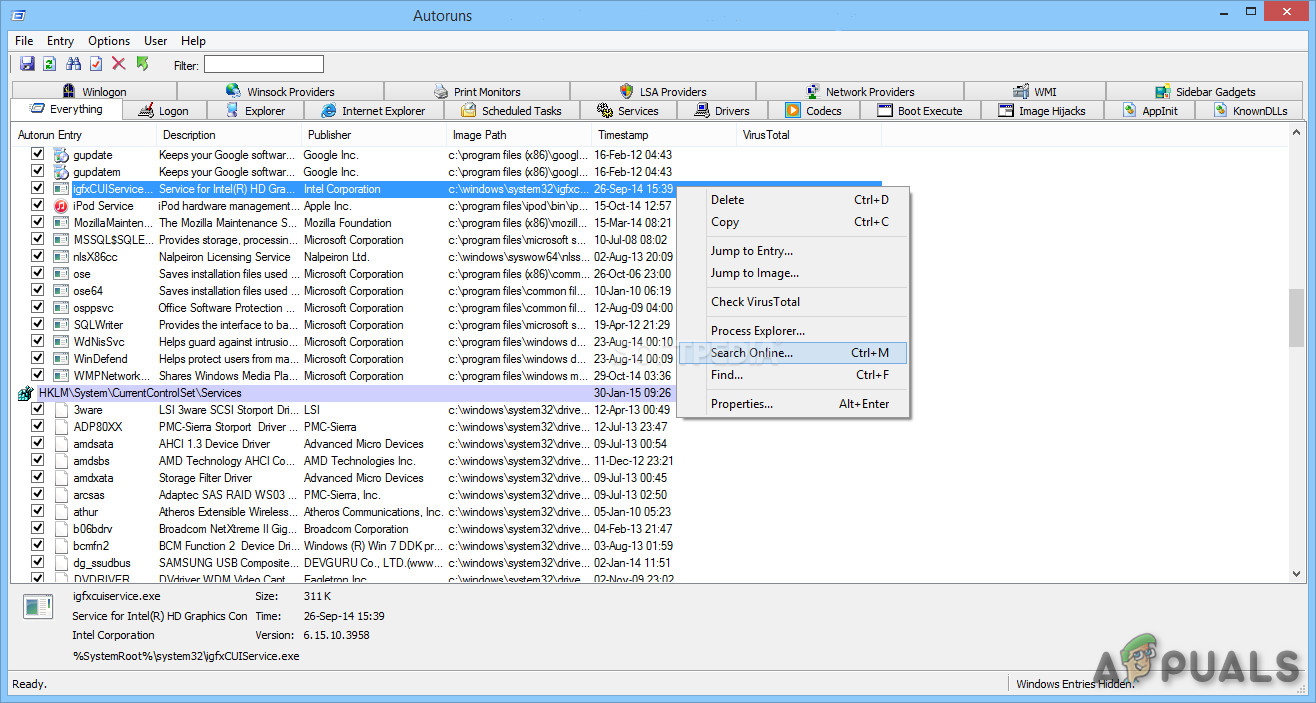
- Download Autoruns program by Microsoft which shows auto-start applications, file system locations & Registry:
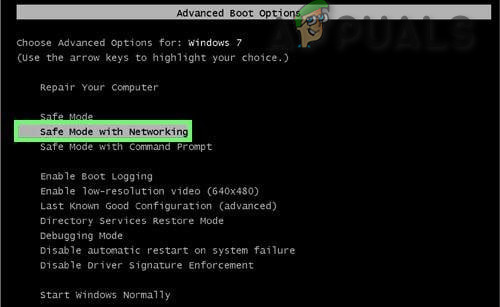
Autoruns - Restart the computer
- When system boots press the F8 key multiple times until you see the Windows Advanced Options menu,
- Then select Safe Mode with Networking from the list.
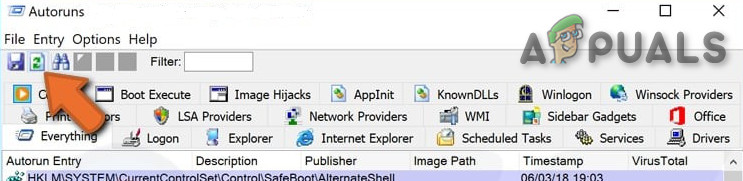
Safe Mode with Networking - Run the Autoruns.exe file after Extracting the downloaded Autoruns archive.
- Now in the Autoruns application click “Options” at the top
- Uncheck the “Hide Windows Entries” and “Hide Empty Locations” options
- Click the “Refresh” icon.
List by the Autoruns Application after Refresh - Carefully check the list provided by the Autoruns application, & locate the malicious file that has to be removed.
- Note down its full path & name. Remember that some malware programs hide in process names under legitimate Windows process names. At this stage, it is very important not to remove any system files. When the suspicious program is found that has to be removed, right-click over the name of the process & choose “Delete“.
- Removing the malware through the Autoruns application ensures that the malicious program will not start automatically on the next startup of the system & now you should search the malicious name on the system. Remember to enable search for hidden files and folders before continuing. If the malicious file name shows in the search results, remove it.
- Now Reboot the system computer in normal mode.
Following the above steps will remove any malware from the system but keep in mind that manual threat removal requires advanced computer skills. And if you are not up to the task, leave malware removal to anti-virus & anti-malware programs. Moreover, these steps may not work with advanced malware infections. And as it is said “Prevention is better than cure” so, keep your computer safe, always keep the operating system updated and use updated anti-virus software.


