What are the Shortcut Keys For ‘Fill’ Related Actions in Adobe Photoshop
Shortcut keys make everything on a computer easy. Especially when you are a designer and need to work on Adobe Photoshop, shortcut keys could save you so much more time designing anything on the program. After reading this article, you will not only save your time searching for the menu and toolbars to find the tool that you need.
Once you have memorized the shortcuts, you would be so quick in accessing the tool that you need. The fill tool, for example, is the main, and the most commonly used part of Adobe Photoshop and is used in almost every designing project. You fill colors in text, shape or even background. And since the fill option has to be used so often, you can always learn the following short keys for Fill related actions on Adobe Photoshop to help you make your designing process faster.
The Basics Keys on the Keyboard that will be Mostly Common in the Short Keys for Adobe Photoshop
There are three main keys on the keyboard which will be used for most of the short keys for Adobe Photoshop. These vary for Mac and for Windows/Personal Computer, the main keys for shortcuts are different.
- The CTRL key for a Windows laptop/computer, short of Control and Command for Mac.
- ALT key for a Windows Laptop/Computer, while Option for Mac.
- And lastly, the most important key which is the same in both the laptops/computers, that is shift.
Some Short Keys for Adobe Photoshop Worth Remembering
- To undo a selection that you just made, you can use the short key CTRL+D for a personal computer. For mac, you can replace the CTRL key with Command. Remember the D for deselection.
- Zoom in or zoom out of your artboard, by pressing CTRL+ (plus sign:+) or to zoom out, press the ‘-’ sign instead.
- Increase the size of a brush, or reduce it by pressing the CTRL key along with either ‘[‘ or ‘]’, for increasing and decreasing the size of a brush respectively.
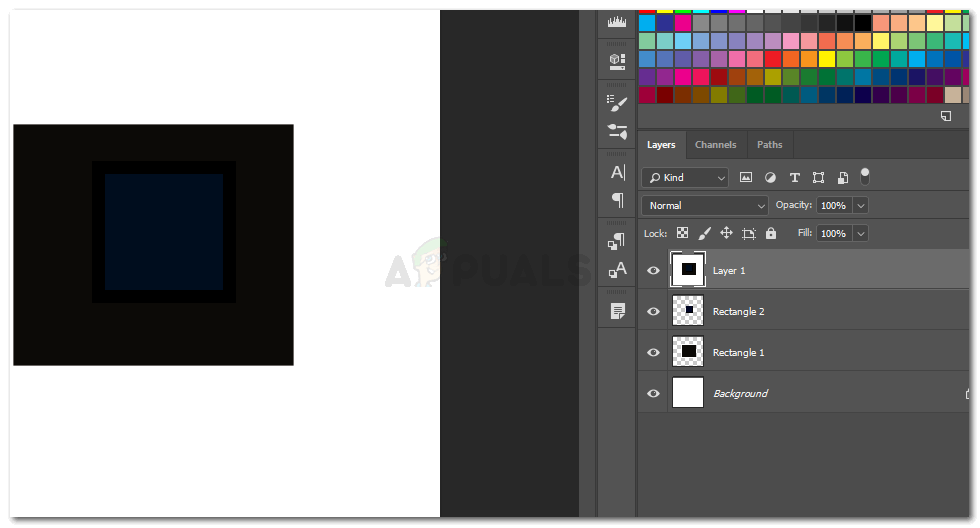
- Say, for example, you created a rectangle on your artboard in Adobe Photoshop.

Drawing a shape on Adobe Photoshop And you want the rectangle to be in the foreground or the background color. That is, white and black in the picture below.
Foreground color For the foreground color for the rectangle, you will press, ALT+Backspace and Option+Delete for the respective laptops you are using.
Now if you want to change the fill color to the color of the background, which is black in this case, you will press CTRL+Backspace or Command+Delete.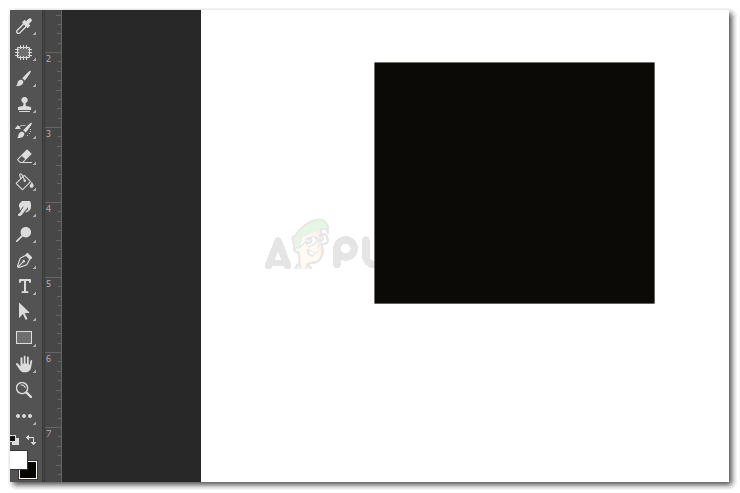
Background color fill - Open the editing dialogue box for fill in Adobe Photoshop by pressing Shift+Backspace or Shift+Delete. This will open a dialogue box to edit the fill of any shape or text that you have added on your artboard.
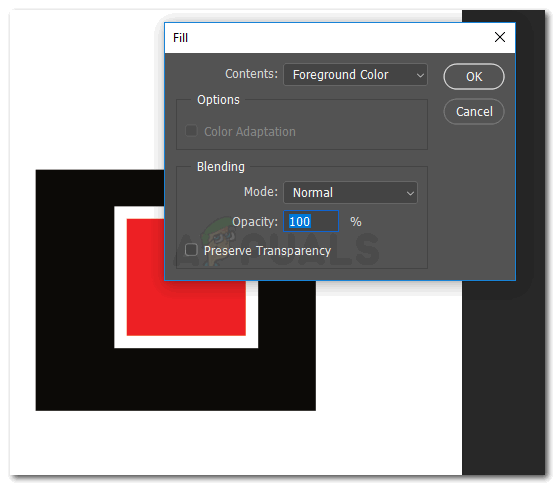
Edit fill dialogue box You can edit the content of the graphics, you can blend the colors as you like and you can also increase or decrease the opacity of the fill through this dialogue box. Check the box for ‘Preserve Transparency’ for the selected object. The short key for this when using the background fill color is Shift+CTRL+Backspace
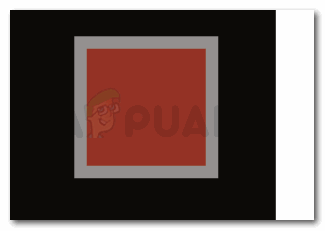
- You can swap the colors for foreground and background, by clicking the X key on your keyboard for both types of laptops/computers. Same goes for the key D, which bring the settings for foreground and background to the default settings.

The colors for foreground and background. Red here is the foreground, and black is the background fill color. - Use the numeric keys on your keyboard to reduce or increase the opacity of an object. 1-9, shows 10-90%, and 0 is for 100% opacity.
The opacity of the object - Pressing ‘I’, on the keyboard will activate the eyedropper tool, which will help you choose a color from anywhere on Adobe Photoshop. You can always add a small image of a color that you want the eyedropper to select, and once the color has been selected, you can always delete that image if it is not being used for your design.
- If you have created a mask on a layer, and want to invert the colors, you can press CTRL+I or Command+I.
- Another super easy short key to remember is, when you want to merge all the layers that you have created, but also keep the originals, you can use the short key CTRL+Alt+Shift+E or Command+Option+Shift+E. This will keep all the original layers editable while making a duplicate of the all the layers in a merged form as shown in the image below.
Merge layers
Note: You can make your own short keys for Adobe Photoshop by going to Edit on the top toolbar and scrolling down on the dropdown list, till the option for ‘Keyboard Shortcuts…’ appears on the screen. A short key to access this option is also written next to it, which is, Alt+Shift+Ctrl+K.


