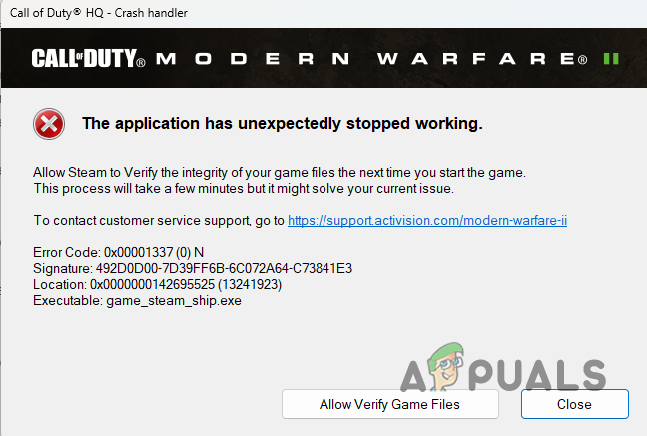
How to Fix Call of Duty: Warzone 2 Crashing Issue?
Call of Duty Warzone 2 might be crashing due to a third-party application interfering with the process and corrupted graphics drivers installed on your computer. There are numerous reasons behind the constant crashes of the game.
The game can crash in various scenarios. In some cases, you might experience a crash before you are even taken to the main menu, while other times, it can occur during a match. Regardless, we have compiled a list of various methods you can use to resolve the problem. Not every method might apply to you, so keep note of that.
1. Turn Off In-game Overlays
One of the most common reasons Call of Duty Warzone 2.0 crashes is in-game overlays. The overlays can be helpful when playing a game, as they allow you to access the app without minimizing your game. However, in some scenarios, this can also cause an issue with some specific games.
This is because to give you an overlay of the app in a game; the application has to interfere with the game process. Some games end up crashing because of this interference. Therefore, turning off the in-game overlays will fix the issue in such a scenario. Various users have also reported this as a fix for them.
There are several applications that come with in-game overlays now. Some of the most popular would be Discord and GeForce Experience. We will take you through the process of disabling the in-game overlay in these apps down below.
Discord
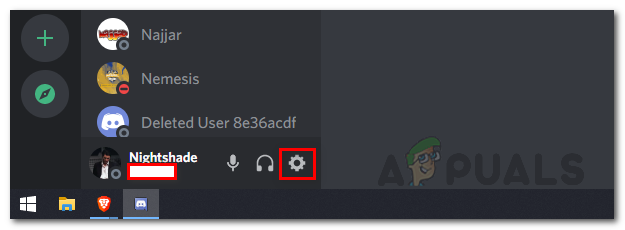
- First, open the Discord client on your computer.
- Once Discord is open, click on the Settings icon next to your profile in the bottom-left corner.
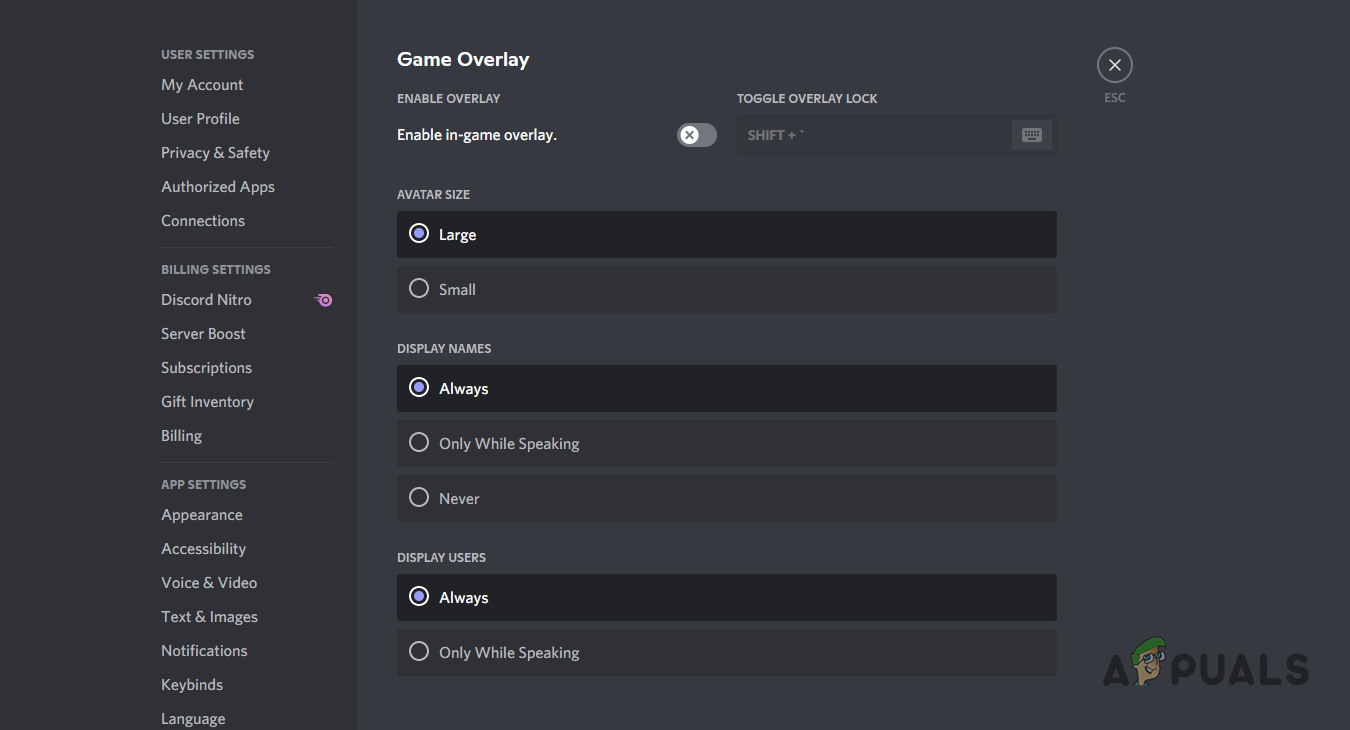
Navigating to Discord Settings - On the Settings screen, scroll down and go to Game Overlay on the left-hand side.
- Then, use the slider next to Enable in-game overlay to turn it off.
Disabling Discord Overlay
GeForce Experience
- Start by opening the GeForce Experience app on your computer.
- In the top-right corner, click on the Settings icon.
- Use the In-Game Overlay slider on the General settings screen to turn it off.

Disabling GeForce Experience Overlay - With that done, see if the problem goes away.
2. Turn off NVIDIA Reflex (if applicable)
NVIDIA Reflex, or Low Latency, is a feature that reduces the system latency to improve the responsiveness of your computer. This is a setting that you can find in different games that support the said feature.
Call of Duty Warzone 2 is one of the games that do, and it has been a cause behind the crashing for some users. If you have an NVIDIA graphics card, there is a good chance that this setting is crashing your game.
If this case is applicable, you will have to turn off the feature inside the graphics settings of the game. Follow the instructions below to do this:
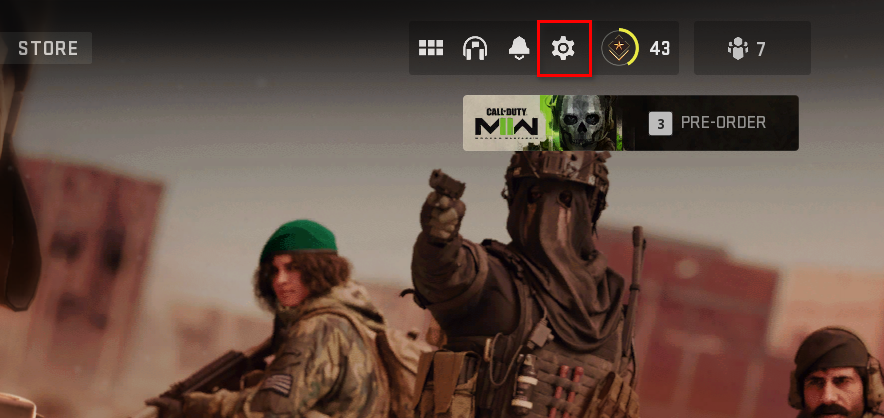
- First, launch Warzone 2 on your computer.
- Click on the Settings icon in the top-right corner.
Opening Settings Menu in Warzone - Then, from the menu, choose Graphics.
Navigating to Warzone Graphics Settings - On the Graphics settings screen, switch to the Quality tab.
- Afterward, go down to the bottom and locate NVIDIA Reflex Low Latency under Post Processing Effects.
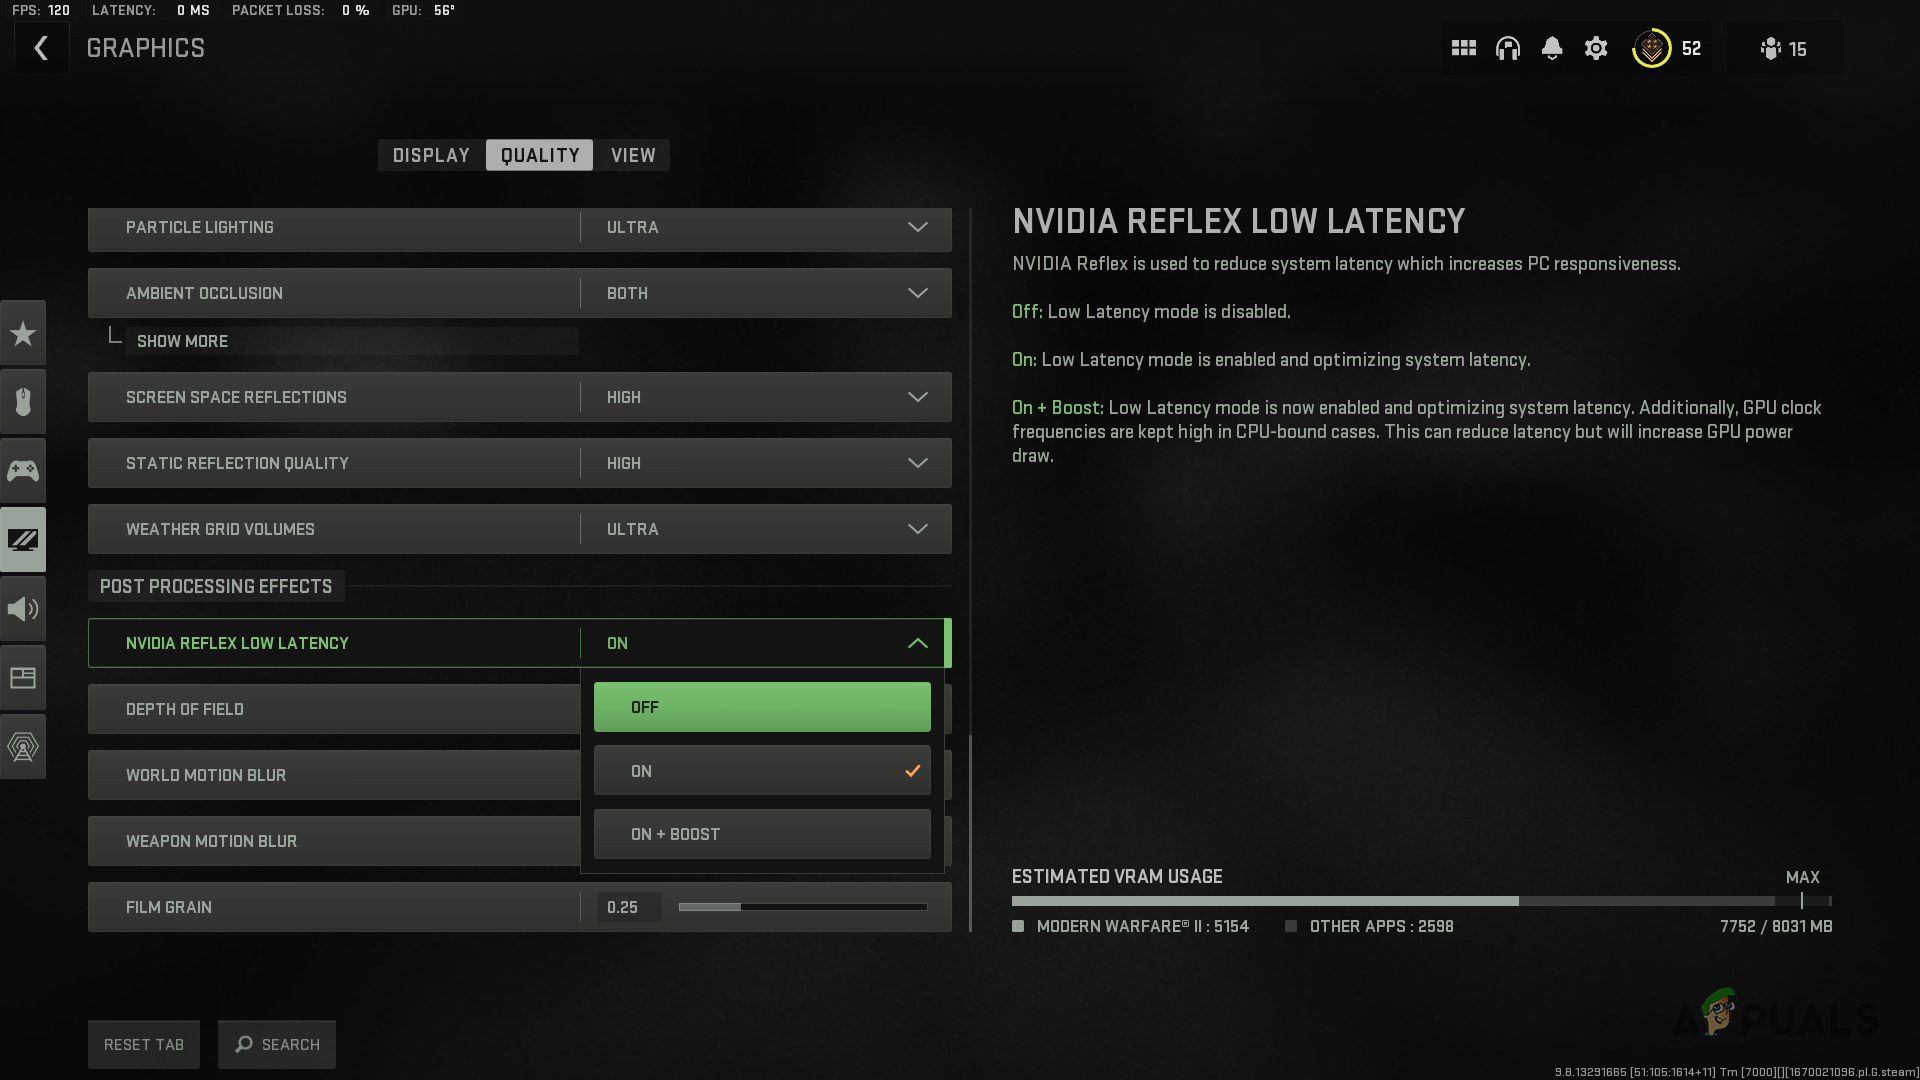
Turning off NVIDIA Reflex Low Latency in Warzone 2 - From the drop-down menu, turn off the feature.
- Restart your game and see if the issue goes away.
3. Update Graphics Drivers
Outdated graphics drivers often cause crashing issues, especially on the newer games you install on your computer. Graphics drivers are vital because they are used to interact with the graphics card on your motherboard.
Manufacturers often release a new driver update for the new big games to support it better and avoid any issues. If you have not updated your graphics drivers in a while, updating them now would be a good choice.
You can use a third-party utility called Display Driver Uninstaller (DDU) to uninstall your graphics drivers. DDU allows you to uninstall your graphics card drivers for NVIDIA and AMD. Unlike generic uninstallation, DDU is thorough in its approach and does not leave any files or registry keys behind. Follow the instructions below to update your graphics drivers:
- First, click here to head to the official website for DDU and download the latest version available.
- Run the downloaded file and extract the files to your desired location.
- After that, navigate to the directory and open the Display Driver Uninstaller.exe file.
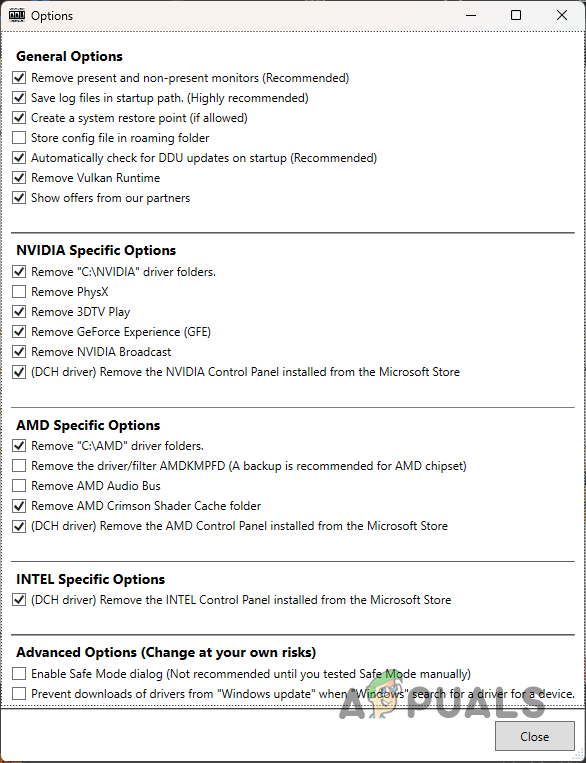
- When the tool opens, you will be shown a General Options window. You can choose to enable additional options. However, it is not necessary.
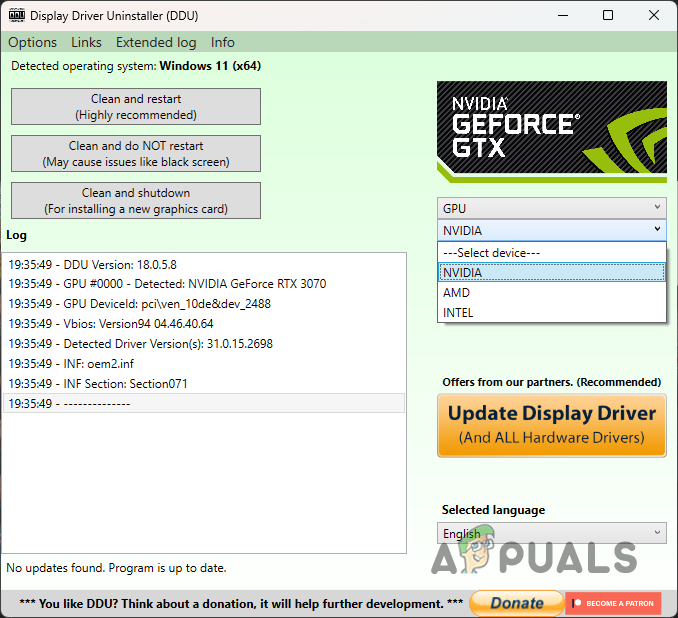
DDU General Options - Choose GPU from the Select device type drop-down menu on the DDU window.
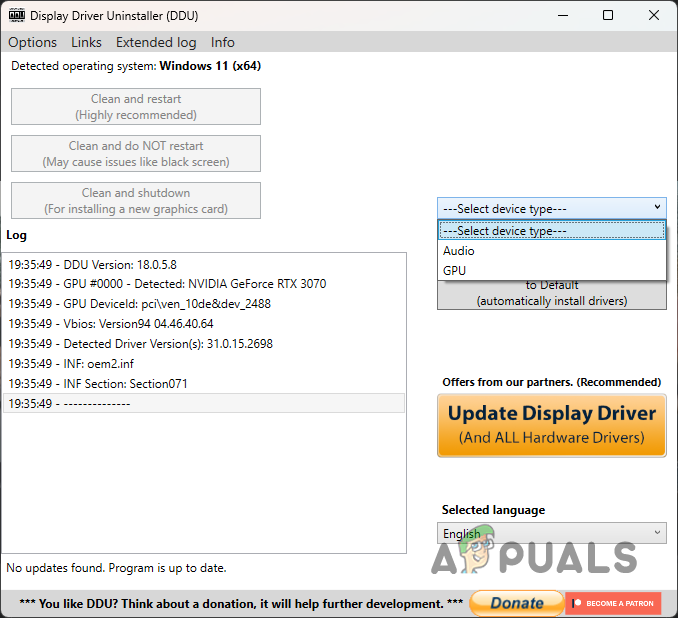
Selecting GPU from Device Type on DDU - After that, choose your graphics card manufacturer from the drop-down menu underneath.
Selecting Graphics Card Brand - Finally, click the Clean and restart button to uninstall your graphics drivers.
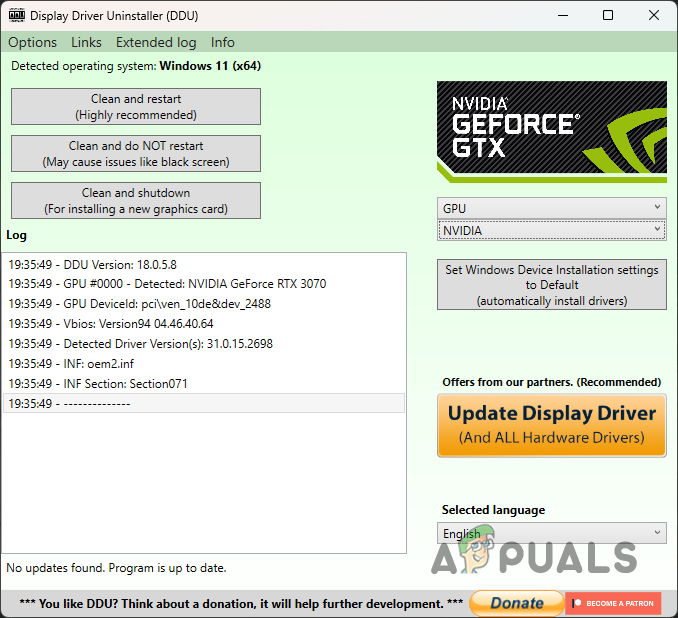
Uninstalling Graphics Drivers using DDU - Once your PC boots, head to your manufacturer’s website and download the latest drivers available.
- Install the drivers and see if the problem still occurs.
If you have started facing the issue recently, it is very likely that a recent update to your video drivers might be causing the issue. This can often happen due to an automatic update of your graphics drivers in the background. While the issue may not arise on all graphics cards, specific models can become the victims.
If this applies to you, we recommend downloading an older version of the graphics drivers from your manufacturer. After uninstalling your current graphics drivers, look for a previous version of your video drivers and install them on your computer. See if that resolves the issue.
4. Repair Windows Files
In some scenarios, corruption in your operating system’s files may cause the crashing issue with Warzone 2. This has happened to several users who resolved the issue by running an SFC scan.
System File Checker (SFC) is a Windows utility that allows you to scan for any damage in Windows files. In case of corruption, the files are replaced by new ones from a local cache. In addition to that, you can use the Deployment Image Servicing and Management utility to repair any damage to the files.
To do this, follow the instructions down below:
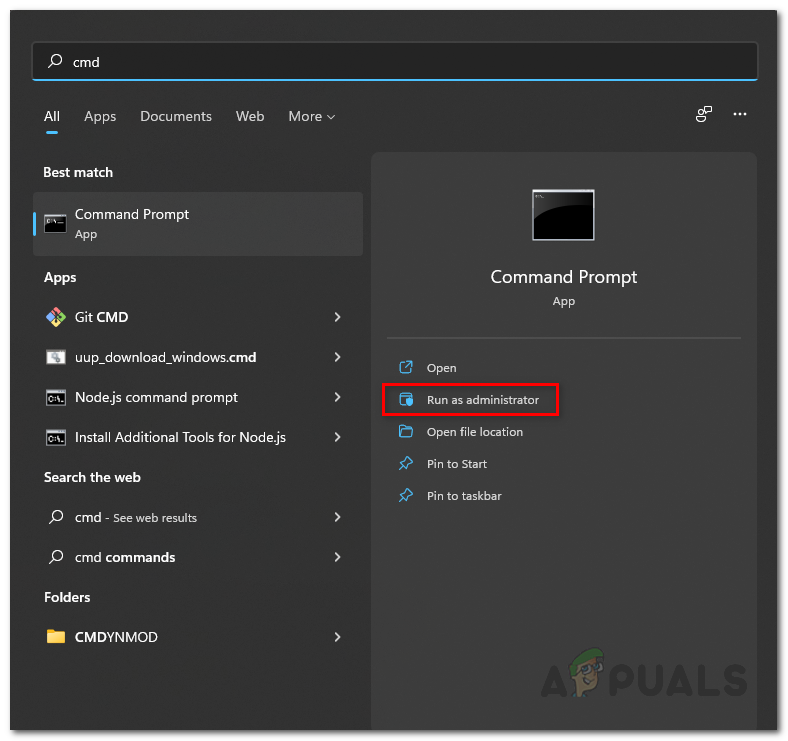
- First, open the Start Menu and search for the command prompt. Right-click on the result and choose Run as administrator from the drop-down menu.
Opening Command Prompt as Admin - With the command prompt window open, type in “sfc /scannow” command without the quotations and hit Enter.
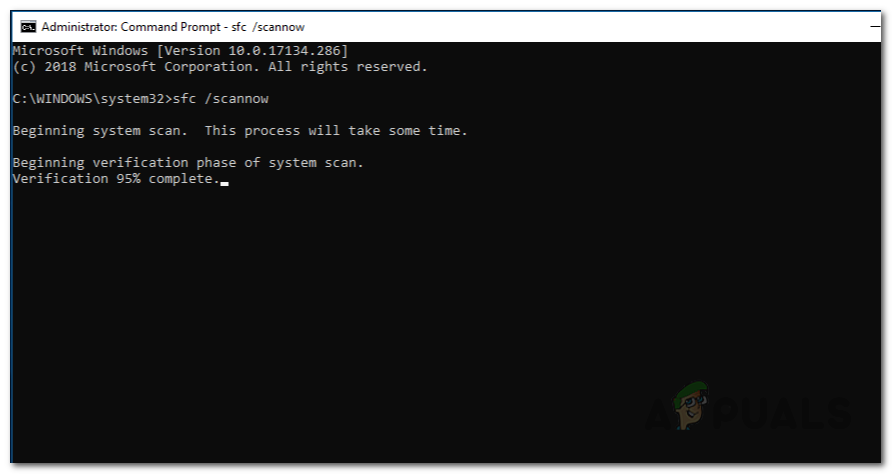
Performing SFC Scan - Wait for the scan to complete.
- After the scan, type in “Dism /Online /Cleanup-Image /RestoreHealth” without the quotations and press Enter on your keyboard.
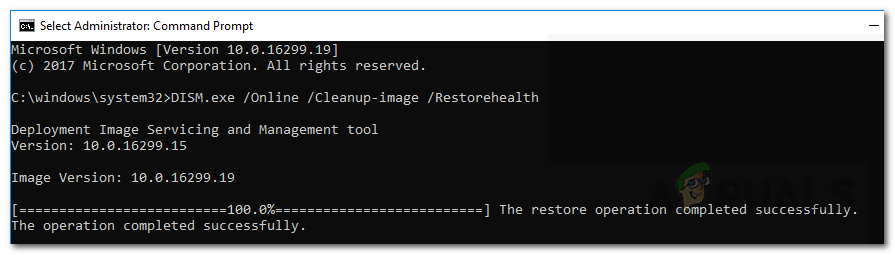
Restoring Damaged Windows Files - Wait for the DISM utility to restore any damage to Windows files.
- With that done, restart your computer.
- After your PC boots up, launch Warzone and see if the issue is still there.
5. Repair Game Files
A potential cause of the crashing issue can be your game files. If there is corruption in your game files, the game will not be able to run properly. In such a scenario, you will have to repair your game files.
Both Steam and Battle.net come with a feature that allows you to scan and repair any damaged files. The process is pretty straightforward for both Steam and Battle.net clients. Follow the instructions for your respectable client to repair your game files.
Steam
- Start by opening the Steam client on your computer.
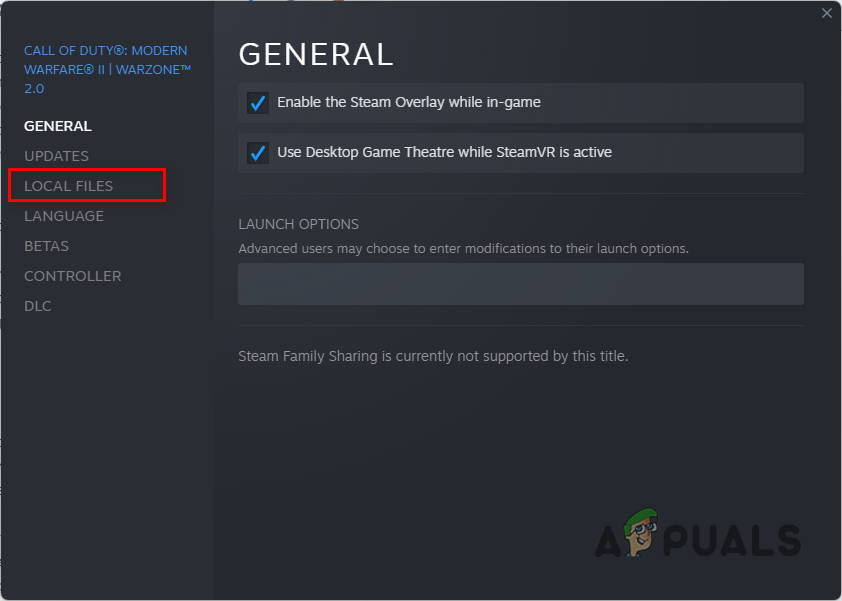
- Navigate to your Library and right-click on Warzone 2. Choose Properties from the drop-down menu.
- On the Properties window, switch to the Local Files on the left-hand side.
Switching to the Local Files tab - There, click on the Verify integrity of game files option.
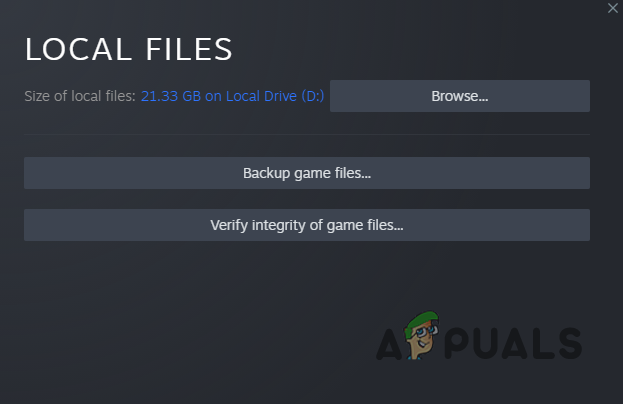
Verifying Warzone 2 Game Files
Battle.net
- Launch the Battle.net client on your PC.
- Click on Call of Duty Warzone 2.0.
- Then, click on the Settings icon next to the Play button.
- From the menu that appears, choose the Scan and Repair option.
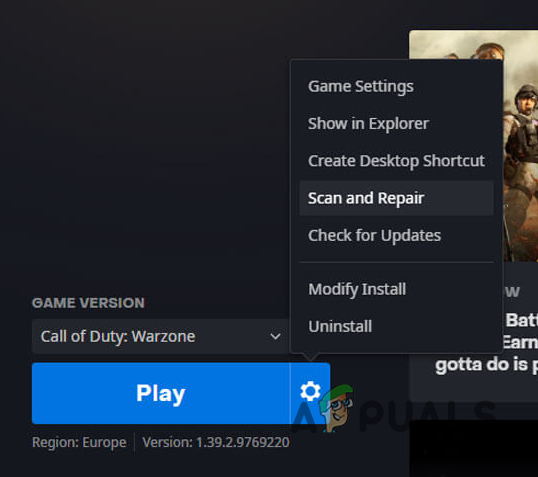
Repairing Warzone Game Files on Battle.net - Wait for the scan to complete. See if that fixes the problem.
6. Turn OFF XMP
Overclocking your RAM can be helpful to get the most out of your RAM. However, in some scenarios, your RAM may be unstable, which can cause your system or the games you are playing to crash.
When this happens, you must remove the XMP overclock applied to your RAM from your BIOS settings. If you have an AMD motherboard, you need to look for DOCP. The term is different, but the idea behind it remains the same.
Thus, restart your computer and boot into your BIOS settings to disable XMP or DOCP. Once you do that, see if that fixes the issue.
7. Perform a Clean Boot
Everyone uses various apps on their computers for different tasks. Some of these apps run in the background while you are performing other tasks or even playing a game. These background apps can often interfere with the game process and cause it to crash.
This is not something new, and it can happen now and then. Users have reported different apps that have caused the issue, for example, Logitech G Hub, KMSpico, and more. To ensure that a background app is causing the problem for you, you can perform a clean boot.
A clean boot starts your computer with only the required Windows services running in the background. If the game works fine in a clean boot, it will be evident that a third-party application causes the issue. In such a scenario, you can locate the culprit eventually. Follow the instructions below to perform a clean boot:
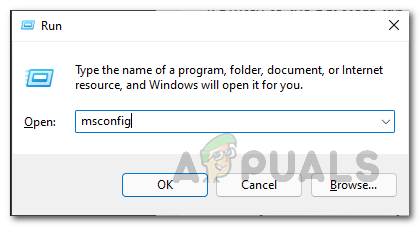
- To start, press the Windows key + R on your keyboard to open the Run dialog box.
- In the Run dialog box, type in msconfig and hit Enter. This will open the System Configuration window.
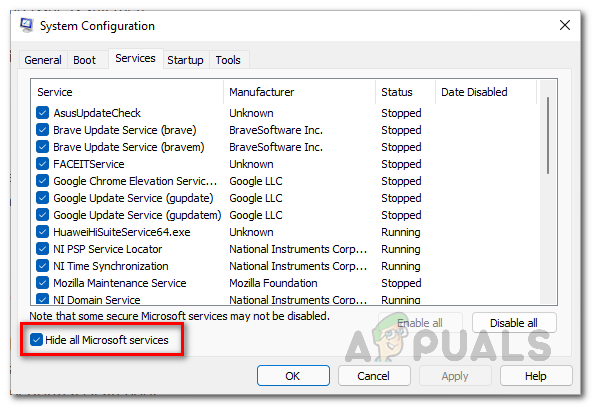
Opening System Configuration in Windows - On the System Configuration window, switch to the Services tab.
- There, click on the Hide all Microsoft services checkbox.
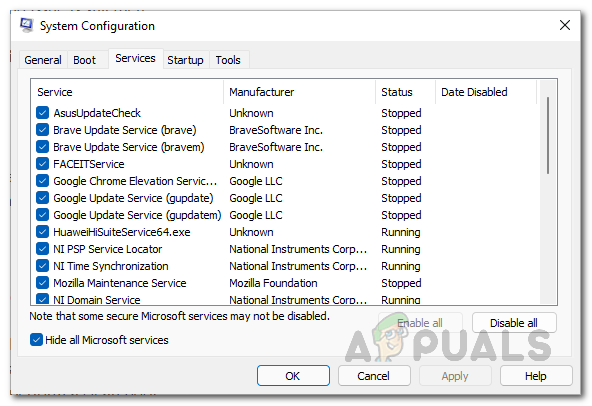
Hiding Microsoft Services - After that, click the Disable all button and follow it up by clicking Apply.
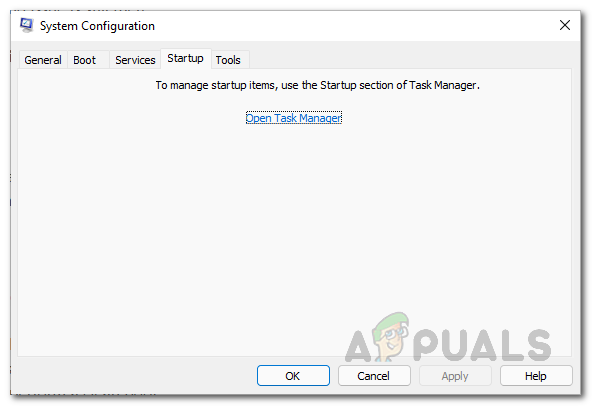
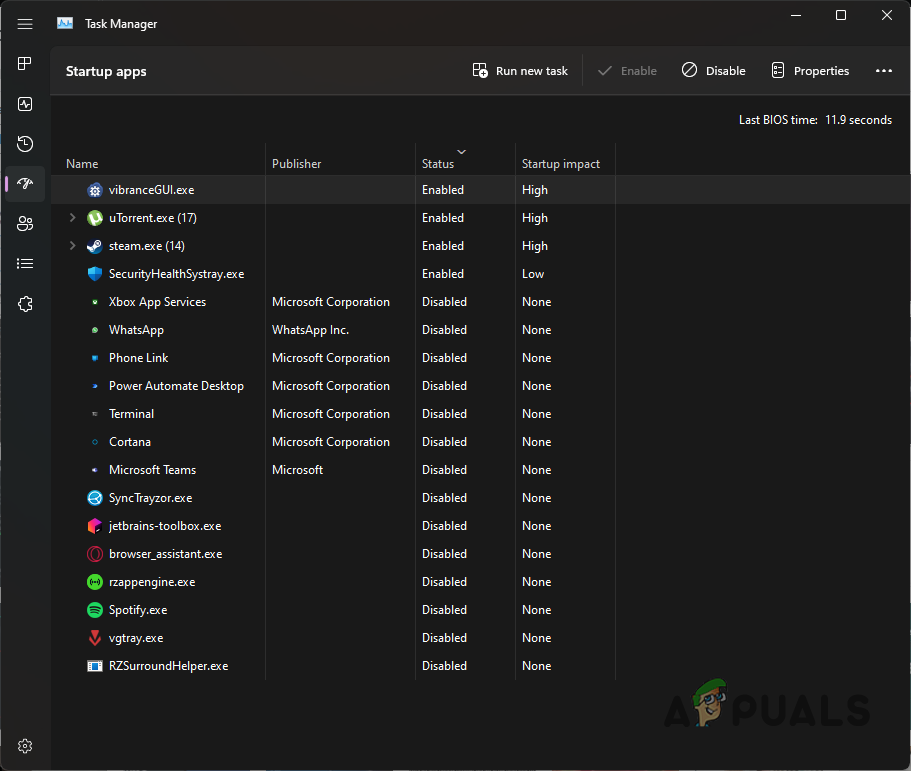
Disabling Third-Party Services - Afterward, switch to the Startup tab and click on the Open Task Manager option.
System Configuration Startup tab - On the Task Manager window, select each application one by one and click Disable to prevent it from starting on startup.
Disabling Apps on Startup with Task Manager - With that done, restart your computer and then see if the game works properly.


