Fix: Visual Studio Code “The Window Terminated Unexpectedly” Error
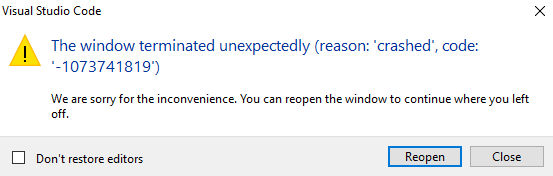
The error “Visual Studio Code Error: The Window Terminated Unexpectedly” occurs when VS Code crashes during launch or while running. This error usually points to a conflict with the Chromium sandbox, which is a built-in security layer that isolates processes to keep the application safe. While essential for security, the sandbox can sometimes cause instability on certain systems, leading to unexpected shutdowns.
Other possible causes include low virtual memory allocation, corrupted cache files, too many installed extensions, or hardware acceleration conflicts. In rare cases, an outdated or corrupted installation of VS Code may also be responsible.
Below are several proven methods to fix this issue.
1. Launch VS Code with –disable-chromium-sandbox
The Chromium sandbox restricts VS Code’s access to system resources for security. However, if your system or drivers don’t fully support it, the editor may crash during initialization. Launching VS Code with the --disable-chromium-sandbox flag bypasses this restriction and allows the application to run without the sandbox.
- Close Visual Studio Code completely.
- Press Win + R, type cmd, and press Enter.
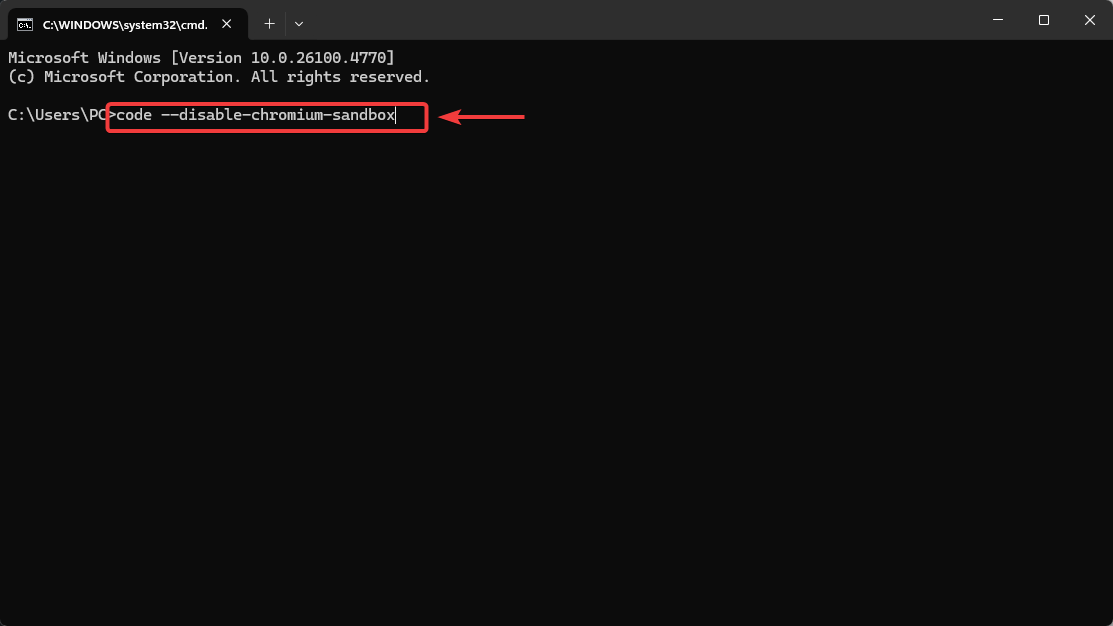
- Type the command below and hit Enter:
code --disable-chromium-sandbox
- If VS Code launches without crashing, consider updating your OS and drivers. If needed, you may run VS Code in this mode as a temporary workaround.
2. Increase Virtual Memory (Paging File)
VS Code loads multiple processes, extensions, and rendering components into memory. If your system’s physical RAM is insufficient, Windows relies on virtual memory (paging file). If this allocation is too low, VS Code may terminate unexpectedly. Increasing the paging file ensures enough memory is available during startup.
- Press Win + R, type sysdm.cpl, and press Enter.
- Go to the Advanced tab and under Performance, click Settings.
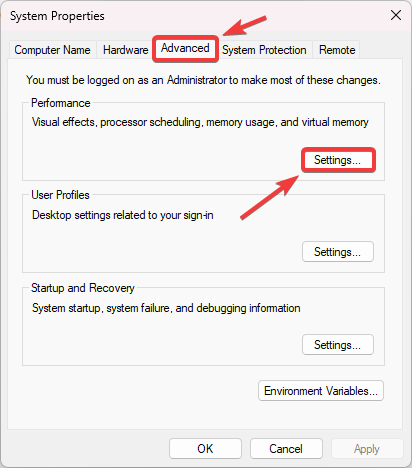
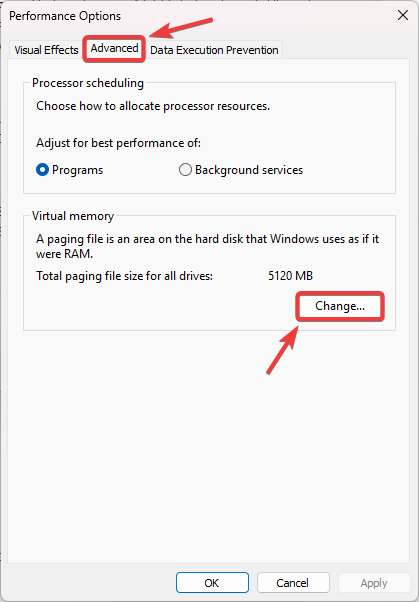
- In Performance Options, switch to the Advanced tab and click Change under Virtual memory.
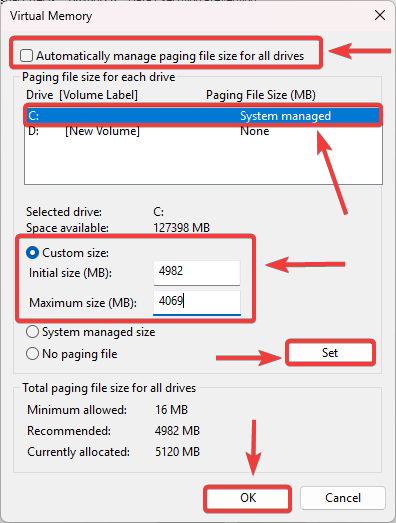
- Uncheck Automatically manage paging file size for all drives.
- Select your system drive (usually C:), choose Custom size, and enter values:
- Initial size: Use the recommended value shown.
- Maximum size: Set higher (e.g., 4096 MB or more).
- Click Set, then OK, and restart your system.
3. Clear VS Code Cache and Backup Data
VS Code stores cached session data, extension states, and backups under its profile folders. If these files become corrupted (due to failed updates, crashes, or conflicts), the editor may crash on launch. Deleting these cache folders forces VS Code to regenerate them, often resolving the problem.
- Close all VS Code windows completely.
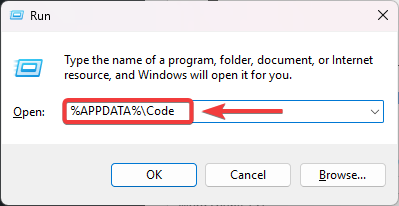
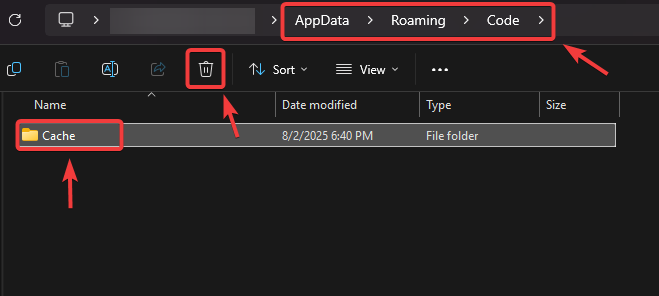
- Press Win + R, type the path below, and press Enter:
%APPDATA%\Code
- Delete the following subfolders:
Cache
CachedData
Code Cache
GPUCache
- Restart VS Code and check if the issue persists.
4. Disable Extensions and Hardware Acceleration
Hardware acceleration allows VS Code to offload rendering tasks to the GPU, improving performance but potentially causing crashes if GPU drivers are unstable. Similarly, extensions directly modify VS Code’s behavior, and a faulty or outdated extension can prevent the editor from launching. Running VS Code with both disabled helps identify the root cause.
4.1 Disable Extensions
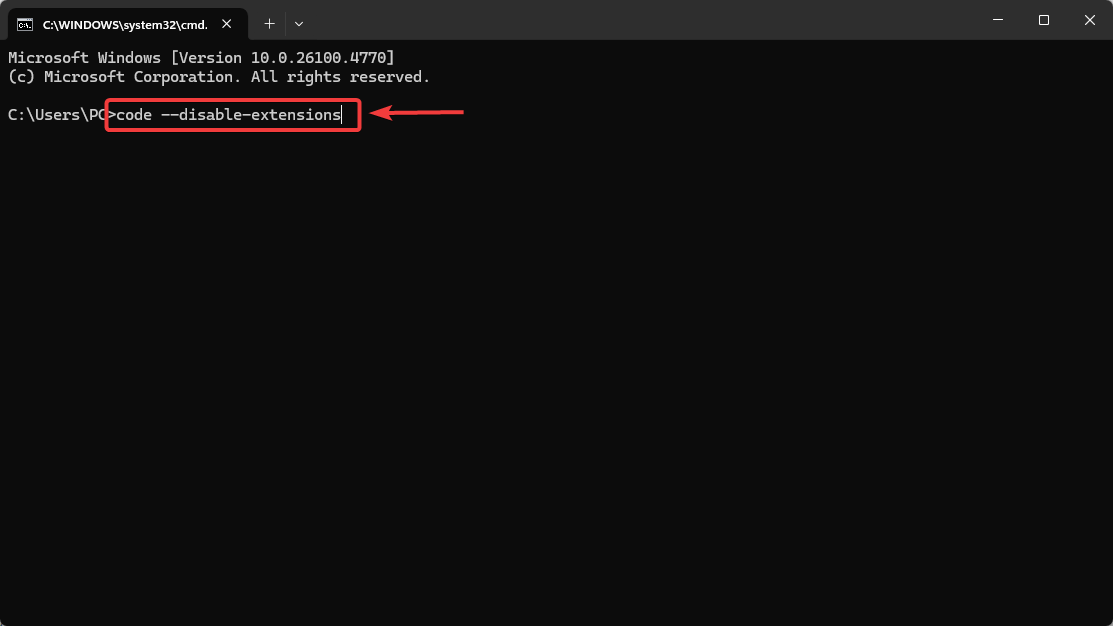
- Press Win + R, type cmd, and press Enter.
- Run the following command:
code --disable-extensions
- If VS Code opens successfully, one of your extensions is the cause. Re-enable them one by one to find the faulty one.
4.2 Disable Hardware Acceleration
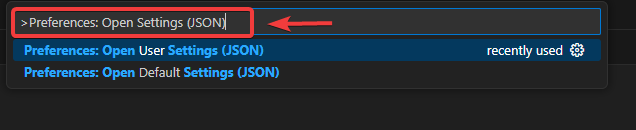
- Press Ctrl+Shift+P to open Command Palette.
- Search and select Preferences: Open Settings (JSON).
- Add the following line in the JSON file:
"disable-hardware-acceleration": true
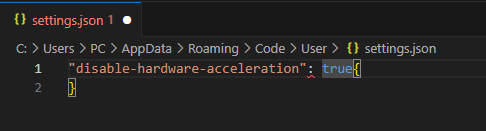
- Restart VS Code. It will now use CPU rendering instead of GPU.
5. Reinstall Visual Studio Code
If all else fails, reinstalling VS Code ensures any corrupted core files or broken installations are replaced with a fresh copy. This is the most reliable way to rule out installation-level issues.
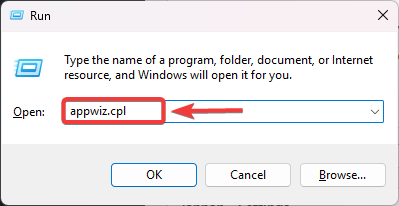
- Press Win + R, type appwiz.cpl, and press Enter.
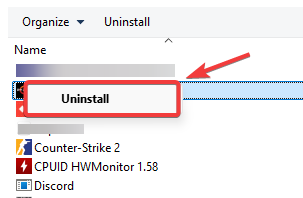
- Locate Visual Studio Code, right-click, and select Uninstall.
- Download the latest version from the official VS Code website.

- Run the installer and complete setup.
- Launch VS Code to verify the error is resolved.


