Fix: VPN connection failed due to unsuccessful domain name resolution
The error ‘VPN connection failed due to unsuccessful domain name resolution‘ occurs when using the Cisco AnyConnect Secure Mobility Client to connect remotely to a different machine.
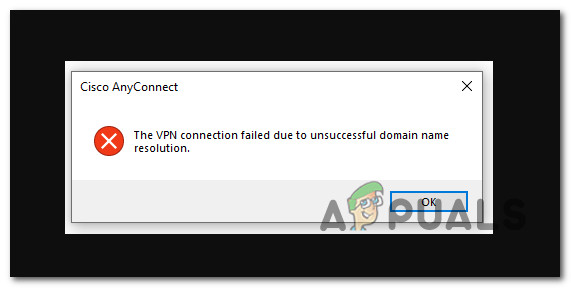
A DNS issue is a potential cause of this issue, an issue with the anyconnect.xml file, or some system file corruption.
Here’s a list of troubleshooting steps that you can try to fix the issue.
1. Change DNS Settings
This error occurs more frequently when a custom public DNS is in use (such as Cloudflare, Google Public DNS, or Open DNS). The built-in VPN component used by Cisco AnyConnect is very specific and is known to trigger incompatibility errors with the majority of public DNS addresses.
To ensure that a DNS-based conflict is not causing the following error. For step-by-step instructions on how to do this, follow the instructions below:
- Press the Win + R keys together to open up a Run dialog box.
- Type ‘ncpa.cpl’ and press Ctrl + Shift + Enter to open Network Connections window.
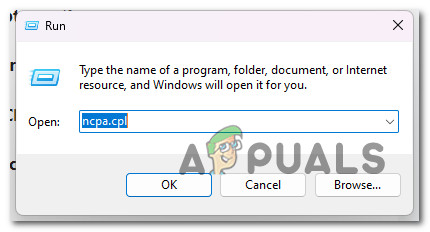
Open the Network Connection menu - At the User Account Control (UAC), click Yes to grant admin access.
- Once you’re inside the Network Connections menu, right-click on your active network, then click on Properties from the context menu that just appeared.
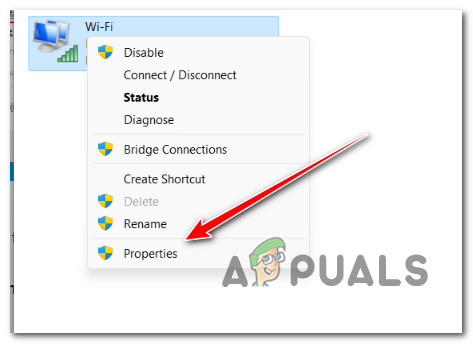
Access the Properties screen of your Network connection - Inside the Properties menu of your active network, click on the Networking tab, then scroll down to the ‘This connection uses the following items:’, select Internet Protocol Version 4 (TCP/IPv4) and click on Properties.
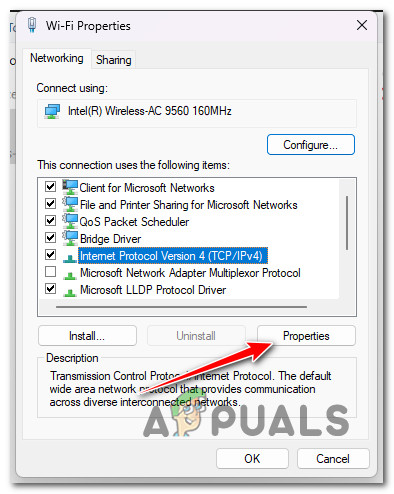
Access the Properties screen of IPV4 - From the Internet Protocol Version 4 (TCP/IPv4) Properties screen, access the General tab and make sure the Obtain DNS server address automatically toggle is enabled and click on Ok to save the changes.
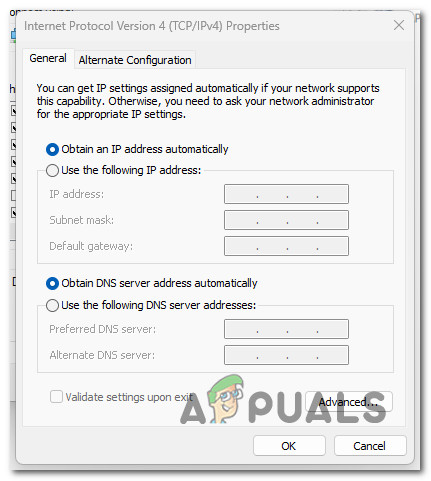
Reconfigure IPV4 to obtain DNS server automatically - Reboot your PC to allow the changes to take effect.
2. Repair the anyconnect.xml file
The following error will also occur if the AnyConnect XML profiles have become corrupted.
You can access the XML file and look for inconsistencies in the showcased paths if you know networking.
You can effectively reset AnyConnect’s XML profiles by reinstalling the AnyConnect application.
Follow the steps to repair anyconnect.xml:
- Press Windows key + R to open up a Run dialog box.
- Now type ‘appwiz.cpl’ inside the text box, then press Ctrl + Shift + Enter to open up a Run dialog box.

Open up the Programs and features menu - At the User Account Control (UAC), click Yes to grant admin access.
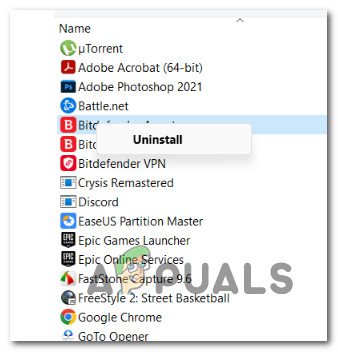
- Once you’re inside the Programs and Features menu, scroll down through the list of programs and locate the AnyConnect installation.
- Right-click the AnyConnect installation and click on Uninstall from the context menu that just appeared.
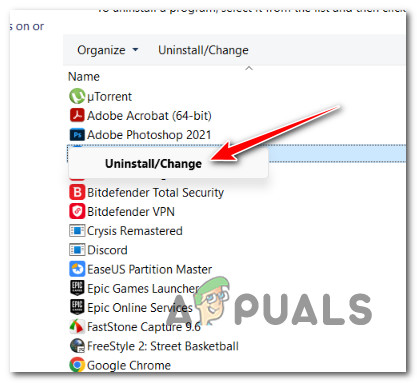
Uninstall the AnyConnect application - Once you see the uninstallation screen, follow the on-screen prompts to complete the uninstallation, then reboot your PC to remove any remnant files left behind by the installation.
- At the next startup, navigate to the official download page of AnyConnect Security Mobility Client and download the latest executable from Downloads > Download Options.
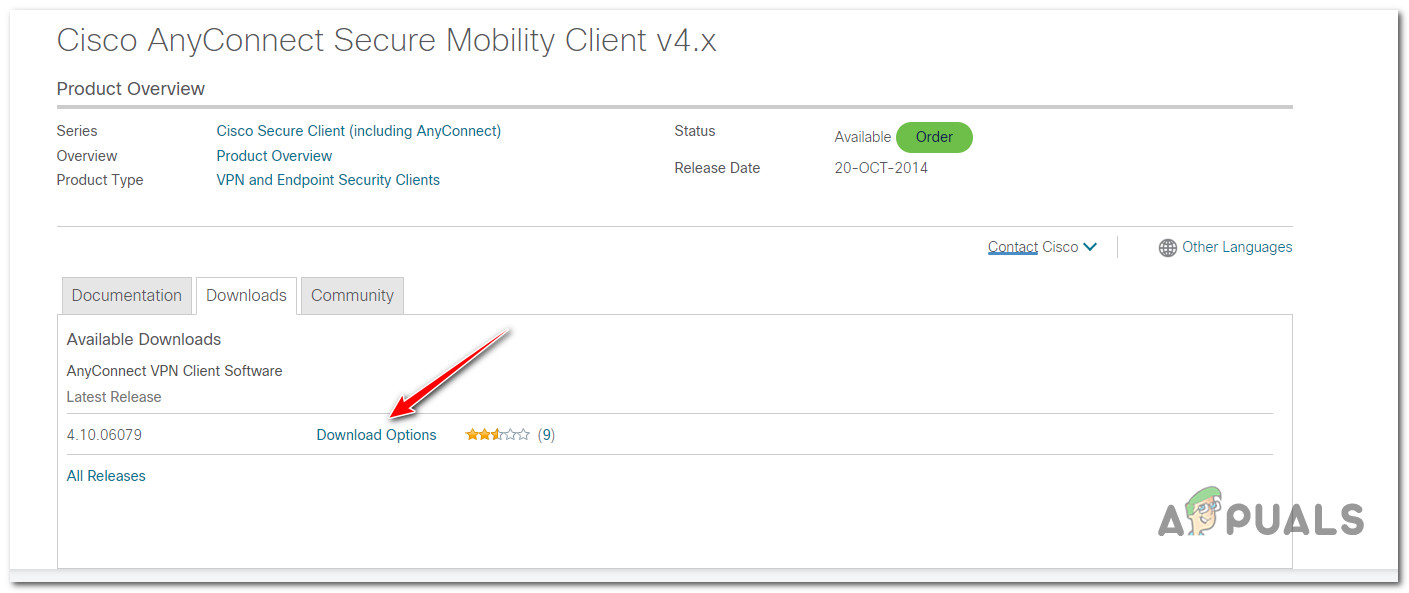
Downloading the latest version of AnyConnect Note: To download the software, you need to be logged in with your Cisco account.
- From the next link, make sure you download the file package compatible with your OS.
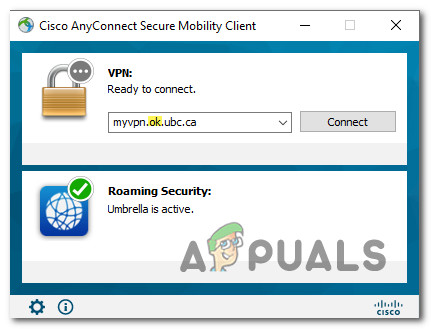
- Once the download is complete, open the executable with admin access and follow the on-screen instructions until AnyConnect Secure Mobility Client is reinstalled.
- Attempt to connect to a machine remotely using the recently installed software and see if the problem is now fixed.
If the same problem is still occurring, move to the next method below.
3. Connect to another region (with different VPN HEs)
If you’ve come this far without a viable resolution, another thing that you can do to avoid the following error is to connect to another region with a different set of VPN HEs.
Note: This method will fix the issue if the anyconnect.xml file becomes corrupted and the method above doesn’t work in your case.
This action will cause a new file to be downloaded, allowing you to connect to the original HEs.
If you are an AnyConnect admin and you can connect with a different set of HEs, do so the new file is generated.
Next, connect to the original HEs and see if the problem is now fixed. If you still see the ‘VPN connection failed due to unsuccessful domain name resolution’ or you don’t have the necessary permissions to complete the operation, try the next method below.
4. Disable or Uninstall 3rd party firewall
If you’ve gotten this far without a solution and you’re using a third-party antivirus, you should look into it to see if it’s the cause of the Cisco AnyConnect software cutting off the connection.
The “VPN connection failed due to unsuccessful domain name resolution” error could be caused by a series of overprotective suites that cut off the connection to the VPN server because they thought it was a threat.
Note: Norton and Comodo Antivirus, both AV suites often cause this problem.
Start by trying to turn off the 3rd party suite to see if that is the problem. Most 3rd party security suites will let you do this right from the tray bar icon.

After turning off the firewall, restart your computer and open Cisco AnyConnect again to see if the problem is fixed.
Important: Even if you turn off real-time protection on some firewalls, rules that are specific to a network will still be in place. So, if you set up your firewall to stop certain kinds of communication with external servers in the past, this role is likely to stay the same after you turn off the firewall protection.
If this is the case, follow the steps below to remove the third-party firewall and see if the error goes away.
What you have to do is:
- Press the Windows key + R to open the Run box, type “appwiz.cpl,” and then press Enter. This will bring up the menu for Programs and Files.
Open up the Programs and features menu - Use the Programs and Files menu to look through the list of installed programs until you find the third-party firewall tool you want to get rid of.
- To finish uninstalling, right-click on the third-party antivirus program you found and choose “Uninstall” from the new menu that pops up.
4. Now, you need to finish following the instructions for removing the program and restarting your computer to see if the problem is still there.
If you’re still getting the error “VPN connection failed because the domain name could not be resolved,” move on to the last solution below.
5. Disable Proxy server or 3rd party VPN
Another third-party component that might prevent communication between your Windows end-user version and Cisco AnyConnect’s VPN server is a proxy or VPN client. Most of the time, this issue was brought on by a VPN client or proxy server configured on Windows.
Try uninstalling your VPN client or disabling your proxy server if your circumstance is similar to the one described above.
Select the guide that best fits your needs from the two we created to address these scenarios.
5.1. Disable VPN client
Whether a VPN service was set up by Windows itself or by an external program determines how to disable it on a Windows computer.
You must go to the VPN interface if you are using a standalone app to disconnect from a VPN.
However, you can disable it by carrying out the following steps if you configured your VPN using the built-in feature:
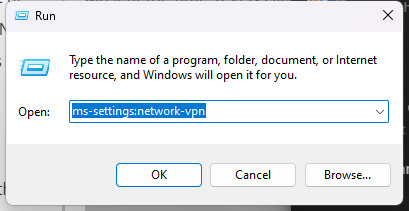
- Press the Windows key + R to bring up the Run box.
- Then, press Enter after typing “ms-settings:network-vpn” to open the VPN tab in the Windows Settings app.
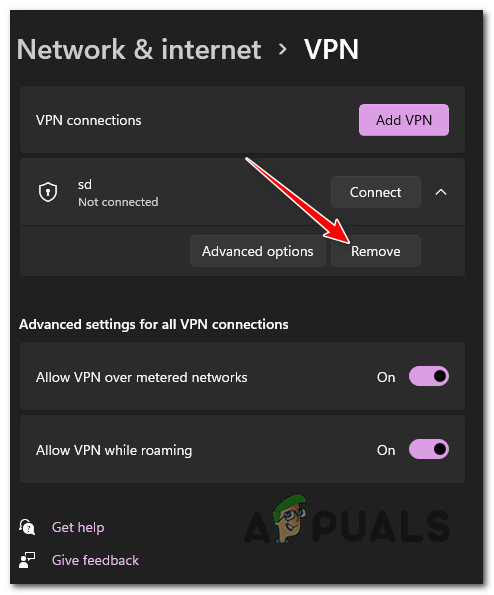
- Click on your VPN connection on the right side.
- Click Remove on the new context menu to stop it from messing up connections to the outside world.
- Open Cisco AnyConnect again and connect to the same machine that was giving you the “VPN connection failed because domain name resolution failed” error before.
5.2 Turn off the proxy server
If you’ve already configured a local proxy server, you may quickly disable it by selecting the Proxy tab from the Settings menu.
Here’s how:
- Press the Windows key + R to bring up the Run box.
- In the next menu, type “ms-settings:network-proxy” and press Enter to open the Proxy tab in the Settings app.

Open the Proxy server - Go to the Proxy tab in the Settings menu and click on Manual Proxy Setup.
- On the right side of the screen, uncheck the box that says “Use a proxy server.”
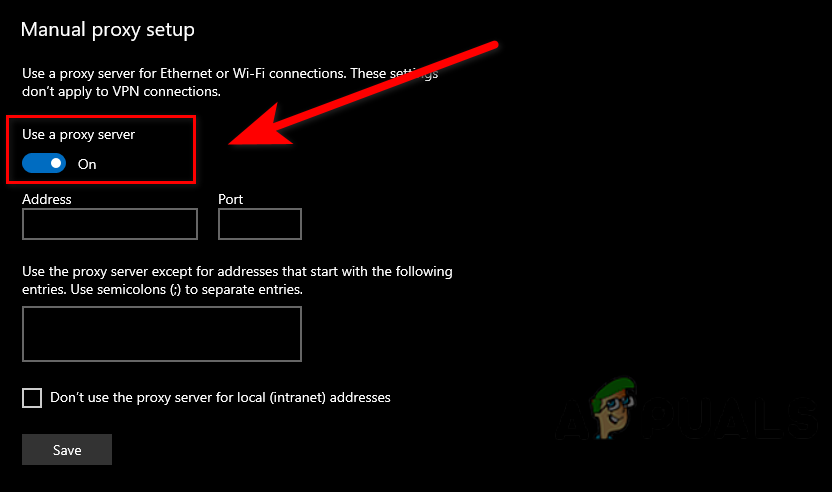
Disable Proxy Server - After turning off the proxy server, restart your computer and try to connect remotely with Cisco AnyConnect again to see if the problem has been fixed.
6. Disable DNS Error Assist (if applicable)
The DNS Error Assist function may be the cause of your issue if you encounter this error when attempting to connect from an AT&T network.
If you can enter your AT&T account and change the Privacy Settings to keep the DNS Error Assist feature disabled, you should be able to resolve the problem.
Note: If you try to use AnyConnect to connect outside from an AT&T network, this is probably where the issue is coming from.
To opt out of the DNS Error assistance, adhere to the directions below:
- Open any browser and visit the home page of AT&T.
- Click on My AT&T (From the right-hand top corner), then click on Sign In.
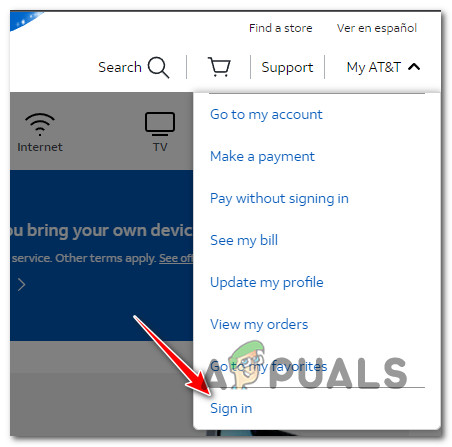
Sign in with your Account - Use your account credentials to sign in with your account.
- Once you have successfully signed in with your account, click on View Profile.
- Go to Communication Preferences, then click on Privacy Settings.
- Select DNS Error Assist and use the opt out option to disable it.
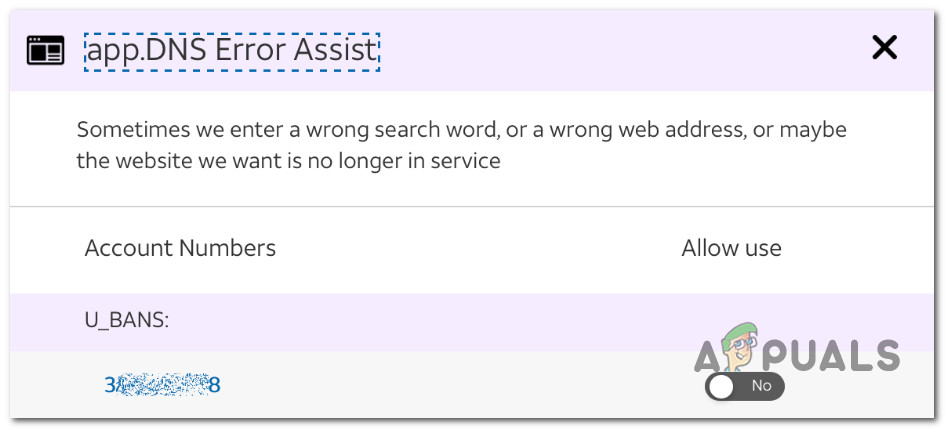
Disable the DNS error assist - Reboot your PC, then attempt to connect with AnyConnect once again and see if the problem is now fixed.
7. Clean install or repair install
If none of the above solutions worked, it’s likely that the problem is caused by corrupted system files that affect the local network and prevent AnyConnect from connecting to the VPN server.
In this case, the only way to fix the problem is to follow a set of steps that will reset every part of the OS.
You have two options for how to do this: a repair install or a clean install.
- A clean install is a simple process that takes only a few clicks and doesn’t need any installation media. But the biggest problem is that if you don’t back up your apps, games, user settings, and other personal data first, you might lose most of it.
- A repair install will require Windows 11 installation media that is compatible, but you will be able to keep all of your personal apps, games, user preferences, and media. The operation will only change the parts of the OS. Everything else will stay the same.


