How To Fix VLC Media Player Crashes when Playing .MKV Files
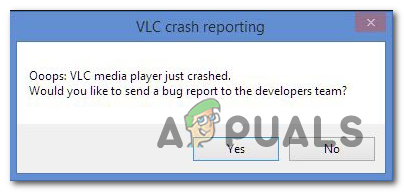
As it turns out, some users are unable to open .MKV files with VCL Media Player. A few seconds after opening the .mkv file, affected users get the ‘Oops: VLC media player just crashed’ error. Retrying the procedure brings about the same outcome, and most affected users are reporting that the issue occurs with any .MKV file that they attempt to play.
If you’re using an ancient version of VLC Media Player (the build is dated around 2012), the issue can most likely be fixed by uninstalling your current VLC version and migration towards the most recent release.
However, if you are encountering a period of lagging and skipping before your VLC player finally crashes, it’s possible that insufficient processing power is causing the ‘Oops: VLC media player just crashed’ error. In this case, you should try disabling hardware acceleration decoding, switching to DirectX video acceleration or boosting the default file caching value.
In case your machine should be more than capable of playing 4K .MKV files, you should also try forcing the application to skip the loop filter or even enable multi-thread decoding on FFmpeg playback for .MKV files.
Method 1: Installing the latest version of VLC Media Player
As it turns out, one of the most common causes that will cause this particular error when playing .MKV files with VLC Media Player is a bug that used to affect VLC versions released around 2012. If you’re using a severely outdated VLC client, the fix might be as simple as uninstalling your current version of VLC and installing the latest build from the official website.
Note: Keep in mind that the auto-updating feature on VLC is known to break quite often. So don’t dismiss this potential fix just because you haven’t been prompted to update by the application.
several affected users have confirmed that uninstalling their current VLC version via the Programs and Files menus and installing the latest build from the official download page has finally allowed them to fix the ‘Oops: VLC media player just crashed’ error’.
Here are step by step instructions through the whole thing:
- Ensure that every instance of VLC media player is completely closed.
- Pless Windows key + R to open up a Run dialog box. Inside the text box, type ‘appwiz.cpl’ and press Enter to open up the Programs and Features menu.

Typing in “appwiz.cpl” in the Run prompt Note: If you’re prompted by the UAC (User Account Control) window to provide admin access, click on Yes to do so.
- After you manage to get inside the Programs and Features menu, scroll down through the list of installed applications and locate your VLC Media Player installation. Once you manage to locate it, right-click on it and choose Uninstall/Change from the context menu.
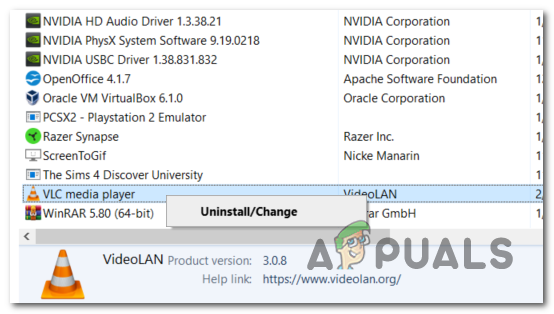
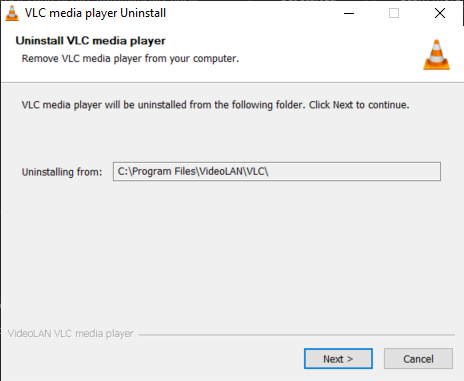
Uninstall VLC via Programs and Features - Once you’re inside the uninstallation screen of VLC media player, follow the on-screen instructions to complete the operation, then restart your computer if you’re not prompted to do so automatically.
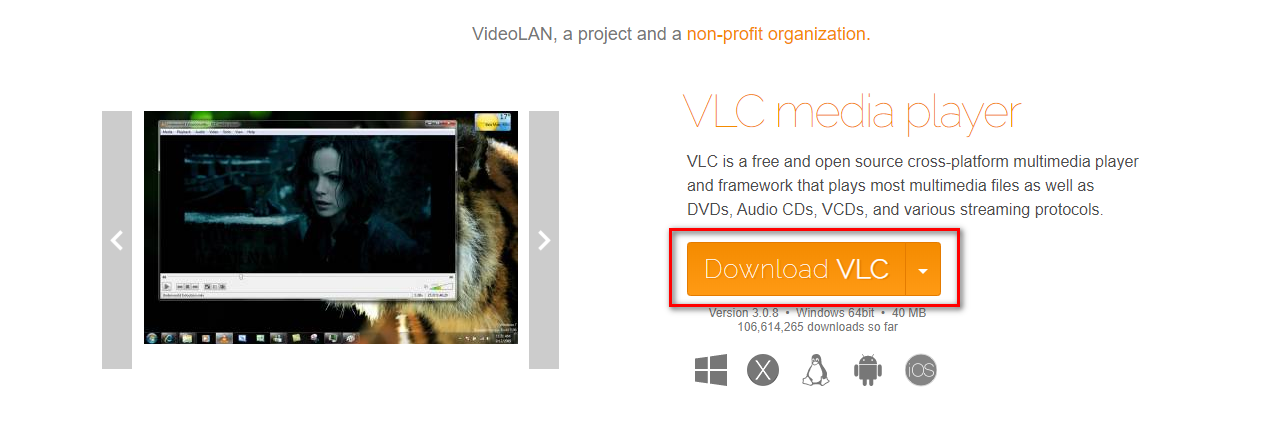
- Once the next startup sequence is complete, open this link (here) with your default web browser and click on the Download VLC button to download the latest version of the installation executable.
Downloading the latest VLC build - Once the installation executable is completely downloaded, double-click on it and follow the on-screen instructions to complete the installation.
Opening the installation executable of VLC - After the process is complete, restart your computer and see if you are able to play .MKV files normally after the next machine startup.
In the event that you’re still struggling with frequent ‘Oops: VLC media player just crashed’ crashes when attempting to play .MKV files, move down to the potential fix below.
Method 2: Disable Hardware acceleration decoding
In case you’re only encountering skipping issues or general crashes on VLC when you attempt to play high-definition .MKV files by streaming them over a network, it’s most likely due to insufficient processing power on your computer.
This issue has been encountered by other users facing the problem in similar circumstances. The way they got this resolved was by disabling Hardware-accelerated decoding from the Preferences menu. This ends up easing the load off your CPU and GPU, making the loading times bigger but also making the application much more stable when running on low-spec machines.
Here’s a quick guide on disabling hardware acceleration on VLC media player:
- Open VLC media player with administrative privileges by right-clicking the launch icon and choosing Run as Administrator.
- Once you’re inside the main VLC window, use the ribbon bar at the top to access the Tools menu, then click on Preferences.
- When you get to the Simple Preferences screen, select the Input / Codecs category from the menu at the top, then move down to the Codecs tab and set the Hardware-accelerated decoding to Disabled.
- After you do this, click on the Save button once to make the change permanent.
- Restart VLC Media player and see if the issue is now resolved.
In case you’re still encountering frequent stuttering and crashing when you attempt to play .MKV files with VLC Media Player, move down to the next method below.
Method 3: Enabling DirectX Video Acceleration (DVXA) 2.0
If you’re encountering this issue on a newer PC configuration that runs with a fairly dedicated GPU, but with a low-tier CPU, changing the default hardware acceleration to Direct Video Acceleration (DCXA) 2.0 might be the method that finally fixes the constant VLC crashes when playing .MKV files.
This might be effective because DirectX Video Acceleration allows certain CPU-intensive tasks (iDCT, motion compensation, deinterlacing, etc.) that might cause stuttering, freezes or general instability to be offloaded to the GPU.
If you’re using a modest CPU, this operation might put the heavy rendering tasks on your GPU, which will allow your system to handle playing .MKV files much more efficiently.
Here’s a quick guide on enabling DirectX Video Acceleration (DVXA) 2.0 via the Input & Codecs Settings inside VLC’s Preferences menu:
- Start by opening up VLC Media Player with administrative privileges.
- Once you’re inside the application, use the ribbon menu at the top to bring up the Tools menu, then click on Preferences from the newly appeared drop-down menu.
- After you manage to get inside the Simple Preferences menu, select the Input / Codecs tab from the menu at the top.
- Next, scroll down to the Codecs section and change the Hardware-acceleration decoding using the associated drop-down menu to DirectX Video Acceleration (DvXA) 2.0.
- Click Save to confirm the change, then restart the VLC application and see if the problem is resolved the next time you attempt to play a .MKV file.
In case you’re still encountering general stuttering and crashes when playing .MKV files, move down to the next potential fix below.
Method 4: Boosting File caching
If you’re encountering several seconds of general stuttering after the application finally crashes, it’s most likely due to the fact that the application doesn’t have the time to do sufficient file caching. By default, VLC Media Player allocates 300 ms to File Caching, but this might not be sufficient for low-end PC configurations.
If this scenario is applicable, you should be able to resolve this issue by accessing the Advanced Preferences menu of VLC media player and boosting the File caching value 1000 or above. Several affected users that were also encountering this issue have confirmed that this operation has finally allowed them to play .MKV files on VLC without issues.
Here’s what you need to do in order to boost File Caching to a higher value:
- Open VLC Media Player with administrative privileges.
- Once you’re inside, use the ribbon at the top to click on Tools, then click on Preferences from the drop-down menu that just appeared.
- After you manage to get inside the Simple Preferences menu, change the Show Settings toggle in the top-left corner from Simple to All.
- After you do this, the menu will change accordingly. From the new interface, use the left-hand side menu to select Input / Codecs.
- With the Input / Codecs menu selected, move over to the right-hand side menu and change the value associated with File caching (ms) to 1000.
- Click Apply to save the changes, then restart VLC Media Player and see if the problem has been resolved.
If you’re still encountering the ‘Oops: VLC media player just crashed’ error when you attempt to play .MKV files, move down to the next potential fix below.
Method 5: Skipping the loop filter
As it turns out, the issue can also be caused by a loop filter that is used before the H 264 decoding begins. This operation is mainly enforced in order to reduce blocking artifacts without reducing the sharpness of the picture. But in certain circumstances, an in-loop filter can effectively stop your VLC installation ability to play certain MKV files.
In case you’re only encountering this issue with a few .MKV files (some .MKV files play just fine), you might be able to get the issue resolved by accessing the FFmpeg audio/video decoder settings and force the loop filter to be skipped for every instance of H.264 decoding.
Note: Here’s how to fix the ‘past duration too large’ error in FFMpeg.
Here’s a quick guide on configuring your VLC Media Player installation to skip the loop filter:
- First things first, ensure that VLC Media Player is opened with administrative privileges. You can do this by right-clicking on the launch executable and choose Run as Administrator from the context menu.
- Next, use the ribbon bar at the top to expand the Tools category, then click on Preferences from the drop-down menu.
- Once you’re inside the Simple Preferences menu, switch the Show Settings toggle (bottom-left corner) to All in order to view the advanced settings menu.
- After the Advanced Preferences menu becomes visible, use the left-hand side menu to expand the drop-down menu associated with Video Codecs.
- As soon as you do this, select FFmpeg from the list of video codex that appeared below, then move over to the right-hand section.
- Inside the FFmpeg audio/video decoder, navigate to the Decoding sub-menu and set the drop-down menu associated with Skip the loop filter for H.264 decoding to All.
- Save the modification by clicking on Save, then restart your application and see if the operation is a success.
In case you’re still encountering the ‘Oops: VLC media player just crashed’ error when attempting to play .MKV files using VLC Media player, move down to the next potential fix below.
Method 6: Forcing multi-thread decoding on FFmpeg playback
If you’re encountering a lot of general stuttering and lag before finally experiencing the ‘Oops: VLC media player just crashed’ error when attempting to play .MKV files that are exceptionally large.
As it turns out, VLC Media Player is configured by default to be as lightweight as possible with the system resources that it’s using – However, this is not necessarily a good thing when having to deal with 4K .MKV files.
If this scenario is applicable, you should be able to get the issue fixed by ensuring that FFmpeg audio and video decoding is done with multi-threading (hyper-threading).
Here’s a quick guide on forcing multi-thread decoding on FFmpeg playback:
- Open VLC Media Player with administrative privileges. When you are prompted by the User Account Control (UAC), click on Yes to grant admin access.
- Once VLC Media Player opens successfully, use the ribbon menu at the top to select Tools > Preferences.
- By default, you will see the Simple Preferences screen. Te changes it to the Advanced Preferences menu, set the Show Settings toggle (bottom-left corner) to All.
- As soon as the Advanced Preferences menu becomes visible, use the left-hand section to select Input / Codecs menu.
- Then, expand the Video codecs drop-down menu below and select the FFmpeg entry from the list of available subitems.
- With the FFmpeg entry selected, move over to the right-hand side section and locate the Threads entry under Decoding.
- Change the value of Threads to 2, then click on Save to enforce the change.
- Restart your VLC Media Player application and see if the issue is now resolved.


Thanks it worked when I disabled the Hardware acceleration decoding