Fix: Missing Screen Recording Option in Snipping Tool
The “Screen Recording” feature in Snipping Tool was introduced exclusively for Windows 11, starting with version 22H2. This new functionality allows you to record a specific area of your screen much like taking a screenshot, but in video format. It’s a built-in solution that eliminates the need for third-party screen recorders for basic screen capture needs.
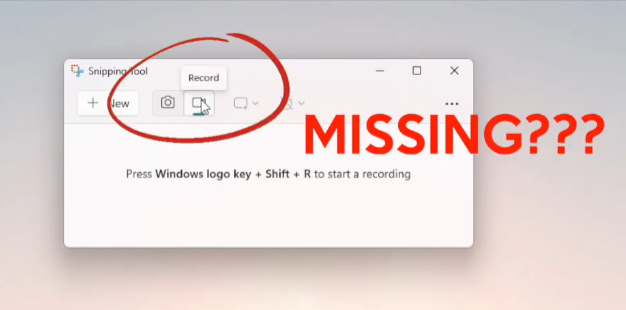
However, many users notice the record button is missing from the Snipping Tool, leaving them confused about how to enable this feature. This usually happens when the Windows version is outdated or the Snipping Tool itself hasn’t been updated properly. If you’re wondering why this feature isn’t appearing and how to enable it, this guide will walk you through the steps to restore the screen recording option quickly and reliably.
The most common reasons behind the missing record option in Snipping Tool on Windows 11 include an outdated Windows 11 version (earlier than 22H2) or the Snipping Tool not being updated to the latest release. Now that you understand what’s causing the issue, let’s fix it.
1. Update Windows 11 to the Latest Version
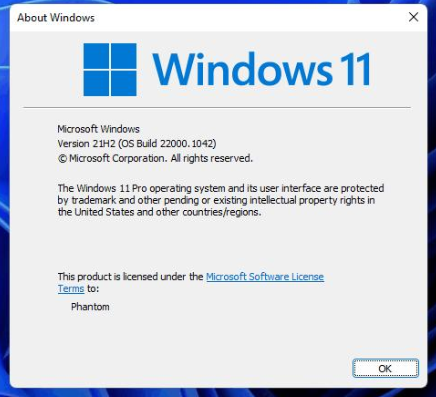
Windows 11 version 22H2 or later is required for the Snipping Tool’s screen recording feature. If you’re on an older version, this option won’t appear. Updating your operating system will not only unlock the record feature but also improve your device’s stability and security.
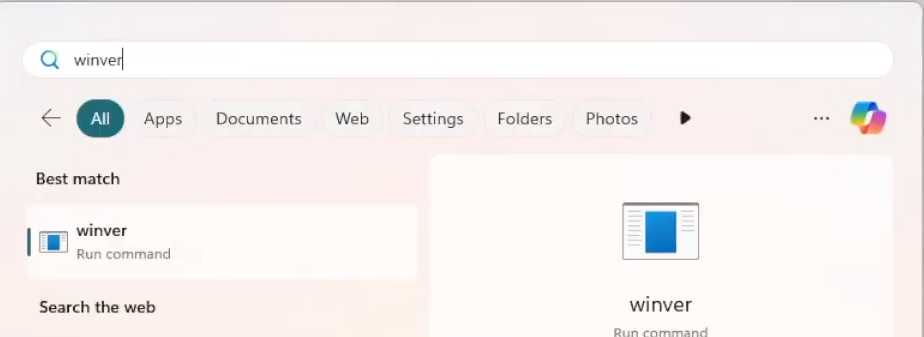
- Click the search bar on your taskbar and type “winver” to check your current Windows version.
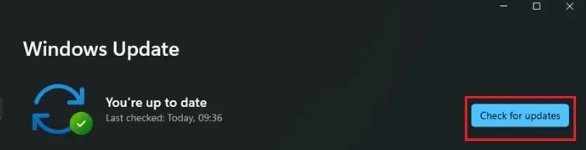
- If your version is older than 22H2, go to Settings > Windows Update.
- Click “Check for updates” to scan for the latest available updates.
- If updates are available, click “Download & install all”.
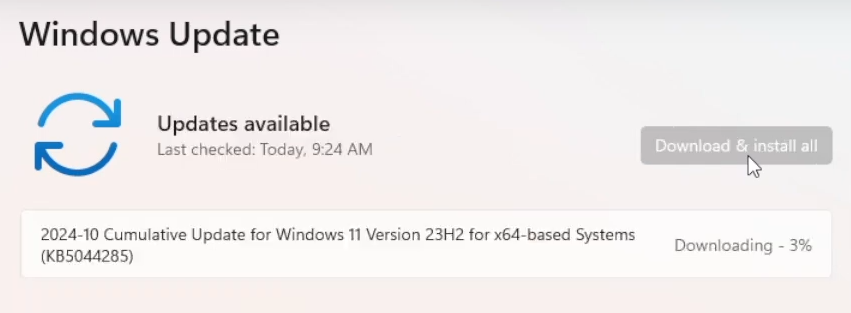
- Once the updates are installed, restart your PC to apply the changes.
- After rebooting, open Snipping Tool again. The screen recording option should now appear.
2. Reinstall Snipping Tool
If you’re already on Windows 11 version 22H2 or newer and the record option is still missing, the Snipping Tool itself may be outdated or corrupted. Reinstalling it ensures that you’re running the latest version and refreshes the app files to include all new features.
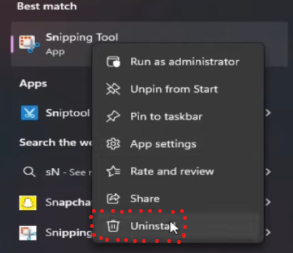
- Type “Snipping Tool” in the search box and select Uninstall.
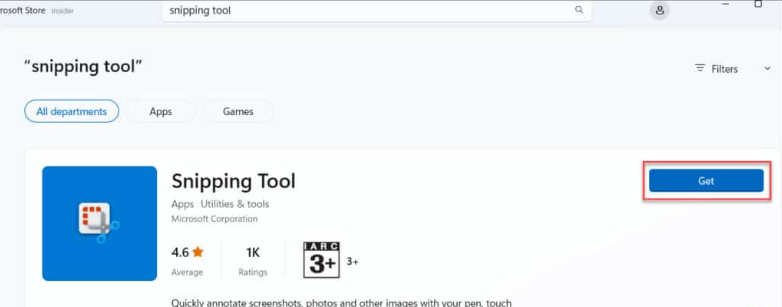
- After uninstalling, open the Microsoft Store.
- Search for “Snipping Tool” and click “Get” to reinstall it.
- Once installed, launch the Snipping Tool, you should now see the record option enabled.
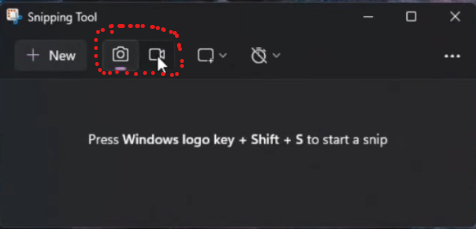
Once you’ve completed these steps, open Snipping Tool again and check for the record icon next to the New button. If it’s visible, you’re all set to start recording your screen.
However, if the recording option is still not appearing even after updating Windows and reinstalling the app, it’s possible that:
- Your region hasn’t received the feature rollout yet
- Group policies or administrator restrictions are in place
- Or there’s a deeper issue with your Windows installation
In such cases, consider contacting Microsoft Support or checking the official Windows release notes to confirm feature availability in your region.


