How to Fix Valorant Vanguard Not Initialized Error Code 128
The “Vanguard Not Initialized” error in Valorant stops the game from starting and is linked to problems with its anti-cheat system. This happens when Windows or other programs interfere with Vanguard’s “VGC” service, or if the anti-cheat isn’t installed correctly. Driver issues or certain system settings can also cause this problem.
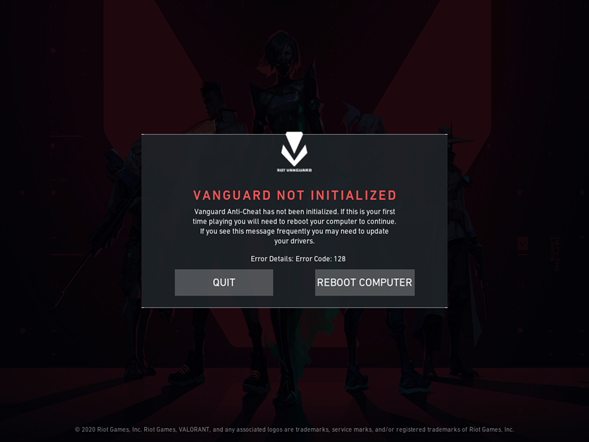
In this article, we will discuss different ways to solve this error.
1. Disable Windows Testing Mode
Running Windows in Test Mode lets unverified drivers and apps run, which can clash with Vanguard’s security rules. Turning off Test Mode makes sure only approved drivers and software operate, matching Vanguard’s needs and fixing startup problems.
- Press Windows Key + X and select Command Prompt (Admin) or PowerShell (Admin).
- Enter these commands one at a time to disable Windows Testing mode:
bcdedit -set TESTSIGNING OFF
bcdedit -set NOINTEGRITYCHECKS OFF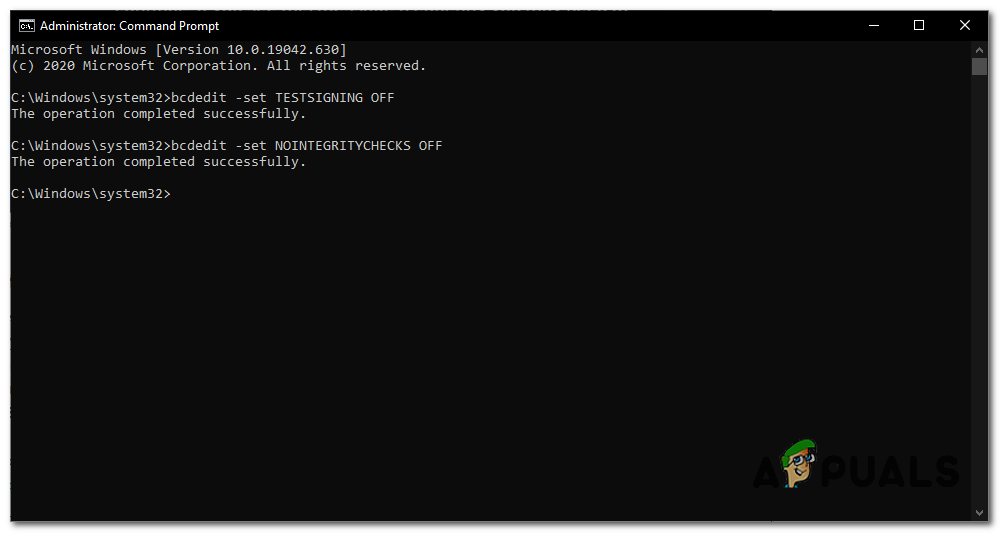
Disabling Test Mode - Open Valorant and click “Reboot Computer.”
- After your computer restarts, Valorant should work.
2. Set the Services to “Automatic”
Setting the Vanguard services, such as “VGC,” to “Automatic” makes sure they start right away when your computer turns on. This helps Valorant’s anti-cheat system work correctly, avoiding errors from services starting late or not at all.
- Hold the Windows Key and press X. Select Command Prompt (Admin).
- Enter these commands one at a time:
sc config vgc start= demand
sc config vgk start= system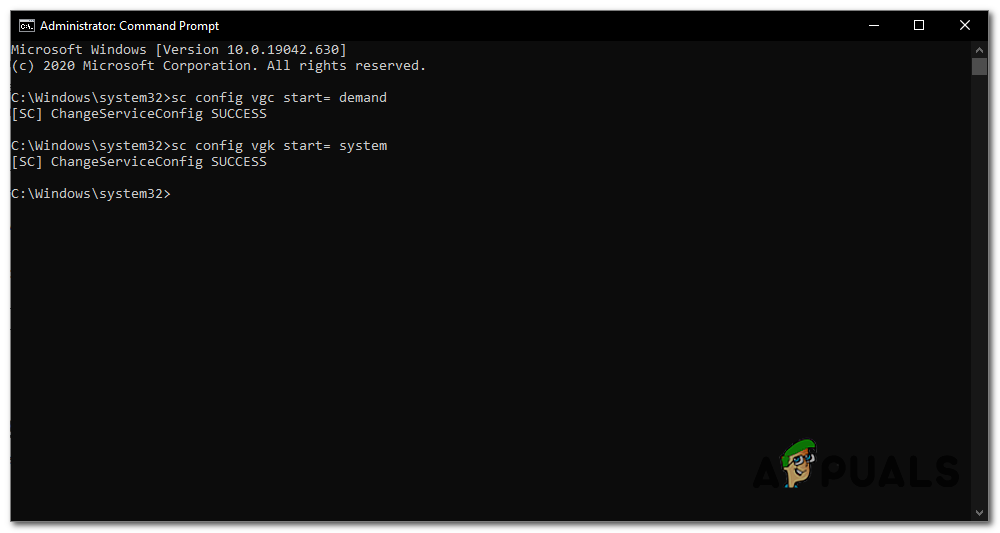
Setting Services to Automatic - Open Valorant and select “Reboot Computer.”
After your computer restarts, verify the Vanguard service and driver:
- Press Windows Key and X, then select Command Prompt (Admin).
- Enter these commands:
sc query vgc
sc query vgk
If you see an error stating the service is unavailable, uninstall and reinstall Valorant and Vanguard. If it displays the service name vgc, manually start Vanguard with:
net start vgc
Check if the issue persists.
3. Repair VALORANT
Repairing Valorant checks and fixes important game files, including those needed for Vanguard. This makes sure everything is complete and resolves problems from damaged or incomplete installs.
- Download the Valorant Installer using this (link).
- Open the downloaded setup file.
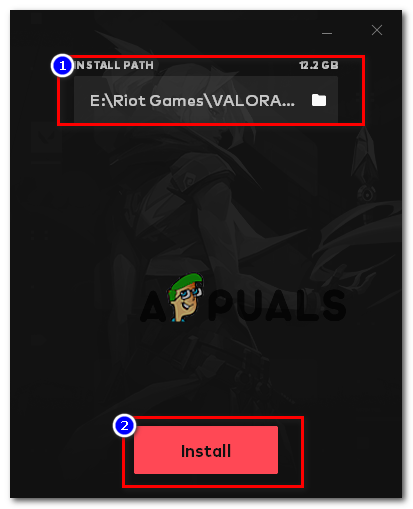
- Click “Advanced options” and choose the location where Valorant is installed. Example:
E:\Riot Games\VALORANT
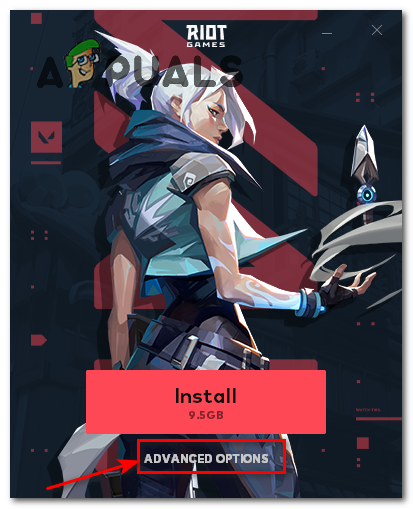
Repairing Valorant - Press the “Install button.” It should say “Repairing” if the correct location is selected. If it says “Installing,” the location is incorrect.
Repairing Valorant - After the repair, restart your computer when prompted.
Check if the issue persists.
4. Verify Drivers
Outdated or incompatible drivers can mess up Vanguard by conflicting with system processes. Checking and updating drivers makes sure they are signed and work well, helping Vanguard run smoothly and avoiding errors.
- Press Windows + R to open the Run dialog.
- Type “sigverif” and press Enter to run the command.
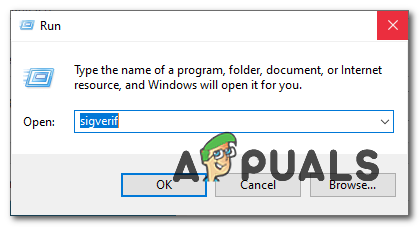
Opening Signature Verification - In the pop-up window for File Signature Verification, click “Start.”
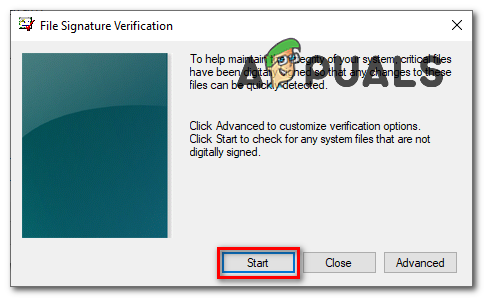
File Signature Verification - Wait for the process to complete. If unsigned drivers are found, you’ll be notified.
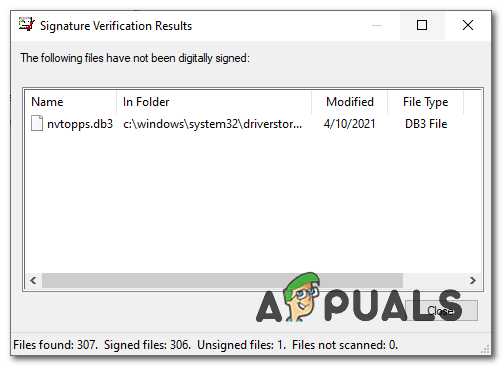
Unsigned Driver File - Search online for the file name to identify the driver.
- For example, “nvtopps.db3” was an outdated Nvidia driver.
- Updating the driver resolved my issue with Valorant.
Check to see if the issue persists.
5. Turn on Data Execution Prevention
Turning on Data Execution Prevention (DEP) adds security by stopping harmful code from running in certain memory areas. For Vanguard, this helps critical processes run smoothly, fixing issues that might cause errors.
- Press Windows Key + R to open the Run dialog box.
- Type cmd, then press Ctrl + Shift + Enter to open Command Prompt with admin rights.
- Enter the command below and press enter:
bcdedit.exe /set {current} nx OptIn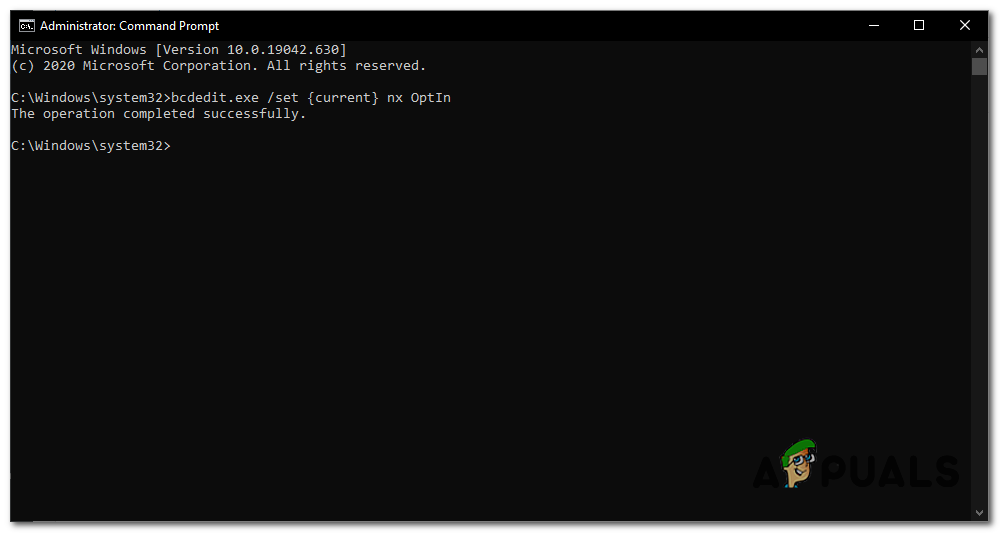
Enabling DEP - Restart your computer to enable DEP.
Check if the issue persists.


gracias mi amor, me ha salvado ♥