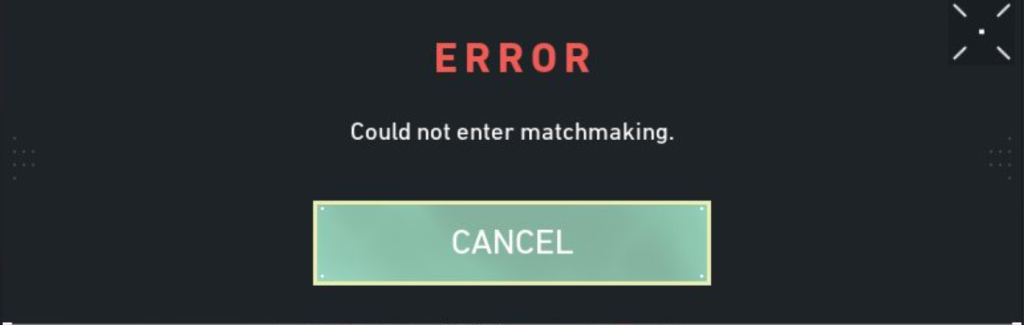
How to Fix the “Could Not Enter Matchmaking” Error in VALORANT?
The error message “Could not enter matchmaking” in VALORANT is a common issue that often occurs because of network problems. This means the game is having trouble connecting you to other players.
Game servers can also cause this error due to technical problems, which may vary from region to region. Leaving a match or misconduct towards other players results in a temporary ban, preventing you from joining a match.
In this guide, we’ll walk you through multiple solutions, ranging from simple checks to more advanced troubleshooting steps.
1. Check Server Status
Before we proceed troubleshooting, ensure VALORANT servers are fully functional and are working properly.
- Open your web browser.
- Go to the Riot Games server status page for Valorant.
- Select your region from the drop-down menu to view the server status specific to your location.
- For example, select “North America,” “Europe,” or “Asia” based on your current region.
- Look for any server updates or ongoing maintenance notices.
- Check for any specific solutions offered by the game’s officials for your error.
2. Flush DNS and Reset Winsock
The DNS (Domain Name System) translates website names into IP addresses. Over time, this information can become outdated or corrupted, causing connection issues. Flushing the DNS clears this old information and starts fresh. Winsock is a part of Windows that manages network connections. Resetting it can help fix network issues.
Note: Restart your internet router by turning it off for 30 seconds to 1 minute before turning it back on.
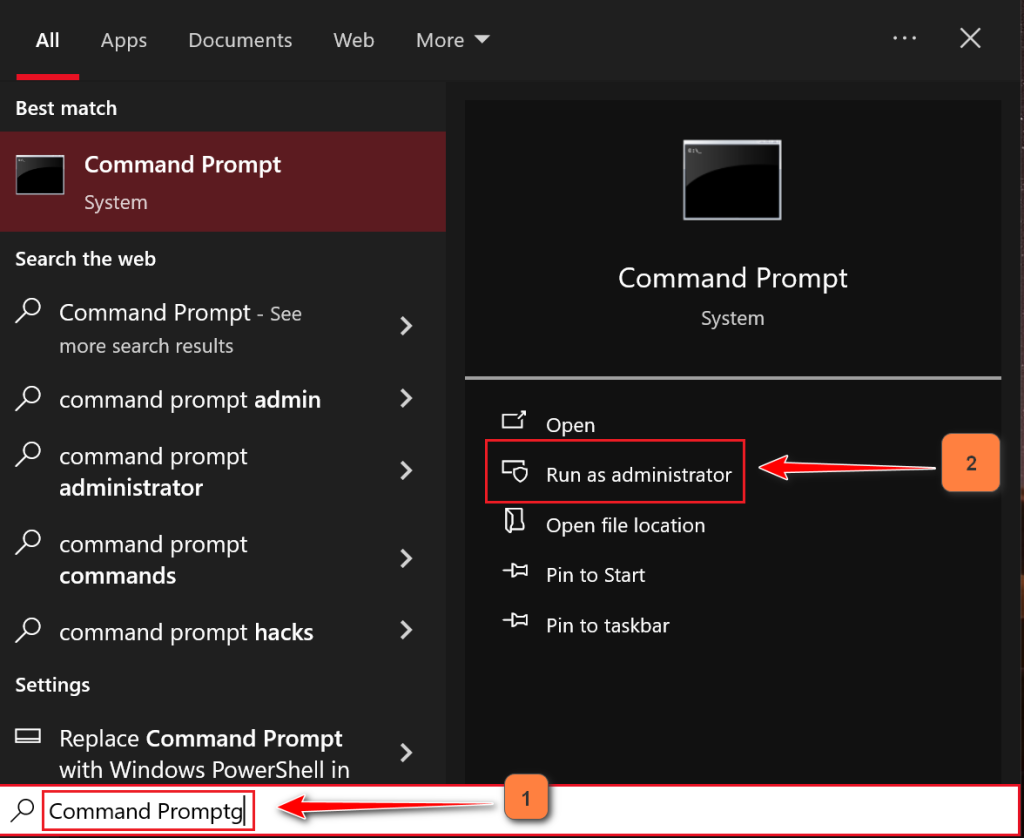
- In the Windows search box, type “Command Prompt”.
- Right-click on Command Prompt and select Run as administrator.
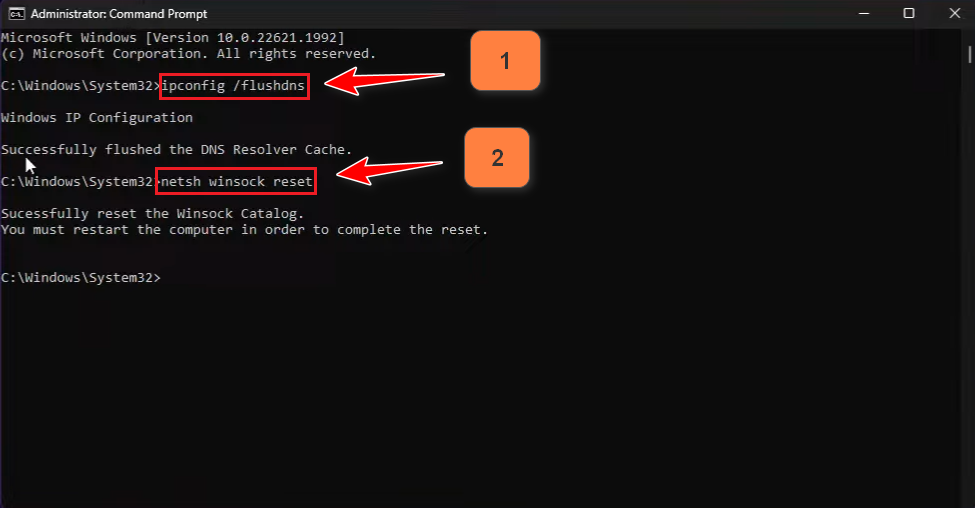
- Type the following command:
ipconfig /flushdns
- Press Enter. You should see a confirmation message when the operation completes.
- Next, type this command to reset Winsock:
netsh winsock reset
- Press Enter again. A confirmation message will appear when done.
- Close the Command Prompt window.
3. End Valorant Process from Task Manager
Stopping Valorant tasks can fix minor glitches or misconfigurations by force quitting the game, which restarts it with new data and eliminates previously stored corrupted data.
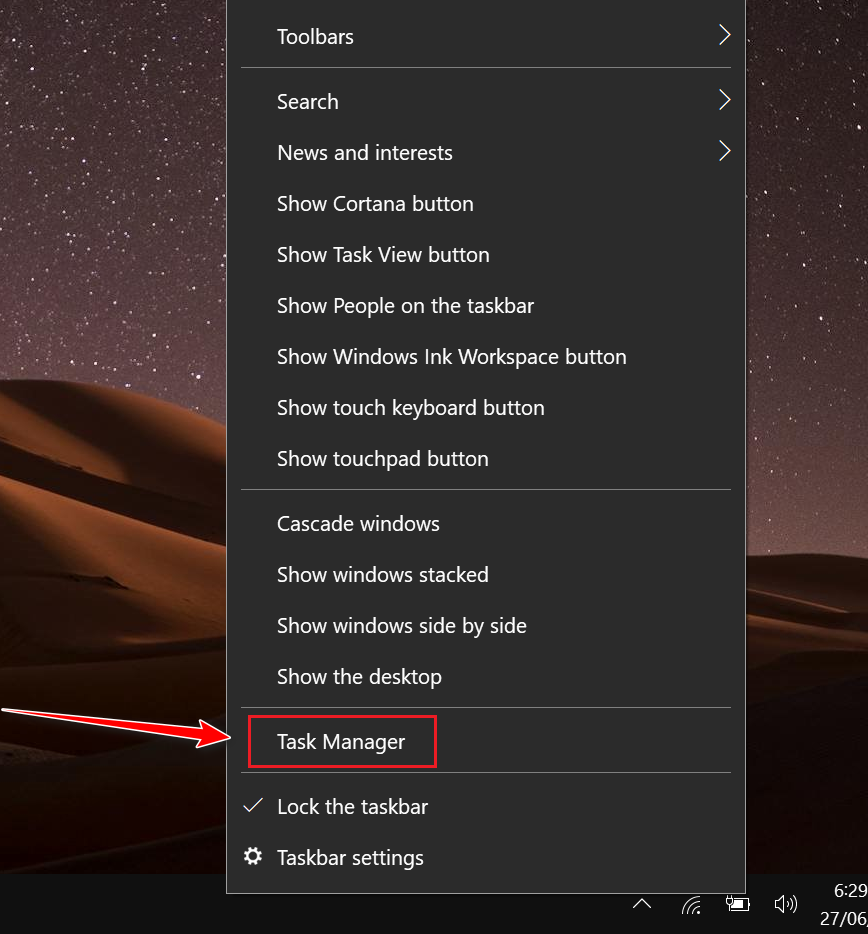
- Right-click on the empty space on the taskbar.
- Select Task Manager.
- In Task Manager, find and click on Riot Client to select it. There may be more than one instance.
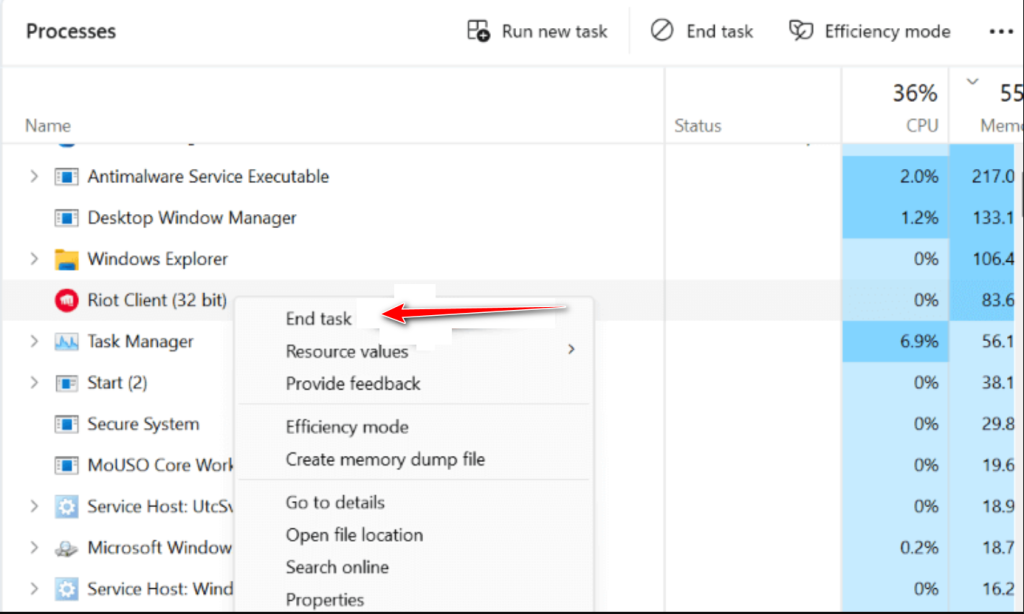
- Click End Task. This will force quit the application.
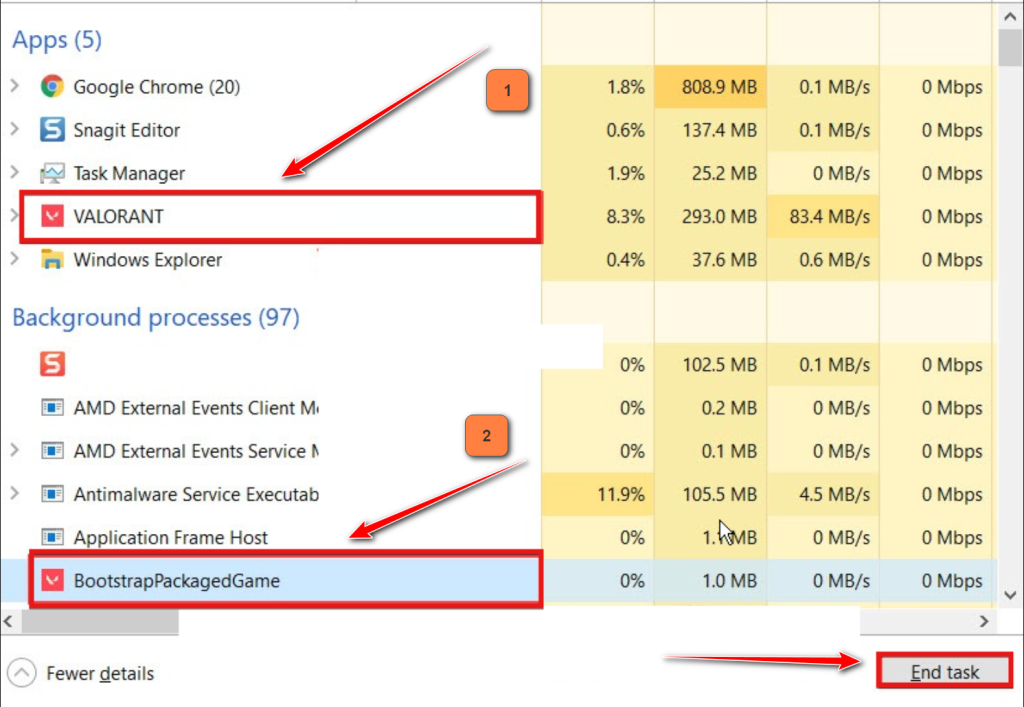
- Do the same for the VALORANT task: select it and click End Task.
- Finally, select the BootstrapPackagedGame task and click End Task.
- Close the Task Manager window.
4. Repair Game Files
Corrupted or missing game files can cause various errors. This step checks the integrity of game files by comparing them with the latest versions available on game servers. Any missing, outdated, or corrupted files are replaced.
Note: Update your game if an update is available.
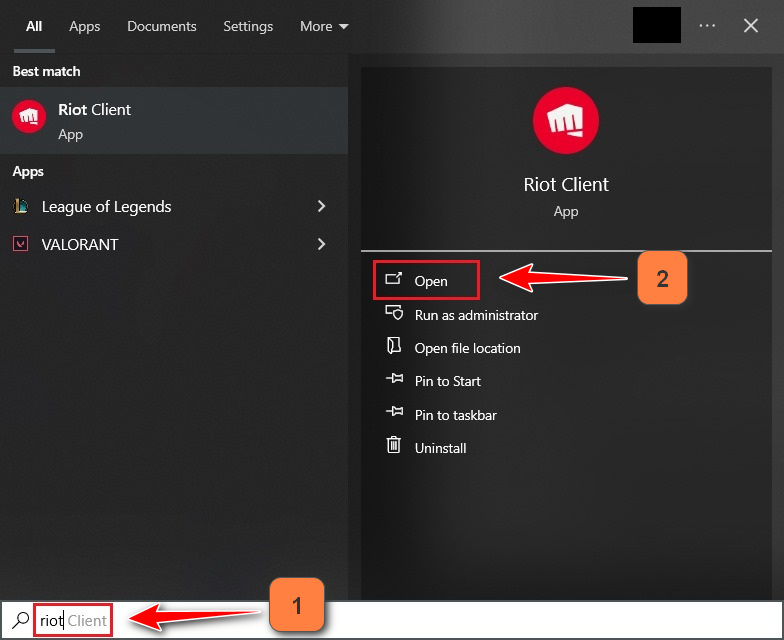
- In the Windows search box, type Riot Client.
- Click Open.
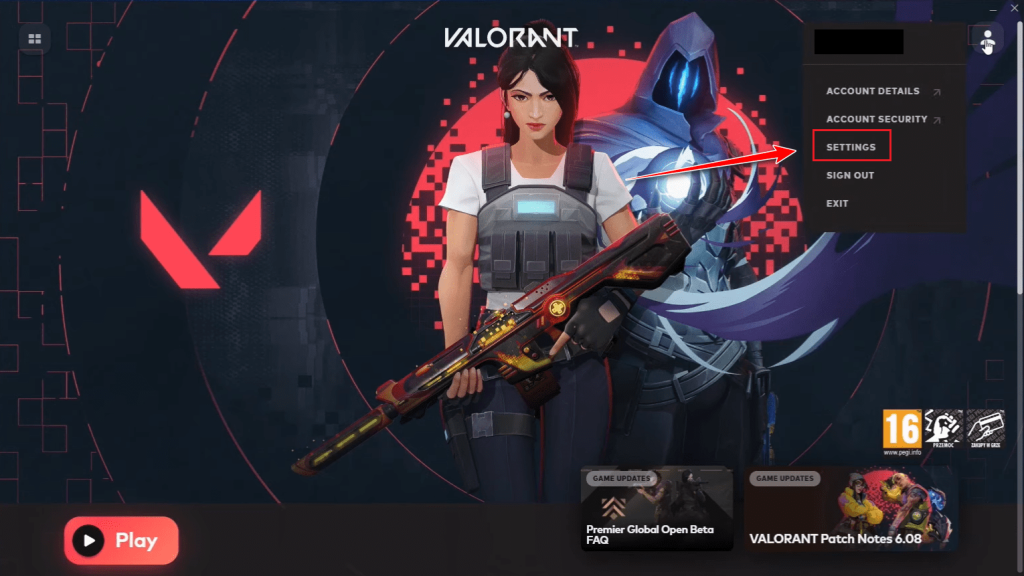
- In the Riot Client dashboard, click the Profile icon located at the top-right corner.

- From the dropdown menu, choose Settings.
- In the Settings menu, click on the Valorant tab.
- Press the Repair button to start repairing the game files.
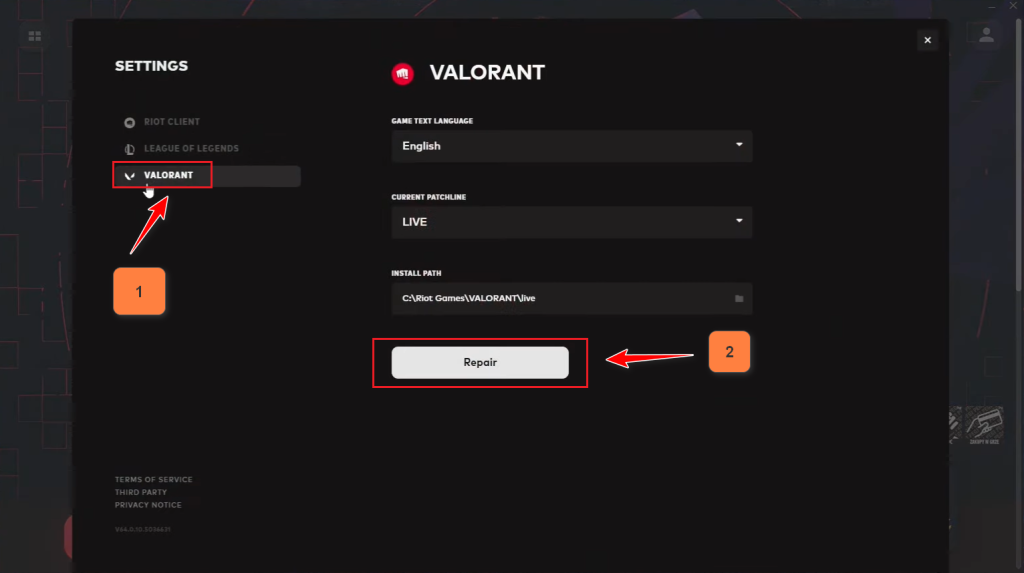
- If any files need repairing, the process will begin automatically.
5. Delete Game Cache
Temporary game data can become corrupted, causing errors. Deleting these files forces the game to generate new, error-free data upon startup.
Note: You may lose in-game settings while doing this.
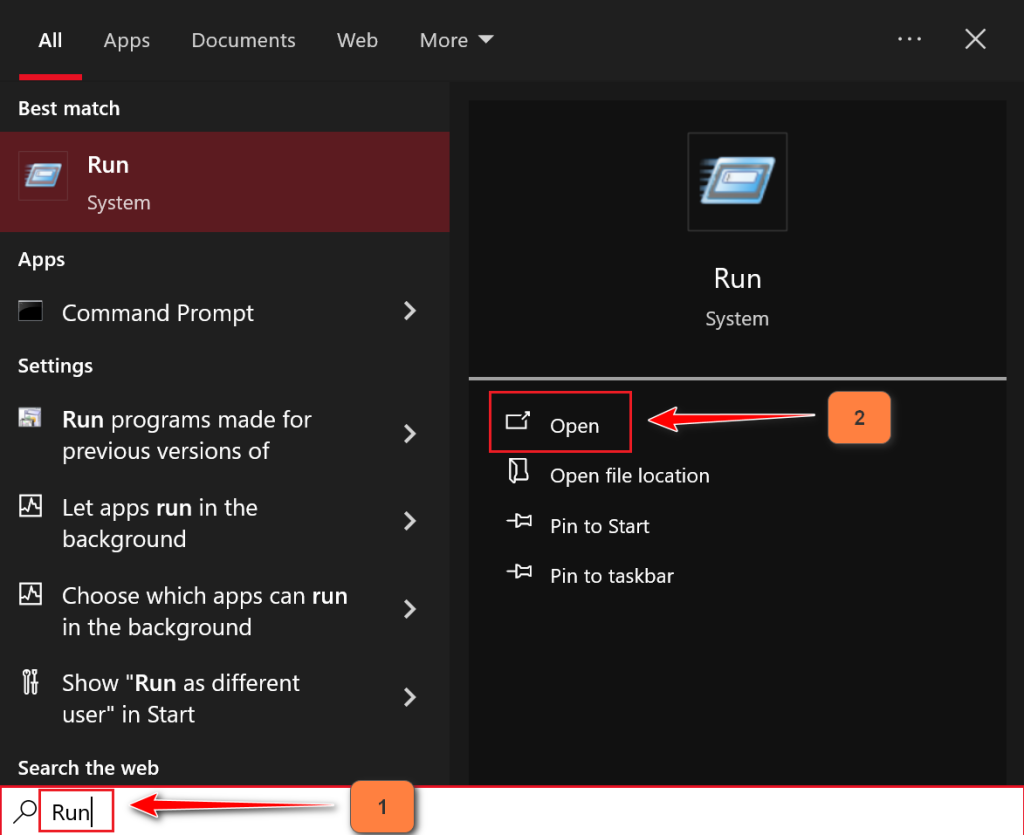
- In the Windows search box, type “Run”.
- Click on the Open button from the search results.
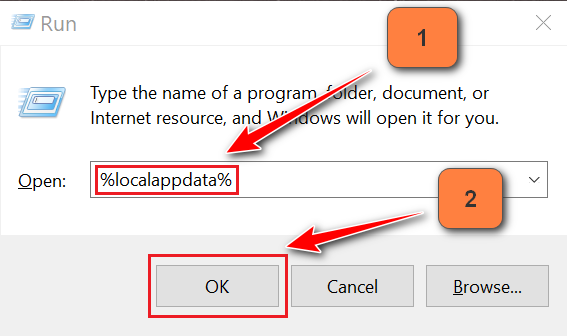
- In the “Run” dialog box, type the following command:
%localappdata%
- Press the OK button.
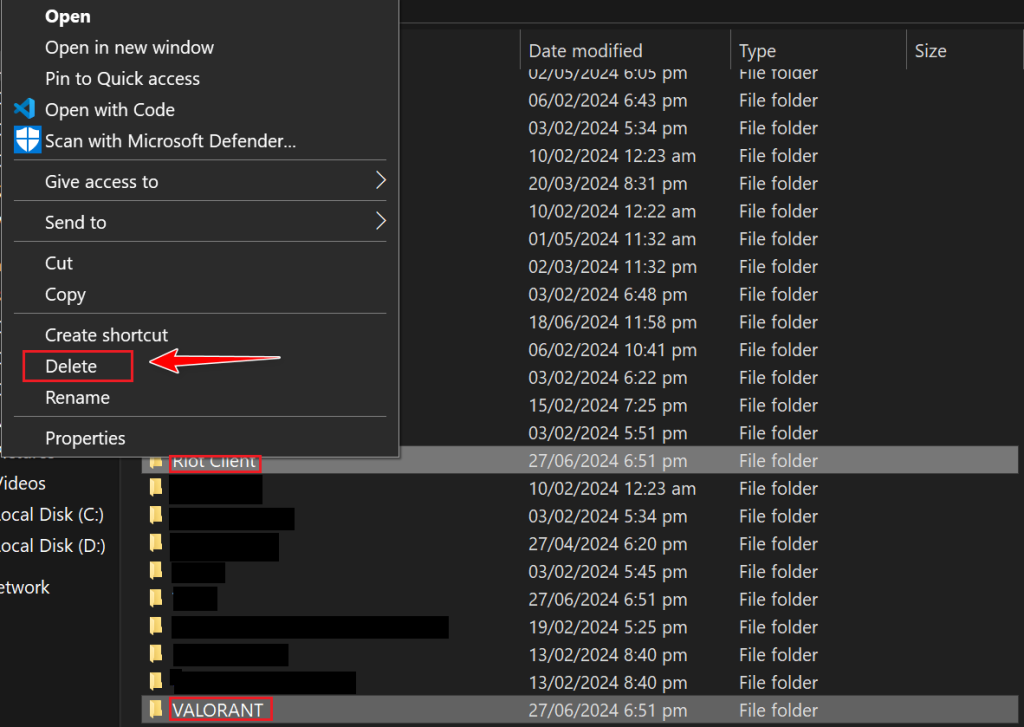
- In the file explorer window that opens, find the folders named “Riot Client” and “VALORANT”.
- Right-click each folder and select Delete.
6. Disable Firewall and Antivirus
Your PC’s firewall and antivirus can sometimes be overly aggressive, interfering with Valorant. Temporarily turning them off or limiting their impact on Valorant can help determine if they’re causing the error.
Important: Disabling your firewall and antivirus leaves your system vulnerable to security threats. Only disable these protections temporarily and turn them back on immediately after troubleshooting.
Windows Defender:
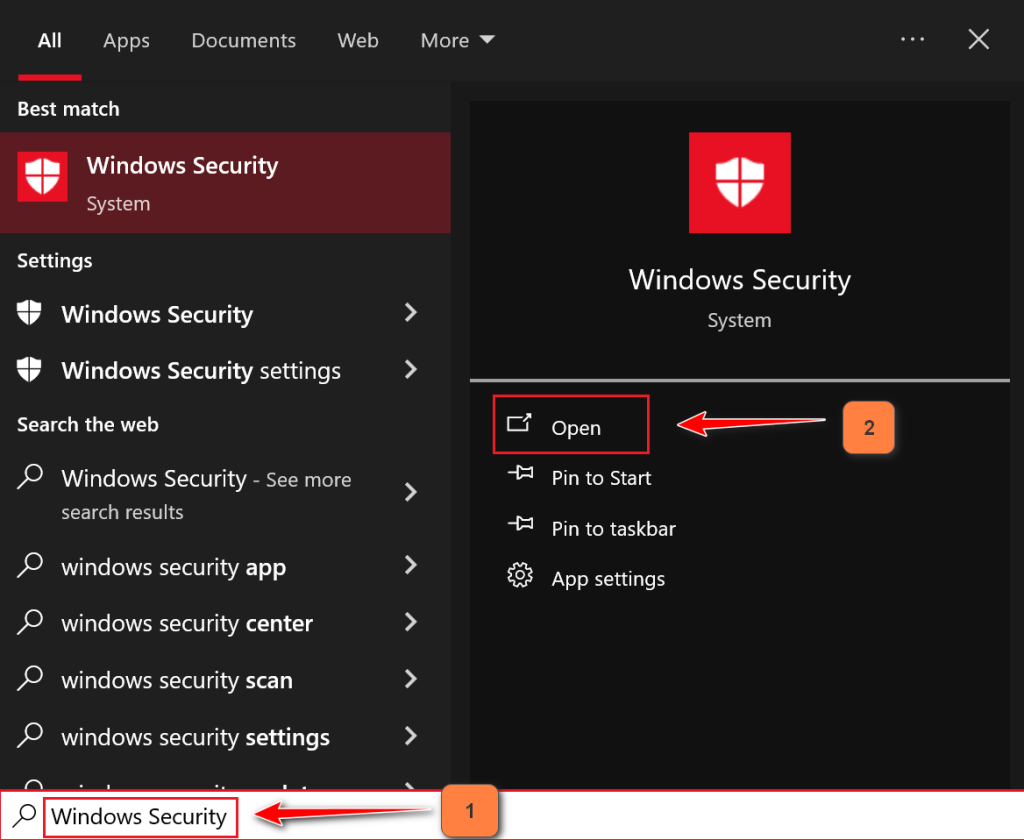
- Type Windows Security into the Windows search box.
- Click Open.
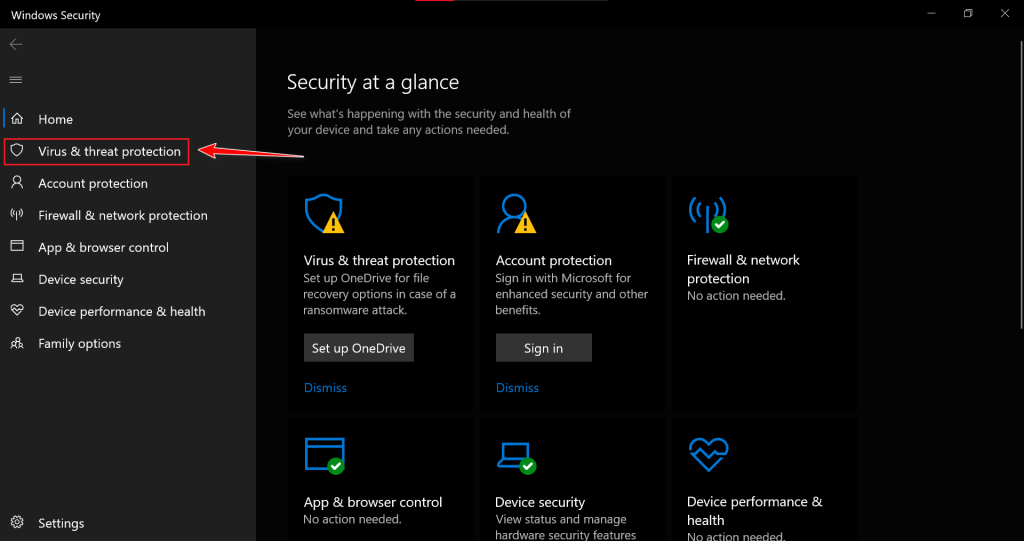
- Select Virus & threat protection.
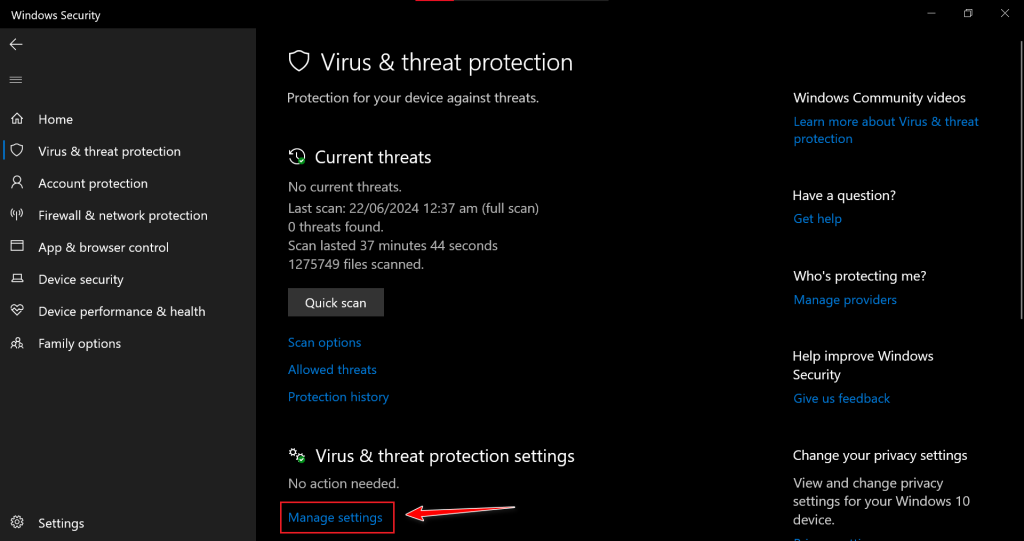
- Click Manage settings.
- Toggle Real-time protection to Off.
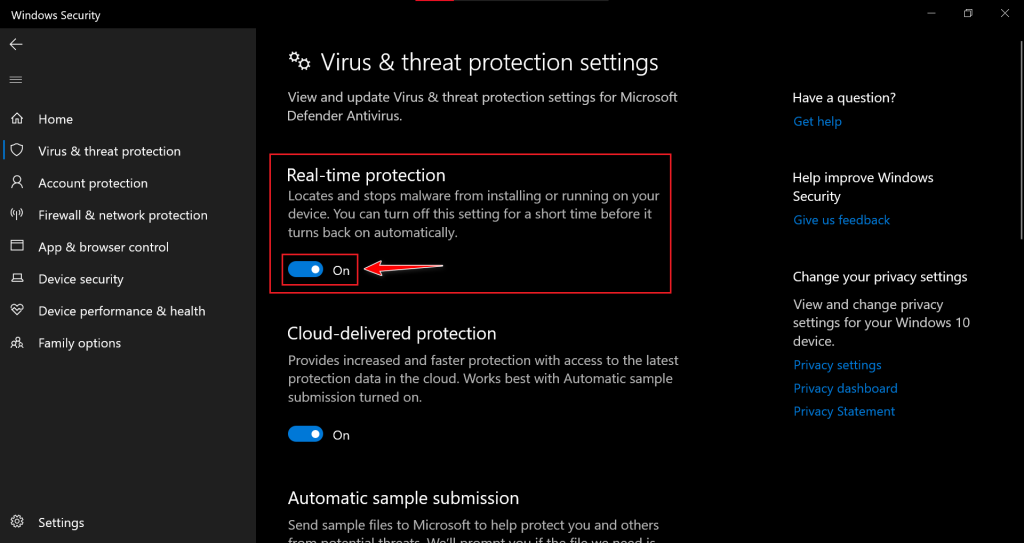
- Click Yes to confirm.
Note: Remember to turn these settings back on after checking if the error persists.
Windows Firewall:
- Type Windows Security into the Windows search box.
- Click Open.
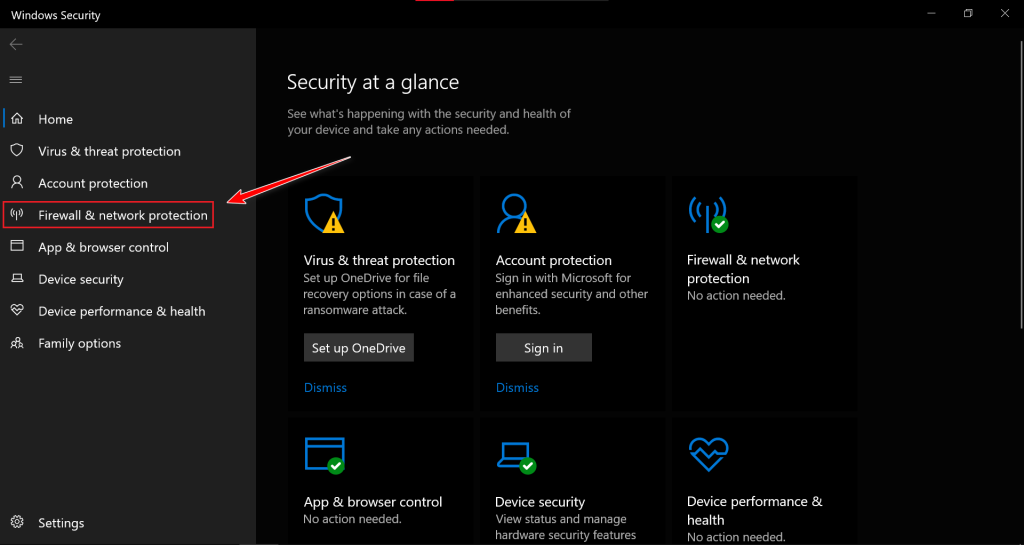
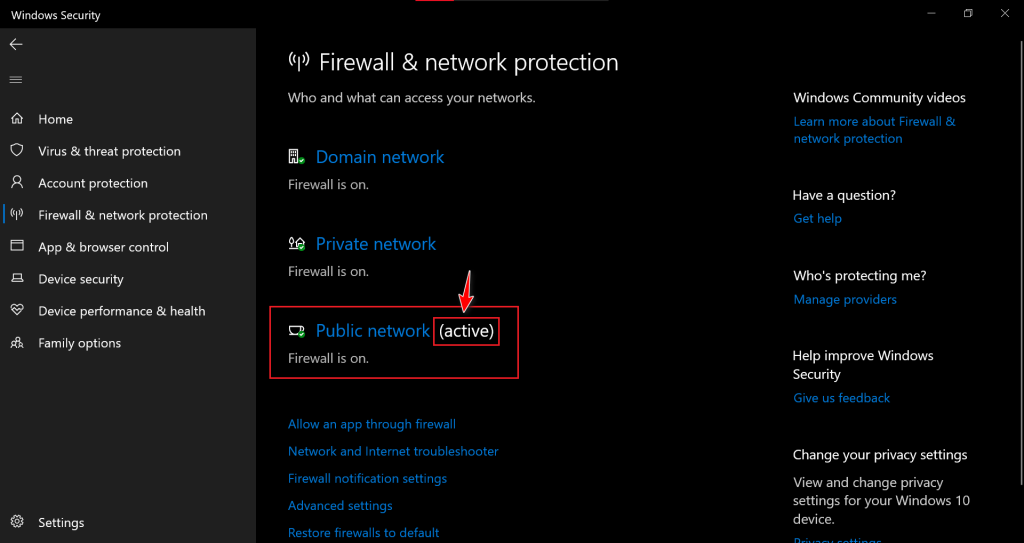
- Select Firewall & network protection.
- Click on your active network.
- Toggle the Microsoft Defender Firewall to Off.
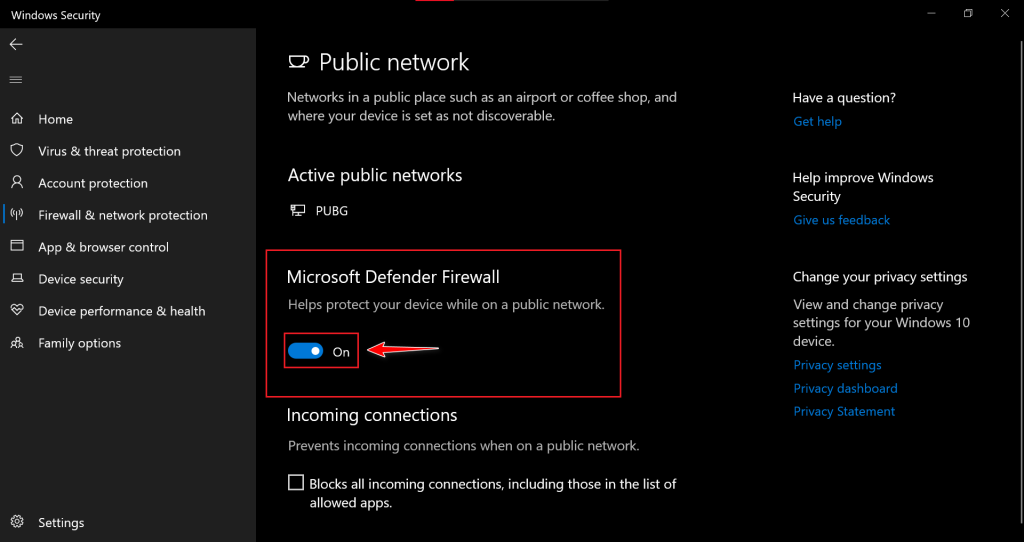
- Click Yes to confirm.
Note: Remember to turn these settings back on after checking if the error persists.
7. Change Internet Protocols
Internet Protocols (like IPv4 and IPv6) are the rules your computer uses to communicate over the internet. Sometimes, switching between these two can help fix connection issues. Here’s how to do it:
Note: Ensure that your Internet Service Provider (ISP) supports IPv6 before unchecking IPv4. IPv4 is the most commonly supported protocol.
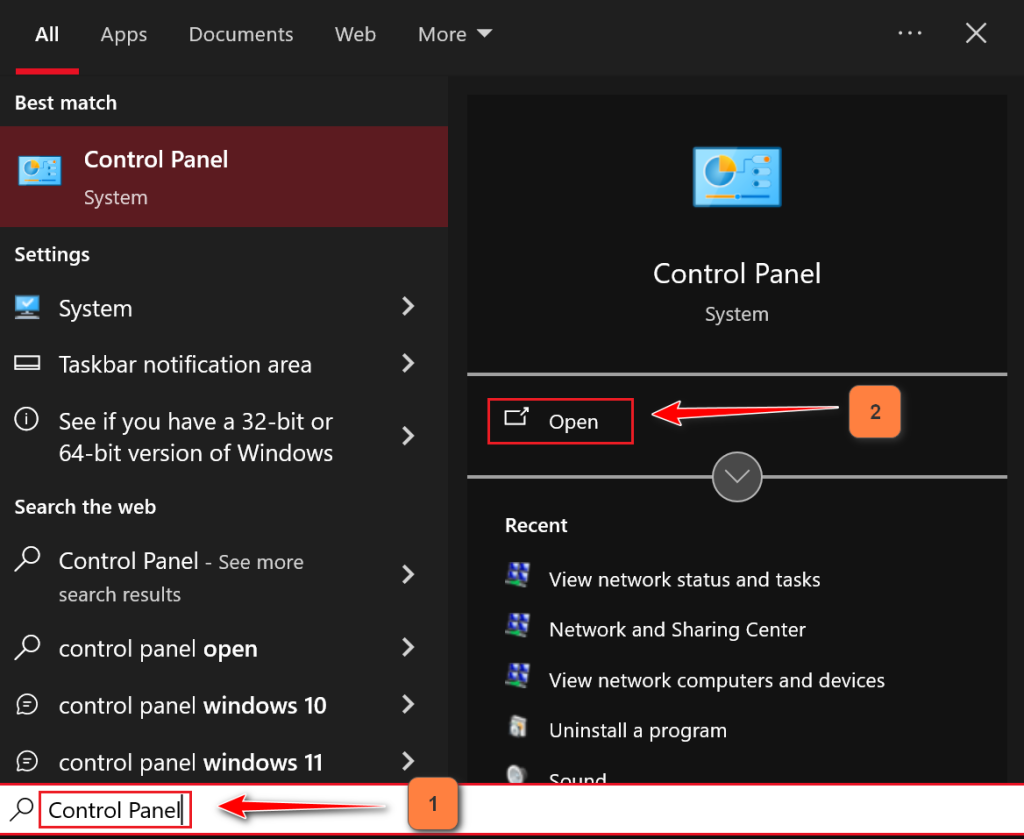
- Search for “Control Panel” in the Windows search box and click Open.
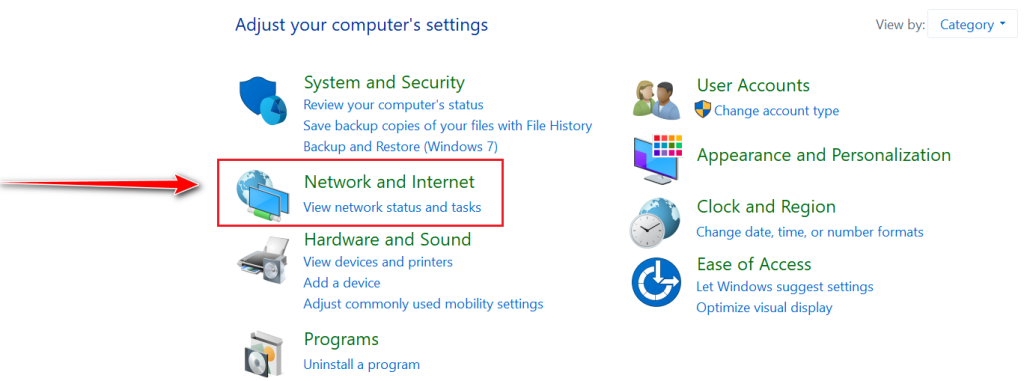
- Click Network and Internet.
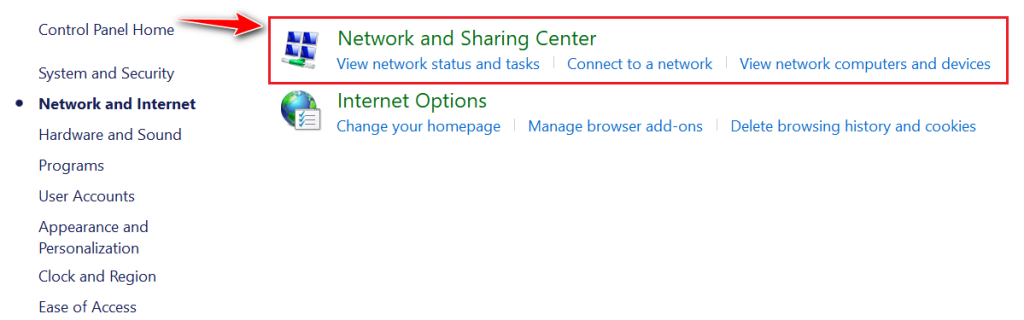
- Select Network and Sharing Centre.
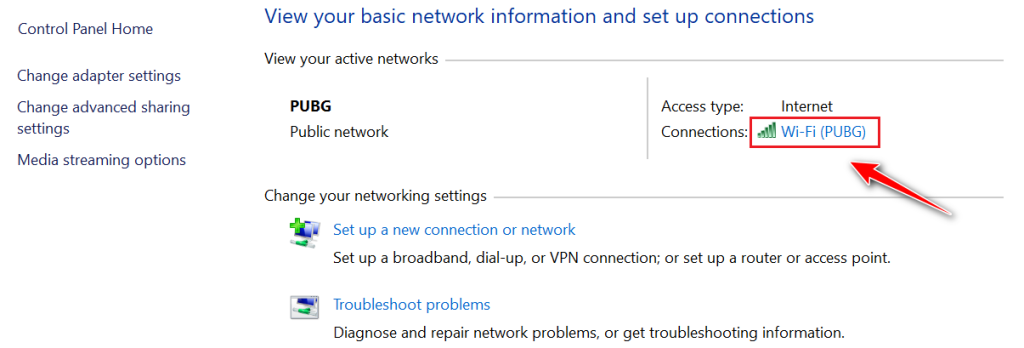
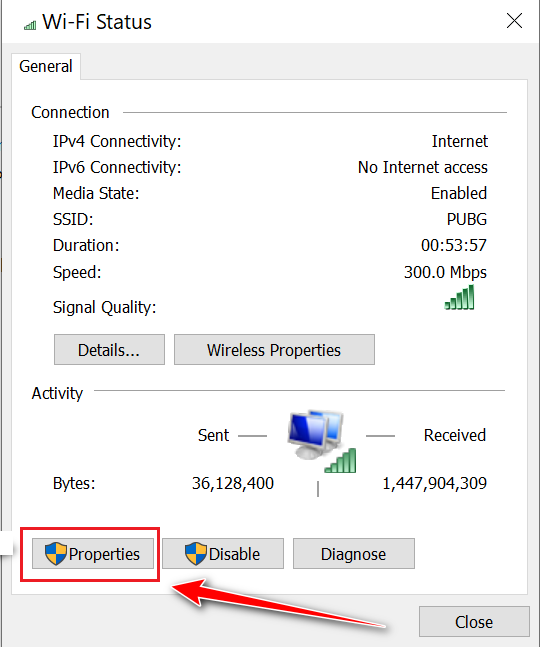
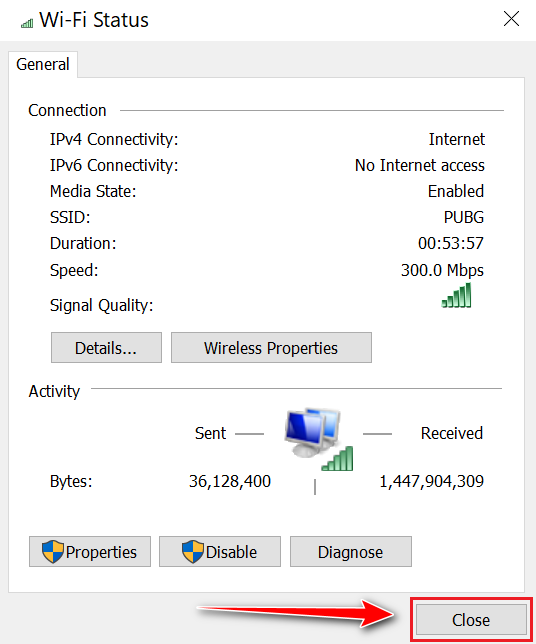
- Click on your network connection (Wi-Fi name).
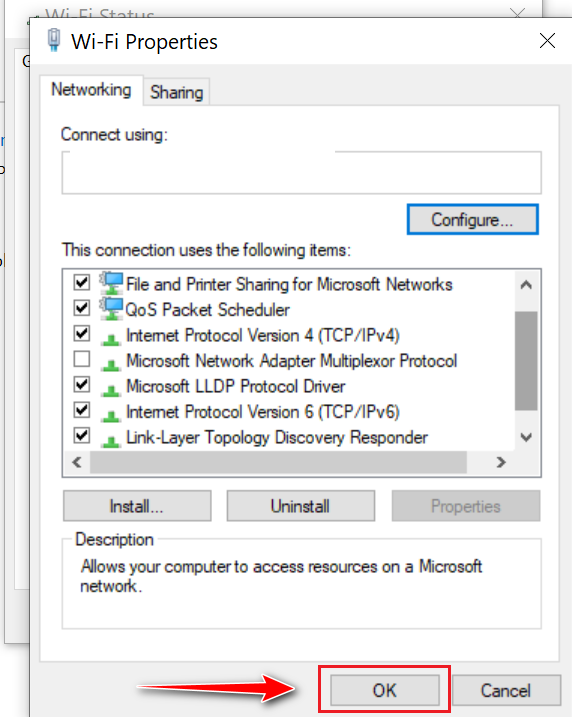
- In the new window, click Properties.
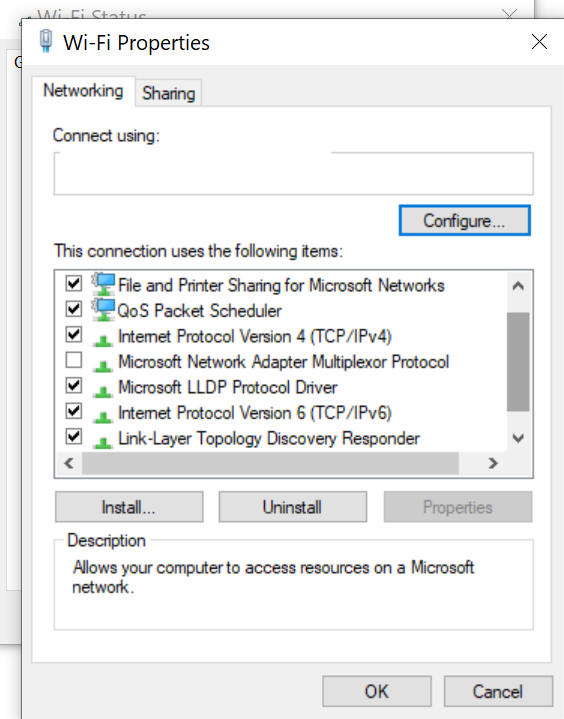
- Depending on what is checked:
- If Internet Protocol Version 4 (TCP/IPv4) is checked, uncheck it and check Internet Protocol Version 6 (TCP/IPv6).
- If Internet Protocol Version 6 (TCP/IPv6) is checked, uncheck it and check Internet Protocol Version 4 (TCP/IPv4).
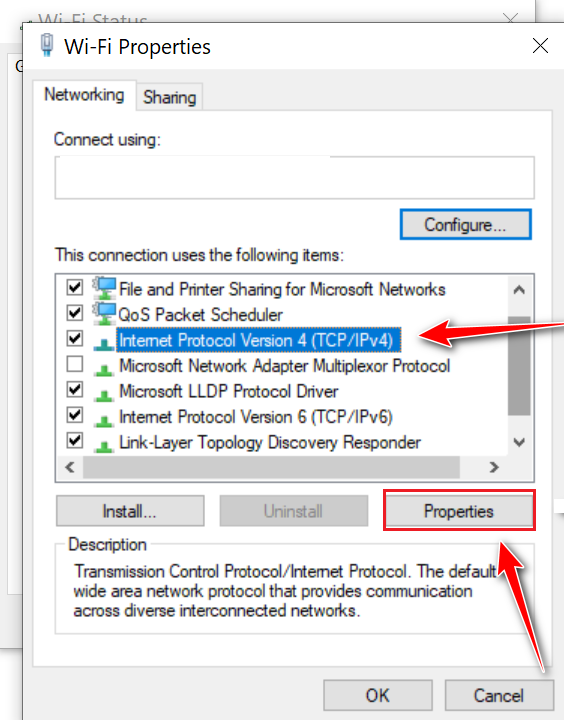
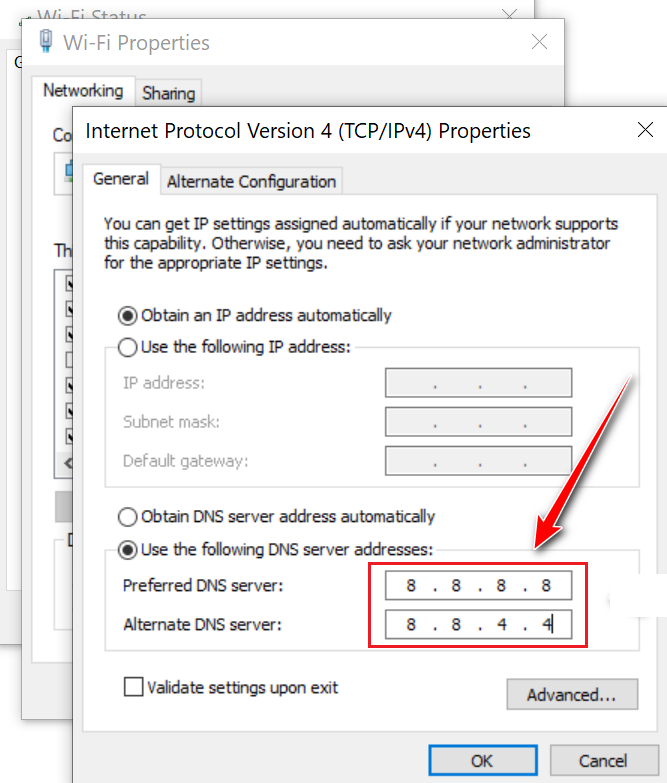
- Select “Internet Protocol Version 4 (TCP/IPv4)” and click Properties.
- Select the option “Use the following DNS server addresses:”.
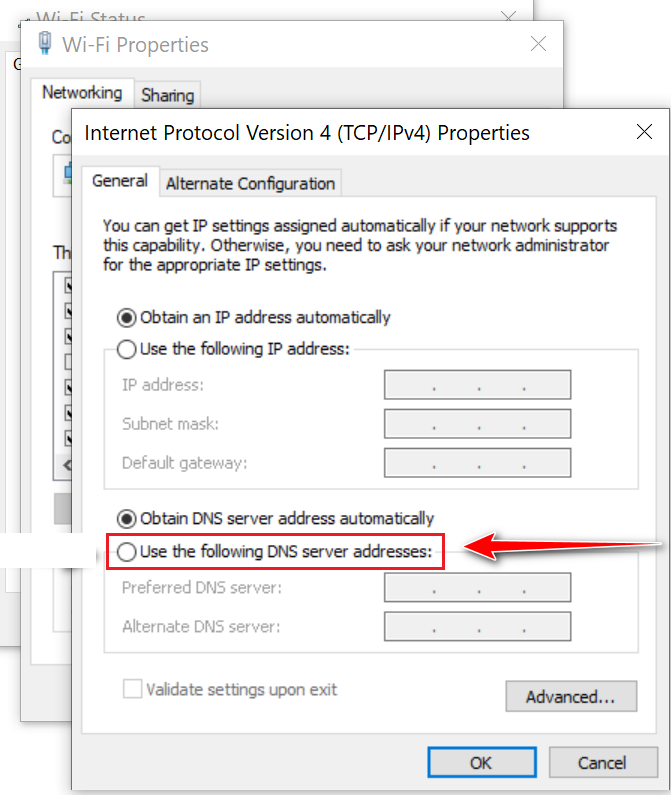
- Enter “8.8.8.8” for Preferred DNS server and “8.8.4.4” for Alternate DNS server.
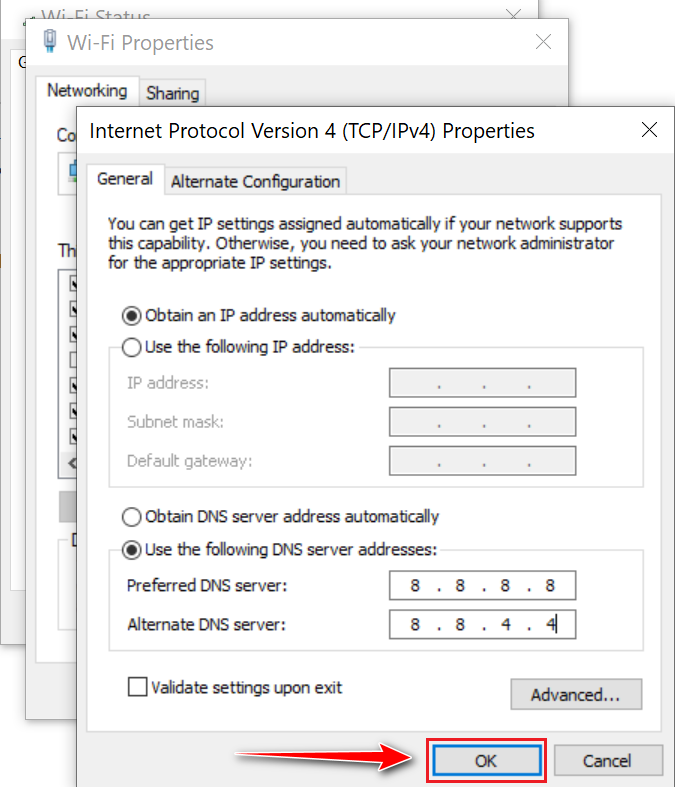
- Click OK to close the window.
- Click OK again to save the settings and then Close the window.
- Restart your computer to apply the changes.
If you still face the same error despite your best efforts, contact Valorant’s support for further guidance.