How to Fix USB 3.0 Slow Transfer Speed?
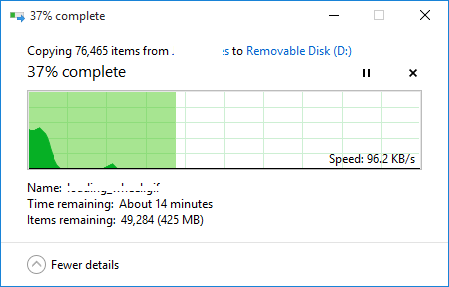
Universal Serial Bus 3.0 (USB 3.0) was designed in November 2010 and it is the third version of USB. USB 3.0 came out with an upgraded transfer rate of up to 5Gbit/s (625 MB/s). However, some users are not getting the speed that I should provide. They are getting the slow speed that is much more similar to USB 2.0 rather than USB 3.0. In this article, we will discuss a few simple methods to help to improve the USB 3.0 speed.
What is Causing the USB 3.0 Slow Transfer Speed?
There can be various causes of this problem depending on the situation. However, we found some of the most common causes based on the users’ feedback for USB 3.0 slow transfer speed.
-
- The policy is set to quick removal – Due to using the policy quick removal, the computer will not run any background process when the transmission is not running. However, it may provide less performance for your USB 3.0.
- Outdated or broken drivers – Outdated and faulty drivers will make the device not work properly as the latest and correct drivers. Updating or reinstalling the drivers will show much better results.
- Faulty hardware – Sometimes the problem can be the device that the user is using through USB 3.0. Faulty hardware can be the issue of slow transfer speed.
Fix the Slow Transfer Speeds on USB 3.0
To fix this issue, please read through the article and follow the steps that relate to your situation.
1. Changing the Policies option to Better Performance
The policy option for USB 3.0 in device manager is set for quick removal by default, which provides users to remove their USB 3.0 plugged in devices without using the remove it safely option. To change this option for getting a better speed for USB 3.0, follow the below steps:
Note: Make sure you always use the correct process to remove the drive or you run the risk of data getting corrupt or unusable.
- Hold the Windows key and press the R button to open Run. Type “devmgmt.msc” in the dialog box and press Enter to open Device Management.
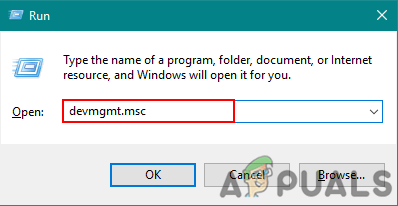
Opening Device management through Run - Search for the drive that you are using through USB 3.0. Right-click on and choose the Properties option.
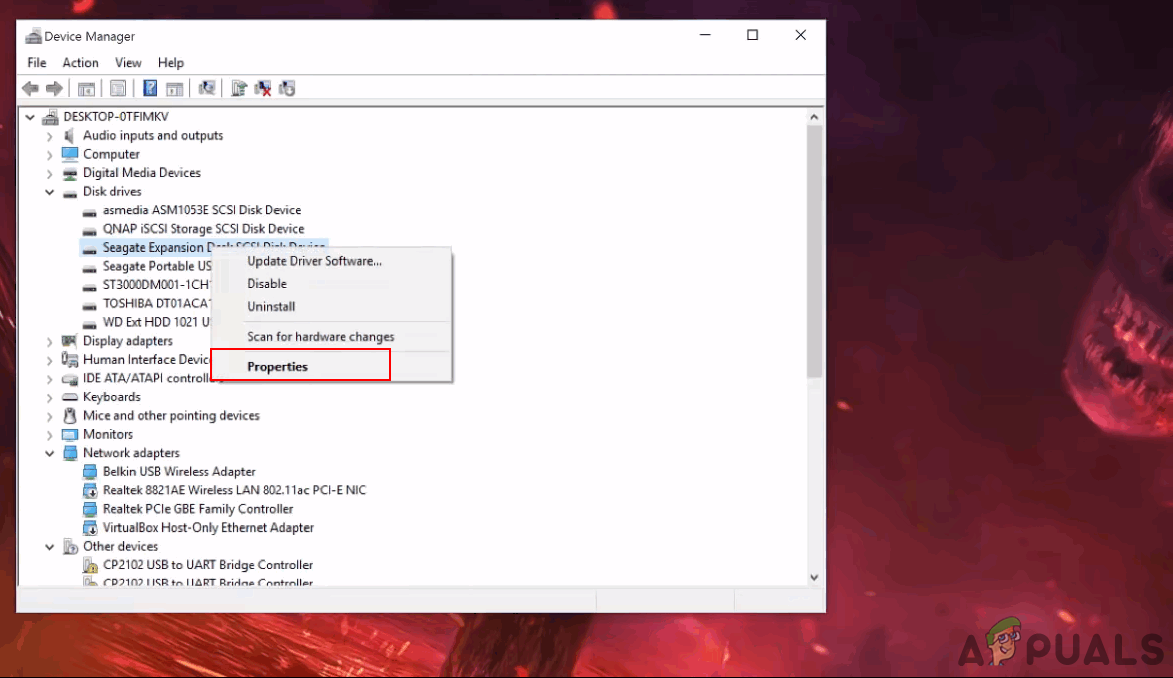
Opening properties of the drive - Go to the Policies tab and change the option to Better performance. Also, check the box for Enable write caching on the device option below.
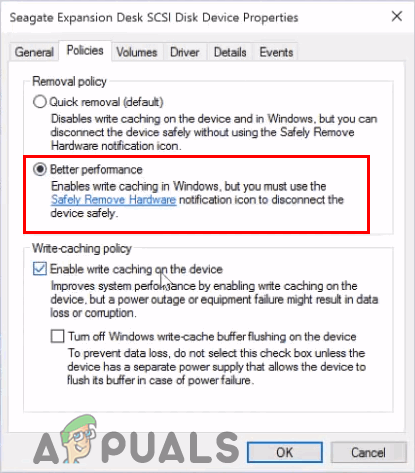
Changing policy to Better performance - Once these settings are applied to your drive, then check the transfer speed improvement.
2. Reinstalling the USB Drivers
Sometimes the drivers are outdated or faulty due to which it won’t work properly. Reinstalling or Updating the drivers for USB 3.0 port may fix the problem of slow transfer speed. Follow the below steps to proceed with reinstalling drivers:
- Hold the Windows key and press R key to open Run. Type “devmgmt.msc” and press Enter to open Device Manager.
Open System Configuration through Run - Locate the Universal Serial Bus controllers and expand it. Right-click on the USB controllers and choose the Uninstall option.
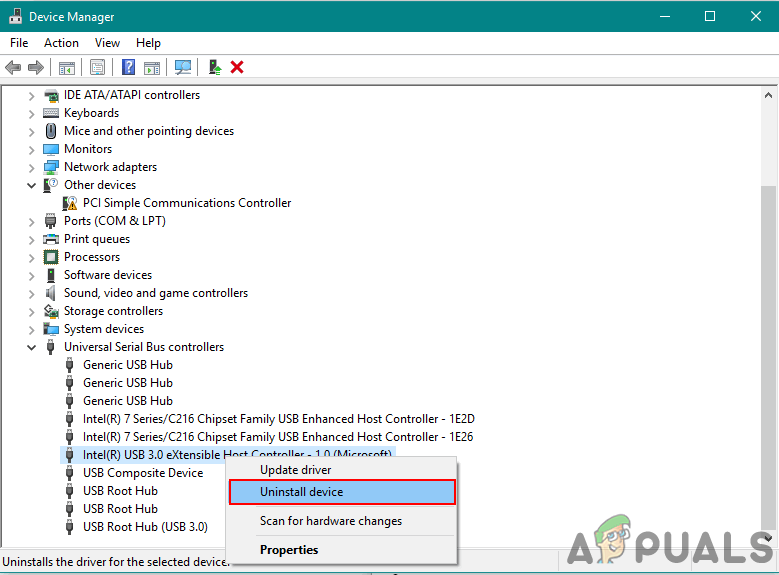
Uninstalling drivers for USB controllers - Restart the computer and plug in the device for USB 3.0 to automatically install drivers. You can also go to Device Manager Window and click the Scan for hardware changes option and it will reinstall the drivers for devices that don’t have drivers automatically.
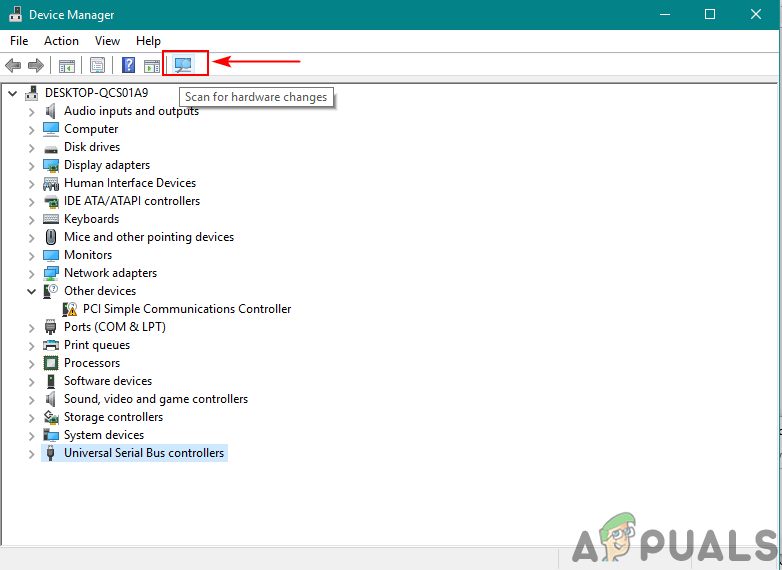
Scanning to reinstall drivers - Try transferring through USB 3.0 now and check if it fixes the issue.
3. Using a Clean Boot to Eliminate Software Conflicts
Clean boot is similar to Safe Mode but it provides the user with more control over services. Using this will help you determine whether any background program is interfering with your USB 3.0 transfer speed or not. Clean boot will start Windows with a minimal set of drivers to help you isolate the cause of a problem.
- Hold the Windows key and press R to open Run. Type “msconfig” and press Enter to open System Configuration.
Note: Make sure you are using an administrator account when applying these steps
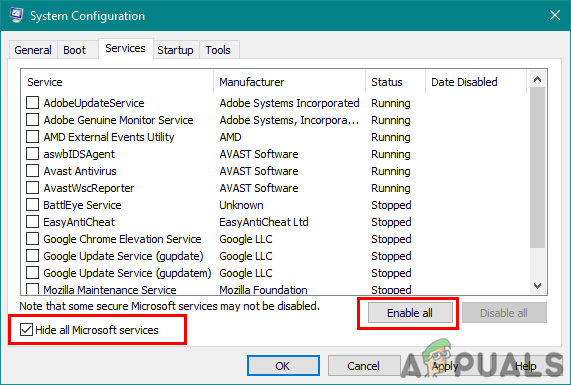
Opening System configuration through Run - Click on the Service tab of System Configuration, check the Hide all Microsoft services option below and click on Disable all button.
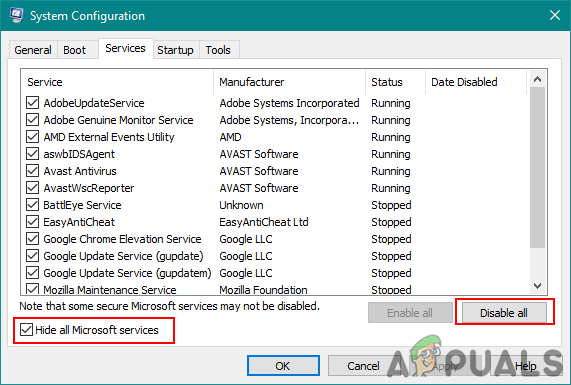
Disabling all the service for a clean boot - Head over to the Startup tab of System Configuration and click on the Open Task Manager option.
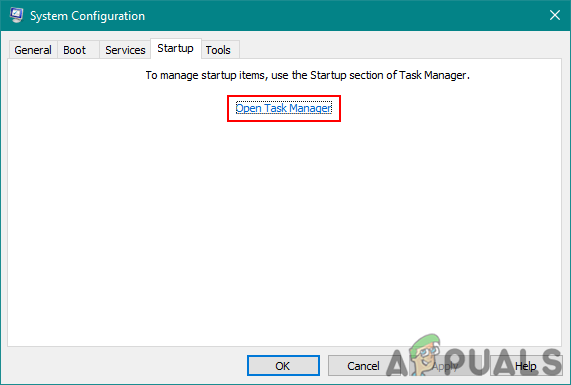
Opening the Task Manager - Select the Startup tab in Task Manager and Disable every item in the startup.

Disabling the Startup programs for a clean boot - Close Task Manager and click OK for System Configuration to apply changes.
- Restart your computer and it will start in a clean boot environment. Try checking the USB 3.0 in the clean boot environment.
Additional: Resetting the Computer to Start Normally After Clean Boot Troubleshooting
After using the clean boot users need to reset the computer back to a normal state to make things more stable. By using a clean boot we turn off services and many startup programs that may affect the usage of a computer. Follow the below steps to reset the computer to start normally:
Note: For Windows 7, you will need to use only the first two steps and restart.
- Hold the Windows key and press R key to open Run. Type “msconfig” and press Enter to open the System Configuration window.

Opening System Configuration through Run. - Select the Normal Startup option in the General tab.
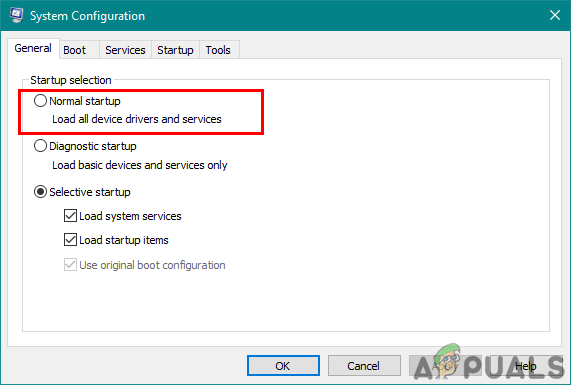
Selecting Normal Mode for Computer. - Go to the Services tab, uncheck the box for Hide all Microsoft services and click on Enable all button.
Enabling all services back to normal. - Then go to the Startup tab and click on the Open Task Manager option.
- Click on the Startup tab in Task Manager. Now select your startup programs and enable them.

Enabling Startup programs - Click Ok on Task Manager Window and click Apply, then Ok for System Configuration window to apply changes. Restart the computer and it will start normally as it should be.


