How to Ungroup Taskbar Tray Icons in Windows 11?
Since the appearance of Windows 11, many users that have upgraded from the oldest versions have complained about the new style and the changes made to Windows. Features were added, new options to use, and even some design changes were made. But as it is normal when changes are made, different opinions start to circle on the internet. A part of the people is enjoying the new changes, while the other part doesn’t like it and prefers the old versions.
One of the things that a lot of people have reported is the Wi-Fi, Sound, and Battery Charging taskbar icons being together. These icons are forming together a button, which is found annoying and harder to use by some of the users.
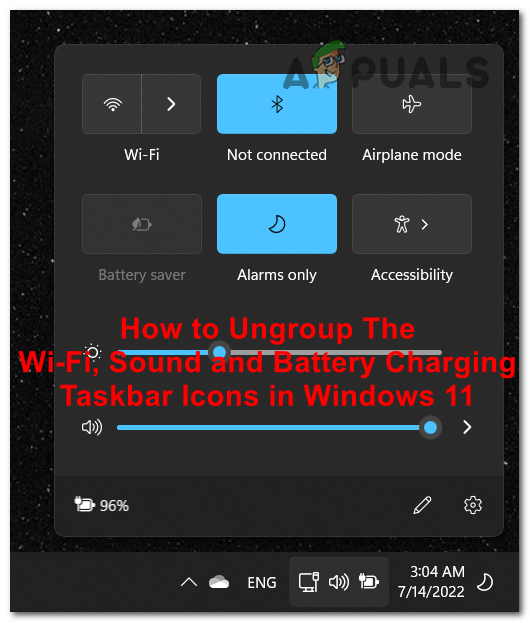
They are finding it annoying that these buttons are grouped together because it is different from the previous version of Windows, which they were comfortable with. Now if you want to access one of the Wi-Fi, Sound, or Battery Charging menus, you first need to open a common menu where you will then have to choose which setting you want to access. In the previous version, the process was a lot simpler and faster because you could’ve accessed the specific setting straight from the taskbar.
A lot of them are wondering if they are able to change it to how it was in the previous Windows version, meaning that they want the buttons to be ungrouped. Unfortunately for them, it is not possible to change this from the Windows settings because it doesn’t have this option.
Because of this, some of the users have decided to downgrade to the previous Windows version. The simple reason is that it is a lot easier for them to use, and the new version doesn’t give them any new useful advantages.
Ungrouping The Wi-Fi, Sound, and Battery Charging Taskbar Icons on Windows 11
In case you are one of the people that still want to use Windows 11, but with the taskbar of the previous version, this article is for you. As we mentioned earlier, it is not possible to change it from the Windows Settings but you can do it using some 3rd party apps that were created especially for cases like this one.
Note: Before going further into this article, we need to remind you that these applications are unofficial, meaning that they are created by some fans and not by Microsoft. In case you have trust issues with these 3rd party apps, don’t use install them on your computer for your personal safety.
There are different 3rd party applications that you could use in order to ungroup the Wi-Fi, Sound, and Battery Charging taskbar icons in Windows 11. Below you will be able to see a guide for each of these apps, so choose which you want to use and follow the instructions to see how you can do it:
1. Use ExplorerPatcher
The first application that you can use in order to ungroup the Wi-Fi, Sound, and Battery Charging taskbar icons in Windows 11 is the ExplorerPatcher. This is a freeware application that allows you to bring back the previous Windows taskbar that you are comfortable with.
This is a free-to-use app that is very simple to use, with a few clicks you will get the old taskbar and File Explorer. This is a patch created by the community who still want to use Windows 11, but with the old style and design. One of the reasons is that this old style helps you with productivity, being more indicated to the people that want a productive working environment on their computer.
The ExplorerPatcher gives you the option to customize the classic functionality depending on your own preferences and needs. All it does is download and install the necessary files on your computer. Besides the taskbar, it also has a lot of other customized options that you can go through and decide how you want your Windows 11 OS to look.
Here is a guide that will help you download and install the ExplorerPatcher, as well as a few tips on how to use it:
- The first thing you need to do is to download the ExplorerPatcher. Make sure to download the latest version of it.
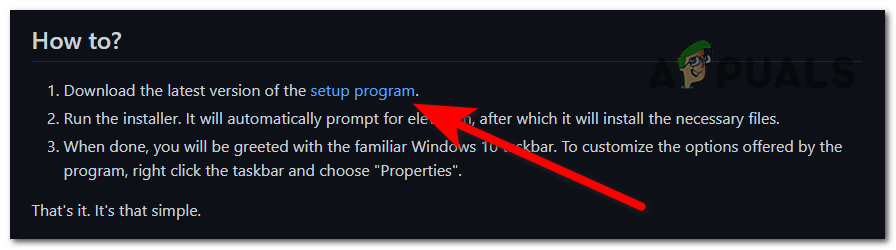
Downloading the installer of ExplorerPatcher - Once the installer for ExplorerPatcher is downloaded on your computer, open it to start the installation process.
- You will be prompted by the User Account Control (UAC) to confirm that you allow this app to make changes to your computer. If you want to continue, click on Yes.
- After a few seconds, the taskbar will automatically change and you will be able to see the old design of the Windows taskbar, including the ungrouped icons.
- Is it set by default to ungroup the Wi-Fi, Sound, and Battery Charging icons, so if that’s the only thing you want to change, the process is complete.

Ungrouping the Wi-Fi, Sound, and Battery Charging taskbar icons in Windows 11 - In case you want to do more changes to your Windows 11 OS, right-click on the taskbar and click on Properties to access the customization options.
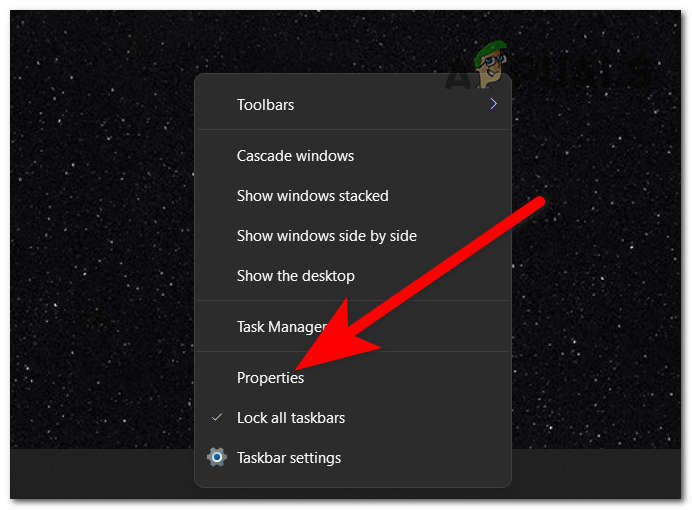
Opening the Properties menu of your taskbar - Now that you are inside the Properties menu of your taskbar, you will be able to see all the customization options that the patch allows you to change. Look through all of them and change what you want to change.
- Once you are done with that, you need to click on the Restart File Explorer button located in the bottom left corner to apply the changes that you’ve made.
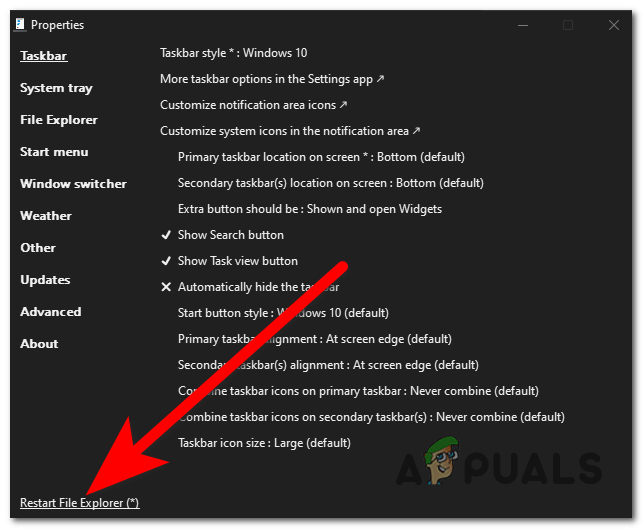
Restarting the File Explorer to apply the new changes - After a few seconds, the File Explorer will appear again and the new changes will be visible.
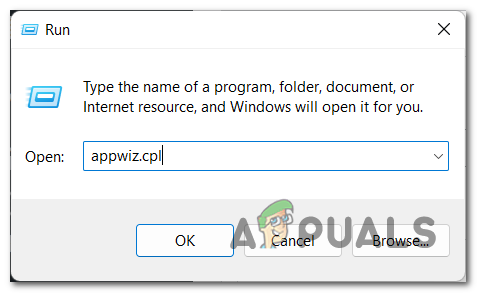
- In case you don’t want to use the ExplorerPatcher anymore and decide to uninstall it, one way to do this is from the Programs and Features menu. To open it, press the Windows key + R key to open a Run dialog box and type inside the search bar ‘appwiz.cpl‘, then press Enter.
Using a Run dialog box to open the Programs and Features - Inside the Programs and Features, look through the list of apps and locate ExplorerPatcher. Right-click on it and click on Uninstall.
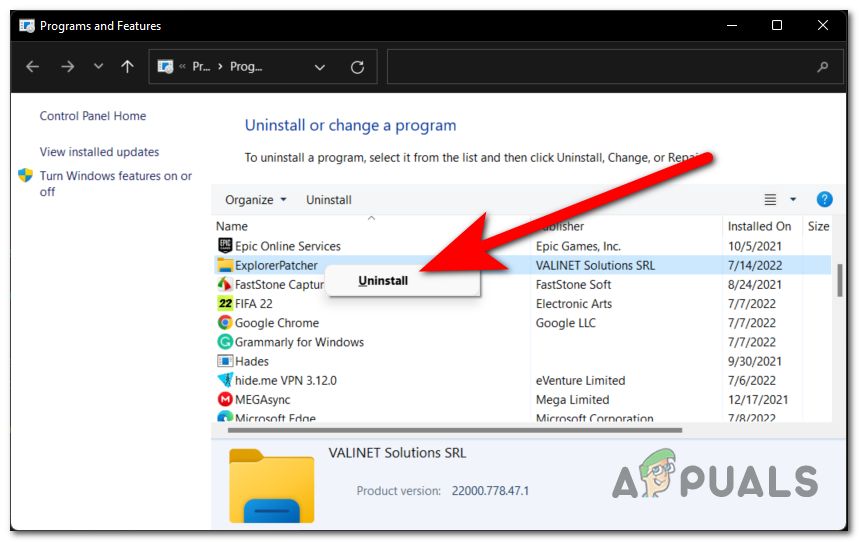
Uninstalling the ExplorerPatcher from the Programs and Features - After the uninstallation process is complete, the default Windows 11 design will appear again.
In case you don’t want to use the ExplorerPatcher but want to use an alternative for this app, check below the next guide that is dedicated to another 3rd party app.
2. Use StartAllBack
The second app that you can use in order to ungroup the Wi-Fi, Sound, and Battery Charging taskbar icons in Windows 11 is the StartAllBack. This is another freeware program that lets you customize the Windows 11 OS design depending on your preferences. This includes the taskbar design as well.
StartAllBack has a 30-day free trial period in which you will be able to use the app with full access. After those 30 days, the app will still work, but in limited mode. So you won’t be able to use all the features available. In case you want to purchase the license for this app, it costs 4.99$ for one computer.
Exactly as the app presented in the first step, this one does the same thing. It allows you to customize the interface of your Windows 11 OS with the old versions of Windows, as well as other customization options.
Here are the steps that will show you how to download, install and use it:
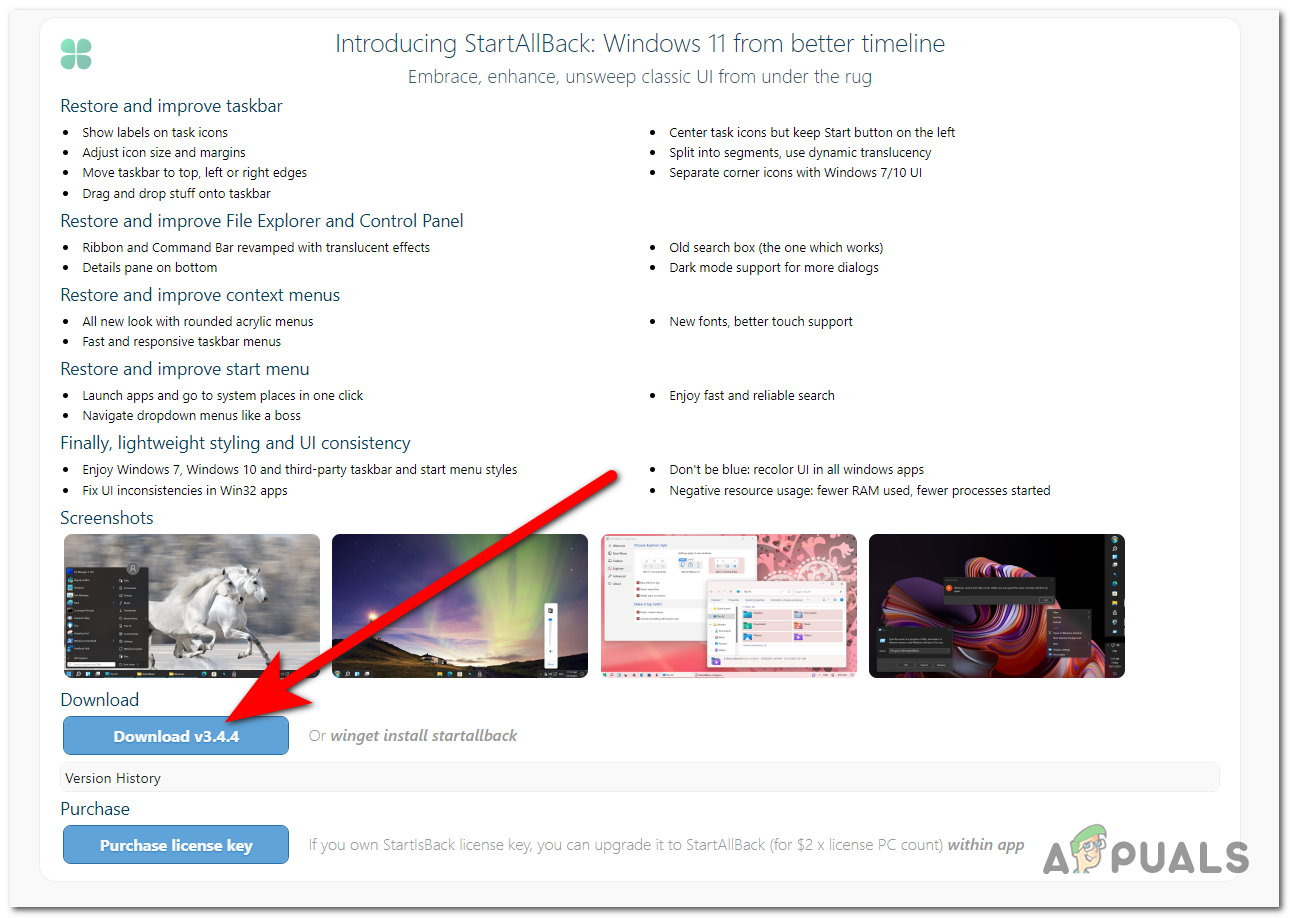
- The first thing you need to do is to visit the official StartAllBack site and click on the blue Download button to download the installation of it.
Downloading the installer of the StartAllBack application - Once the installer is completely downloaded, open it to begin the installation. You will be asked if you want to install the app only for you, or for more users that are using your computer. Select Install for me and the app will automatically install.
- Now the Wi-Fi, Sound, and Battery Charging taskbar icons will be ungrouped, and the design of the previous Windows versions will be present.
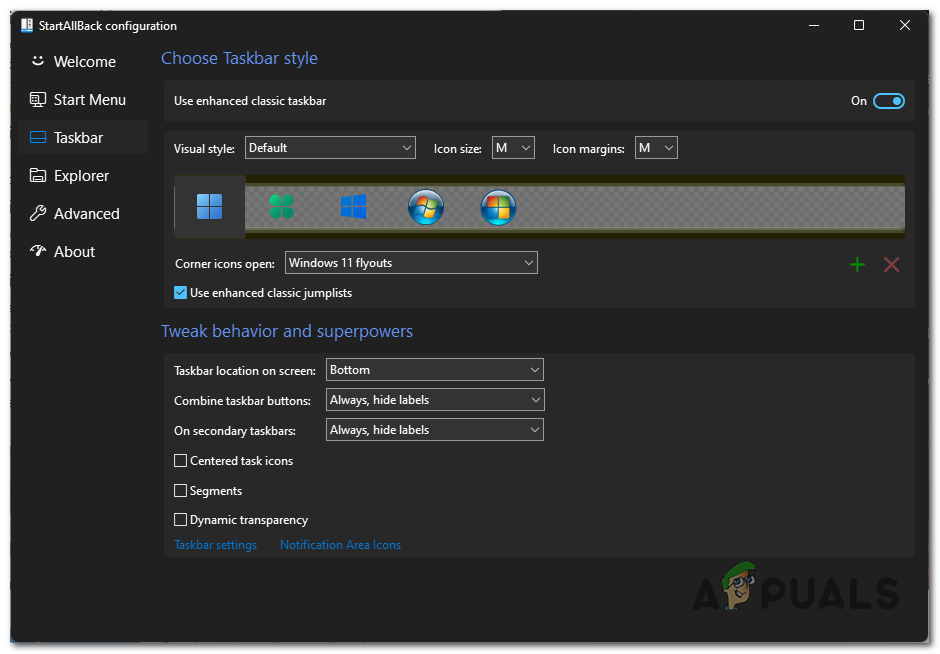
- In case you want to do more changes, right-click on the taskbar and click on Properties.

Opening the Properties of your taskbar - Now that you are inside the Properties of your taskbar, you have at your disposal a lot of customization options that you can do. Look at every one of them and make the changes that you want, they will be applied automatically after you do them.
Making changes to your Windows 11 interface - In case you decide that you don’t want to use the patch anymore, the process to uninstall the StartAllBack is the same as uninstalling the patch from the first step. Open the Programs and Features menu and search for StartAllBack, then right-click on it and click on Uninstall.
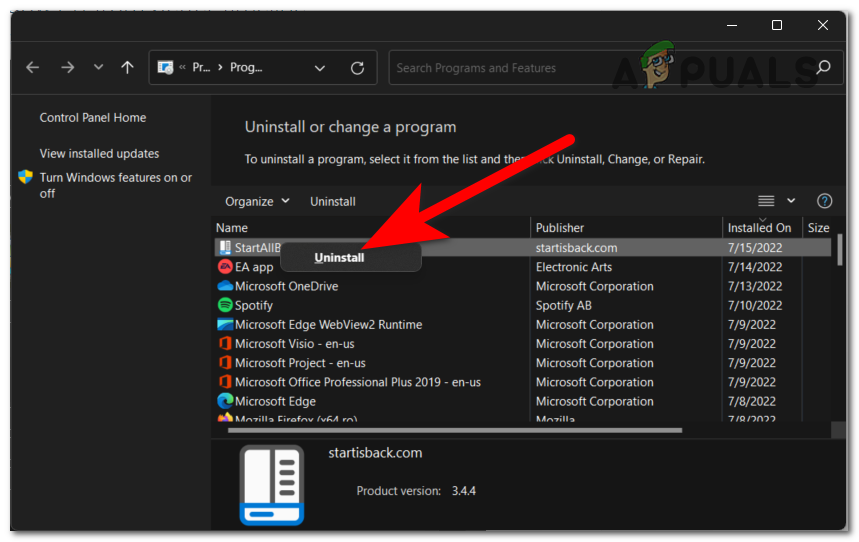
Uninstalling the StartAllBack application


