Fix: Unable to switch Microsoft Accounts on Store and Xbox App
If you’re unable to switch between different Microsoft accounts on the Xbox gaming app this is due to a corrupt cache of the Xbox app. However, this could also be caused due to an outdated or corrupt Xbox Gaming application.

If your Xbox Gaming app is outdated you’ll face issues such as Compatibility issues, Missing features, Logging issues, security vulnerabilities or limited functionality so it is advised to keep your Xbox Game App up-to-date to avoid errors.
Additionally, several services run in the background that aims at providing a seamless experience to the user, these services are an essential component and if in any case, they are on a halt, this could cause users to face errors such as the one in the discussion.
Here are the steps you should follow in order to get your Xbox App experience back on track:
1. Repair and Reset the app
The “repair” option tries to fix any problems that an app may be experiencing by reinstalling missing files, repairing corrupted files, or resetting app settings to their default values.
The “reset” option completely removes the app and all its associated data from your system, then reinstalls it as if it were a brand-new installation.
This can be useful if an app is experiencing persistent issues that cannot be resolved through other means. However, resetting an app also removes any custom settings or data that you have saved within the app.
Here’s how you can reset and repair the Xbox App:
- Press the Windows + Q keys simultaneously to open the start menu.
- Search for “Xbox”
- Right-Click on the top result and click on the “App settings” function in the context menu.
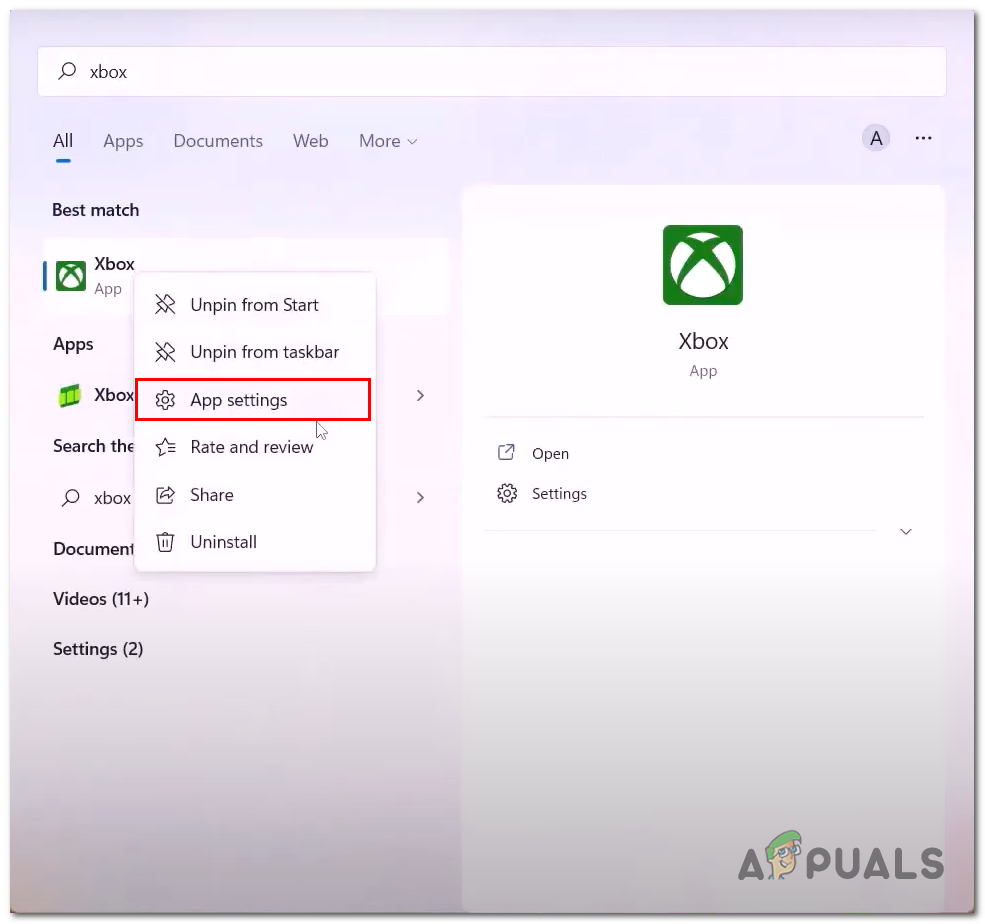
Opening the app settings of the Xbox application - Scroll down, click on the Repair button and wait for a while.
- Once done, Open the application and give it a go. If the error persists, Click on the Reset button.
Wait for a while, as described previously. The Reset feature will reset the application.
Once it is done processing, try launching the application and check if the issue’s been resolved.
If not, continue to the next step.
2. Restart Necessary Xbox Services
Several Xbox services run in the background to ensure that users have a seamless and uninterrupted gaming experience.
One of the most important services is the Xbox Live Auth Manager, which is responsible for managing authentication and user identity for Xbox Live.
This service is essential for accessing online multiplayer games and other Xbox Live features. Overall, these background services are crucial for ensuring a smooth and seamless gaming experience on Xbox consoles.
In such a case where these services are either disabled or are not functioning properly. It’ll lead to unusual problems such as the one in the discussion. Here’s how you can restart the necessary Xbox services:
- Open the PowerShell command terminal as an administrator. You can do so by pressing the Windows + R keys simultaneously to open the run dialogue box and in the text field type “PowerShell”
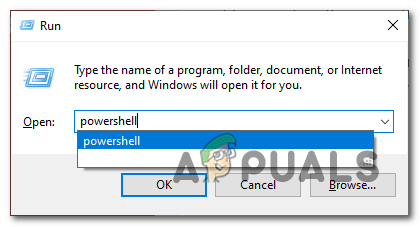
Running PowerShell as an administrator via the Run dialogue box - Paste the following command in the PowerShell terminal to stop the IpHelper service
net stop iphlpsvc
- Now, Paste the following command to start the IpHelper service. This way you’d have successfully restarted the service.
net start iphlpsvc
- Similarly, Paste the following commands to restart all the services
net stop XblAuthManger
net start XblAuthManager
net stop wuauserv
net start wuauserv
net stop bits
net start bits
net stop XboxGipSvc
net start XboxGipSvc
net stop InstallService
net start InstallService
Once all the services have been restarted, try launching the App and see for yourself if the issue’s been resolved or not.
3. Run WsReset
There are several reasons why you might want to use WsReset. If you are experiencing issues with the Windows Store, such as error messages or slow app launching, using WsReset can help to clear the cache and potentially fix the issue.
Overall, WsReset is a useful tool for clearing the Windows Store cache and resolving issues related to the Store or related apps.
It should be used when experiencing issues with the Store, after making system changes, or when troubleshooting issues as a developer or IT professional. Here’s how you can utilize the WsReset;
- Press the Windows + Q keys simultaneously to open the start menu search bar.
- In the search bar, type “WsReset”.

Opening WsReset via the Start menu search bar - Wait for a while on the blank command line prompt screen.
4. Install Xbox Identity provider
The Xbox Identity Provider is a Windows 10 app that enables users to sign in to Xbox Live using their Microsoft account.
This app is necessary for accessing various Xbox features, such as multiplayer gaming and Xbox Game Pass.
The unavailability of this service app can cause the user to face issues such as not being able to log on to the Xbox app or switch accounts.
Here’s how you can install the Xbox identity provider:
- Click here to open the Xbox Identity provider download page.
- Click on the Get in-store app button, it’ll redirect you to the Microsoft store.
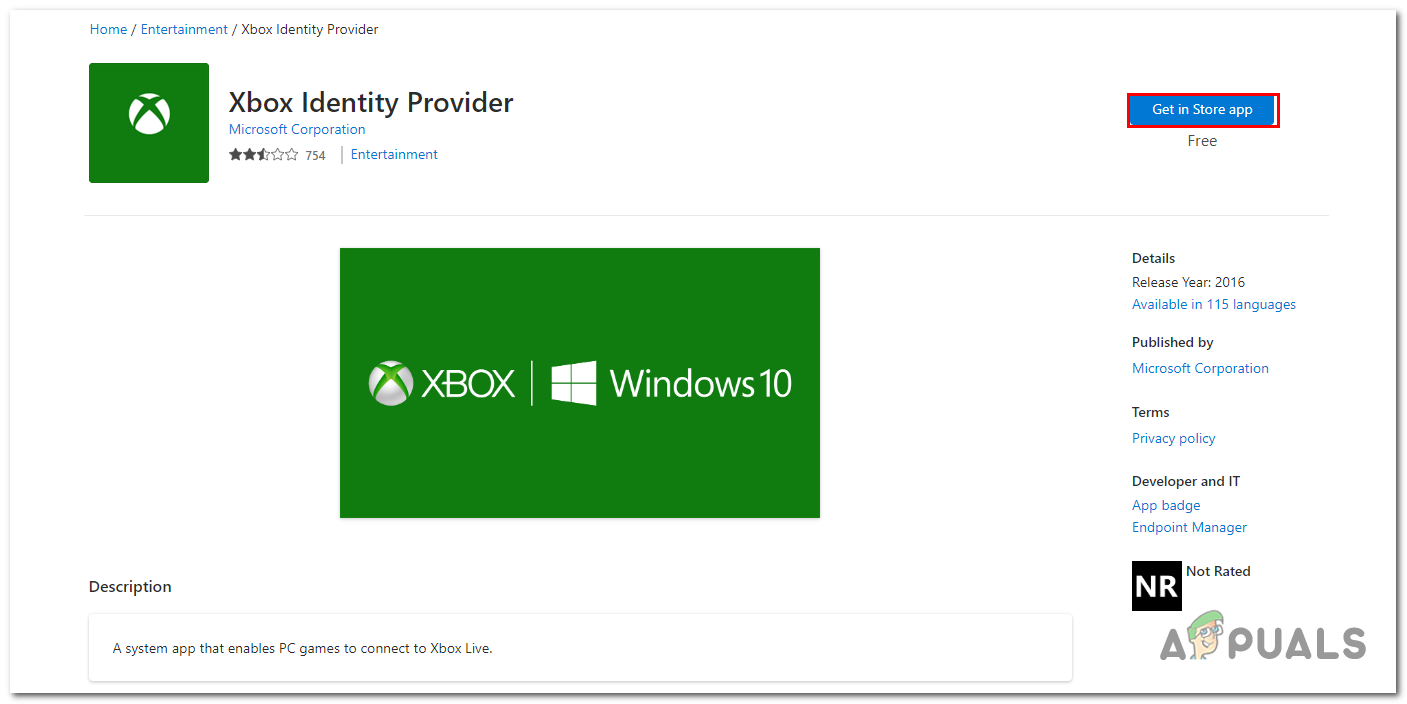
Downloading the Xbox identity provider - Click on the Install now button.
Once installed, Try launching the Xbox app and check if the issue’s been resolved.
5. Reinstall Gaming services
“Gaming Service” is an essential service package that should be functioning properly in order for the Xbox Game app to function seamlessly.
It is quite possible that the reason you’re facing such difficulties with the Xbox app is due to a faulty or unavailable gaming services package.
Just like the “Xbox identity provider”, The ‘Gaming services” package can be found on the Microsoft store. Here’s how to Uninstall and reinstall the Xbox Gaming services package:
- Press the Windows + Q keys simultaneously to open the start menu search bar and type “PowerShell”.
- Right-Click and click on the Run as an administrator button.
- Paste the following command, This’ll delete/uninstall the existing “Gaming services” package.
get-appxpackage Microsoft.GamingServices | remove-AppxPackage -allusers
- Similarly, Paste the following command. This will redirect you to the Microsoft store page from where you can install the new and updated version of the gaming service package:
start ms-windows-store://pdp/?productid=9MWPM2CQNLHN
- Click on the Install now button
6. Re-register the Xbox Application
In Windows, the “re-register” Xbox application means resetting the Xbox app on your computer and registering it again with your account information.
This process may be necessary if you are experiencing issues with the Xbox app, such as login problems, game installation errors, or connectivity issues.
To re-register the Xbox app in Windows, you can follow these steps:
- Open the Start menu and search for “PowerShell”. Right-click on Windows PowerShell and select “Run as administrator”.
- In the PowerShell window, type the following command and press Enter:
Get-AppxPackage Microsoft.XboxApp | Foreach {Add-AppxPackage -DisableDevelopmentMode -Register "$($_.InstallLocation)\AppXManifest.xml"} - Wait for the command to complete, which may take several minutes. Once finished, you can close the PowerShell window.
- Open the Xbox app and sign in with your Xbox account information.
7. Delete Xbl login credentials
If re-registering the Xbox App did not work, you can try manually deleting the Xbox Live logging credentials from the credential manager.
Credential Manager is a built-in Windows tool that allows you to securely store and manage usernames, passwords, and other login information for various applications, websites, and network resources.
Here’s you can delete the Xbox live login credentials from the credential manager:
- Press the Windows Key to open the start menu and in the search bar type “Credential manager”.
- Navigate to the “Windows credentials” option.
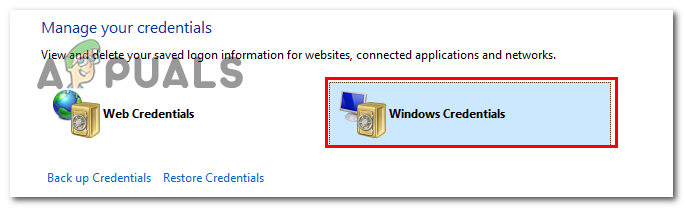
Clicking on the Windows credential option in the credential manager - Locate “Xbl |Grts Device Key” and click on the arrow beside it.
- Now, Click on the Remove button.
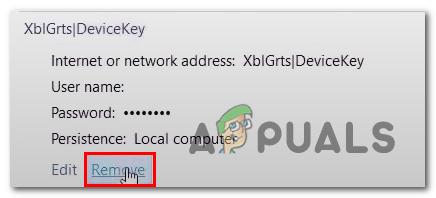
Removing the XblGrts| Device key from the credential manager - Similarly, Locate “Xbl| Device key” and remove it.
Once done, Open the Xbox App and log on to the app with the desired account.
8. Update Windows
Updating Windows is important to ensure that your computer stays secure and runs smoothly. Windows updates typically include bug fixes, security updates, and new features that can help improve your computer’s performance and protect it from viruses and other malware.
To update Windows, you can follow these steps:
- Click on the Start menu and open “Settings”
- Head to “Update & Security.”
- Click on “Windows Update” on the left-hand side of the window.
- Then press on “Check for updates” to see if there are any available updates.
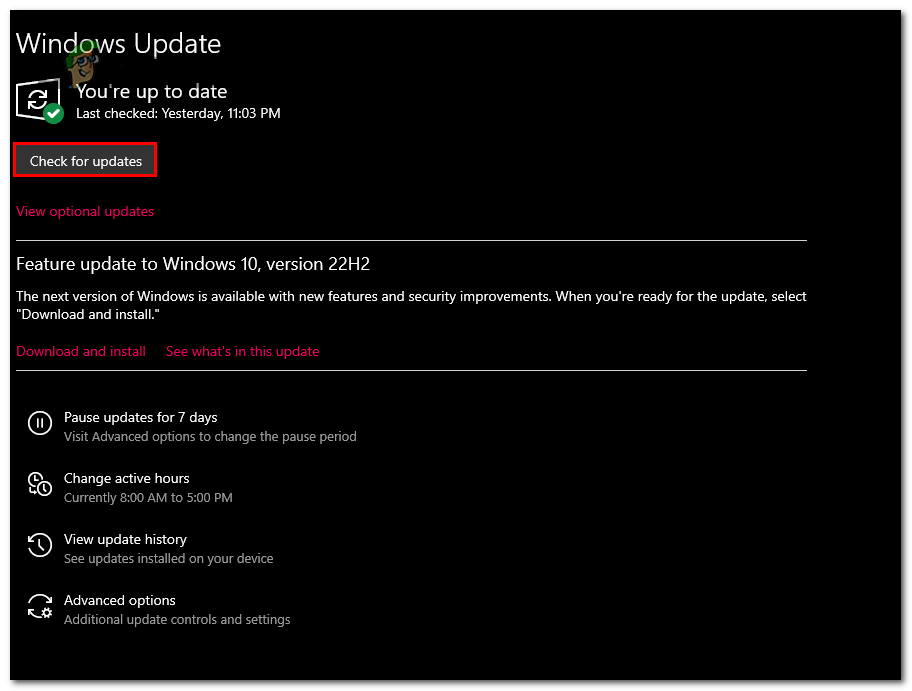
Clicking on the “Check for updates button” - If updates are available, click on “Download and install” to begin the installation process.
Note that Windows updates may take some time to install, depending on the size of the update and your internet connection speed. It’s important to ensure that your computer is plugged in and connected to the internet during the update process to prevent any interruptions.
You can also set your computer to automatically install updates so that you don’t have to manually check for updates every time. To do this, simply click on “Advanced options” under Windows Update, and then select “Automatic (recommended)” under “Choose how updates are installed.”


