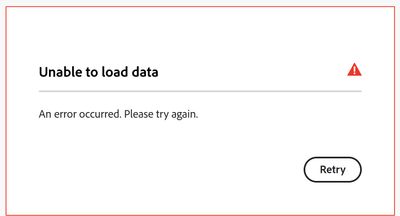
How to Fix Adobe “Unable to Load Data” Error?
The “Unable to load data” error in Adobe Creative Cloud usually appears when you open the Plans, Subscription, or Billing section (on account.adobe.com in a browser, or inside a Creative Cloud web view) and your plan details never populate.
The most common cause for this issue is a failed connection between your browser/session and Adobe’s account data service.
Other common causes include:
- VPNs, proxies, DNS filters, Pi-hole/AdGuard/NextDNS, or strict firewalls interrupting the request.
- Corrupted cookies/cache or extensions (ad blockers, script/privacy blockers) breaking the account session.
- Adobe account servers experiencing temporary issues (maintenance/high load).
Do the Checks First
These quick checks help confirm whether the problem is Adobe-side or local, and they often fix it without deeper troubleshooting.
- Open the Plans page directly (instead of navigating through multiple menus):
account.adobe.com/plans. - Hard refresh the page (forces fresh scripts/data):
Ctrl + F5 (Windows) or Cmd + Shift + R (Mac). - Sign out of your Adobe account, close the tab/app, then sign back in and retry the Plans/Billing section.
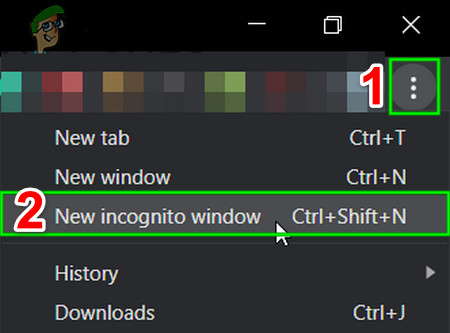
1. Start a Clean Session (Incognito + No Extensions)
A broken session or a blocking extension is one of the top reasons Adobe pages show “Unable to load data”. Private mode loads the site with a cleaner profile and quickly confirms whether cookies/extensions are the cause.
- Open a Private/Incognito window (Chrome/Edge: Ctrl + Shift + N, Firefox: Ctrl + Shift + P).
- Sign in to your Adobe account again and open the Plans or Billing section.
- If it works in Private mode, disable extensions in your normal browser (especially AdBlock/uBlock, privacy blockers, script blockers, “anti-tracking”, VPN extensions, or security extensions) and try again.
Note: Some extensions can still run in Incognito if “Allow in Incognito” is enabled, temporarily turn that off while testing.
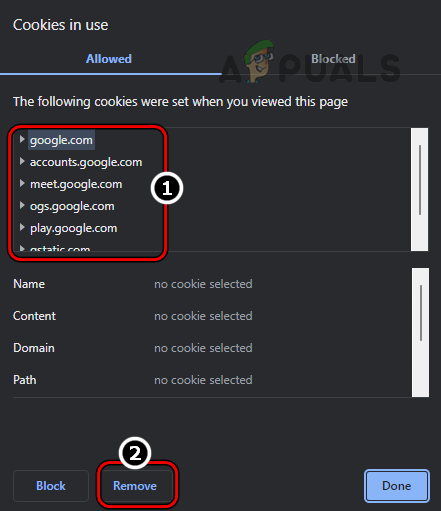
2. Clear Adobe Site Data (Cookies/Cache for Adobe Domains)
If Adobe’s site cookies or stored session tokens are corrupted, the page may load but fail to pull subscription/billing data. Clearing Adobe site data forces a fresh sign-in and rebuilds the session.
- Open your browser settings and go to Privacy / Cookies and site data.
- Search for adobe and remove stored cookies/site data for adobe.com and account.adobe.com (and any Adobe sign-in entries listed).
- Restart the browser, sign in again, and re-open the Plans/Billing page.
3. Flush DNS and Retry
This helps when your device is using outdated/incorrect DNS entries for Adobe services, or when DNS filtering is causing bad routing. Flushing forces Windows to request fresh records.
- Temporarily disable VPN, proxy, or any DNS filtering app, then refresh the Adobe billing page.
- Search for Command Prompt and open it.Tip: Running as administrator is usually not required for DNS flushing, but it’s fine if your system policies prompt for it.
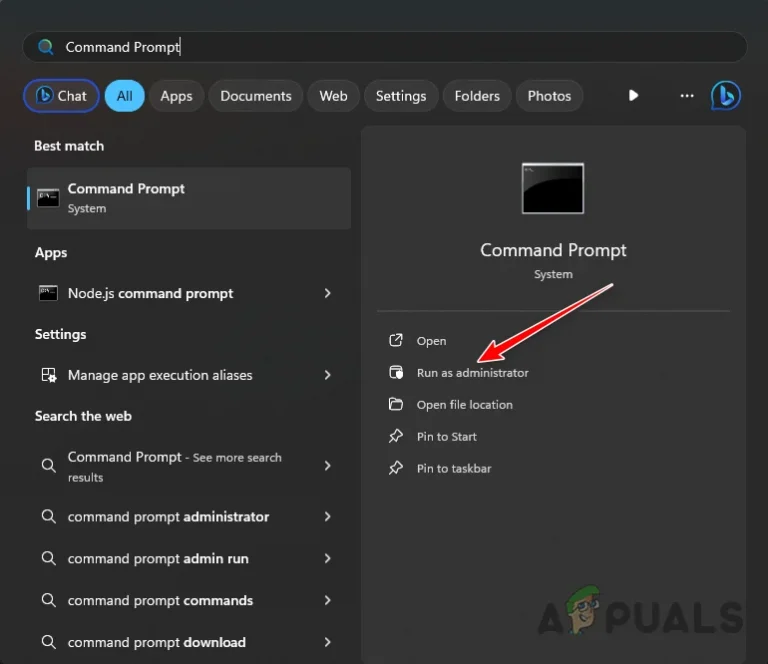
- Run:
ipconfig /flushdns
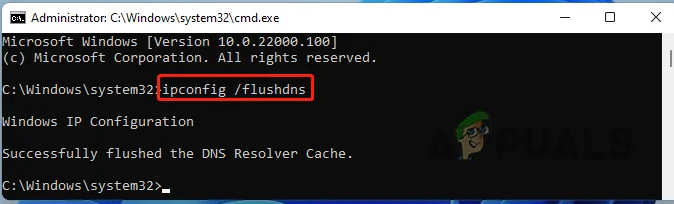
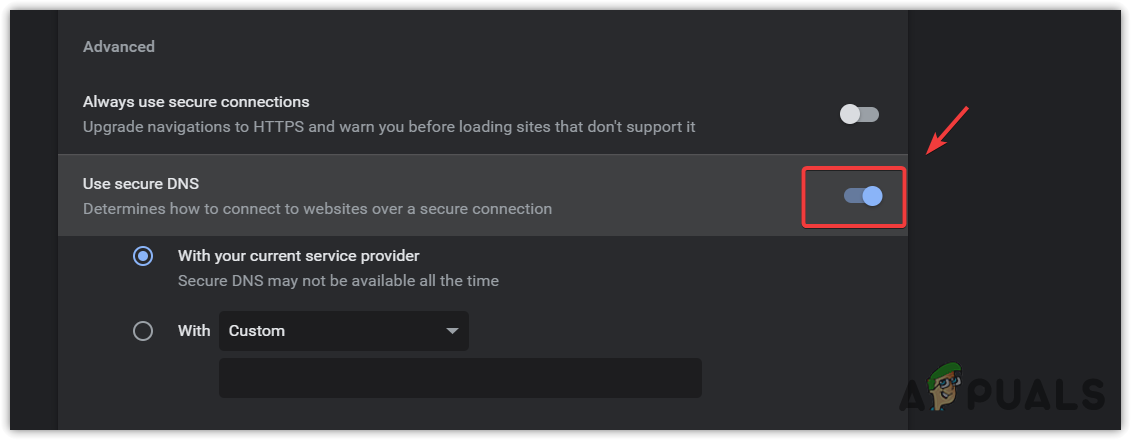
- Restart the browser and try opening Plans/Billing again.If it still fails: In Chrome/Edge, temporarily disable Secure DNS (DNS over HTTPS / DoH) while testing, because it can override normal DNS behavior.
4. Check if Firewall/Security Software Is Blocking Adobe Components
Use this when the issue happens inside the Creative Cloud desktop experience, or when a security suite blocks Adobe background services. If Adobe services can’t communicate, the account view may open, but it can’t complete the request needed to load your subscription data.
- Search for Allow an app through firewall and open it.
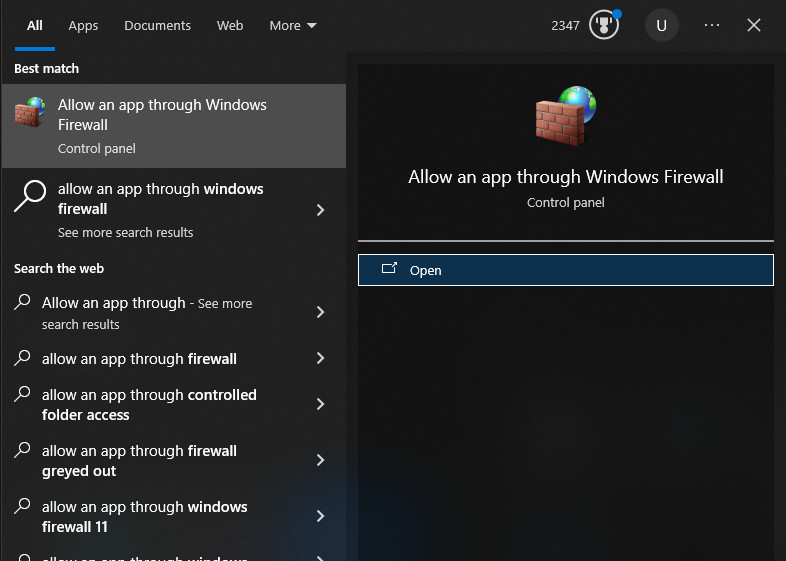
- Look for entries such as Adobe Desktop Service, Adobe Genuine Service, or other Adobe-related items.
- Ensure Adobe entries are allowed for the network profile you’re currently using (typically Private on home networks).
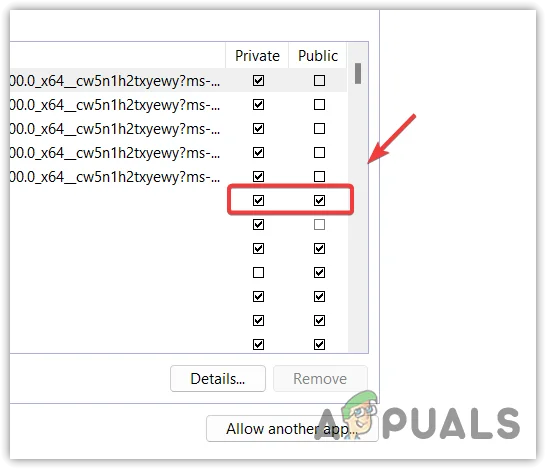
- Click OK, then restart Creative Cloud (and your browser if you were using a web view) and try again.


