Fix: Unable to install Origin Code 10.0 on Windows
Some Windows 10 users are reporting that they always end up seeing the error code 10.0 when trying to install Origin on their PC or when trying to install a game via Origin. Most affected users are reporting that the error code pops up at the end of the installation attempt.
After investigating this particular issue, it turns out that there are several different underlying causes that might be triggering this error code. Here’s a list of potential culprits that might be responsible for this error code:
- Underlying server issue – Before you move on to the actual fixes, you should take the time to ensure that the issue is not occurring due to an underlying server issue that is interfering with Origin downloads. Once you confirm that you’re not actually dealing with a server issue you can move down to the actual fixes.
- Corrupted OriginThinSetupInternal.exe – As it turns out, you can expect to see this error code due to a file that is prone to become corrupted (OriginThinSetupInternal.exe). If this scenario is applicable, you can fix the issue by deleting the problematic file before opening Origin with admin access.
- Corrupted Origin Installation – Under certain circumstances, you can expect to experience this issue due to some type of corruption that is affecting your Origin installation. Several affected users that were also encountering this issue have reported that they’ve managed to fix this issue by uninstalling the current version of Origin before reinstalling the latest from the official channels.
- 3rd Party AV interference – As it turns out, there are several different 3rd party suites that are known to cause a certain type of interference that ends up causing this error. To resolve this problem, you can either whitelist the main Origin executable or you can uninstall the problematic 3rd party suite that is causing this problem.
Now that you are familiar with every potential scenario that might trigger this 10.0 error code with Origin, here’s a list of verified methods that other affected users have successfully used to get to the bottom of this issue:
Method 1: Checking the Origin Servers
Before you try to deploy any other fix, you should start by making sure that Origin’s servers are fully functional and not interfering with your local installations.
Because of this, it’s important to start this troubleshooting guide by checking the status of Origin servers. The ‘error code 10.0′ issue can be beyond your control if the servers are down or undergoing maintenance.
So, before jumping to the other potential fixes below, visit the Origin pages of DownDetector and Outage.Report and see if other users are currently reporting server issues with Origin. If you want to be extra thorough about it, it’s also good practice to check up EA’s Twitter account or the Reddit hub for any evidence of maintenance or outage problems.

If your investigations didn’t reveal any problems, it’s likely the issue is restricted to your computer. In this case, move down to the first viable fix below.
Method 2: Deleting OriginThinSetupInternal.exe
According to some affected users that were also encountering this issue, you can also expect to see this error code due to some type of corruption that is affecting the OriginThinSetupInternal.exe file.
Fortunately, if this scenario is applicable, you can fix the issue by navigating to the location where Origin is installed and delete the file before opening Origin once again with admin access in order to allow the file to be regenerated.
Several affected users have confirmed that they’ve managed to fix the error code 10.0 by deleting the OriginThinSetupInternal.exe file before forcing the utility to regenerate it.
If you haven’t tried this fix yet, follow the instructions below:
- Open File Explorer and navigate to the location where you installed Origin. By default, the launcher is installed in the following location:
C:\Program Files (x86)\Origin
- Once you’re inside the correct location, look through the root folder and locate the OriginThinSetupInternal.exe.
- After you manage to discover the correct OriginThinSetupInternal.exe file, right-click on it and choose Delete from the context menu that just appeared.
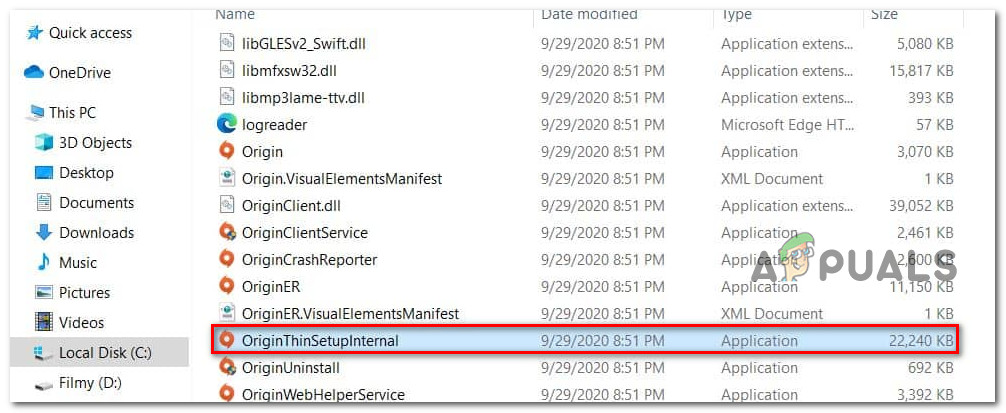
Deleting the OriginThinSetupInternal.exe - Once the OriginThinSetupInternal.exe is deleted, right-click on Origin.exe and choose Run as Administrator from the context menu that just appeared.
- When you’re prompted by the UAC (User Account Control), click Yes to grant admin access.
Note: At this point, the utility will be realized a file is missing and will regenerate it. - Repeat the installation and that were previously triggering the error code 10.0 and see if the issue is now fixed.
In case this method didn’t allow you to fix this issue, move down to the next potential fix below.
Method 3: Reinstalling Origin
If you’re encountering the “error code 10.0” issue when trying to install Origin or install a game or updater, the next logical step should be to uninstall the current version of Origin before reinstalling the latest available version.
Several users that we’re encountering the same problem have managed to fix the issue by deleting the contents of the Origin folder and uninstalling the application entirely before reinstalling it from scratch.
The general consensus is that the Origin folder has some files that are very prone to corruption if the installation is interrupted by an interrupted system shutdown.
Here’s a quick guide on reinstalling Origin, deleting the Origin folder, and reinstalling the application:
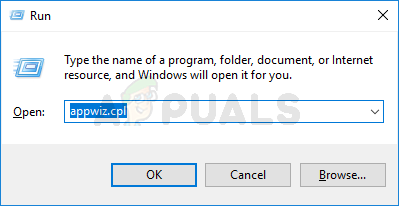
- Press Windows key + R to open up a Run dialog box. Then, type “appwiz.cpl” and press Enter to open up the Programs and Files window. If you’re prompted by the UAC (User Account Control), click Yes to grant admin access.
Accessing the Programs and Features menu - Once you’re inside the Programs and Features window, scroll through the list of applications and locate Origin. After you find the correct listing, right-click on it and choose Uninstall.
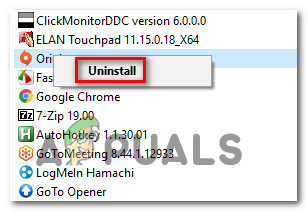
Uninstalling the Origin application - Next, follow the on-screen prompts to complete the uninstallation, then close the Programs and Features screen once the process is complete before restarting your computer
- Once your computer boots back up, navigate to this location and delete the entire Origin folder:
C:\Program Files (x86)
Note: If you installed Origin in a custom location, navigate there instead.
- Visit the official download page of Origin and click on the Download button under Windows to get the latest version
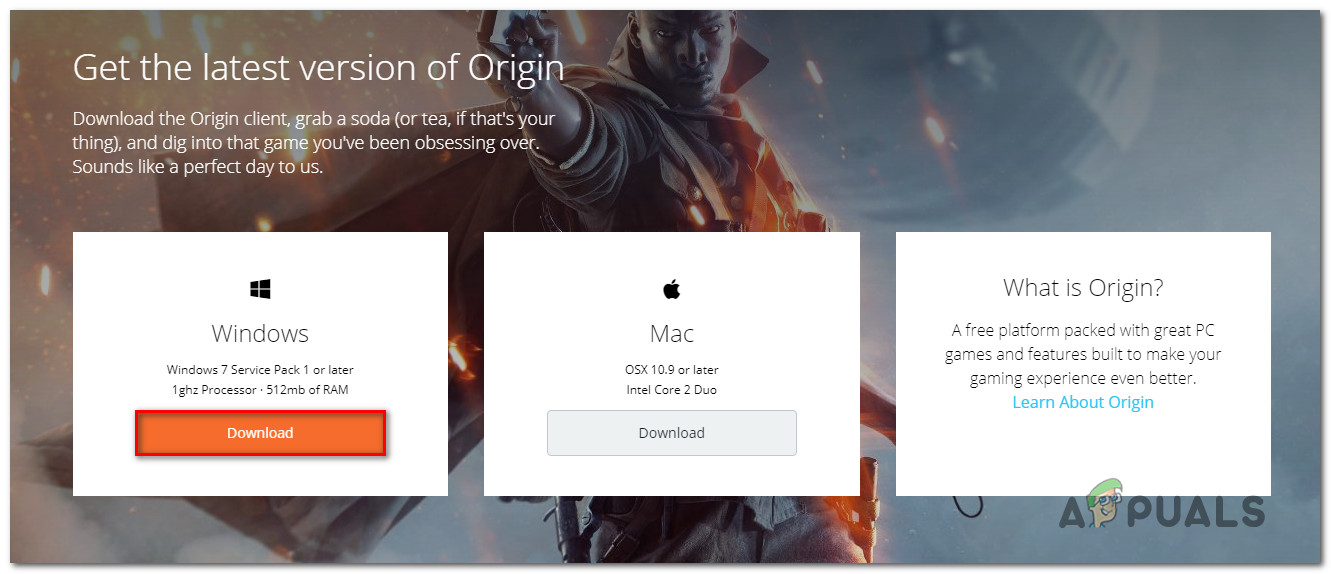
Downloading the latest version of Origin - Once the installation executable has been downloaded, open it and follow the on-screen prompts to complete the installation of the latest version of Origin.
- Launch the Origin store and see if the issue has been resolved.
If you’re still encountering the same error code 10.0 or this method wasn’t applicable to your situation, move down to the next method below.
Method 4: Preventing AV from blocking Origin (if applicable)
If you’re using a 3rd party antivirus suite, it’s also possible that it ends up blocking Origins from communicating with its download server, which ends up triggering the error code 10.0. This problem is more common than you might imagine, but it seems like Windows Defender will not cause this problem (this issue is only restricted to certain 3rd party AV suites).
In case you’re using a 3rd party antivirus suite and you’re encountering this problem, the first thing you should do is disable the real-time protection of your AV and launch Origin again. If the issue is no longer occurring, you have two ways forward:
- Add the main Origin (Origin.exe) executable to the exception (whitelist) list to ensure that it’s not blocked by your AV – The steps of doing this are specific to each 3rd party AV. You can search online for dedicated instructions.
- Uninstall the 3rd party antivirus that you’re using and use Windows Defender – A lot of users have reported that Windows Defender doesn’t block Origins, so making the switch to the default security program should resolve the issue if a 3rd party AV is currently causing it.
Here’s a quick guide on uninstalling your 3rd party antivirus and make the switch to Windows Defender:
- Press Windows key + R to open up a Run dialog box. Then, type “appwiz.cpl” and press Enter to open up the Programs and Features screen.

Opening the Programs and Features menu Note: If you are prompted by the UAC (User Account Control) prompt, click Yes to grant admin access.
- Once you get there, scroll through the list of applications and locate the 3rd party suite that you suspect might be causing the error code 10.0.
- Right-click on the antivirus suite that is currently active and chooses Uninstall. Then, follow the on-screen prompts to complete the uninstallation.
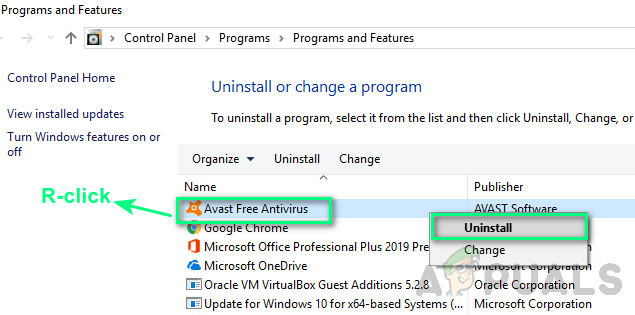
Uninstalling 3rd party antivirus - Once the installation is complete, restart your computer and wait for the next startup to complete.
Note: During the next boot, your OS will realize that there’s not active AV and will kick Windows Defender into action.


