FIX: Unable to Install ASUS Smart Gesture Driver
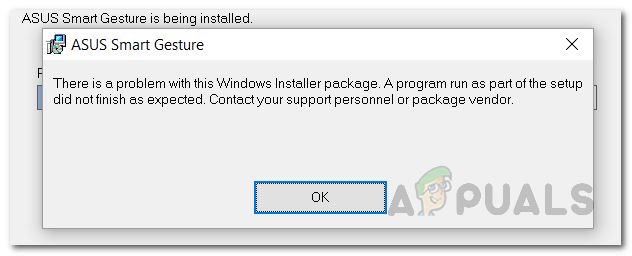
ASUS Smart Gesture is a driver that lets you use your touchpad more precisely, enhancing the capabilities offered. The driver is simple and easy to install as it requires only a few clicks. However, in some cases, the process may not go as smoothly and users are thrown out an error message which stops them from installing the driver. This error message is really annoying as it only suggests that the installer package has a problem. Per the error message, users often download the driver installer again in hopes of getting rid of the error but the issue persists.
As it turns out, the problem is not with the installer but rather other factors cause the said issue. Depending on the case, it can be caused by either permission issues where the driver installer doesn’t have sufficient permissions. In other cases, the issue can even be associated with the BIOS of your laptop. We will be covering them in detail down below so let us get into it.
- Insufficient Permissions — One of the reasons why this issue may occur is insufficient permissions. In some cases, if the driver installer does not have sufficient permissions, the installer will not be able to proceed and thus you are shown a message that indicates a problem with the installer. To fix this, you will have to run the driver installer as an administrator.
- Obsolete BIOS — As it turns out, the issue can also be caused if you have an outdated BIOS version. Manufacturers often release updated versions of their BIOS, without the users knowing. In addition, the problem can also be associated with your BIOS settings in some situations where you will have to load the optimized preferences to get rid of it.
Now that we gone through the potential causes of the said issue, let us go through the different methods that you can use to get the ASUS Smart Gesture driver installed. Follow through.
Method 1: Run the Installer as an Administrator
One of the common reasons why this error message appears, as we have mentioned, is when it does not have sufficient permissions. Therefore, the first thing that you should do when you face the said issue is to run the application as an administrator. Doing so will provide it admin permissions and as a result, in case if there are any background services interrupting it, it will be able to override them. This is pretty easy to do and requires only a few clicks. Do this by following the instructions given down below:
- First of all, navigate to the path where the driver is located.
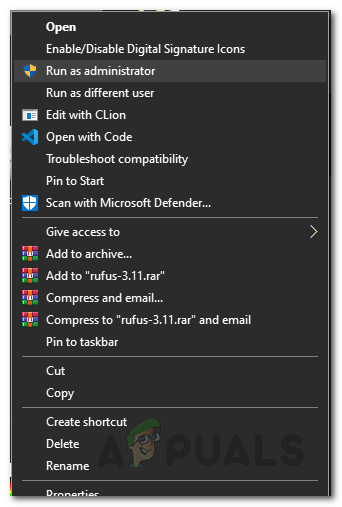
- Then, right-click on the installer.
- From the drop-down menu that appears, choose the Run as an administrator option.
Running as an Administrator - When the UAC dialog box pops up, click Yes to allow the installer to execute.
- See if the issue has been resolved.
Method 2: Run Compatibility Test
Another way that you can get rid of the said problem is to run a compatibility test on the installer. Windows will scan the app to see if there are any compatibility issues. In case there are any, the operating system will try to resolve them, and thus you will be able to run the installer and the driver. This has been reported by a user who was facing a similar issue. This is pretty easy to do as well. Follow the instructions down below:
- First of all, right-click on the installer and then go to Properties.
Running as an Administrator - On the Properties window, switch to the Compatibility tab.
- When you are on the Compatibility tab, click the Run compatibility troubleshooter option to start the troubleshooter.
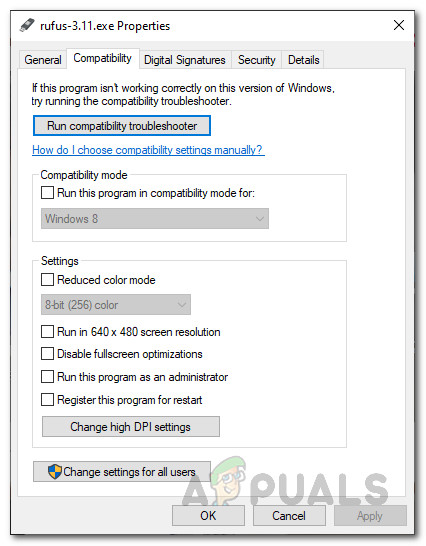
Compatibility Tab - This may take a few minutes so make sure to wait for it.
- After that, you will be prompted to run the program again, do so.
- If you are not, just run the program manually.
- See if that resolves the issue.
Method 3: Load BIOS Optimized Defaults
As it turns out, in some cases the issue can also be caused by your BIOS settings. Luckily, there is an option in the ASUS BIOS menu that lets you load the optimized default values for the BIOS. This has reportedly solved the issue for several users, so it might work out for you as well. To do this, follow the instructions down below:
- First of all, open up the Settings window by pressing Windows key + I. Alternatively, you can just go to the Start Menu and click on the Settings icon on the left-hand side.
- After that, on the Settings window, make your way to the Update & Security screen.
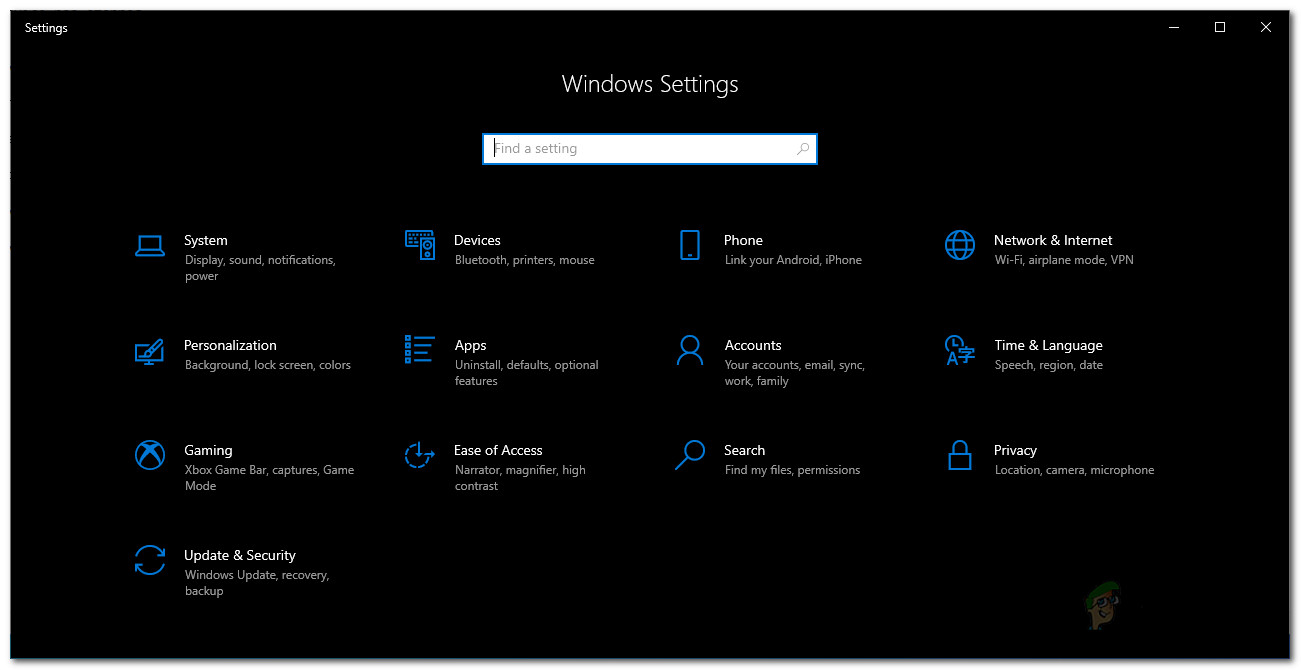
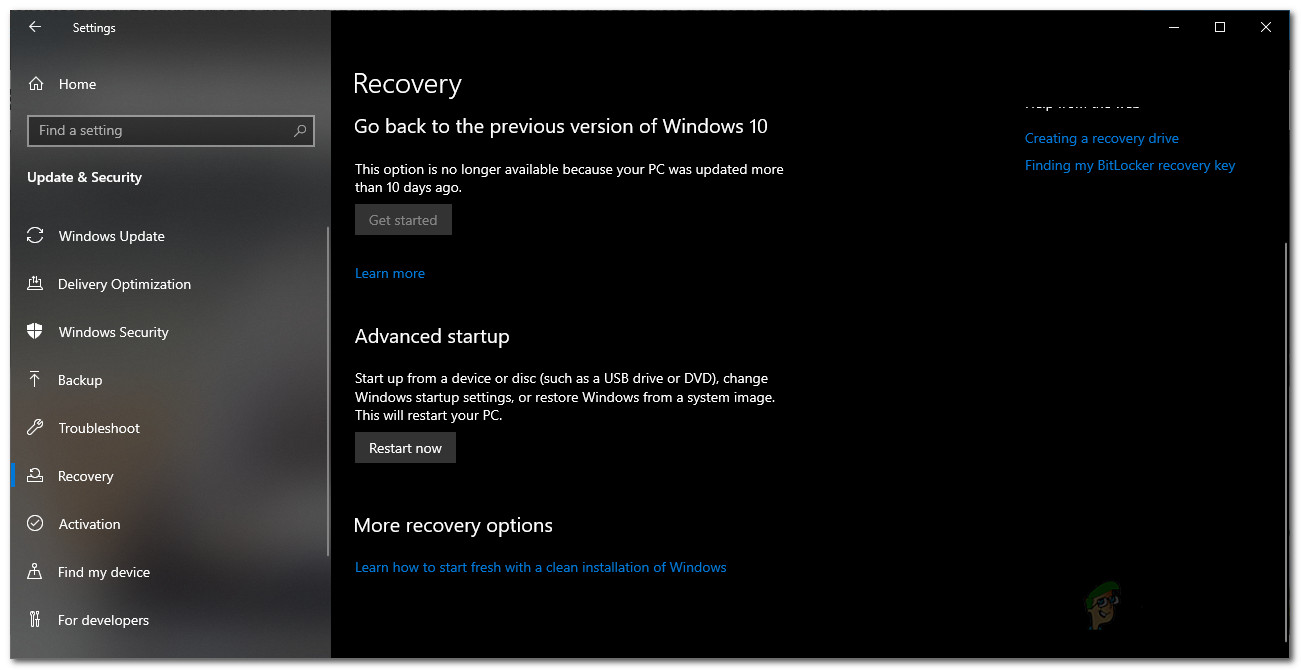
Windows Settings - On the Update & Security screen, go to the Recovery tab on the left-hand side.
- From there, click the Restart now button under Advanced Startup.
Windows Recovery Settings - Once your notebook reboots, click on the Troubleshoot option.
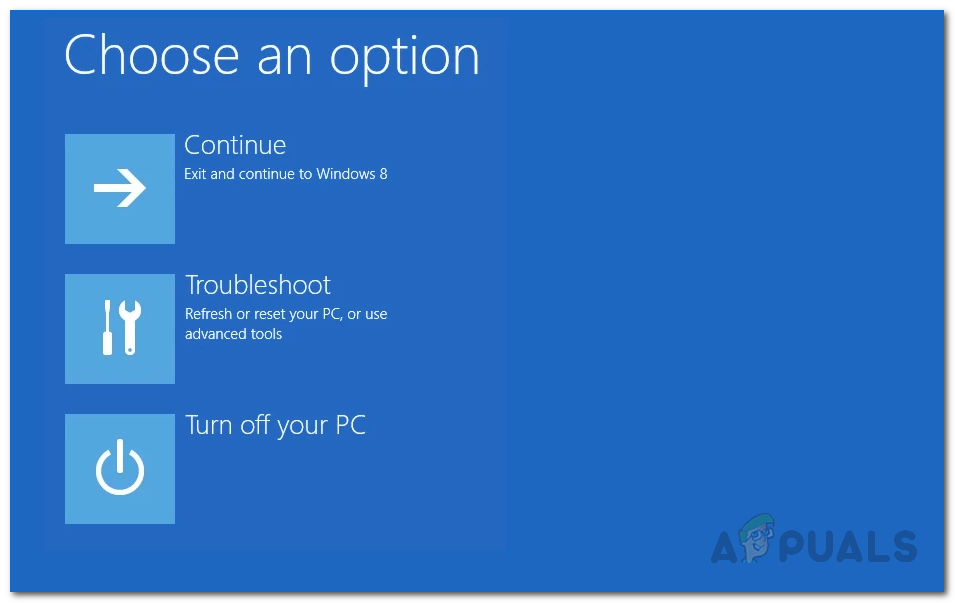
Windows Recovery - Then, make your way to Advanced options.
- After that, on the Advanced options screen, click on the UEFI Firmware Settings option.
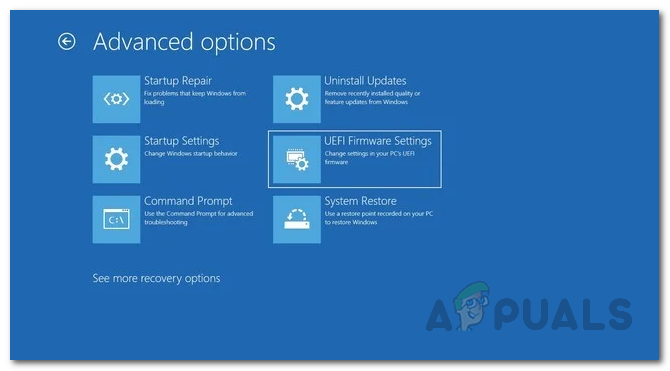
Windows Recovery Advanced Options - Finally, click the Restart button to get into your BIOS.
- Once you are in your BIOS, press the F7 key to go the Advanced Mode.
- Now, go to the Exit tab and select the Load Optimized Defaults option.
- Once you have done that, save and exit out of your BIOS.
- Boot into Windows and see if the issue still persists.
Method 4: Update BIOS
Finally, if the above solutions do not work out for you, what you have to do is update your BIOS. It is very likely that you are running an old version of BIOS on your notebook that may potentially be causing the issue as it was for some other users. To update your BIOS, you will first have to download the latest version available and then put them on an external storage device like a USB. Follow the instructions down below:
- First of all, head to the ASUS Support site.
- Then, search for your notebook’s model number and hit Enter.

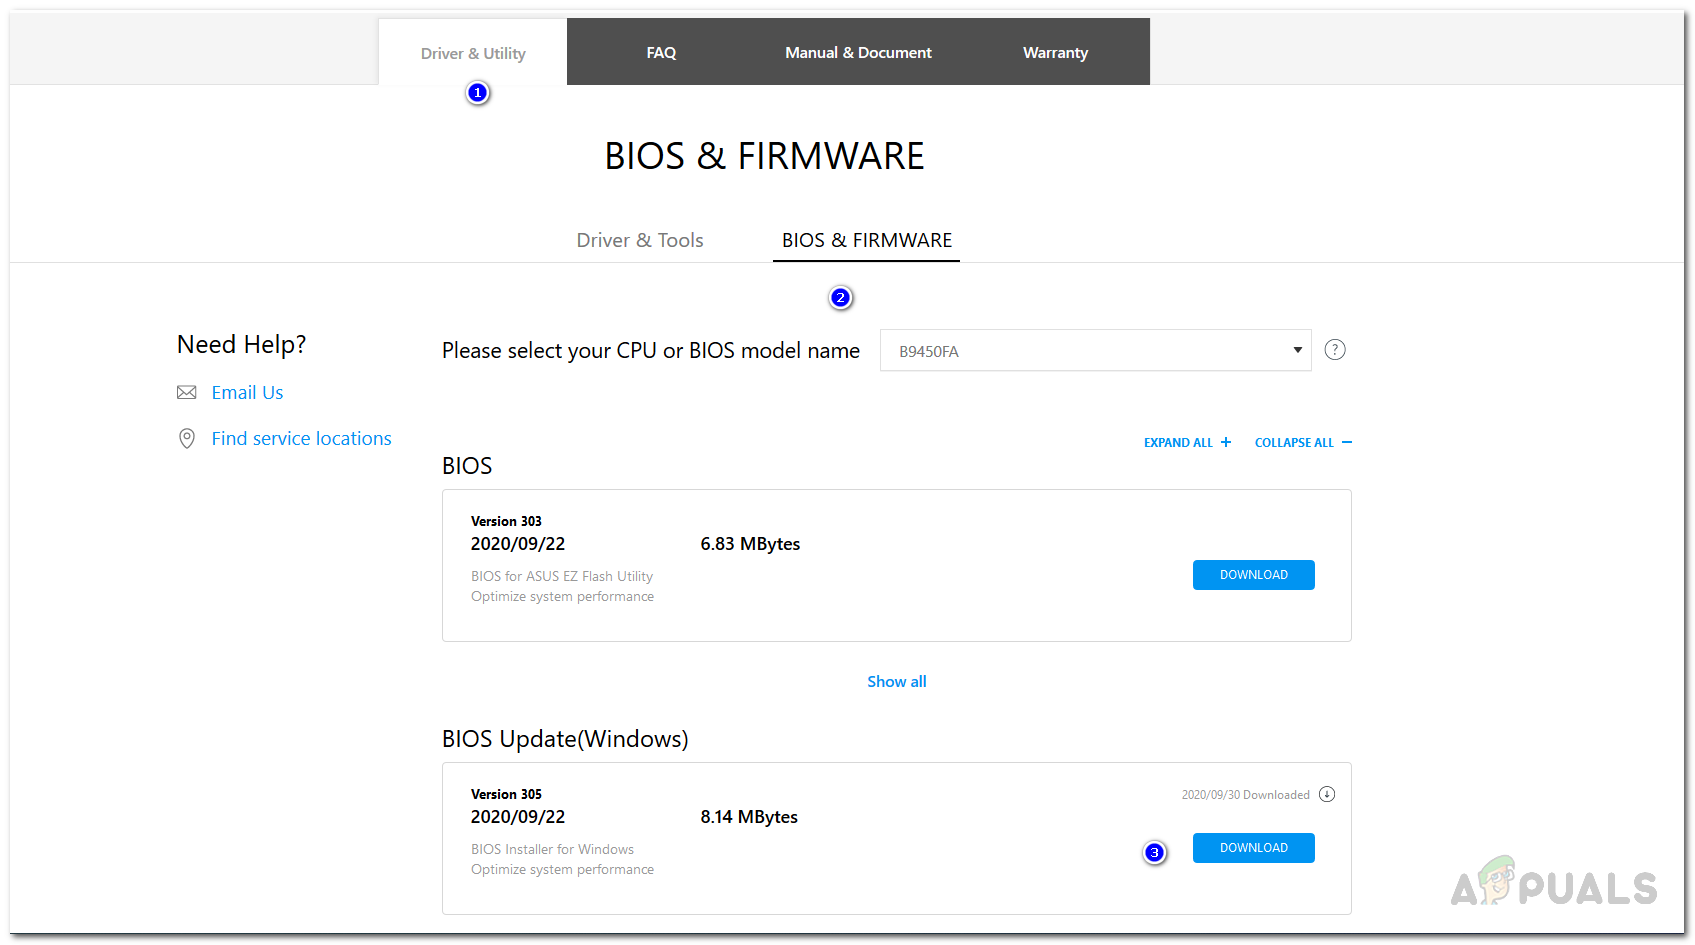
ASUS Support Website - On the new page, go to the Driver & Utility tab.
- Then, switch to the BIOS & FIRMWARE category.
- There, select your model from the drop-down menu.
- This will list down the latest versions available for your device.
- Click the Download button under the BIOS Update (Windows) heading.
Downloading BIOS Installer - Once the download has finished, run the installer and go through the prompts.
- When asked to restart, do so. Make sure that your AC adapter is plugged in when you are updating BIOS.
- When you are taken to the BIOS screen, click the Yes button to start the update.
- Wait for it to complete. Once it is done, your device will restart automatically.
- Once Windows boots up, your BIOS has been updated successfully.
- Finally, run the installer again to see if the issue has been resolved.


