Fix: Ubisoft Connect “Failed to Synchronize Cloud Saves” Error
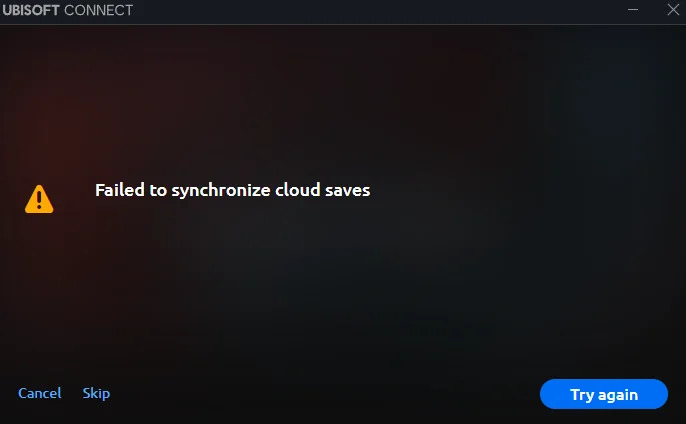
When Ubisoft Connect fails to synchronize cloud saves, you may encounter the error message: “Failed to synchronize cloud saves.” This usually results in progress loss because the platform cannot properly upload or download saved game data between local storage and Ubisoft’s servers. This is a common issue users face when troubleshooting Ubisoft Connect cloud saves.
The most common cause is an unstable internet connection, especially when using a VPN that interferes with Ubisoft’s server communication or changes DNS routing. Other factors include firewall restrictions, corrupted local save files that the client fails to parse, and temporary server-side issues on Ubisoft’s end. You can verify if Ubisoft services are down by checking their official status page or forums.
In some scenarios, Ubisoft Connect mismanages save file paths after game migration, reinstallations, or custom directory changes—leading to unsynced data. The client may also fail to prompt users during cloud vs. local save conflicts, risking unintentional data overwrites.
The fixes listed below address permissions errors (such as missing write access to the save directory), firewall blocks, and OS-level issues like antivirus interference or restricted folder access. These solutions are especially useful when trying to fix Ubisoft cloud sync issues.
Before applying any fixes, it is highly recommended to manually back up your local save files to avoid permanent data loss in case of a sync conflict or automatic overwrite.
To do this, navigate to
C:\Program Files (x86)\Ubisoft\Ubisoft Game Launcher\savegames\[YourUserID] or
C:\Users\[YourName]\Saved Games\Ubisoft Game Launcher
copy the folder corresponding to your game, and paste it to a safe location like your Desktop or an external drive.
1. Toggle Offline/Online Mode
This solution enables Ubisoft Connect to re-establish its connection with cloud servers by forcing a fresh login state. This often resolves temporary sync glitches caused by an improper connection between the client and Ubisoft’s servers.
⚠️ Note: This method involves editing a configuration file. Create a backup of the file before making any changes to avoid errors.
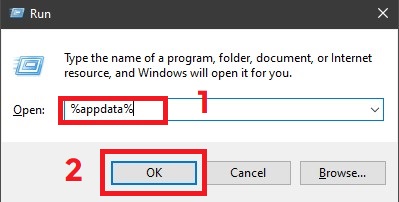
- Press Windows + R key on your keyboard to launch the Run dialog.
- Type the following and click OK:
%appdata%
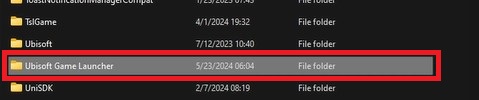
- Open the Ubisoft Game Launcher folder.
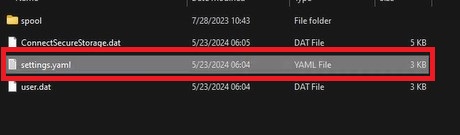
- Right-click on the “settings.yaml” file and open it with Notepad.
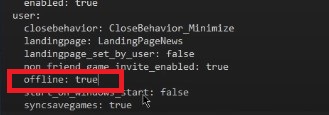
- Find the line that says offline: false and change it to offline: true. Save the file.
- Optional but recommended: Create a backup of the file before continuing (right-click > Copy > Paste in the same folder).
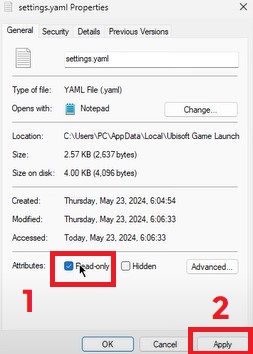
- Right-click on “settings.yaml” again, open Properties, and check the Read-only box. Click Apply.
Now launch Ubisoft Connect. It should start in offline mode. Afterward, you can disable offline mode from the client’s own settings to re-establish a clean connection with the cloud servers. This forces a reset of the sync mechanism and may help fix persistent sync errors.
2. Set Ubisoft Connect to Always Run as Admin
Running Ubisoft Connect with administrator privileges ensures the application has the necessary permissions to modify system folders where save files are stored. Many sync issues occur when the client lacks write access to the savegame directory, especially on restricted user accounts or systems with aggressive antivirus or UAC settings.
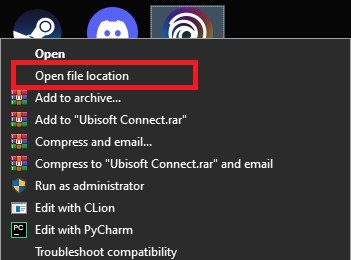
- Right-click the Ubisoft Connect shortcut and select Open file location.

- This will take you to a shortcut—right-click it again and choose Open file location to reach the installation directory.
- Now navigate to the Ubisoft\Ubisoft Game Launcher folder if not already there.
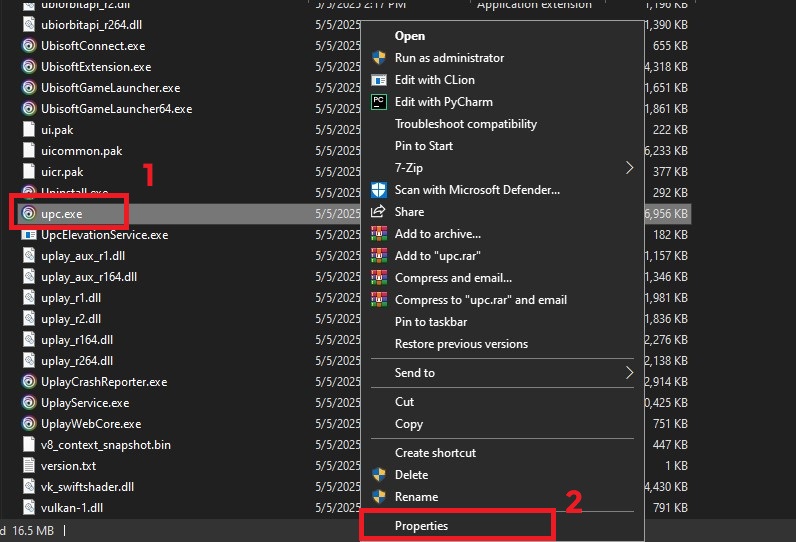
- Scroll down and find “upc.exe”. Right-click it and select Properties.
- Go to the Compatibility tab and check the box that says “Run this program as an administrator.”
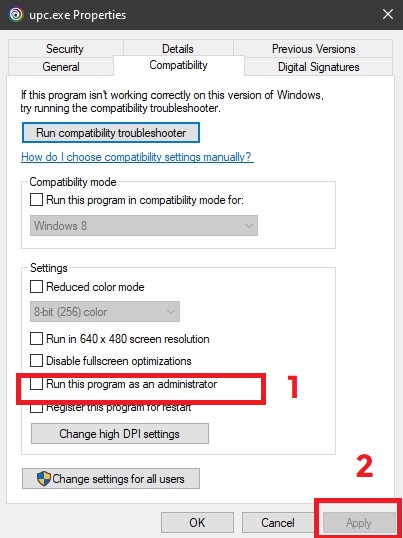
- Click Apply, then OK.
- Repeat the same process for “UPlayWebCore.exe” in the same folder.
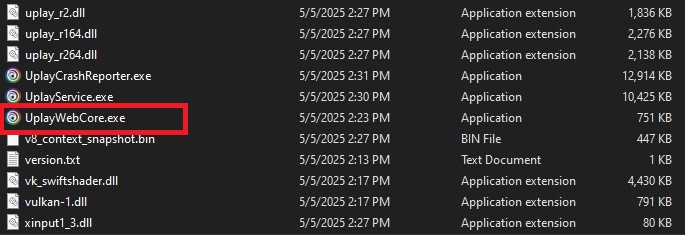
The UPlayWebCore.exe component is responsible for handling web-based interactions within Ubisoft Connect, including authentication and syncing services. Granting it administrator access helps prevent silent permission failures during background sync tasks.
3. Manual Save Folder Cleanup
Renaming the save folder prompts Ubisoft Connect to re-fetch clean cloud copies, bypassing potentially corrupted local files. This method can restore cloud integrity while preserving your most recent gameplay—but only if a valid cloud version exists.
⚠️ Warning: This process can result in permanent data loss if cloud saves are outdated or missing. Always back up the save folder first to prevent accidental overwrite.
- Right-click the Ubisoft Connect shortcut and select Open File Location.
- Navigate to the following path:
Ubisoft\Ubisoft Game Launcher\savegames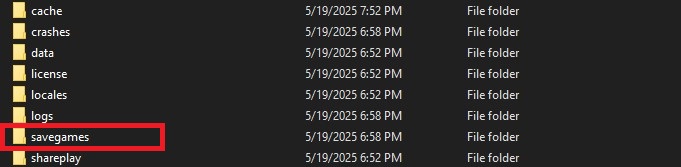
- Inside the
savegamesfolder, locate your Ubisoft user folder—typically a numeric ID (e.g.,8565e4...). You may have multiple folders if you’ve used different Ubisoft accounts on the same PC.
Tip: To identify which folder belongs to your game:- Sort by Date Modified to find recently used folders.
- Open each to check for files with familiar game-specific extensions like
.saveor.sav.
- Rename the game’s save folder (e.g.,
1771) by appending_old(e.g.,1771_old). This prevents Ubisoft Connect from loading it on launch. - Launch Ubisoft Connect. If a healthy cloud save exists, the launcher will re-download it into a newly created folder with the original ID.
- After the game loads, exit and return to the
savegamesfolder to compare theoldand new folders.
Advanced: If needed, you may selectively copy files from the_oldfolder into the new one—but only if you’re confident they won’t corrupt your progress. Some games validate save versions on load.
Note: This method applies to Ubisoft Connect version 139.0.0 (May 2025). If folder structures or sync behavior changes in future versions, refer to Ubisoft Support for updated guidance.
4. Verify Game Files
File verification compares your local game installation against the official Ubisoft servers, replacing any corrupted or altered files. While cloud sync operates independently, verifying your files ensures the game runs properly and helps prevent save loading issues caused by faulty installations.
⚠️ Note: File verification may remove mods or custom configurations. Backup any modified files beforehand if needed.
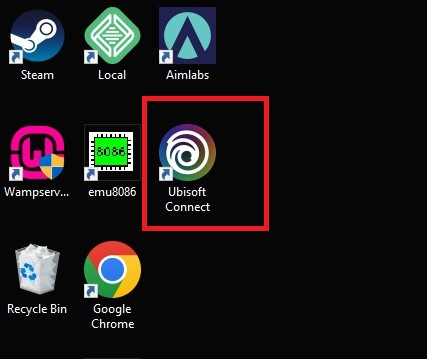
- Open the Ubisoft Connect client from your Desktop.
- Click on the Library tab.
- Click your game’s (…) button, then select Verify Files.
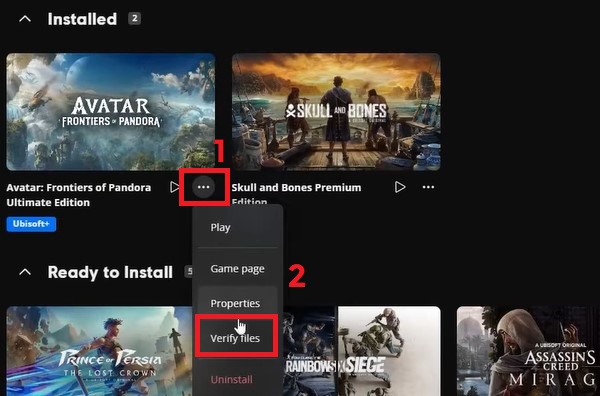
- If corrupted files are found, Ubisoft Connect will automatically redownload them. Once complete, restart the game to test cloud sync.
5. Cloud Sync Reset
This method resets Ubisoft’s cloud sync system by disabling it temporarily, removing potentially corrupted local saves, and generating a clean new save. Afterward, Ubisoft Connect will prompt you to select between local and cloud saves—allowing you to safely overwrite the cloud with the new version.
⚠️ Important: If you select the cloud save during the final step, your new local progress will be overwritten. Always back up the save folder before deletion and proceed carefully.
- Right-click on Ubisoft Connect and select Run as Administrator.
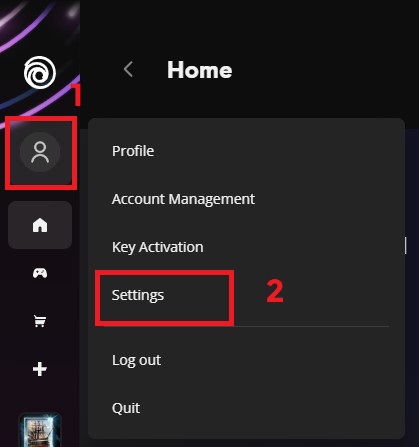
- Click your Profile icon, go to Settings → General.
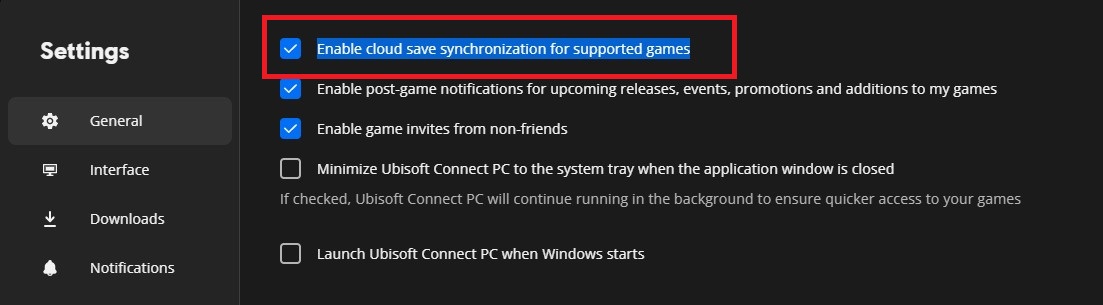
- Untick the option: “Enable cloud save synchronization for supported games”.
- Close Ubisoft Connect. Right-click the shortcut again and select Open File Location.
- Navigate to:
Ubisoft\Ubisoft Game Launcher\savegames - Locate the folder for your game. These are usually numeric (e.g.,
1771for Assassin’s Creed Valhalla).
Tip: Open each folder and check for recognizable file names to identify the correct one. - Backup: Copy the game’s save folder to a safe location (Desktop or Documents).
- Once backed up, delete the original game save folder inside
savegames. - Launch the game. Start a new session and play for 5–10 minutes, then manually save your progress.
- Close the game. Reopen Ubisoft Connect, go back to Settings → General, and re-enable cloud save synchronization.
- Ubisoft Connect will prompt you to choose between cloud and local saves. Choose the new local save to overwrite cloud data and restore syncing.
If none of the above methods resolve the issue, your best option is to contact Ubisoft Support directly for further assistance. They can check for account-specific or server-side problems that may not be fixable on your end.