Three Ways to Keep Your Gmail Inbox Organized Like a Pro
Being a working person calls for you to save your time in places where you can and use that time elsewhere. Since Gmail is used extensively by many as a basic forum to exchange work emails, you might see how messed up your Gmail inbox is especially when you need to look for an email from a very important sender, but just cannot find that specific email, or that specific person. The time you just wasted in finding an email from a sender from last month, could have been invested in something else. So here I am, to show you three different ways in which you can keep all your emails organized and in place for you to find, and save time.
The Search Bar for Gmail
Half of your problem is solved when you use the Search bar on Gmail, which is present right at the top of the screen when you sign in to your Gmail account. This search bar works how Google works. The only difference is, the search on the Gmails search bar is only limited to your Gmail account, and I guess that is exactly what we need. For the search to become more precise and direct. For instance, you can’t find an email from, say, XYZ. You type XYZ in the search bar for Gmail and TADA! there it is. All the emails from XYZ on your screen right there. If you still don’t understand how to use it, follow the instructions as given below.
- Sign in to your Gmail account. You obviously cannot access this search bar unless you are signed in to your account. Right at the top of the screen, you will notice a search bar which says ‘search mail’. This is where you will enter the name or the email address you are looking for. Or, if you are looking for a specific file that they had sent or that you had sent to them, then type the files name if you remember, for instance, ‘Data for thesis’, press the enter key from your keyboard to begin the search.
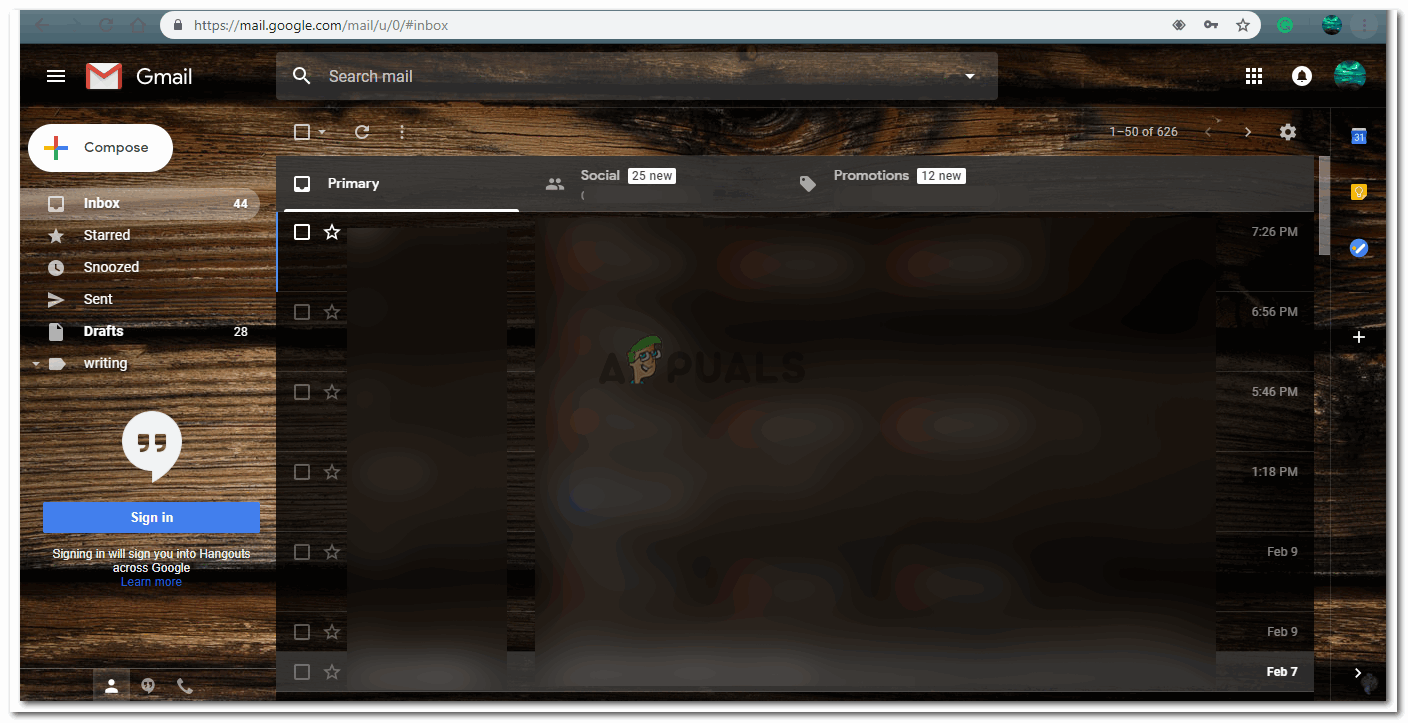
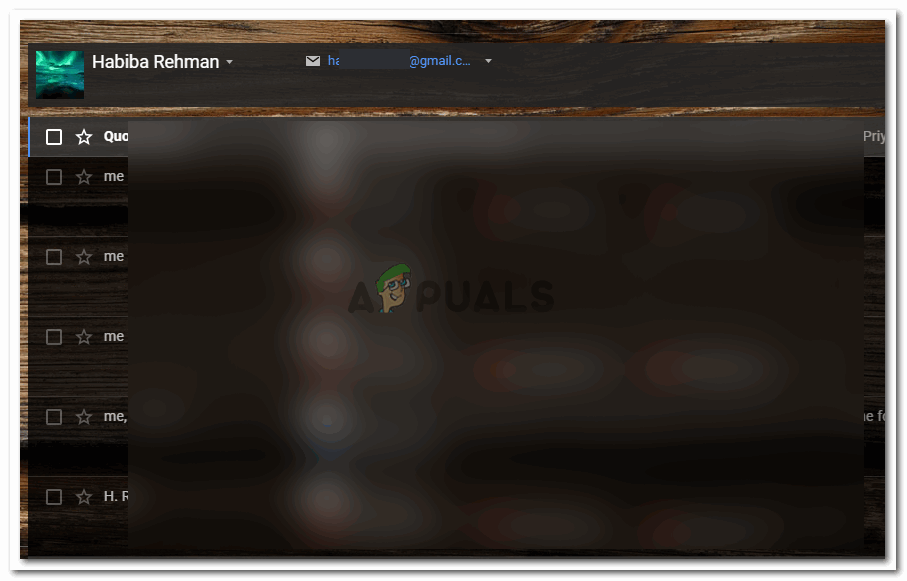
Signed in to your Gmail. Make sure you are signed in to the account that you have used to email that specific person, or, they have emailed you on this account. - Gmail will now show you all the search results for the word, address or name that you entered int he search bar.
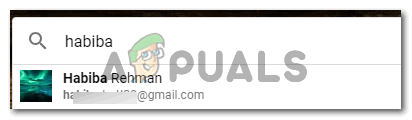
You can click on the suggestions that appear when you start typing a name.
Creating a Filter
Another amazing feature that will help you keep all your mail sorted is by creating a filter for the specific someone from which you receive a lot of emails or someone who is vital for your business and sends emails once in a while but because your inbox gets loaded with so many other emails, you always miss out on such important emails. By creating the filter, you will in a way inform Gmail to show you these emails as a priority over other emails. Here is how you can create a filter.
- Click on the downward facing arrow right next to the search bar for Gmail.

Clicking on this arrow will open a filter form for you which must be filled accordingly - Since you are creating a filter to keep mail from a specific email address easier to locate, enter the details for this address in the filter form that appears on the screen.
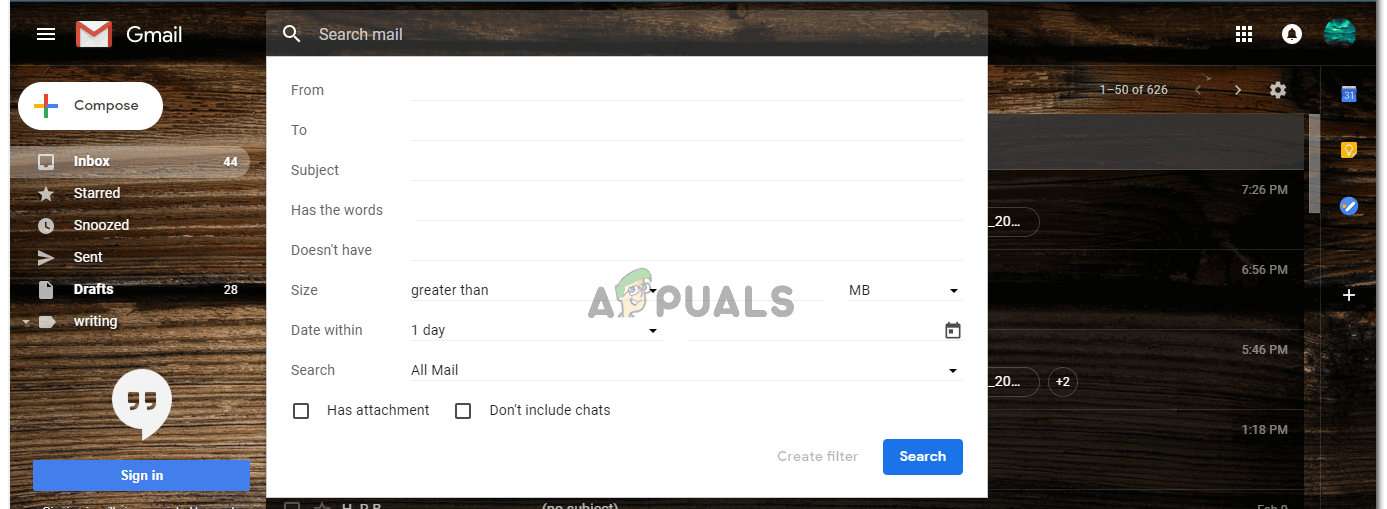
You don’t exactly have to fill the entire form. But depending on your need, you may fill the extra details. This filter will now aid you better whenever you need to find mail or important documents from this email address.
Creating Labels
By creating labels on Gmail, it is more like a category that you are creating. This could be one of the easiest ways of organizing your Gmail. When you create a label, you can keep labeling emails from a certain someone, to fall under this category. And because these labels appear on the left side of your screen, you can simply click on these and view the email or the person you had been searching for. Creating a label is easy, look at the following steps.
- After signing in to your Gmail account, click on the wheel-like icon for settings, and then click on the settings tab as shown in the image below.
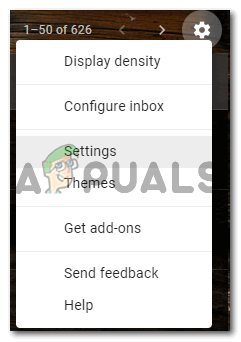
Click on settings which will lead you to a window full of different settings for your account. - Out of the settings that appear on the screen, click on the Labels heading and scroll down to find a tab for ‘Create new Label’.
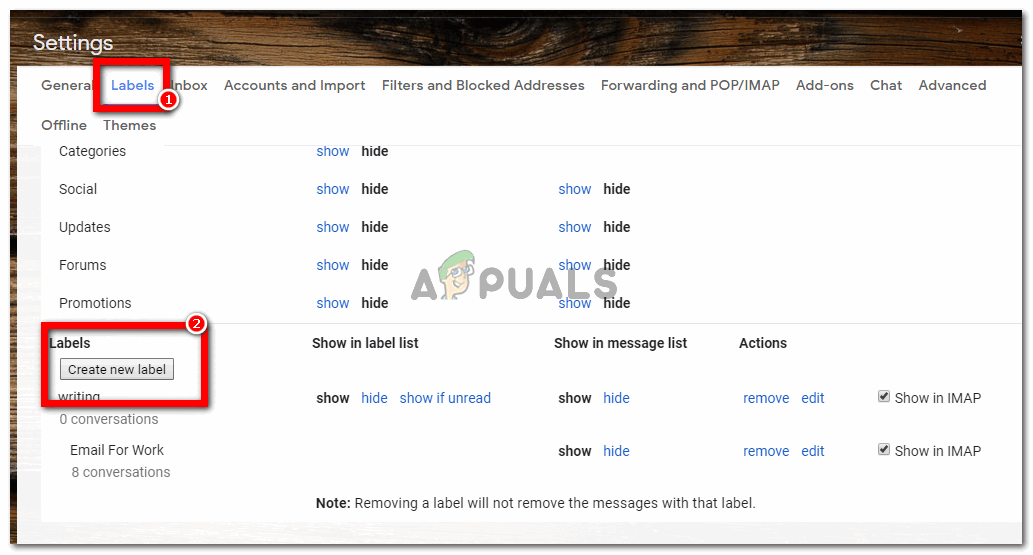
Create a label - Follow the instructions and steps as Gmail guides you, and once you have created the label, you can directly access all the emails under this label towards the left side of your home screen for Gmail. Note: to make this work, you need to add this label to each mail that you want to fall under this category.


