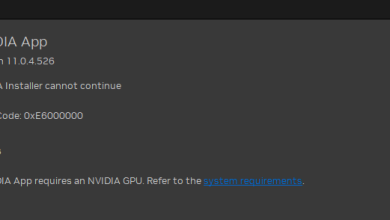
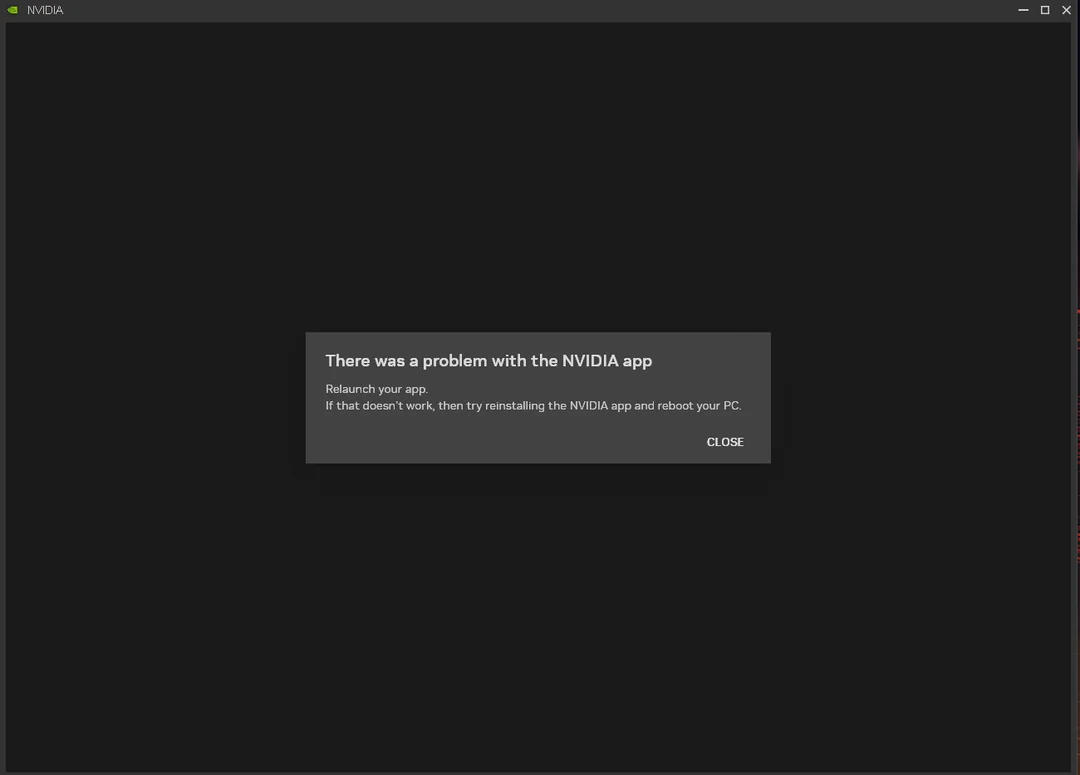
Fix: “There Was a Problem with NVIDIA App” Error
When opening the NVIDIA App on Windows, you may see “There was a problem with NVIDIA App” and the app won’t open or crashes instantly. This usually happens when a required NVIDIA component can’t start (container services), the app cache/config is damaged, a dependency is missing (WebView2/VC++), or security/permissions block the startup.
Common causes:
- Corrupted NVIDIA App/driver files after an update/rollback or leftover old components.
- NVIDIA services not starting (stuck/disabled/misconfigured).
- Broken cache/config making the UI fail during load.
- Permissions/security blocks (Controlled Folder Access, AV, hardening tools).
- Missing UI dependencies (often Microsoft Edge WebView2 or Visual C++ runtime).
Now let’s fix it (start from top, stop when it works).
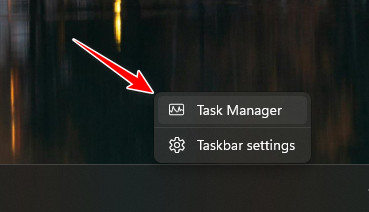
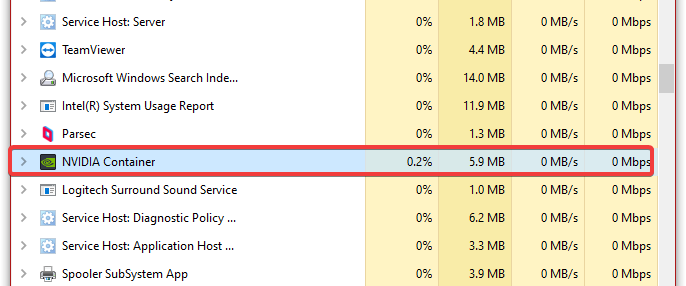
1. End NVIDIA App Processes and Restart NVIDIA Services
If the app or its container processes are stuck, the UI can crash repeatedly. Killing the processes + restarting services forces a clean startup of the background layer the app depends on.
- Press Ctrl + Shift + Esc to open Task Manager.
- Under Processes, end NVIDIA entries like NVIDIA App, NVIDIA Container, and other NVIDIA background processes you recognize.
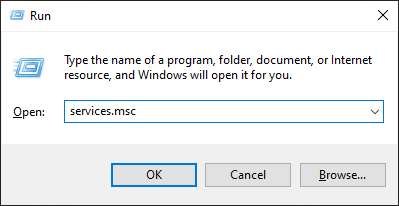
- Press Windows + R, type services.msc, press Enter.
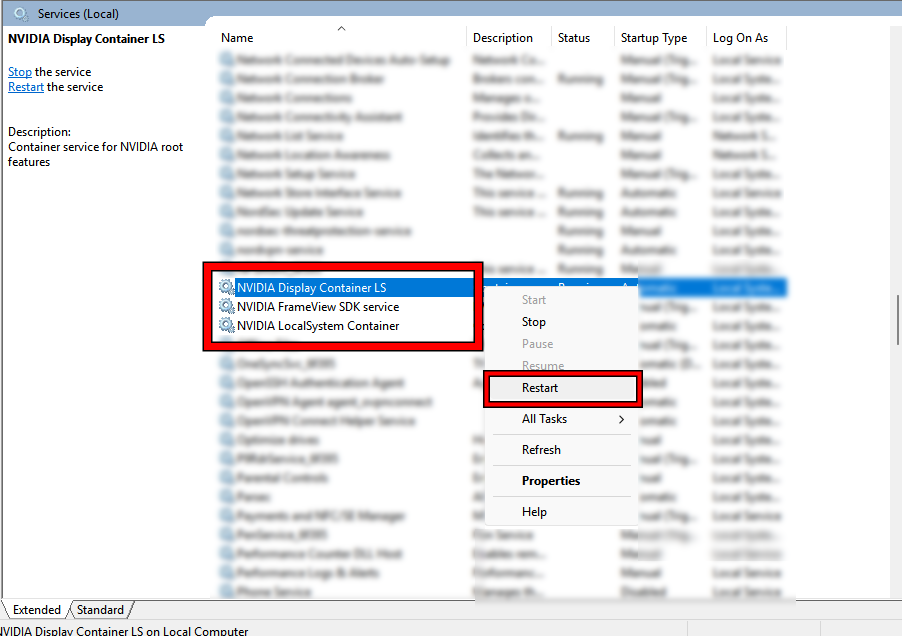
- Restart NVIDIA services (commonly NVIDIA Display Container LS plus any NVIDIA LocalSystem/NetworkService Container entries).
- Close Services and open the NVIDIA App again.
Tip: If “Restart” is missing, use Stop then Start, or reboot and retest.
2. Run the NVIDIA App as Administrator
This is a quick permissions test. If the app only works as admin, something on the system is blocking normal writes/registration (Controlled Folder Access, security software rules, or locked folders).
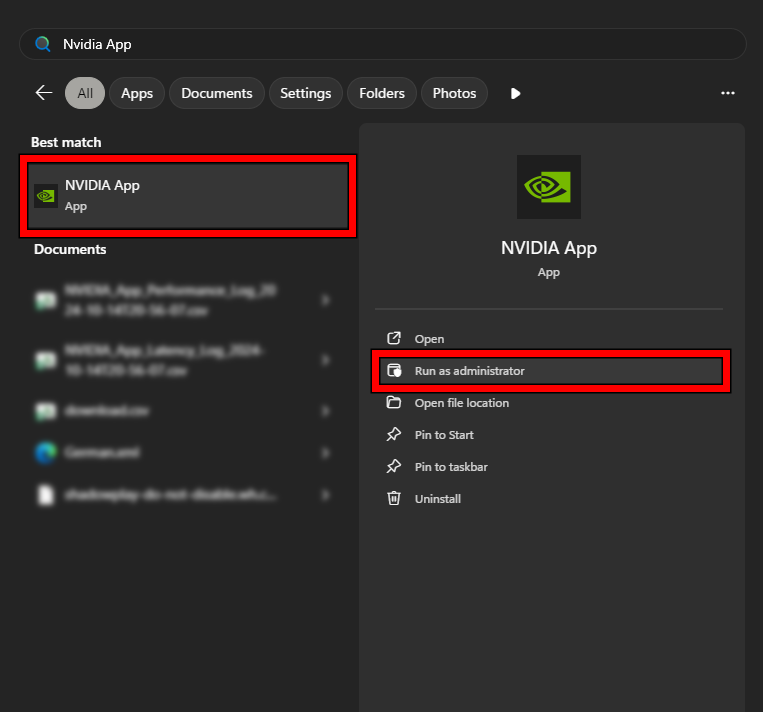
- Click Start, search NVIDIA App.
- Right-click and choose Run as administrator.
Note: If this fixes it, keep protection enabled but adjust what is blocking it (AV exclusion for NVIDIA, or turn off Controlled Folder Access for NVIDIA if you intentionally enabled it).
3. Repair/Reinstall NVIDIA App
If the app install is damaged, reinstalling replaces broken files, re-registers modules/services, and rebuilds the app’s runtime components.
- Download the latest NVIDIA App installer from NVIDIA’s official website.
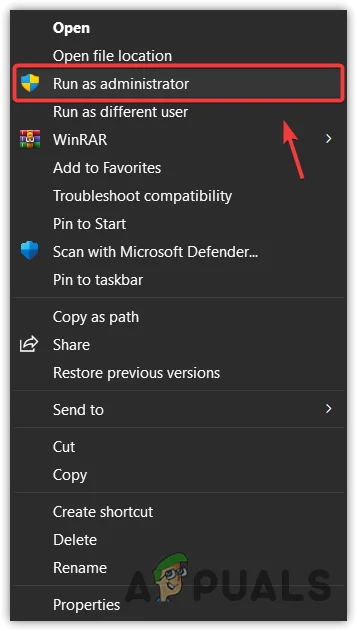
- Right-click the installer and choose Run as administrator.
- Finish the install, then restart the PC.
- Launch the NVIDIA App.
4. Temporarily Disable Antivirus / Security Software
Use this only as a short test. Security tools can block NVIDIA containers, inject into the UI process, or prevent config writes. If the app works with protection off, add NVIDIA as an exception instead of leaving protection disabled.
Important: Disable briefly for testing, then turn it back on immediately.
- Press Windows + I to open Settings.
- Go to Privacy & Security > Windows Security.
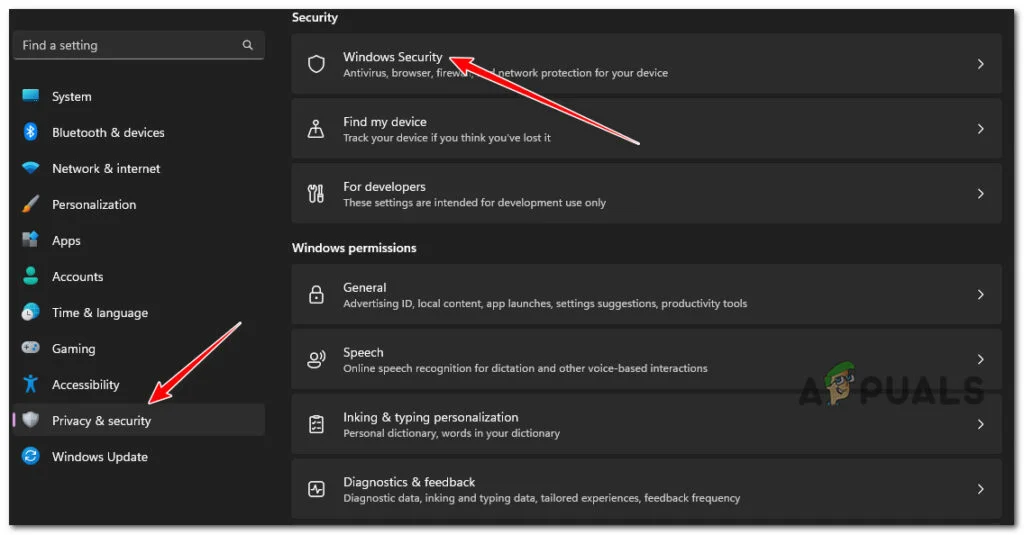
- Click Open Windows Security.
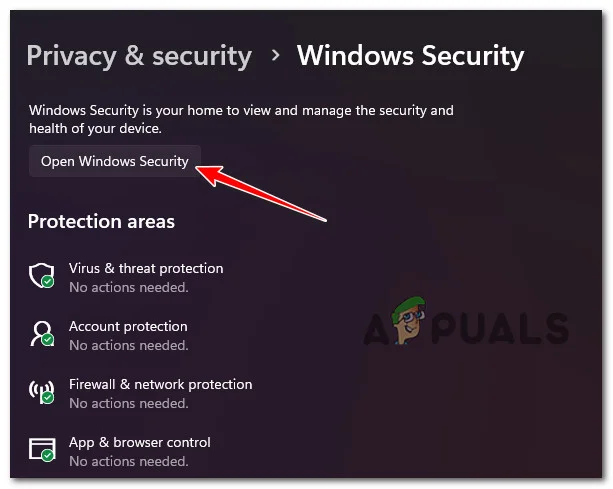
- Open Virus & threat protection.
- Turn off Real-time protection temporarily.
- Open the NVIDIA App.
- Turn Real-time protection back On.
Tip: If this fixed it, add NVIDIA processes/folders to exclusions (instead of keeping protection off).
5. Enable Windows Push Notifications Services (Only if You Used “Debloat”/Tweak Tools)
This is a rare fix. Only try it if you previously used debloat tools, policies, or registry tweaks that disabled background services. If you never changed services/registry, skip this.
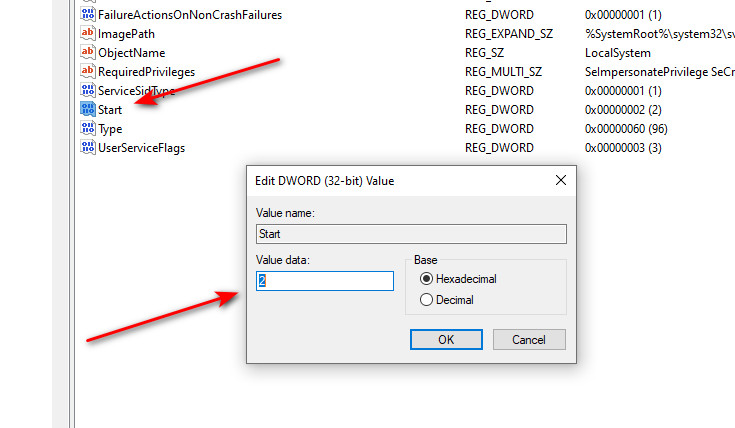
Important: Edit only the values mentioned. If a key does not exist, skip it.
- Press Windows + R, type regedit, press Enter.
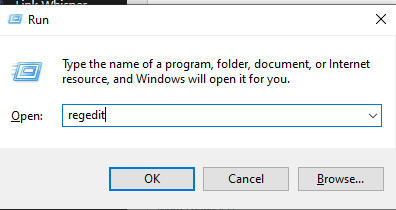
- Go to:
HKEY_LOCAL_MACHINE\SYSTEM\CurrentControlSet\Services\WpnUserService
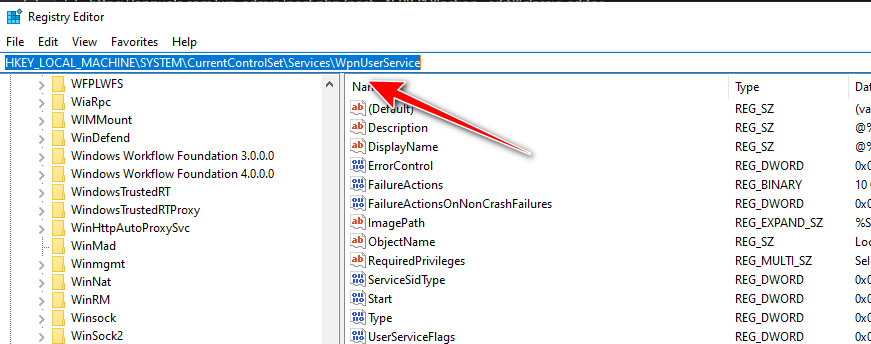
- Double-click Start, set it to 2, click OK.
- Also check:
HKEY_LOCAL_MACHINE\SYSTEM\CurrentControlSet\Services\WpnService
- Open Start and set it to 2.
- Close Registry Editor and restart the PC.
- Open the NVIDIA App and test again.
If you don’t see WpnUserService: Some builds use WpnUserService_*. If you’re unsure, skip to avoid editing the wrong key.
6. Clean Install NVIDIA Drivers
If the driver stack and NVIDIA App components are mismatched or corrupted, a clean driver install removes old services/settings and installs a fresh package, which commonly restores the app’s startup.
Learn how to clean install NVIDIA drivers here.
Tip: Start with the installer option Perform a clean installation. If it still fails, use the deeper cleanup method (removing remnants in Safe Mode) before reinstalling.