[FIX] App you’re trying to Install isn’t a Microsoft-verified
Users get this message when they download and try to install an application from somewhere other than Microsoft App Store. Microsoft has added a new feature starting from Windows 10 build 15042 in which they introduced a new setting that restricts users to install applications only from Windows Store.
This notification is similar to the Windows SmartScreen filter which designed to keep your computers safe from malware and viruses. It is recommended that instead of downloading applications from other places try to search for similar applications on Windows Store and if you don’t find it then you can disable this security feature and install the application. Please see the below method for step-by-step instructions.
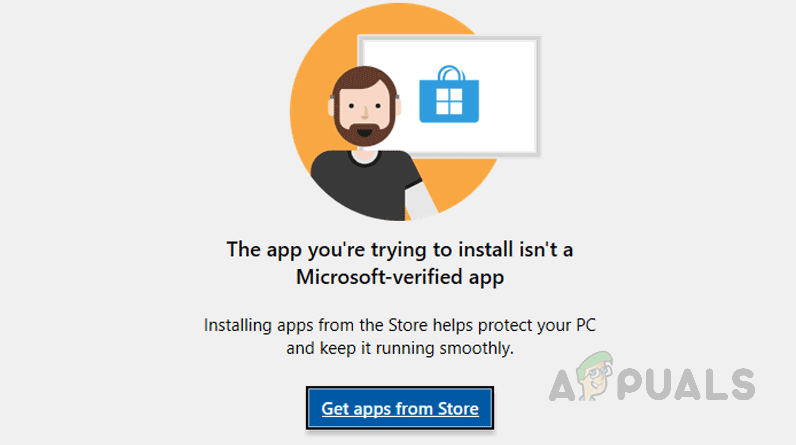
Method 1: Change the Microsoft Store Settings
In this method, we will change the Windows Settings so that it allows the applications that have been downloaded from sources other than Microsoft Store can be installed on the system. It is possible that these settings might not be available on your version of Windows if it is not versioned 1909 or above.
- Click the Start Menu button and open the settings (click on the gear icon)
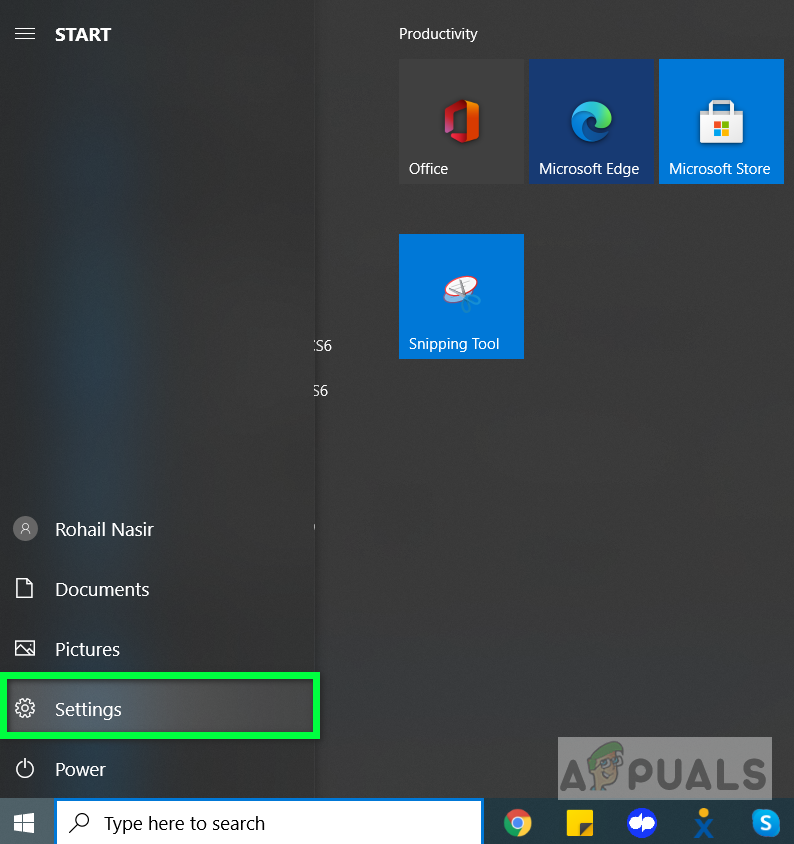
Go to the settings - Click on Apps icon
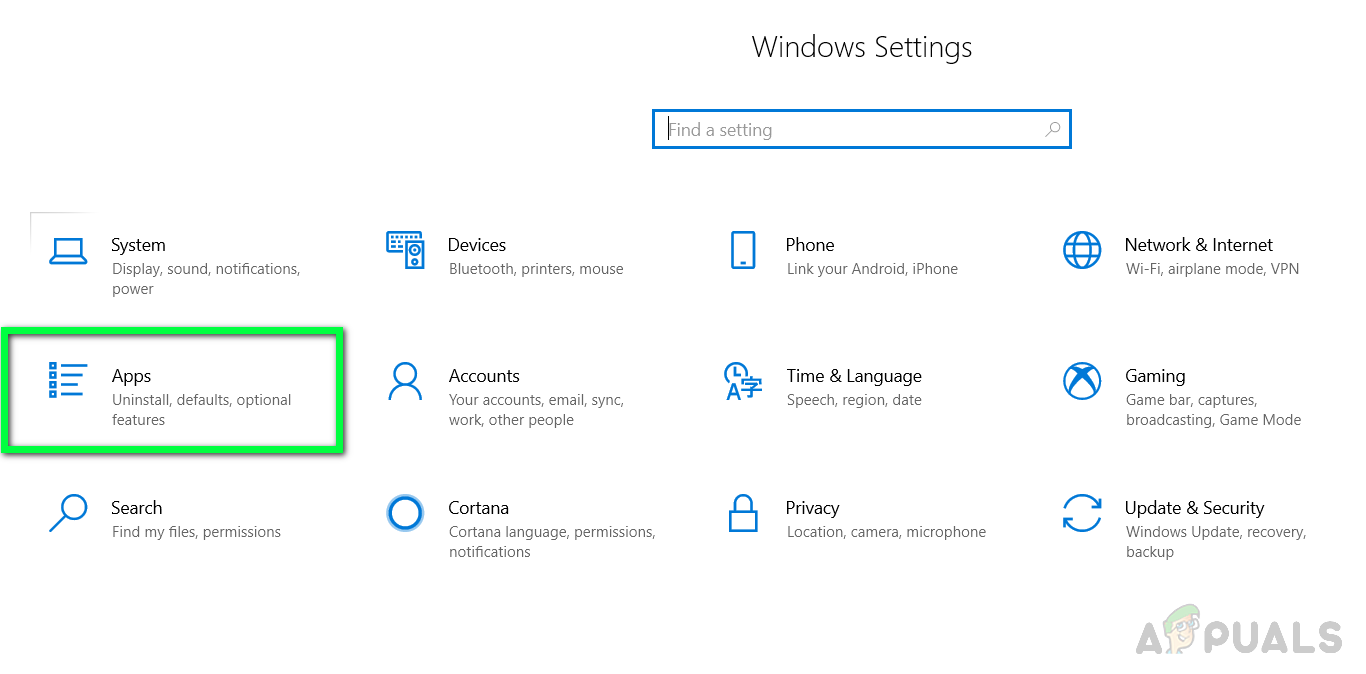
Click on Apps - At the top where it says Installing apps only from Windows Store helps protect your device click the dropdown and select the option Anywhere
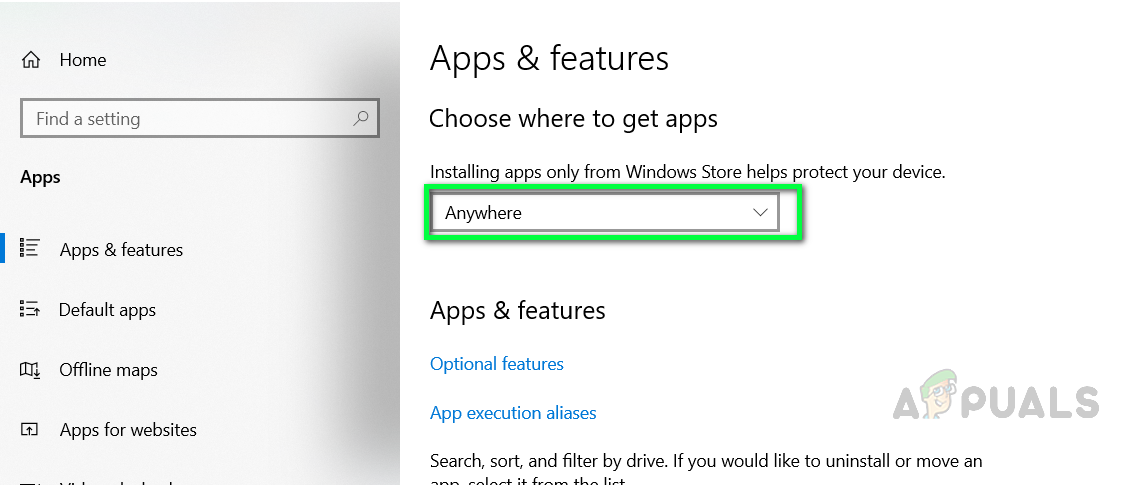
click the dropdown and select the option “Anywhere” - If you do not see that feature then you might be running a different version of Windows, click this link and click on Update now to get the updated version of Windows and then repeat the above steps.
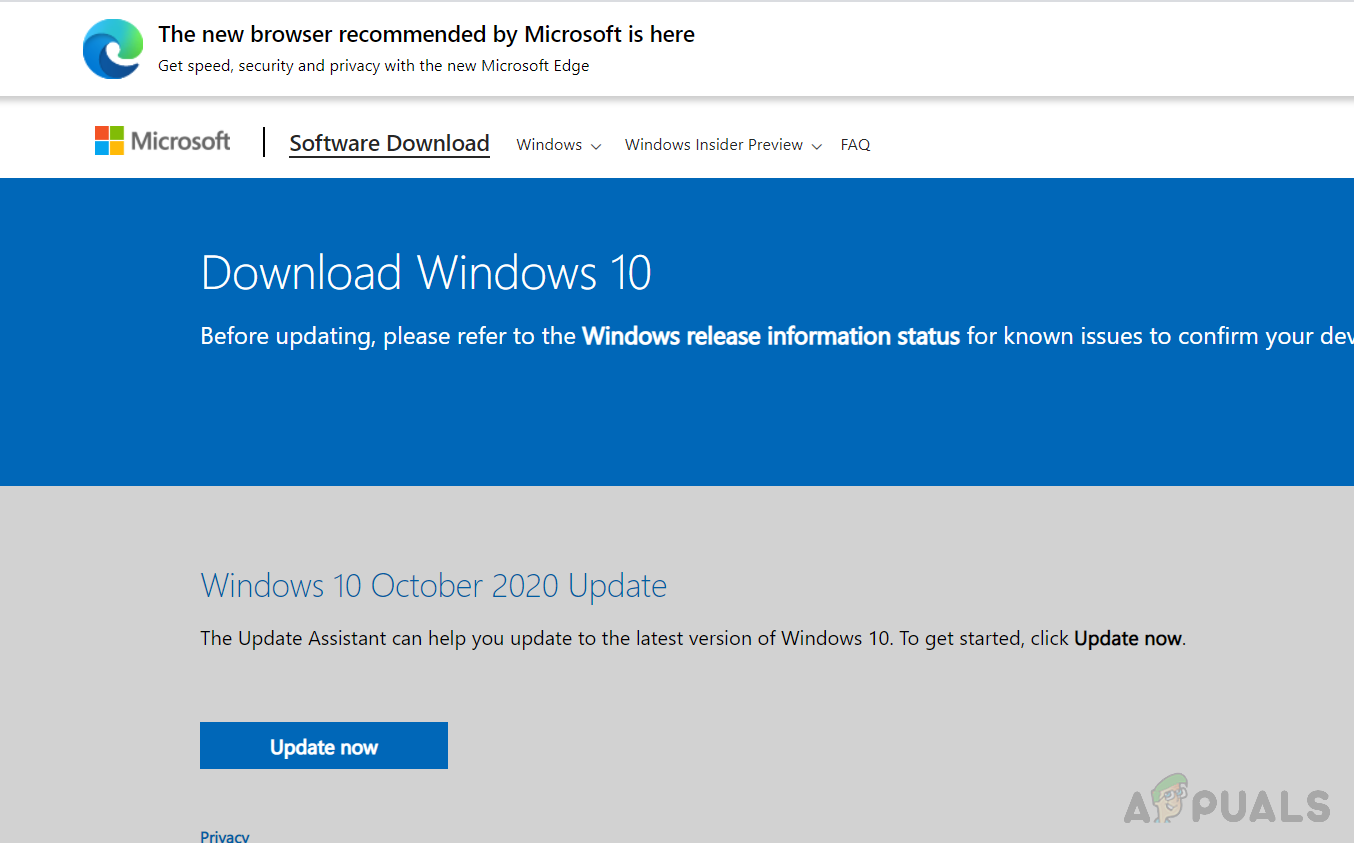
Click update now
Method 2: Switch Out Of Home S Mode
Windows S mode is a more secure version of Windows Home edition with increased security that only allows you to download applications from the Microsoft Store. If your version of Windows is Home S instead of just Home then you will need to switch your mode to Home to be able to download and install applications from other places besides Microsoft Store.
- Click the Start Menu button and open the settings (click on the gear icon)
- Click on the System icon and go to the About section
- Find out your current version of Windows and note if it is a Home or Home S?
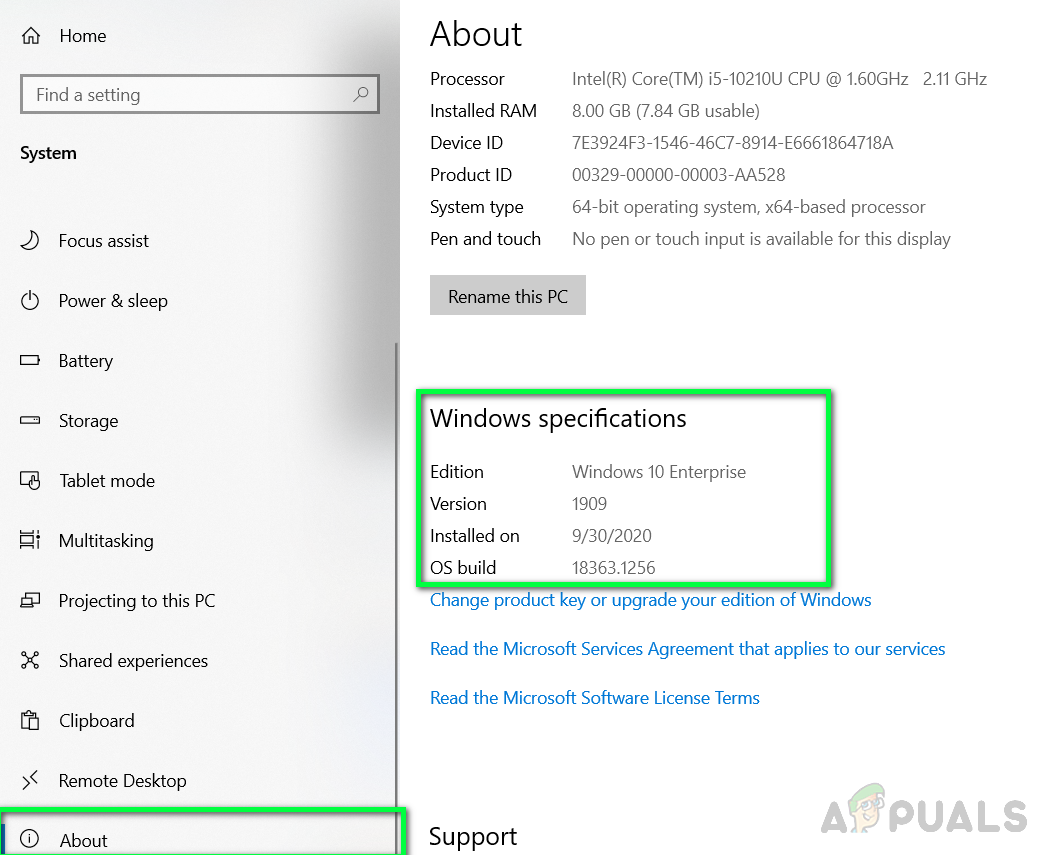
Click System and then click About Section - If it is Home S then Go to the Settings > Update & Security > Activation
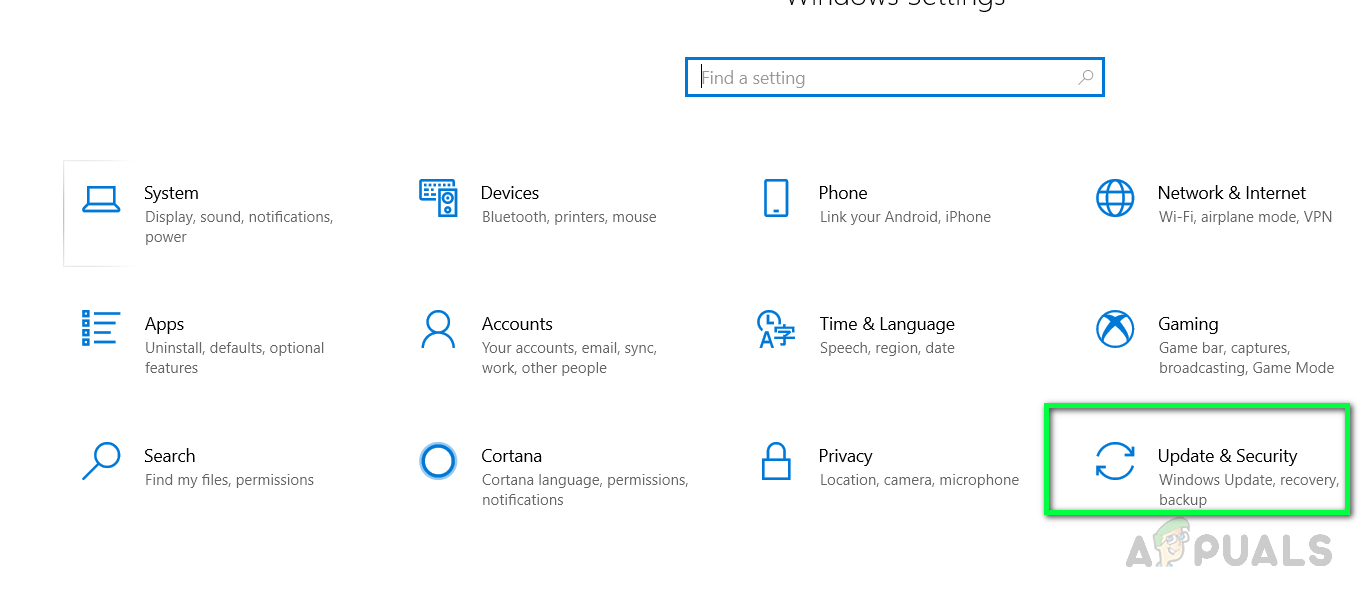
Select Updates and Security - Click on Go to the Store link
- When you click the link it will take you to the Store where it will show you a page that says Switch Out of S Mode.
- Click on the Get button and then click Install, It will ask Have you saved all your files, click Yes
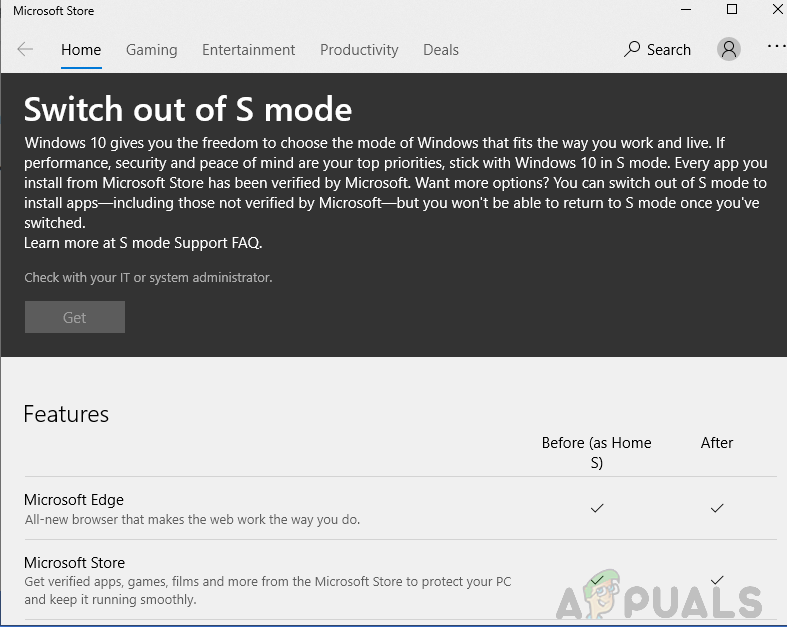
Switch out of S mode - Once the feature has been installed go back to the About section in System and you will see that you have now switched out of Home S edition to normal Home edition.
- Try to Install the application and see if that works
Method 3: Use Command Line To Install The Application
In this method, we will try to install the application using the Windows Command Prompt. Microsoft Command Prompt is a very powerful interface that allows users to perform enhanced operations that are otherwise not possible to accomplish using the regular Graphical Interface.
- Click the Start Menu button and search for cmd
- Right-click on it and open it as administrator
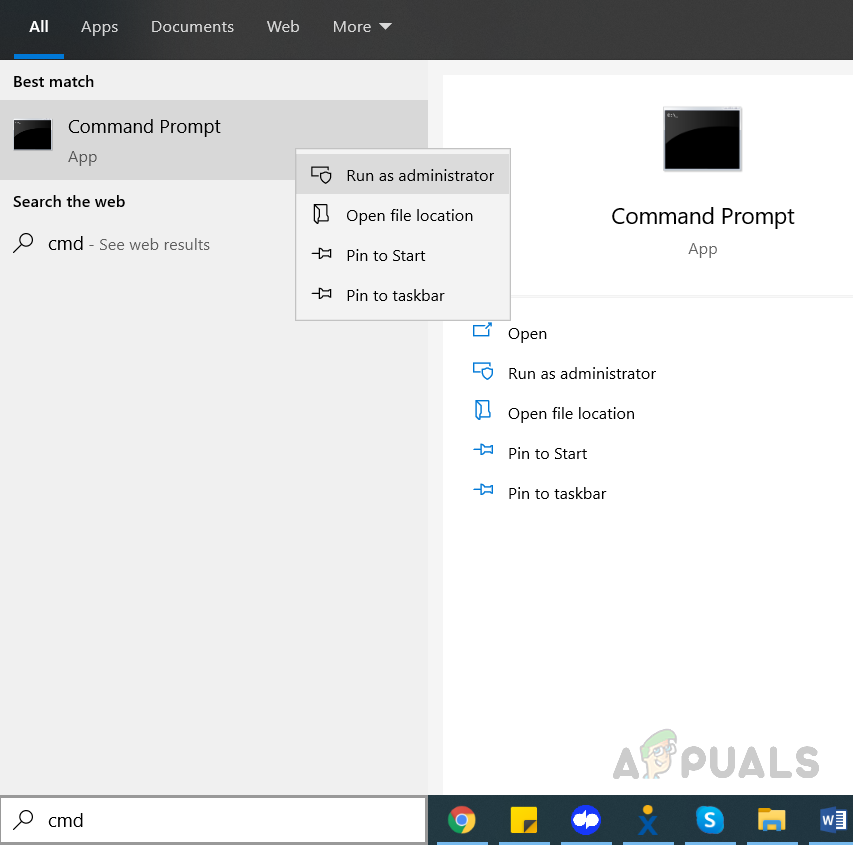
Open command prompt as administrator - Type cd followed by the full path of the folder where the installation file exists, for example, if the file is on the desktop then:
cd C:\users\john\desktop
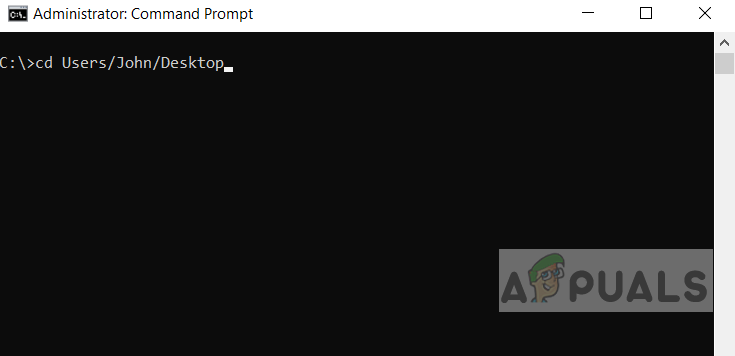
Navigate to the Installation directory - Now type the name of the setup file, for example, if it is a .exe file then you will type filename.exe and press Enter


