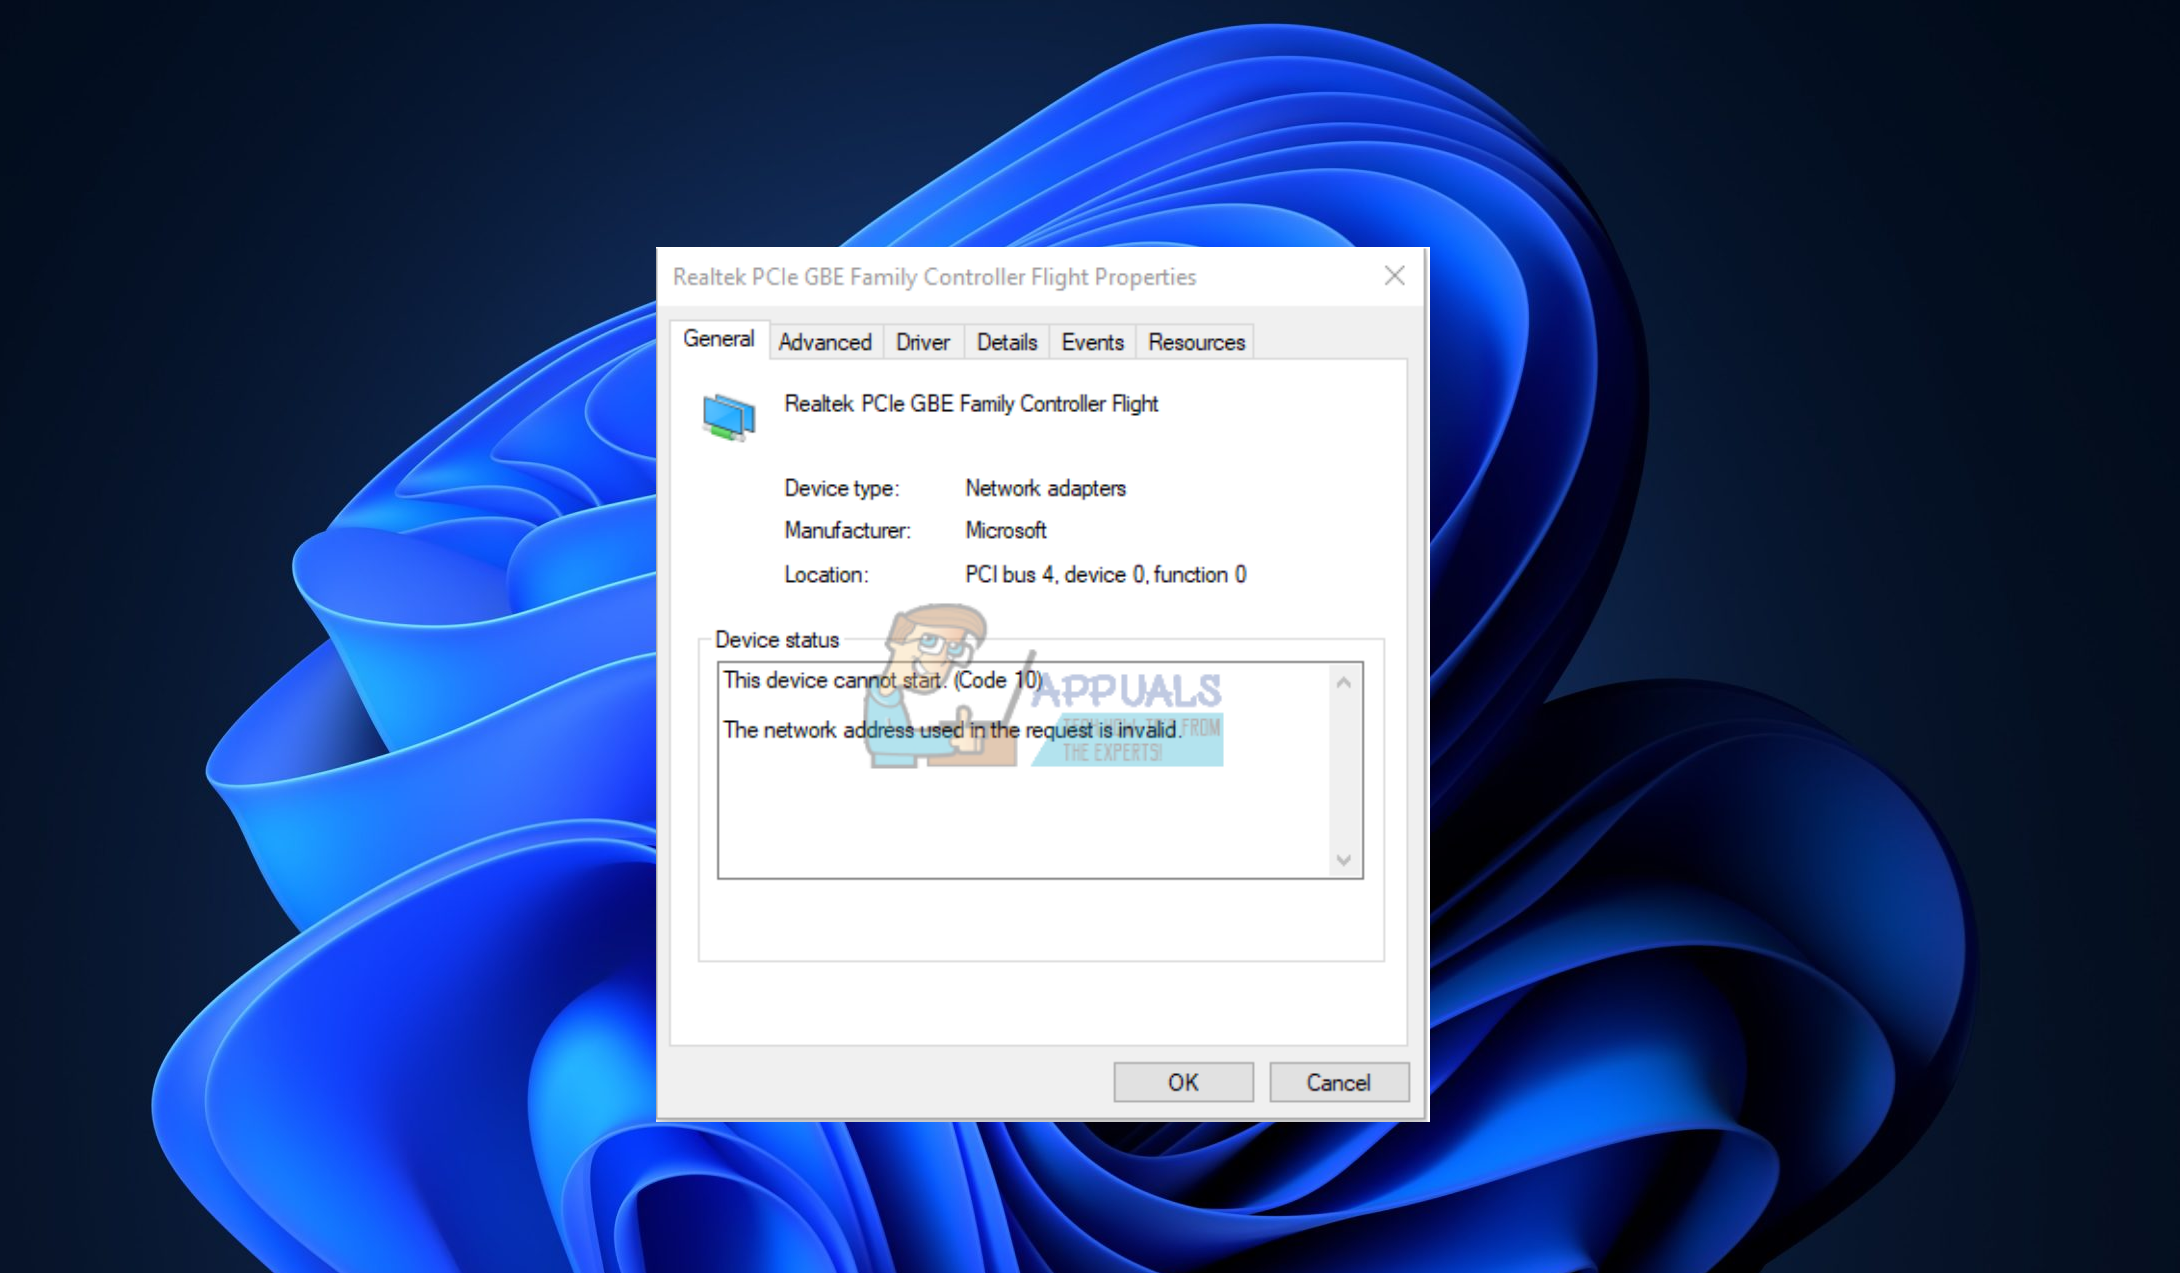
How to Fix Network Adapter Error “This device cannot start. (Code 10)”?
The error message “This device cannot start. (Code 10)” is usually encountered when there’s an issue with a device’s connection to the computer or when its driver is either incompatible or malfunctioning. Network adapters are frequently affected by this error; in some scenarios, Windows may not recognize them, or they may stop functioning properly due to driver complications.
1. Disable and Re-Enable the Device
Disabling and then re-enabling a device basically instructs the operating system to stop and then reinitiate communication with the device’s hardware, a process that can sometimes clear up any conflict or error states that the device’s software is experiencing. By performing this reset, it prompts Windows to reload the device drivers, which can resolve minor inconsistencies and restore normal function.
- Right-click the Start Menu and select Device Manager.
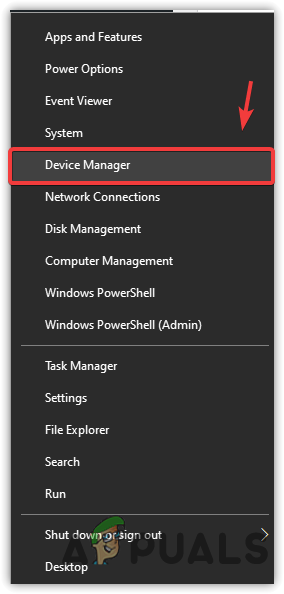
Heading to the Device Manager - In the Device Manager, right-click the affected driver and choose Disable device.
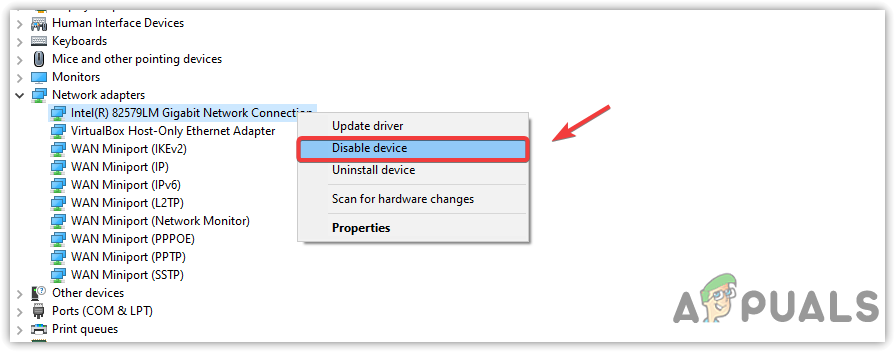
Disabling Network Adapter - Having disabled it, right-click on the driver once more and select Enable device.
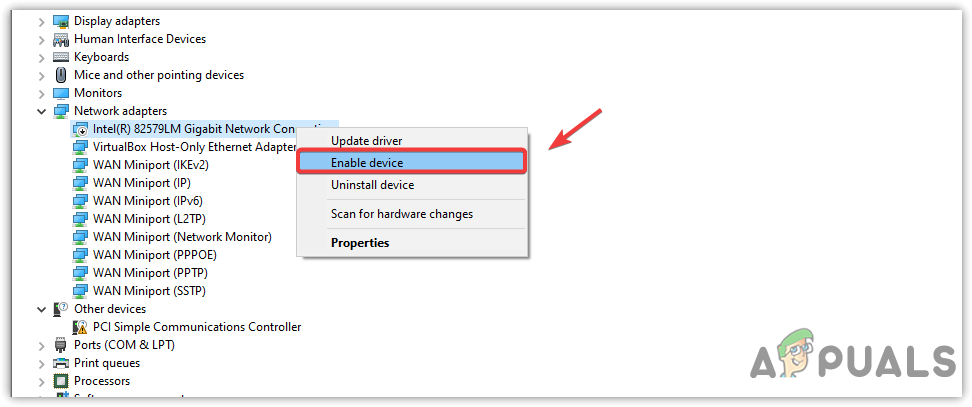
Enabling Network Adapter - Check if the issue is resolved.
2. Power Cycle Your Machine
Power cycling, which includes completely shutting down and restarting the computer, can reset its status. When hardware such as a network adapter stop functioning unexpectedly, a power cycle can eliminate potential software glitches or malfunctions that might be rendering the device unresponsive.
Basically, it refreshes the system’s memory and can potentially resolve issues relating to drivers or hardware that interfere with normal functioning.
2.1 Desktop
- Shut down your computer, then disconnect the power cable and any other peripherals.
- Press and hold the power button for 15 to 30 seconds.
- Reconnect the power cable, power on your computer, then verify if the device functions correctly.
2.2 Laptop
- Power off your laptop and, if possible, detach the battery.
- Hold down the power button for 15 to 30 seconds.
- Turn on the laptop and check if the error has been resolved.
3. Reinstall the Driver
Problems related to drivers often come from corruption or incompatibility issues. By deleting the troublesome driver and restarting the computer, Windows is prompted to automatically reinstall a clean version of the driver, potentially resolving these complications. Refreshing the driver software in this manner can fix any errors and restore the device to functional status.
- Simultaneously press Win + R keys to open the Run dialog box.
- Type devmgmt.msc and then press Enter to open the Device Manager.
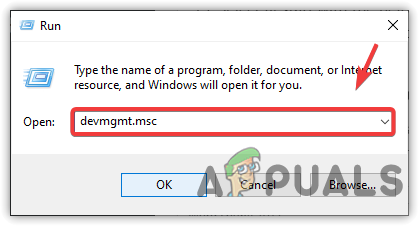
Navigating to Device Manager - Right-click the driver in question and select Uninstall device.
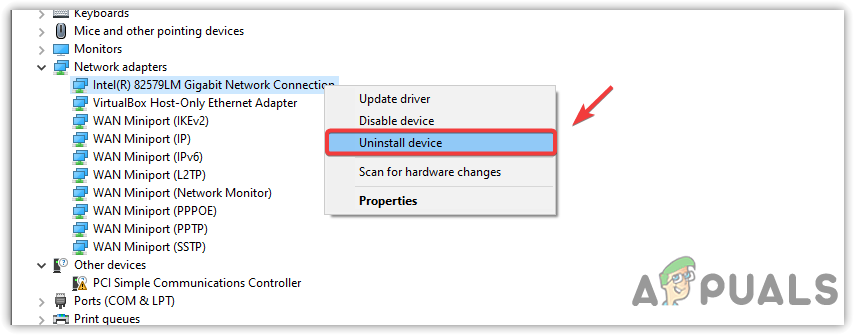
Uninstalling Network Driver - Confirm the uninstallation by clicking Uninstall.
- Restart your computer. Upon rebooting, Windows should reinstall the driver.
4. Download the Driver from the Manufacturer
When drivers within your system become outdated or corrupt, they may not communicate effectively with your hardware. Manufacturers continually update these drivers to fix known bugs, improve performance, and ensure compatibility with the latest operating systems.
By installing the most recent driver version made specifically for your device model, you’re providing the most up-to-date translation between your hardware’s language and your computer’s operating system, thereby resolving potential conflict or incompatibility issues that could cause the error.
To locate the correct drivers, identify your system’s model number:
- Press Win + R, type msinfo32, and press Enter to open the System Information window.
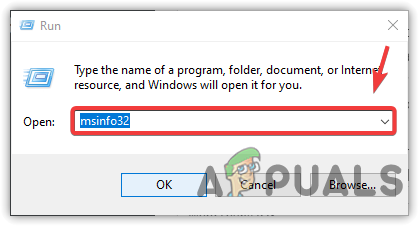
Opening System Information Window - Find and make a note of your System Model information.
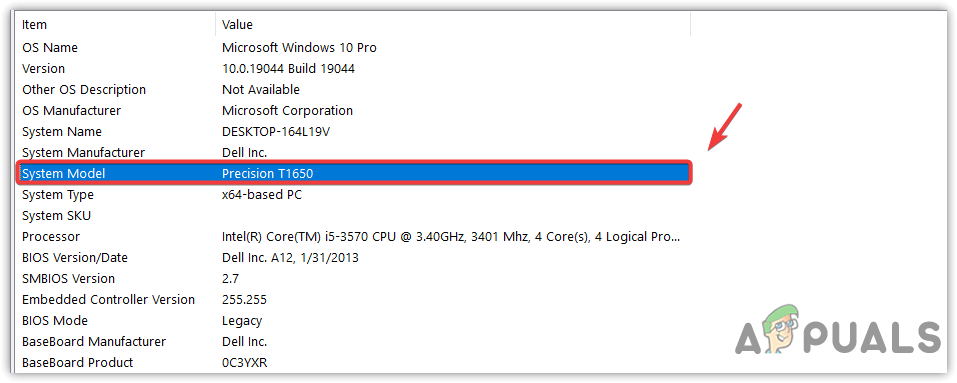
Copying System Model - Visit the official website of the manufacturer and search for drivers using the noted model number.
- Download the applicable driver.
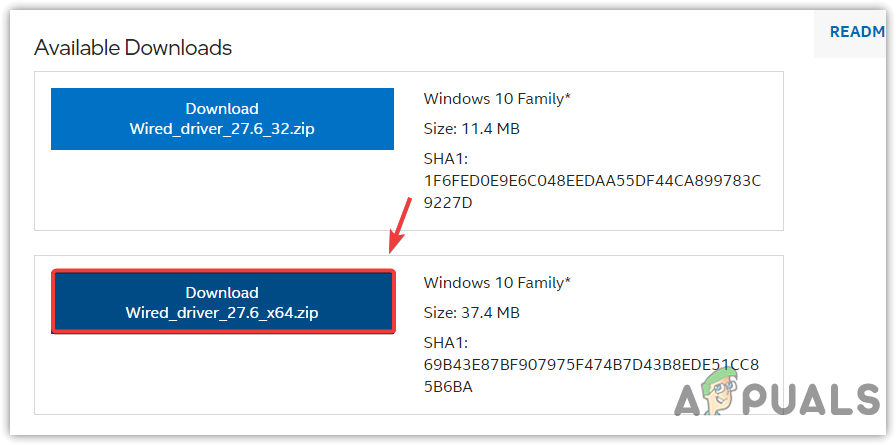
Downloading Network Driver - Proceed to Device Manager, uninstall the current driver, and then carry out the installation of the newly downloaded driver.
- Check if the error has now been resolved.
5. Run the Hardware and Devices Troubleshooter
This Windows built-in troubleshooter is designed to automatically scan for any hardware-related issues your system might be facing, which includes inconsistencies with device operation and driver conflicts. By finding such problems and implementing the recommended fixes, it can effectively fix the error, restoring your hardware devices back to their proper functioning state.
- Navigate to the Start Menu and type Troubleshoot settings.
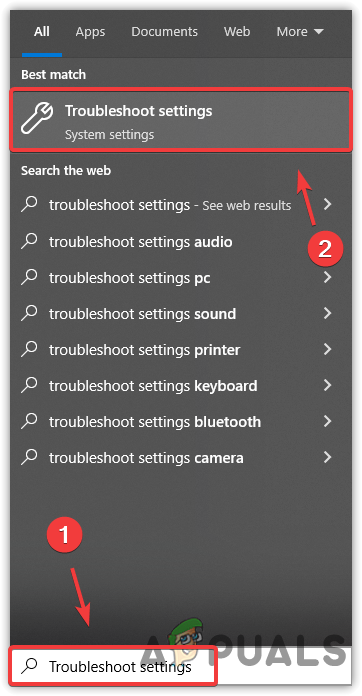
Opening Troubleshooting Settings - Access the Troubleshoot settings and click on Additional troubleshooters.
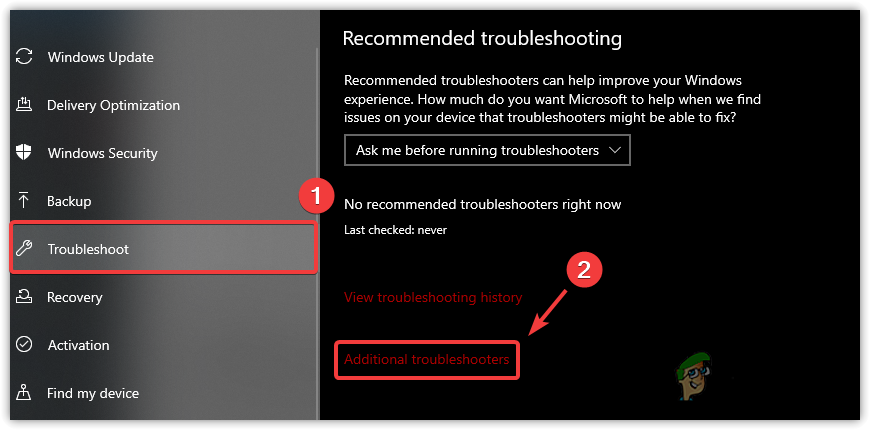
Navigating to Additional Troubleshooters - Select the relevant troubleshooter and click Run the troubleshooter.
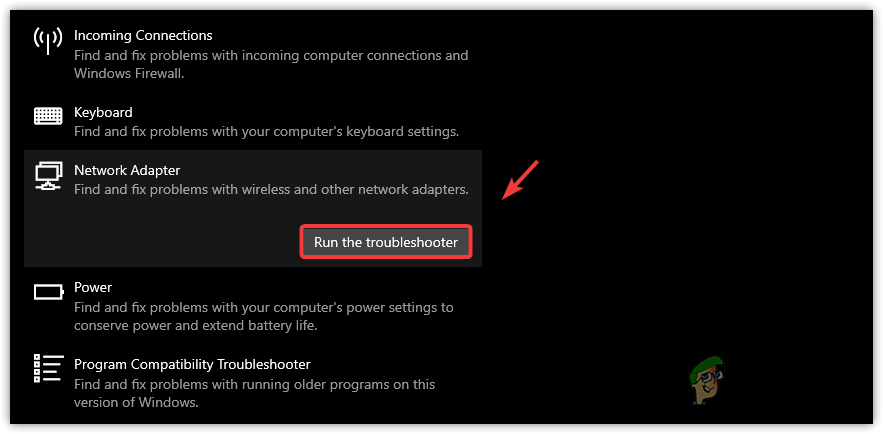
Running Network Adapter Troubleshooter - Follow to the on-screen instructions to deal with the particular issue being faced.
- If the issue is still present, use the hardware troubleshooter by pressing Win + R and typing-in the following command:
msdt.exe -id DeviceDiagnostic

Running Hardware Troubleshooter - Upon identifying problems, the troubleshooter will propose solutions.
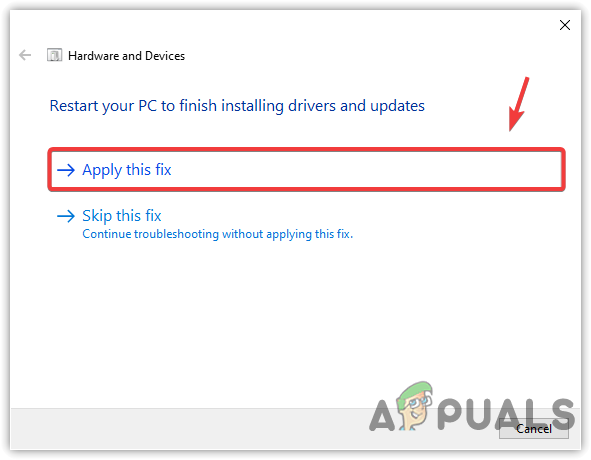
Applying a Fix to the Network Adapter
6. Use a System Restore
By reverting your system to a previous state where everything functioned without problems, you effectively undo recent changes that might have disrupted your device’s operation. This is particularly useful if recent updates or installations have accidentally caused the error. It’s a safe and straightforward way to get back to a point where your device drivers were working properly.
- Click on the Start Menu and type rstrui.
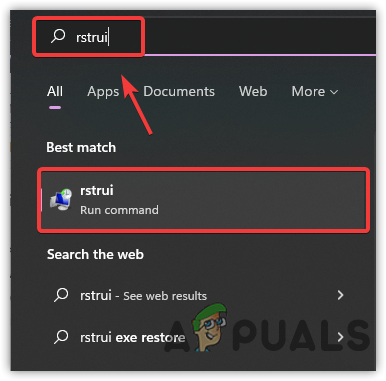
Opening System Restore with a Command - Start the System Restore interface by hitting Enter.
- Select Next and choose a restore point.
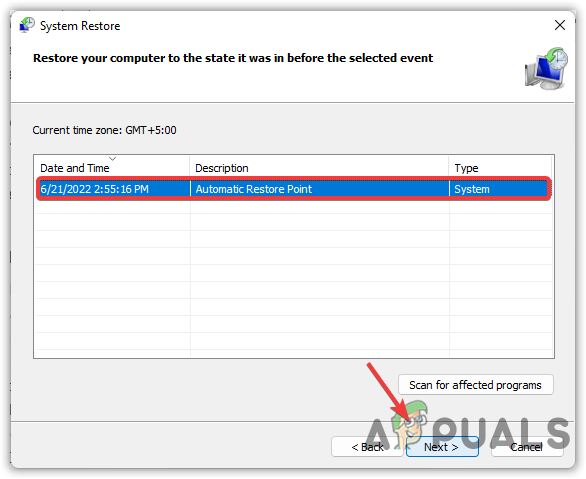
Selecting a Restore Point - Press Next, followed by Finish, to initiate the restoration process.
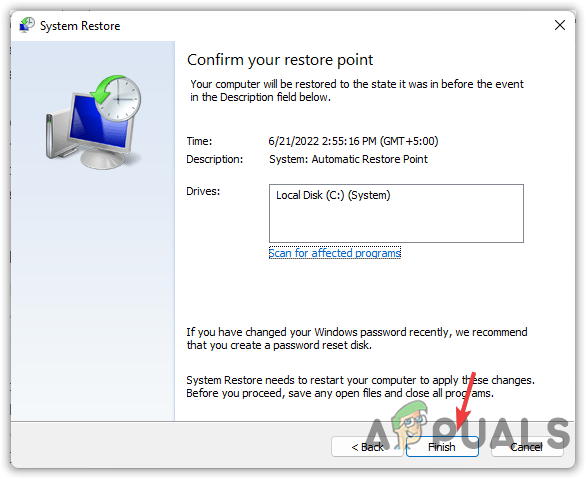
Clicking Finish
Thanks! This has been the most helpful advice I have found.