How to Take Screenshots on Lubuntu 16.04 or Higher
If you’re used to using Microsoft Windows or some other different Linux distribution, then you might be confused when you attempt to take a screenshot on Lubuntu 16.04 or any of the versions that come out after it. Since 16.04 and 16.04.2 are long-term releases, you shouldn’t see any drastic changes to the method of doing this, but it’s still a bit different than if you had tried to take a screenshot on most Windows implementations.
Some users go and try to paste a screenshot from Lubuntu into GIMP or another program, only to find that they receive a warning that reads “There is no image data in the clipboard to paste” or something similar. It’s easy enough to fix this.
Method 1: Using the Print Screen Key
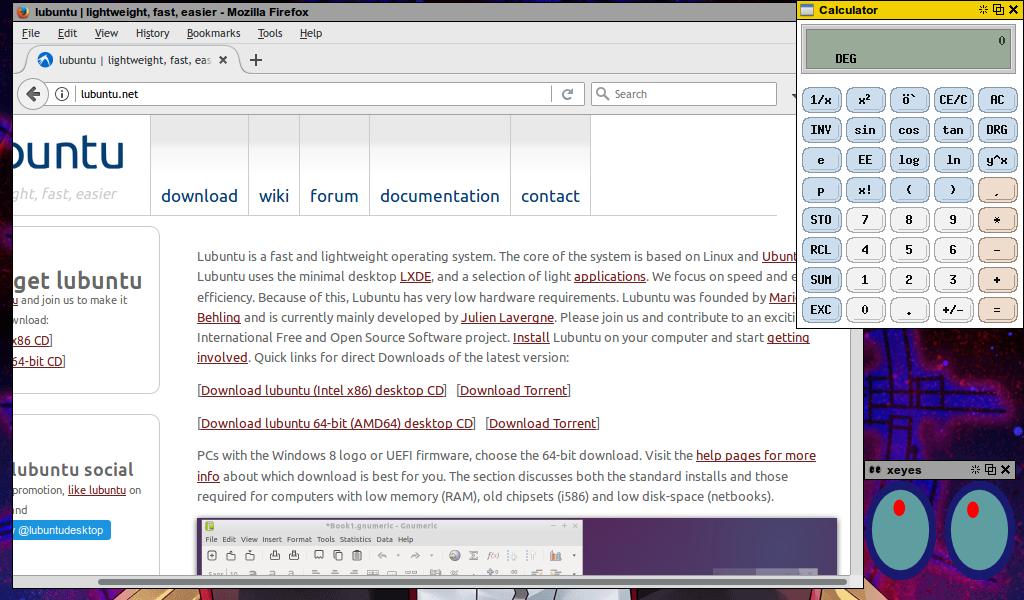
Lubuntu uses the LXDE desktop environment, and the official LXDE instructions talk about mapping some screenshot command to the Print Screen key. The people who make Lubuntu have done this for you, so you can safely ignore this advice. Whenever you’d like to take a screenshot of everything that’s currently visible on your display, push and release the Print Screen key while touching no other key on your keyboard.
If you’re having trouble finding this key, then it might be called something else on your keyboard. It could read Print Scrn, Prt Scr, Prnt Scrn, Prt Scn or several other combinations. This is especially true of sub-notebooks and other computers in a smaller form factor that has to condense their keys to save space.
At this point, it looks like nothing has happened, but you’d find that the screenshot of everything on your screen got saved as a .png file in your home directory. It couldn’t be any easier than this, so whenever you want to take a screenshot of everything on your screen simply push and release the Print Screen key. You’ll automatically save it as a file to your home directory. It’s literally just one keystroke!
Method 2: Taking a Screenshot of a Single Window
If you only want to take a screenshot of the active window, then you can hold down Alt and push the Print Screen key. This will save an image in your home directory of whatever window you’re focused on as a .png file. The addition of the Alt key while pushing the Print Screen key makes it capture only a single window without shooting the rest of your desktop.
Should you take more than one screenshot, then you’ll just end up with extra files with unique file names based on the date that are all sitting in your home directory. You shouldn’t have to worry about any of them getting overwritten since Lubuntu protects this from happening by assigning them separate file names. As a result, you can feel free to take as many screenshots as you’d like.
Method 3: Copying Screenshots in Lubuntu
Note that the Print Screen and Alt+Print Screen keyboard shortcuts are identical to the way that Windows does things. The only thing that’s different here is that Lubuntu automatically saves the screenshots as files without copying them to the clipboard. If you want to import them or copy them into another program, then you’ll need to do so by using those individual files. Nevertheless, keep Print Screen and Alt+Print Screen in mind as the only two keyboard shortcuts you’ll need. They’re easy to work with and don’t require any further playing around to take images with.
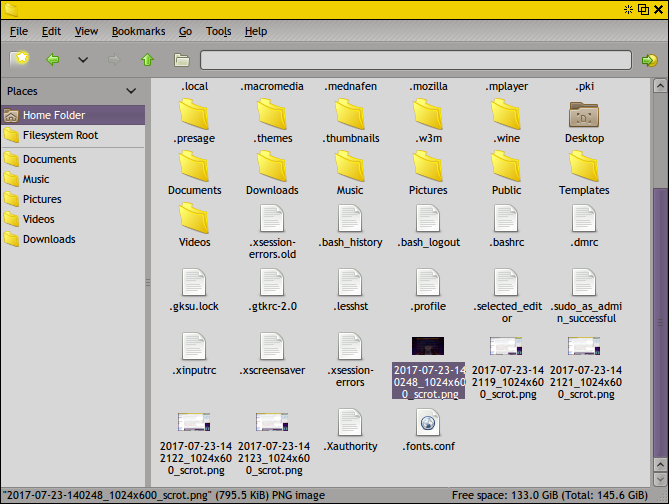
Click on the Applications menu and highlight Accessories before clicking on File Manager PCManFM to have a look at your home directory. You can also hold down the Windows or Super key and push E to open this window up by default in Lubuntu. Scroll all the way to the bottom and you’ll see some .png files, which are your screen shots. Double-click or highlight them and push enter to examine them. You can then copy and open them like any other files. Naturally, you can also delete them the same way you’d delete any other file.
If you use GIMP or any other modern image manipulation program, then you can select the File menu in the software and choose the Open option. A file browser window will pop up that will give you the opportunity to open the file from your home directory. This should work even if you were running a legacy image manipulation program under WINE.
This is actually the method used for taking screenshots to illustrate many articles discussing Lubuntu and the other various derivatives of Ubuntu. That includes this one!
Thank you, this was very useful!