How to Fix System Restore Point Error Code 0x80042308 on Windows 10?
System Restore is a feature in Microsoft Windows that allows the user to revert their computer’s state (including system files, installed applications, Windows Registry, and system settings) to that of a previous point in time, which can be used to recover from system malfunctions or other problems. System Restore takes a snapshot of some system files and the Windows registry and saves them as Restore Point. When an install failure or data corruption occurs, System Restore can return a system to working condition without you having to reinstall the operating system including drivers and software.
This feature is used by many users to fix the problem by restoring their computer to a certain restore point (which they had set earlier). As useful as the “System Restore feature” sounds, it also has some cut corners. Recently, users have been complaining that the restore point isn’t working on Windows 10. When you attempt to create a new Restore Point, the error 0x80042308 may pop up and the restore point isn’t created. Also, the same error code appears when you create a backup using the built-in Windows Backup and Restore tool. This error occurs in two of the situations:
- System restore did not complete successfully: In this case, you may either get a straight error, or after some progress on the system restore process, you are notified with the error under consideration. The error notification is as follows:
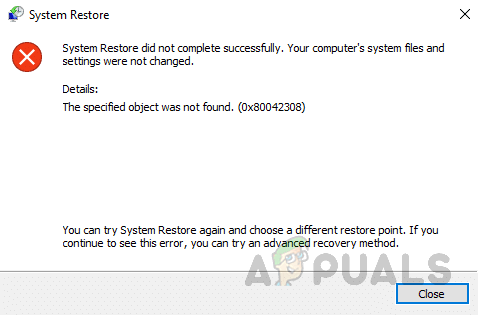
System Restore Point Error Code 0x80042308 Notification - Windows 10 System restore stuck: There is also a chance for System Restore to get stuck, and therefore prevent you from creating a restore point. In this case, sometimes you may not get the error notification and sometimes you do. In both of the events, the root cause is the same i.e., Error Code 0x80042308.
What Causes System Restore Point Error Code 0x80042308?
As stated already, this stop code commonly appears when users make an attempt to generate a restore point. Bad sectors on the hard drive or VSS (Volume Shadow Copy Service) are the root cause of this issue. Moreover, some other factors are equally responsible. Therefore, our technical research team has collected data from all relevant forums on the internet and has prepared for possible factors that may contribute to this error’s existence. The list is as follows:
- Bad Sectors of the Hard Drive: A bad sector on a hard drive is simply a tiny cluster of storage space, a sector of the hard drive that appears to be defective. The sector won’t respond to read or write requests. Bad sectors can occur on both traditional magnetic hard drives and modern solid-state drives. A bad sector in computing refers to a disk sector on a disk storage unit that is permanently damaged. Upon taking damage, all information stored in that sector is lost. When a bad sector is found and marked, the operating system skips it in the future that does nothing but introducing the error code under discussion.
- Corrupted Volume Shadow Copy Service or VSS: The Volume Shadow Copy Service (VSS) is a set of COM interfaces that implements a framework to allow volume backups to be performed while applications on a system continue to write to the volumes. This service requires the file system to be NTFS so as to create and store shadow copies. This corrupted VSS concludes the error under consideration.
- Insufficient Disk Space: When your computer says that there is not enough disk space, it means that your hard drive is almost full and you are unable to save large files to this drive. To fix the hard drive full issue, you can uninstall some programs, add a new hard drive or replace the drive with a larger one. So, the error under consideration occurs whenever you have insufficient disk space.
- Third-party Security Software: In computer programming, a third-party software component is a reusable software component developed to be either freely distributed or sold by an entity other than the original vendor of the development platform. Third-party application stores might offer plenty of safe applications. But there’s also a higher chance they might offer dangerous ones. And those applications can infect your desktop device with malicious codes like ransomware, adware, and the one under discussion.
Pre-requisites:
Before jumping to major solutions, the following workarounds have been provided for you to easily rectify the problem. Even if you do not resolve your problem from these workarounds, these are still helpful to clear some cut corners. These workarounds are as follows:
- Disable Third-Party Software: Disable “third-party service” and “startup programs” using the “Microsoft Sysinternals’ Autoruns” tool and restart your PC. See if you’re able to use System Restore or Windows Backup & Restore features without getting the error.
If disabling all third party services and rebooting Windows help you fix the System Restore or Windows Backup, the next step is to narrow down the exact service that is causing the problem. To find it out, re-enable the first half of the services and restart Windows. If the problem doesn’t re-occur, re-enable half of the services from the lower half (i.e. half of the lower half).
Clean Boot troubleshooting also helps you narrow down a problem. It involves disabling a set of startup programs and Services and then restart the computer. If the issue remains unresolved, you need to disable the remaining set of entries. This way you can isolate which set of programs or services is causing the problem, and eventually single out the culprit. - Disk-Cleanup or Increase Hard Drive Capacity: Disk cleanup is a maintenance utility that was developed by Microsoft for its Windows operating system. The utility scans your computer’s hard drive for files that you no longer need such as temporary files, cached webpages, and rejected items that end up in your system’s Recycle Bin or trash locations. The hard drive’s role in a computer is to serve as a local data mass-storage device. Its size is only relevant to how much data it can store. While larger hard drives tend to perform faster than smaller ones, this is because they tend to be newer and benefit from other technological improvements. We can increase disk space by doing the following:
-Disable Hibernation.
-Clean the hard drive, delete all useless files automatically.
-Move the paging file (Virtual Memory) to other drives.
-If you have tried everything and still cannot free-up handsome space then you definitely need a hard drive with a larger capacity. So in that case, buy a new hard drive with more capacity. - Check your Hard Drive for Errors: Sometimes restore point might not work due to corrupted files and folders on your drive, and in order to fix the corrupted files, you might need to check your hard drive. This process can take a while so be patient. You might also have to restart your computer in order to complete the disk checking process.
Open “Command Prompt as an administrator” and run “chkdsk C: /f”. This will check and fix errors that it found on C: volume. You can replace C with another drive letter (if your Windows is installed in some other drive).
Solution 1: Set Volume Shadow Copy to Automatic
The Volume Shadow Copy service tells the writers to temporarily freeze application and write I/O requests (read I/O requests are still possible) for the few seconds that are required to create the shadow copy of the volume or volumes. The application freeze is not allowed to take longer than 60 seconds. Shadow copies stored are stored locally, at the root of the Windows volume in the System Volume Information folder. Shadow copies can only be created on NTFS volumes to create automatic backups of files or data per volume. When enabled, the Shadow copies feature protects you from accidentally losing important files in a network share. It’s only used when an application requests it e.g., a backup app, system restore point feature, etc. So in our case, we need to put it on automatic mode so it may not cause any problems while the System Restore Point feature tries to write on hard drive sectors. This proved to be a helpful solution for a lot of users. Follow the steps below to set Volume Shadow Copy to Automatic:
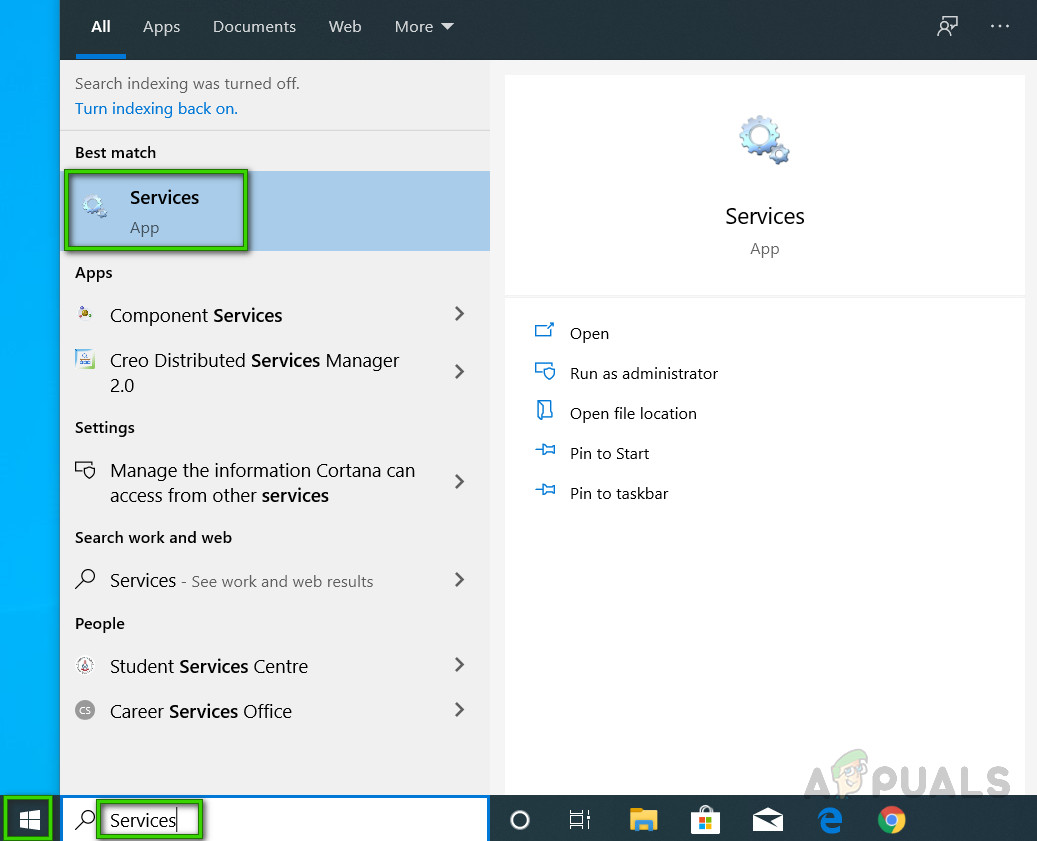
- Click Start, search Services, and open it. This will take you to the computer program that operates in the background and is similar in concept to a Unix daemon. A Windows service must conform to the interface rules and protocols of the Service Control Manager, the component responsible for managing Windows services.
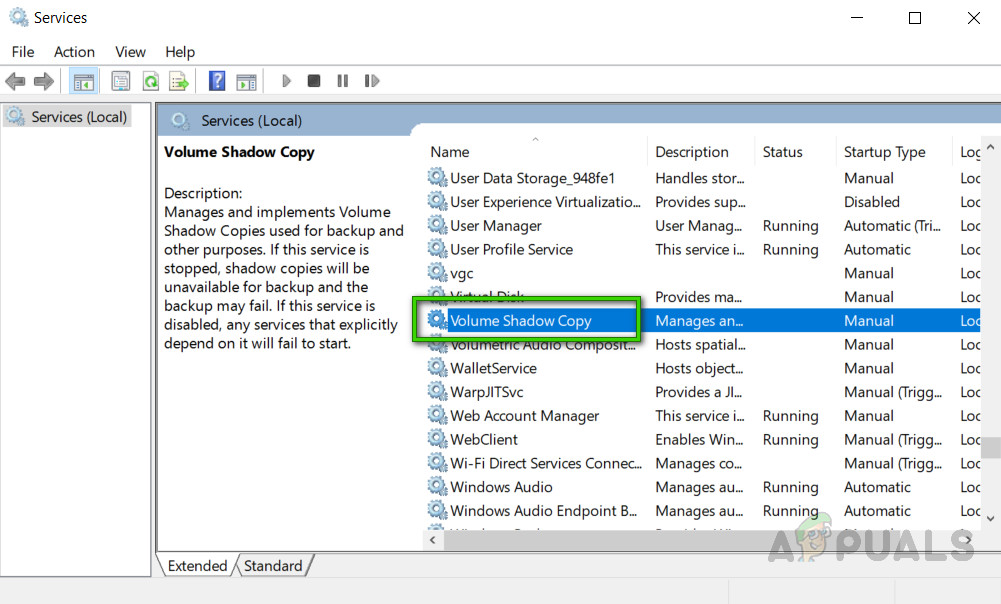
Opening Windows Services - Once the Windows Services window opens, scroll down and look for the file name Volume Shadow Copy. Double-click on it and open. This will open a new window that includes all settings related to the VSS utility i.e., Settings in General, Log On, Recovery, etc.
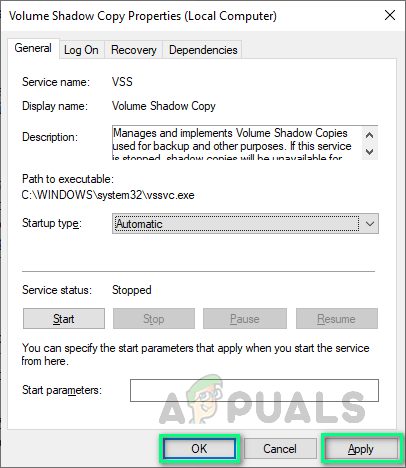
Opening Volume Shadow Copy Settings - Under General, set start-up type to Automatic. Then start the service status by clicking on the Start option. Now, Windows AI (Artificial Intelligence) will decide when the VSS service needs to turn on or not. This will eradicate the cause that might be causing the error for you.
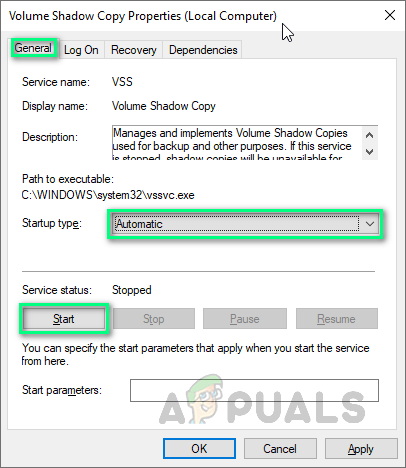
Setting VSS Startup Type to Automatic - When the window completes the attempt to start volume shadow copy on the local computer, click Apply and then OK. This will save all the changes made to the system settings.
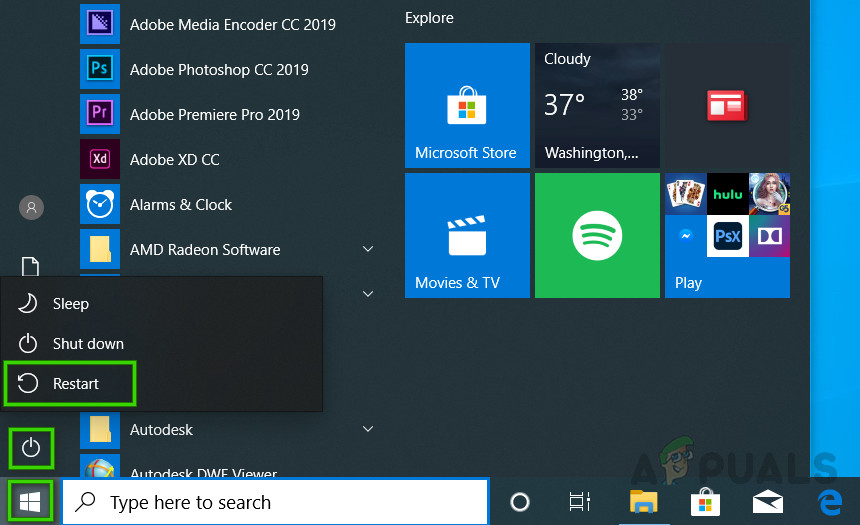
Applying Change in Settings - Restart your PC by clicking Start > Power Icon > Restart. This will help Windows to absorb all the changes you have made to the system.
Restarting PC - Once the Windows is completely loaded, try creating a restore point now. In case, the same error arises then this error is occurring due to two reasons; previously created restore point or disk capacity usage value. Solutions are given below to address these two problems.
Solution 2: Clear Previous Restore Point(s)
Turning off System Protection for a disk deletes all restore points that are created on the respective disk drive. For the drive that includes the installed Windows operating system, System Protection is on by default, and System Protection can only be turned on for NTFS drives. In our case, we are encountering this error because of previously already created “corrupt system restore point(s)”. Therefore, we need to delete them first in order to create a new one without any problems. This proved to be helpful for a lot of users. One thing should be noted that you cannot create a System Restore Point until you turn on System Protection for Windows drive again. Follow the steps below to clear Previous Restore Point(s):
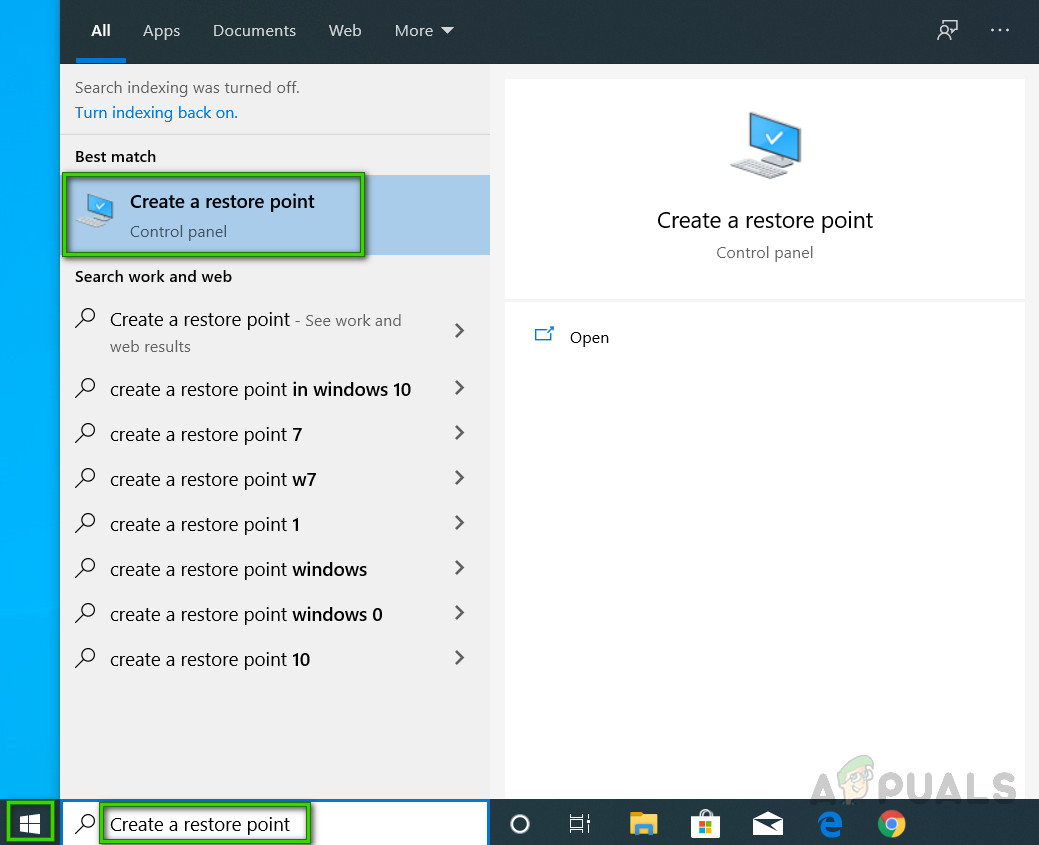
- Click Start, search Create a restore point and open it. This will open the Windows utility that is used to create restore point(s) as discussed throughout the topic with multiple tabs to play with i.e., Hardware, System Protection, Remote, etc.
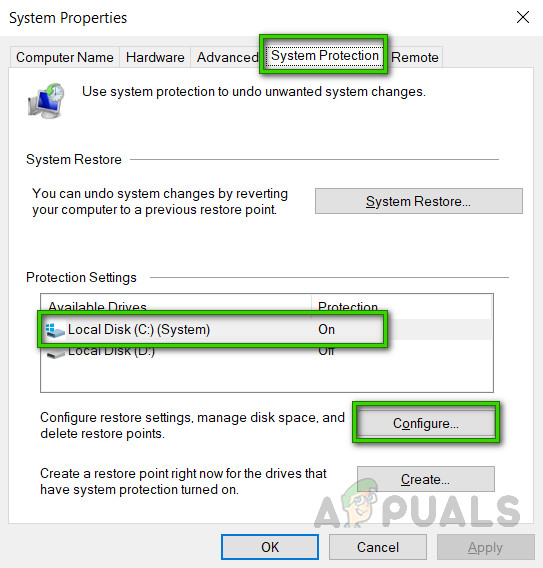
Opening Create a restore point Utility - Switch to the System Protection tab, select Local Disk (C:) (System) and click Configure. This will open a window that addresses System Protection settings for Local Disk (C:).
Opening C Drive Protection Settings - Now select Disable system protection and click Apply.
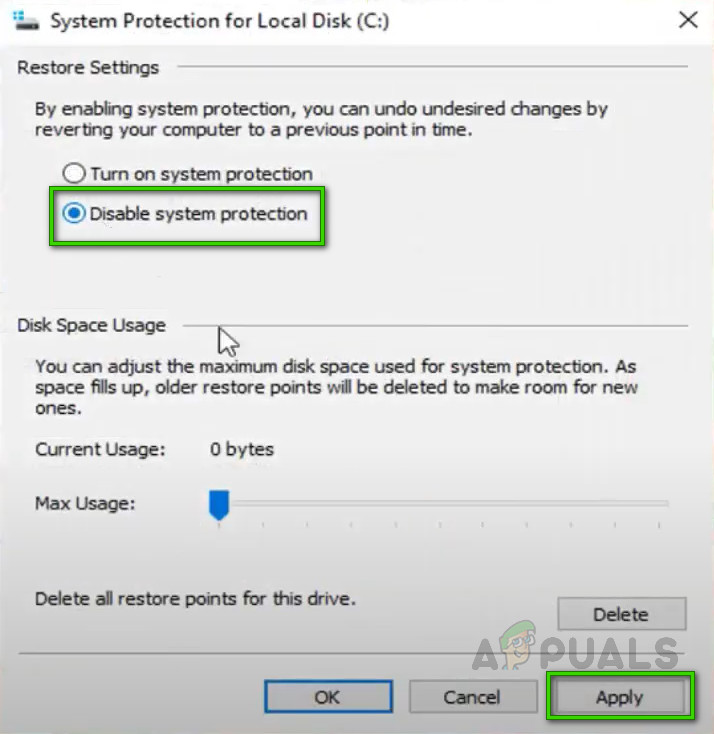
Disabling System Protection for C Drive - A window will pop up saying “Are you sure you want to turn off system protection for this drive?”, select Yes and then click OK. This will delete all the previously created System Restore Point or Points that were responsible for the error under consideration. Since we want to create yet another “error-free” System Restore Point, therefore we will have to enable this feature again.
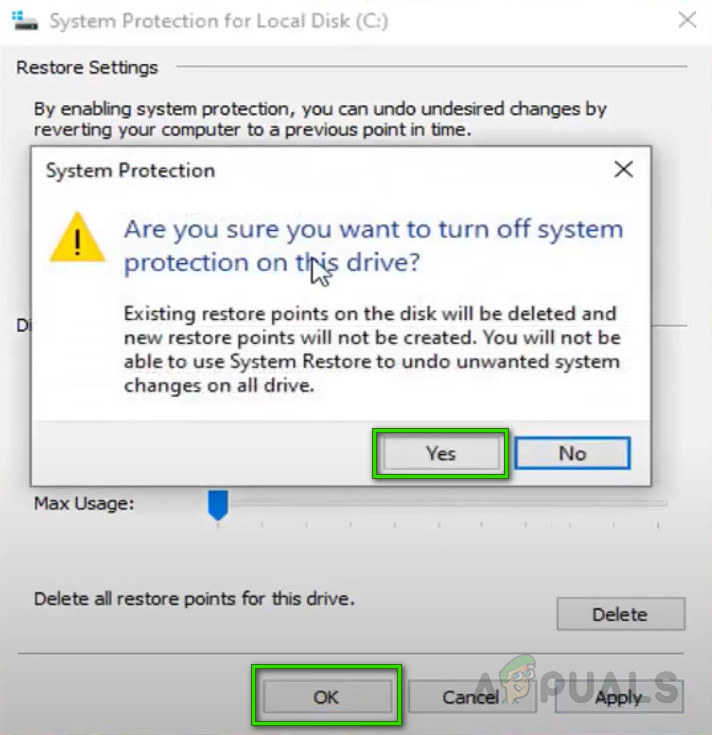
Confirming Disable System Protection - To do so, again select Local Disk (C:) (System) and click Configure. This will again open a window that addresses System Protection settings for Local Disk (C:). This time, select Turn on system protection and click Apply > OK. This will allow Windows the ability to create System Restore Point(s) once again.
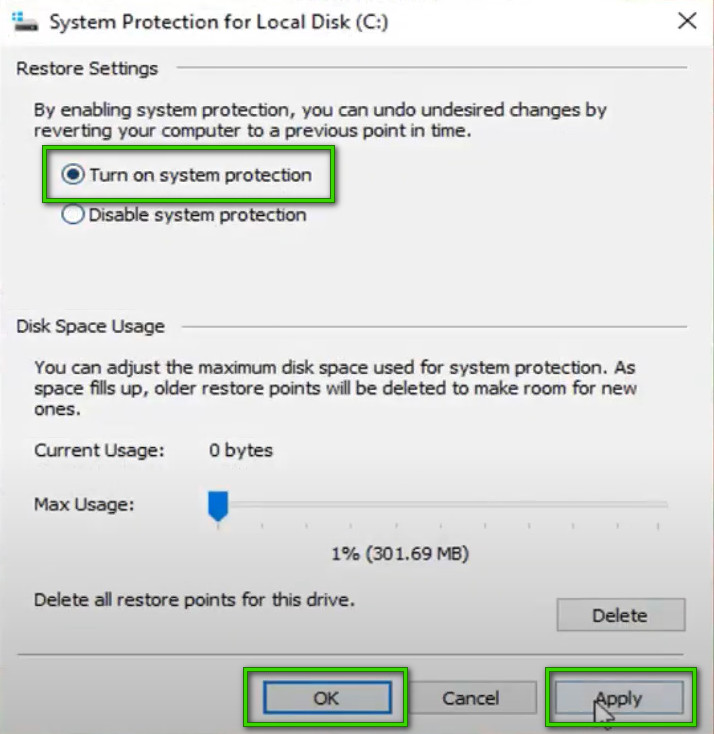
Turning ON System Protection for C Drive - Click OK again to close the system properties. Restart your PC by clicking Start > Power Icon > Restart. This will help Windows to absorb all the changes you have made to the system.
- Once the Windows is completely loaded, try creating a restore point now. If you still get the same error then, only one possibility is left and solution 3 will help you to tackle this situation and get rid of this problem once and for all.
Solution 3: Increase Disk Space Usage Value
Everything that can’t be fit into memory is paged to the hard disk. So basically, Windows will use your hard disk as a temporary memory device. If you have a lot of data that has to be written to disk, it will cause your disk usage to spike and your computer to slow down. To store System Restore Point(s), you need at least 30 MB of free space on each disk that is 500 MB or larger. System Restore might use between three and five percent of the space on each disk. As the amount of space fills up with restore points, it deletes older restore points to make room for new ones. By default, the disk space usage is set to 0 which is causing this error. Follow the steps below to increase Disk Space Usage and get rid of the problem once and for all:
- Click Start, search Create a restore point and open it. This will open the Windows utility that is used to create restore point(s) as discussed throughout the topic.
- Switch to the System Protection tab, select Local Disk (C:) (System) and click Configure. This will open a window that addresses System Protection settings for Local Disk (C:).
- You will see your disk space usage is set to 0. Change it to 3% of C Drive Space by dragging the slider (1GB should be enough but we recommend up to 3% of your C drive space to avoid any problems). Click Apply > OK.
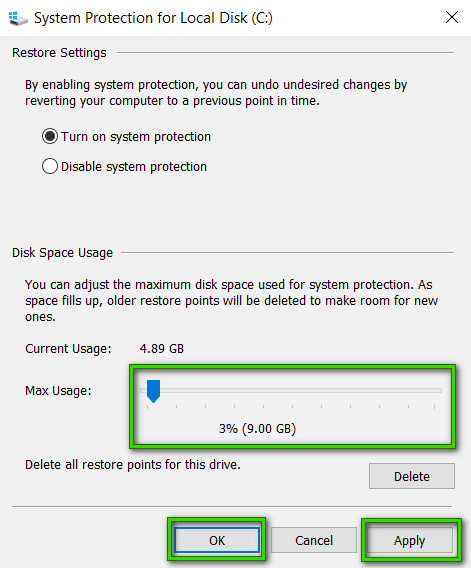
Increasing Disk Space Usage to 3% Available Space - Click OK again to close the system properties. Restart your PC by clicking Start > Power Icon > Restart. This will help Windows to absorb all the changes you have made to the system.
- Once the Windows is completely loaded, try creating a restore point now. This should finally fix your problem.


A WARNING TO ALL!
I tried this.
The restore points I created after I followed this instructions DID NOT WORK. The restore process was repeatedly interrupted by error messages — including one that my computer could NOT be restored because 0x80042308 was missing.
Now I have to figure how out to restore my computer — without a WORKING RESTORE POINT.
*