[FIX] System Detected an Overrun of a Stack-Based Buffer
This error is related to the buffer memory and occurs when an application program writes more data to the buffer memory allocated on the Stack than is actually allowed. When this happens, chances are that the relevant data has been corrupted and the application program will crash. Before you jump to the methods listed below, you need to make sure that your Windows is up-to-date.

Method 1: Using the Registry Editor To Change System Settings
The Registry Editor is a tool in Windows that is used to change the configuration settings for the System Programs and Drivers. In this method, we will remove the key named BannerStore which is found in the HKEY_LOCAL_MACHINE folder which contains the configuration data that is shared by all users on Windows. Removing this key has solved the problem for many users. Please see the below steps.
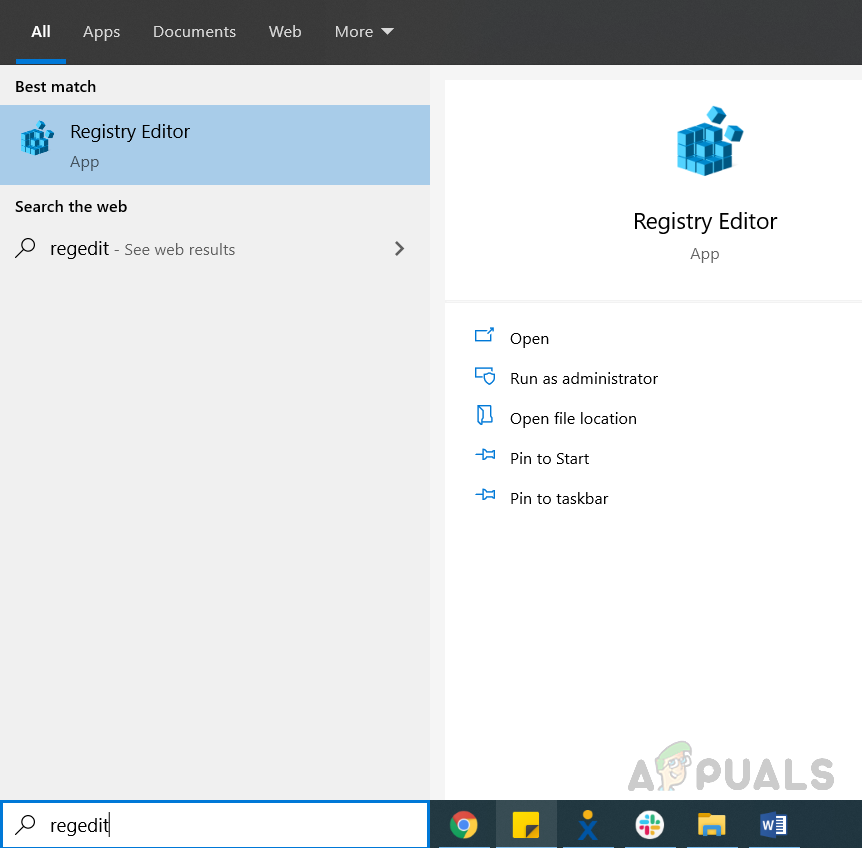
- In the Windows Search bar type Regedit and open the Registry Editor

Search Regedit in Windows Search bar - Navigate to the following path
Computer\HKEY_CURRENT_USER\Software\Microsoft\Windows\CurrentVersion\Explorer
- Locate the Key BannerStore under the Explorer Folder

Locate the Folder Named BannerStore - First create a backup of the Registry, Click File, and the Click Export

Create Backup of Banner store - Name the file and Save
- Now Rename the BannerStore folder to something else for example BannerStore-old

Rename Banner Store and Save
Method 2: Using Deployment Image Service and Management to Repair Windows Files
In this method, we will use a Windows utility called Deployment Image Service and Management that allows us to repair an installed Windows image. First, we will find whether the files are available and then try to repair them.
- Open Command Prompt as Administrator

Open Command Prompt as Administrator - Type “DISM /online /Cleanup-Image / ScanHealth” and press Enter to execute, this will check if the files are repairable.

Type “DISM /online /Cleanup-Image / ScanHealth” and press Enter - Type “DISM /Online /Cleanup-Image /restore health” and press Enter to repair the files

Type “DISM /Online /Cleanup-Image /restore health” and press Enter - Once the commands have been executed, restart your system and check if the problem has been resolved.
Method 3: Perform an Upgrade Using Media Creation Tool
In this method, we will use the Media Creation Tool to upgrade the Windows to the latest version. Media Creation Tool is free software provided by Microsoft which is used to create a Windows Installation Media or upgrade Windows directly to the latest version. We can use the upgrading option to copy a fresh copy of Windows latest version and this will replace the corrupt or missing system files. This will take some time as the Tool will first download the Windows files and then perform an Upgrade.
- Download the Media Creation Tool and run the downloaded file, the software will check for updates this might take some time and you will see a “Getting a few things ready” message displayed.

Download Media Creation Tool - Click the Accept License button

Click Accept License - On the next screen choose the option that says Upgrade this PC now

Choose the option to upgrade this PC now - During the upgrade check the box that says keep your apps and files and click next, this is very important otherwise you will lose all the installed applications and your saved data.
- The system will restart during the upgrade to complete the process.


