How to Sync Photos from an iPhone to a Mac: 4 Easy Ways
 Reviewed by Huzaifa Haroon
With Apple’s integrated system, syncing photos from your iPhone to a Mac is simple. You can easily move all your iPhone photos to your Mac or choose specific ones. This is made simple with tools like iCloud, the Photos app on your Mac, or using AirDrop for a wireless transfer.
This guide will show you how to sync photos from your iPhone to your Mac. We’ll discuss using iCloud for automatic syncing, Finder, AirDrop, Photos app, and third-party apps. Plus, we’ll give you tips and tricks to make the process smoother.
What does syncing photos from iPhone to Mac mean?
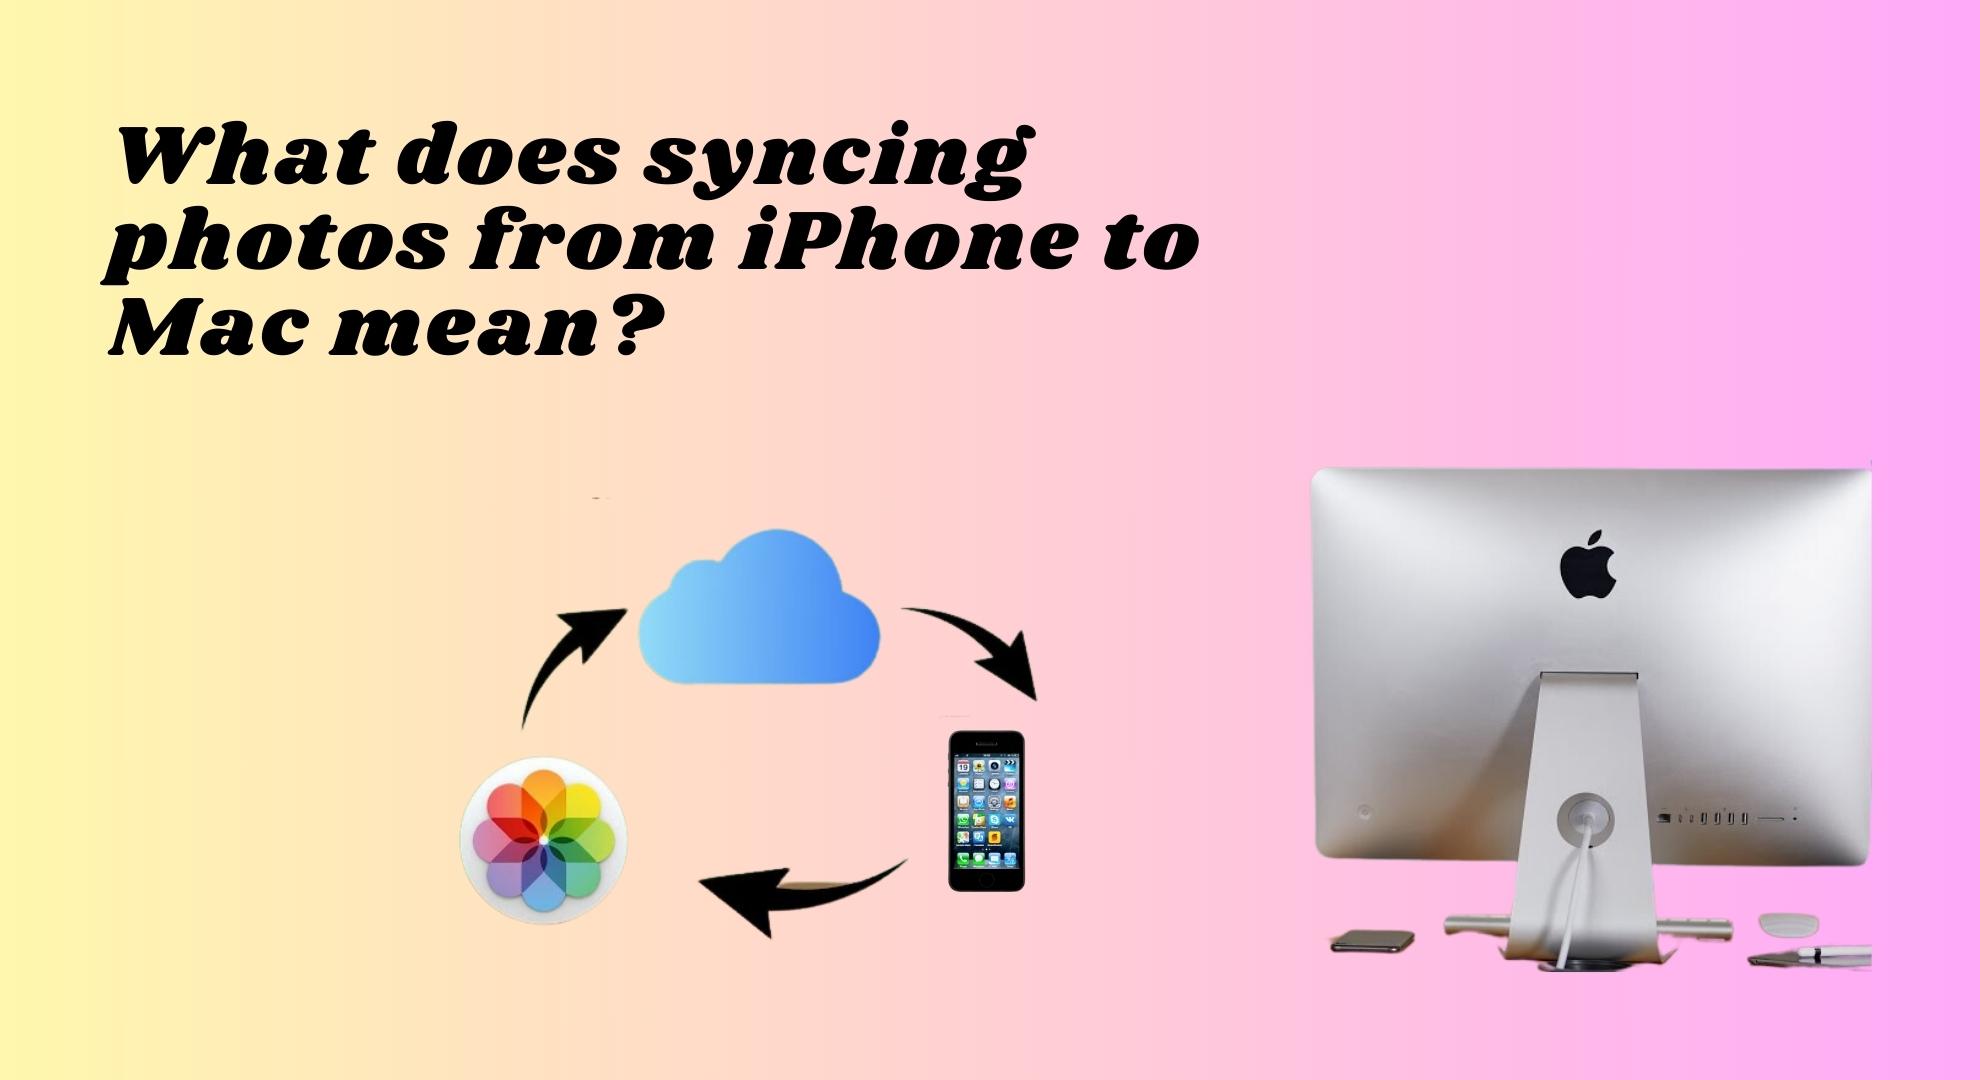
Syncing photos from your iPhone to your Mac means ensuring the same photos appear on both your phone and computer. This helps keep your photo collection the same across both devices. iCloud, Apple’s online service, is usually used for this.
When you turn on iCloud Photos on your iPhone and Mac, it automatically sends your photos to iCloud. Then, these photos show up in the Photos app on your Mac. This makes it easy to see your photos on both devices and keeps them updated together.
You can also sync photos manually using a USB cable to connect your iPhone and Mac. Once connected, you can choose which photos to move from your iPhone to your Mac using the Photos app. This way, you can pick exactly which photos you want to transfer.
How to synch photos from iPhone to Mac?

Method 1: Sync iPhone photos to Mac automatically with iCloud
Using iCloud Photo Library makes it easy to transfer photos from your devices to different places automatically. If you want to sync photos from your iPhone to your Mac without wires, iCloud is a great option.
↪ Prerequisites
- Update your iPhone and Mac to the latest iOS and macOS versions.
- Use the same Apple ID to log into iCloud on both your iPhone and Mac.
- Make sure your iPhone and Mac are connected to a strong Wi-Fi network.
Once you are sure of these things, here is how you can enable iCloud Photo sync on both your Mac and iPhone:
↪ On your iPhone:
- Open Settings and tap on your name at the top.
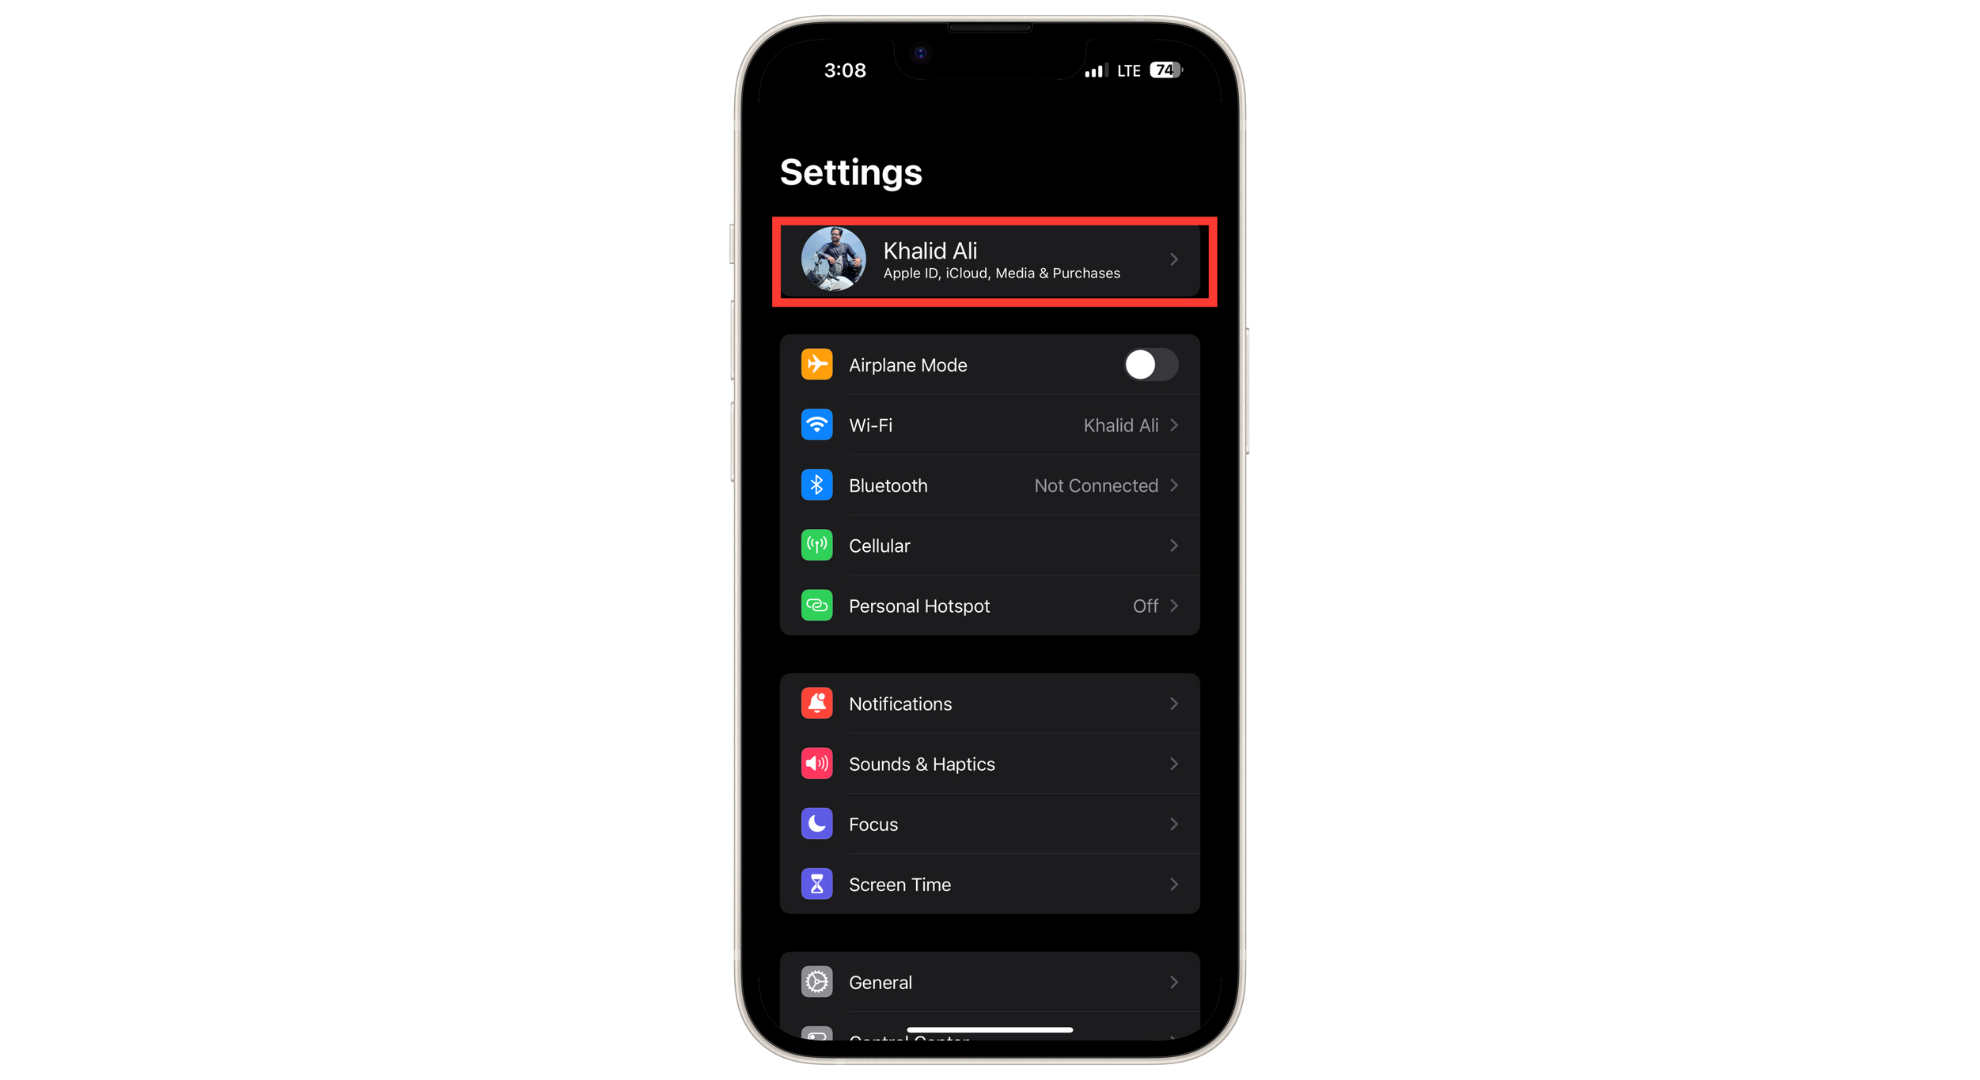
Tap on your name at the top. - Look for “iCloud “in the list and select it.
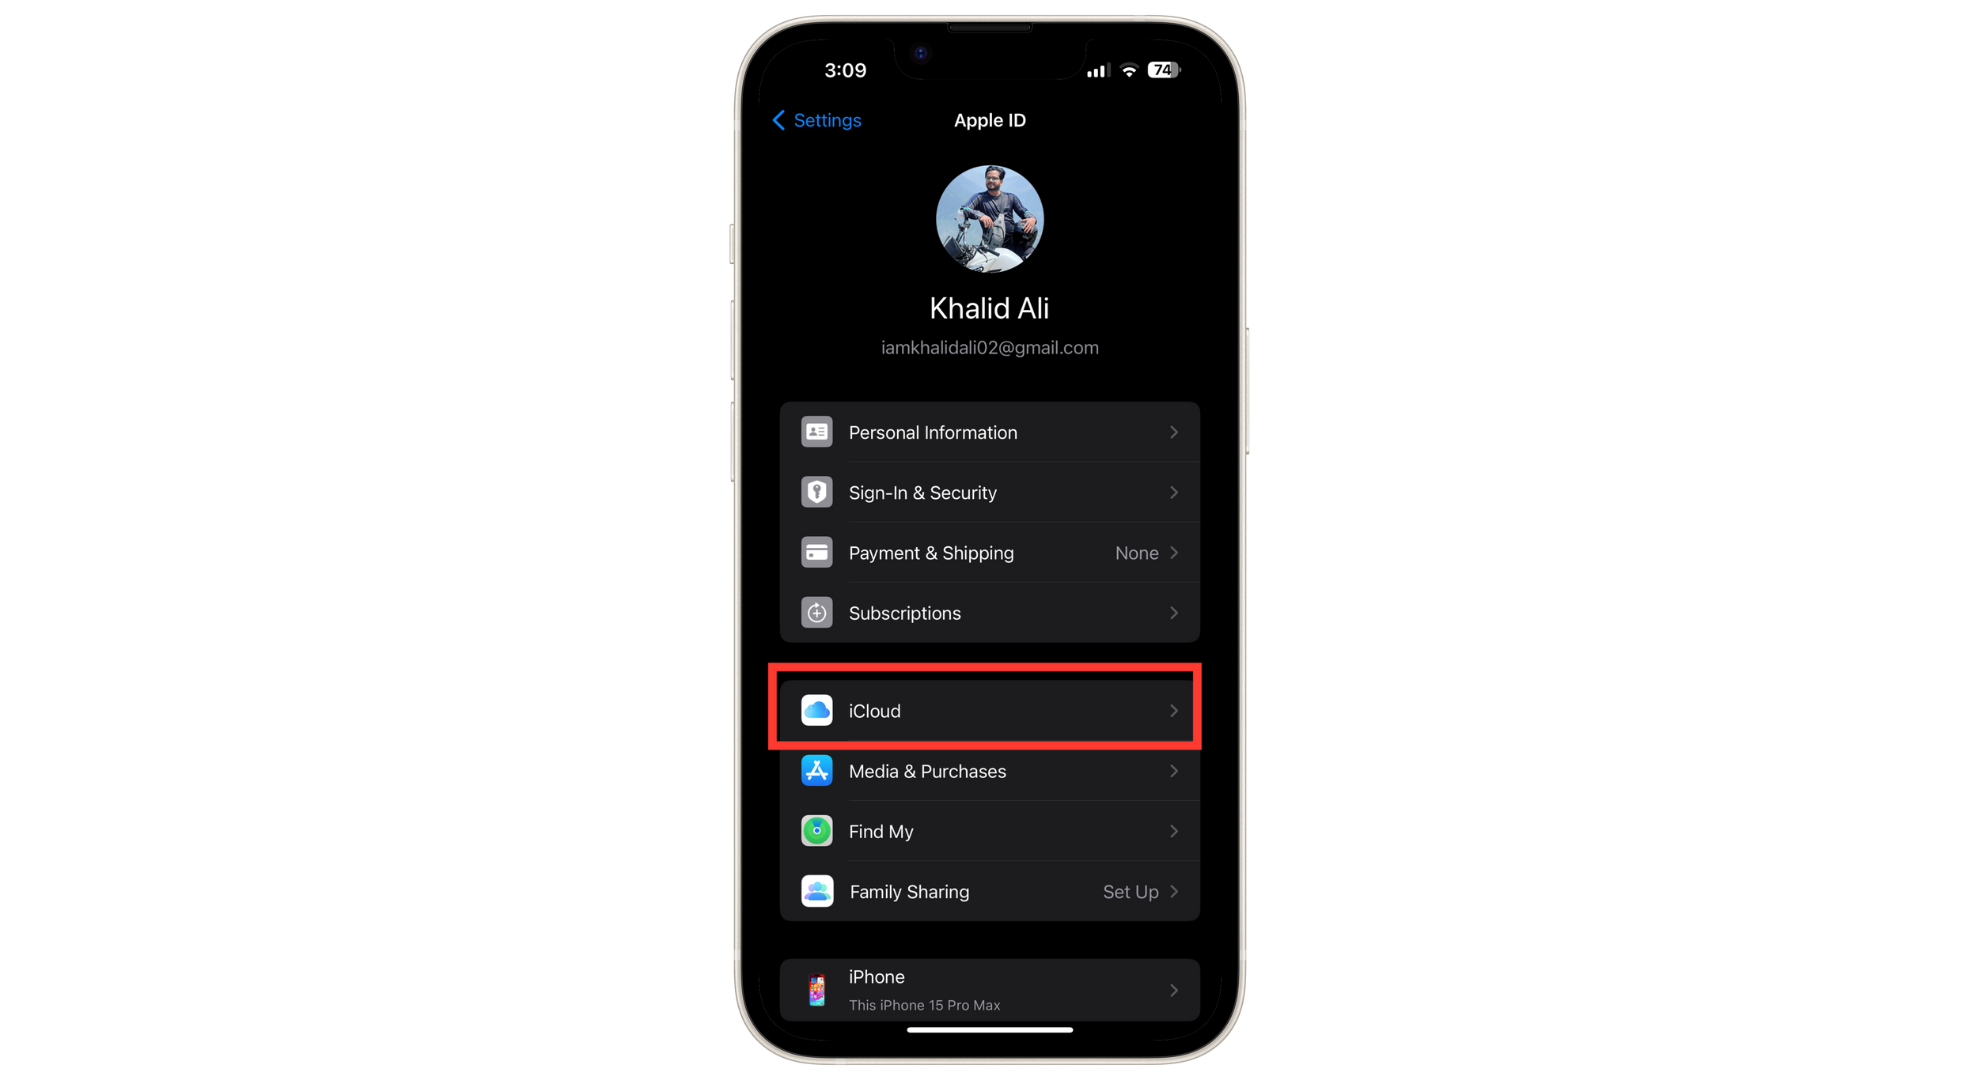
Tap on iCloud - Then, choose “Photos.”
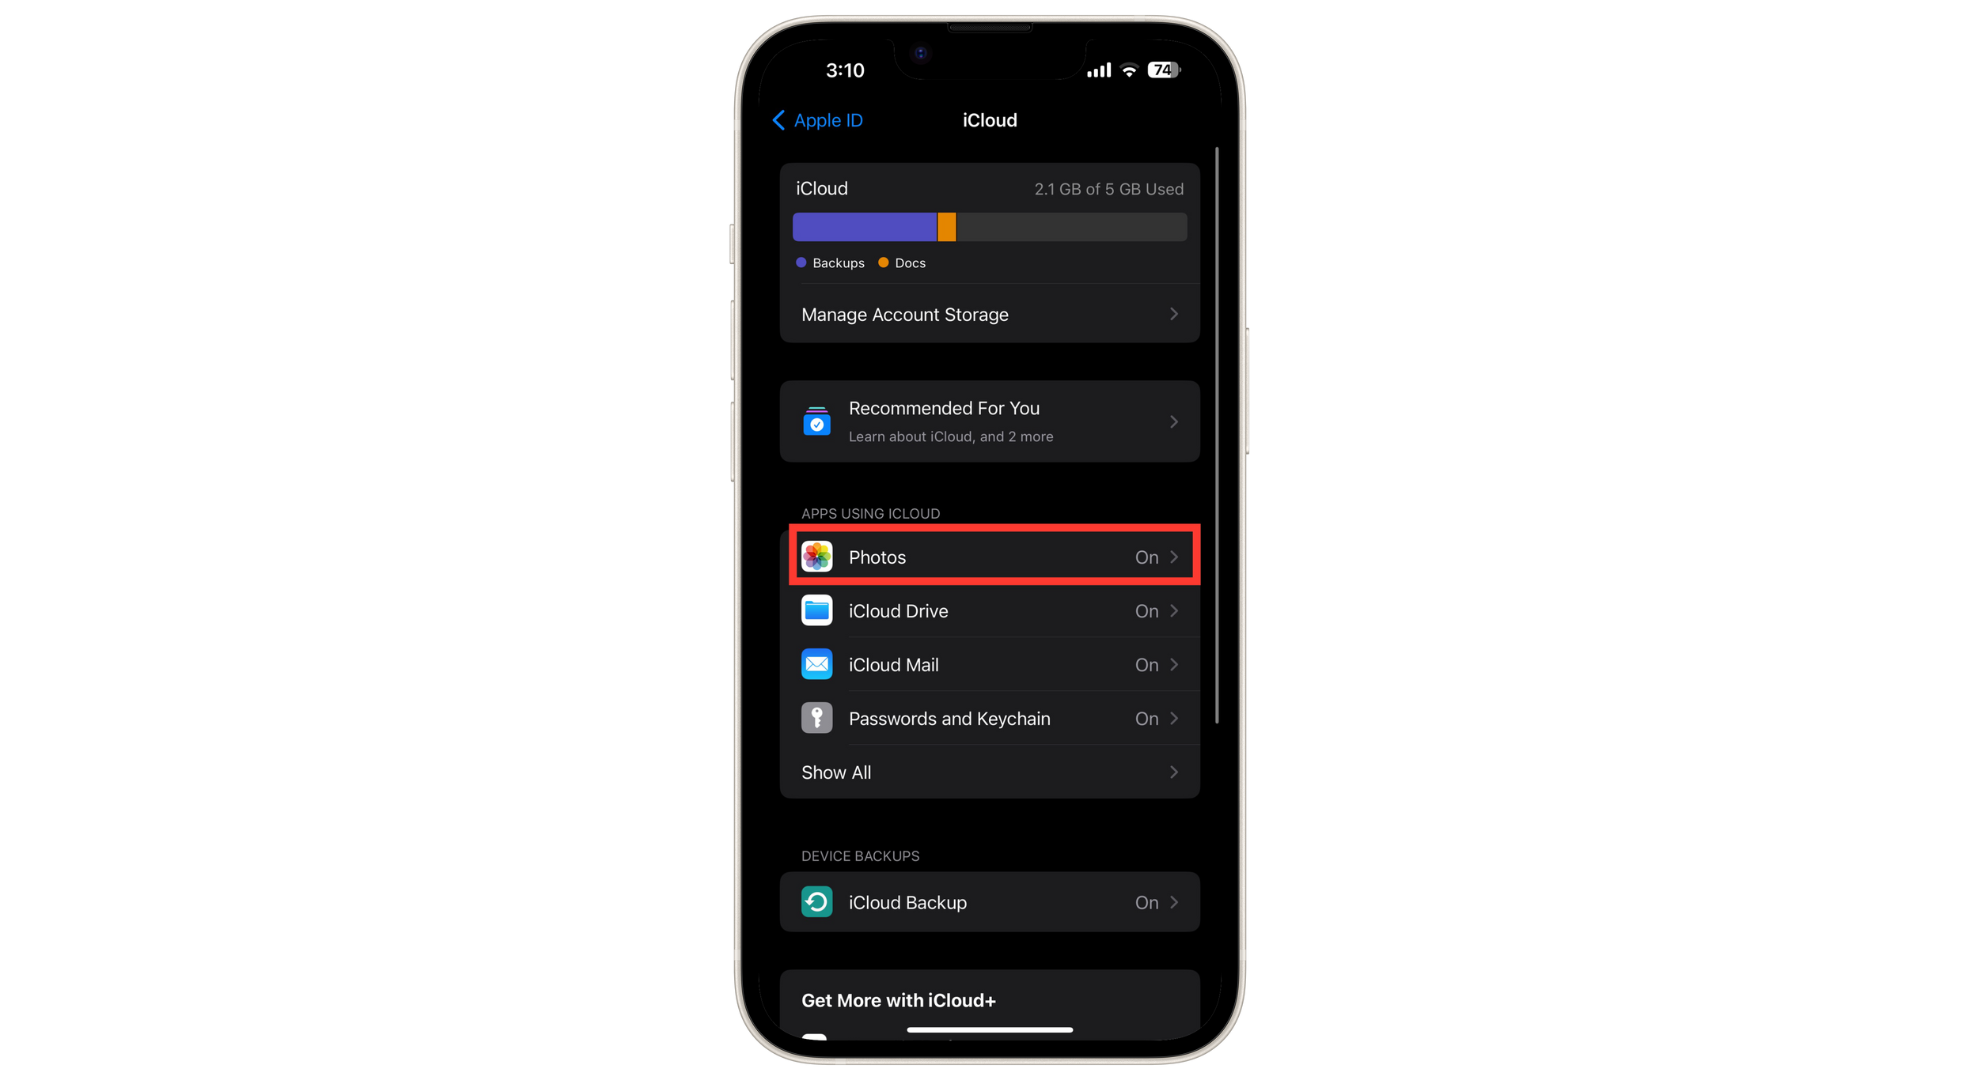
Tap on Photos - Finally, tap on “Sync this iPhone” to switch on the iCloud Photo Library.
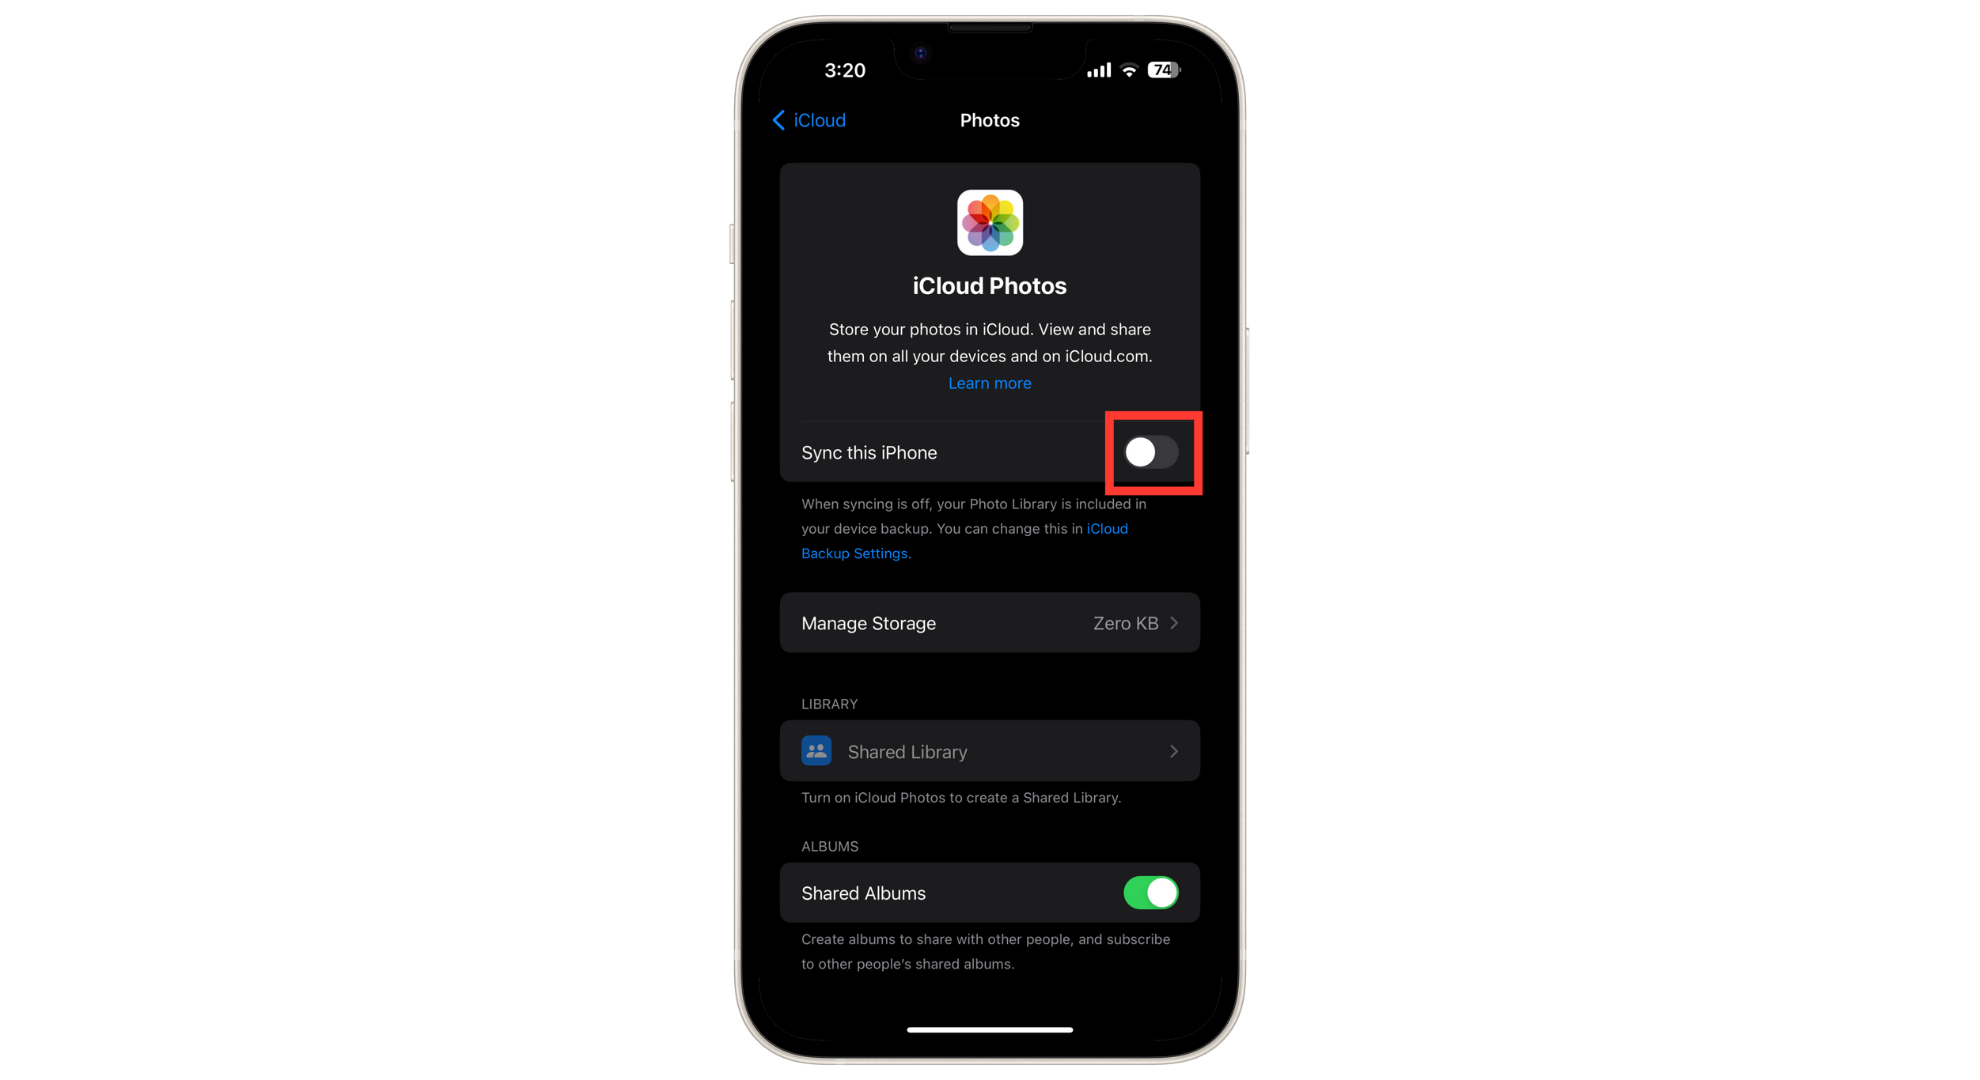
Tap on Sync this iPhone
↪ On your Mac:
- Navigate to System Settings and click on the Apple ID with your picture in the top-left corner of your screen. If you’re on a previous operating system like Monterey, you might find these options under “System Preferences.” Once there, navigate to the same Apple ID and iCloud settings.
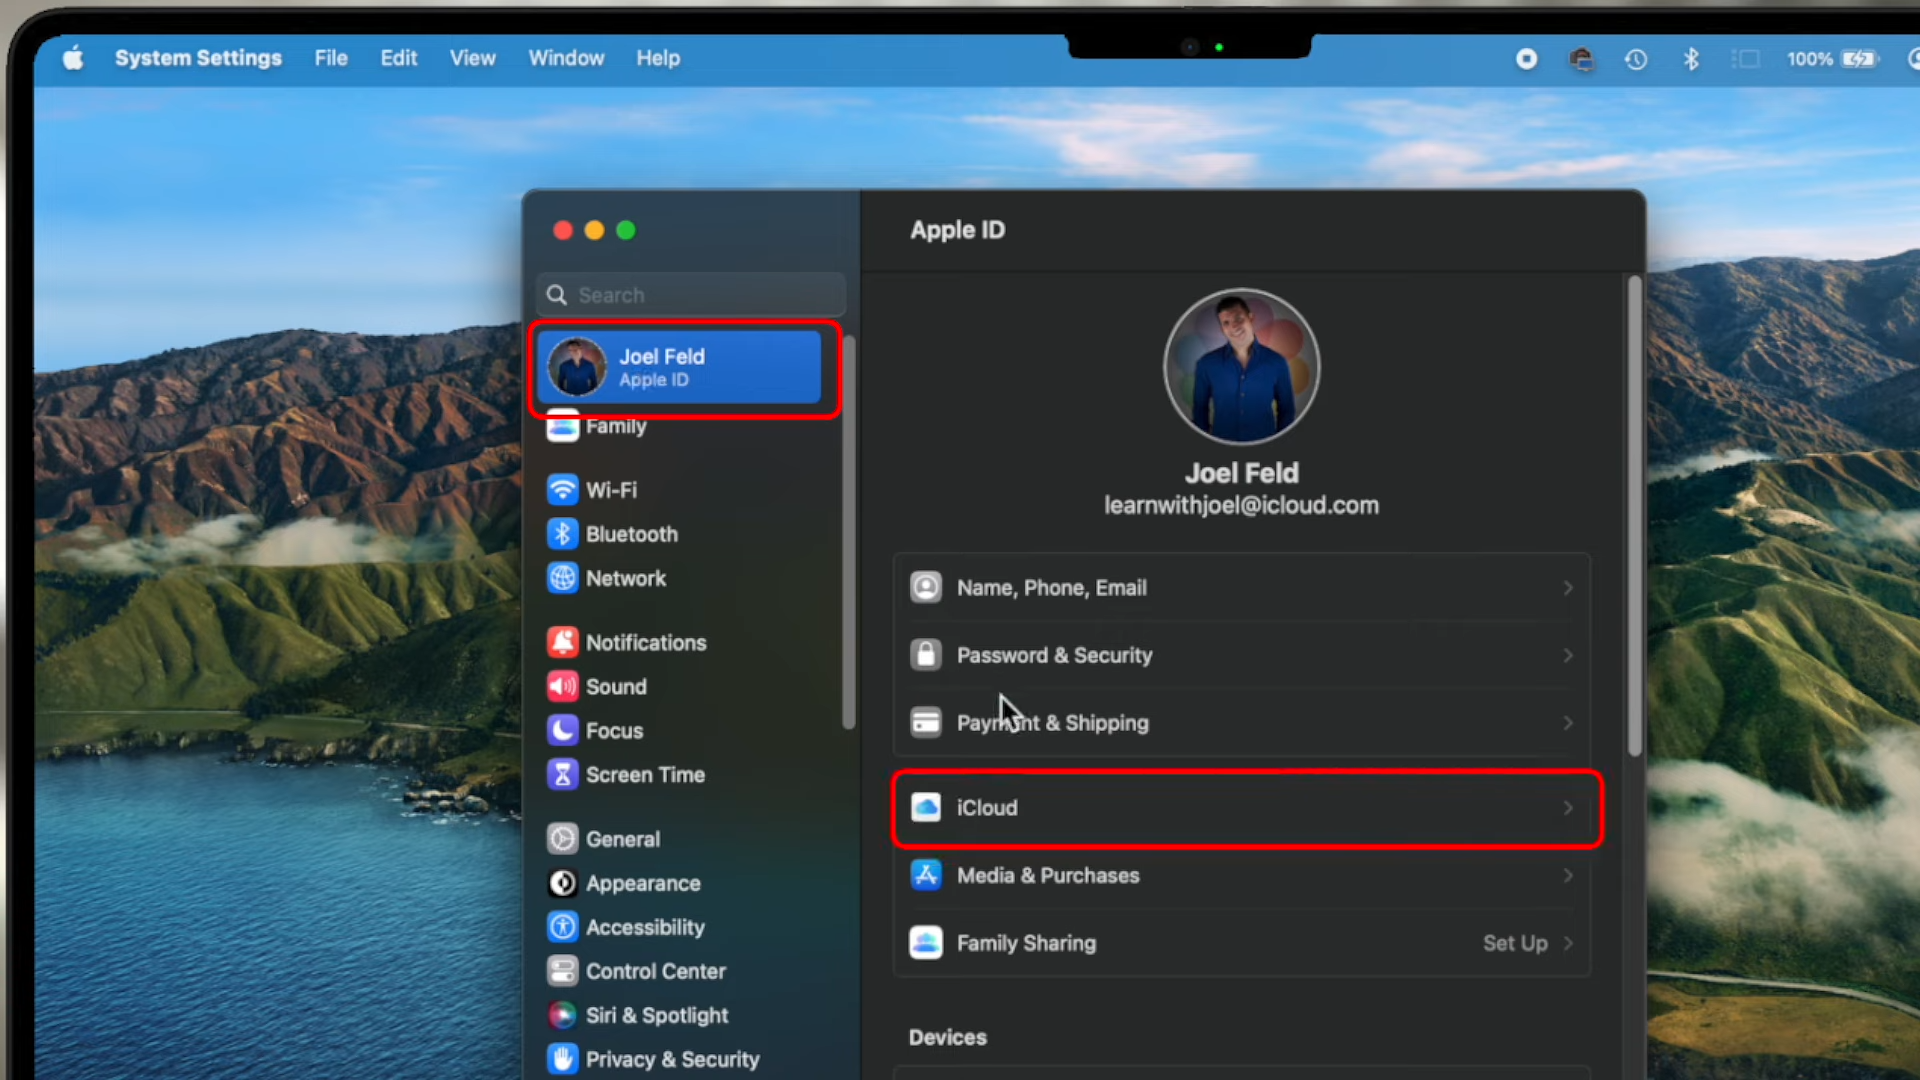
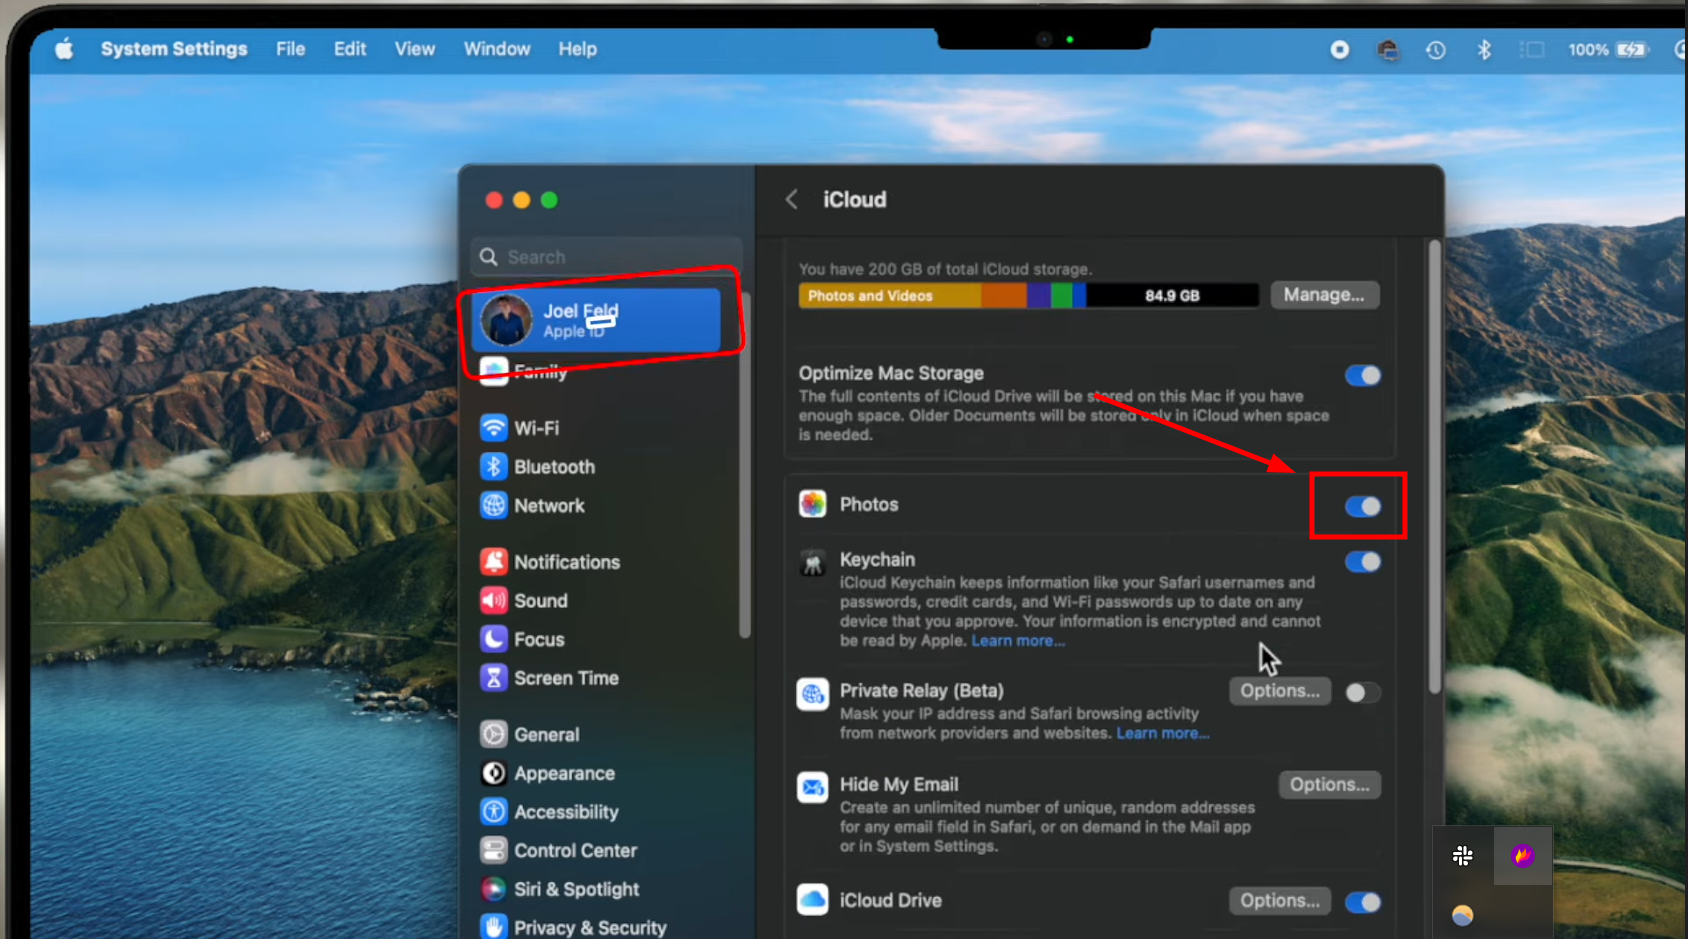
Click on Your Apple ID and Then iCloud - Look for a toggle switch related to “Photos” in the iCloud settings. For older operating systems, find a checkbox for “Photos” in the System Preferences. Make sure the toggle is turned on.
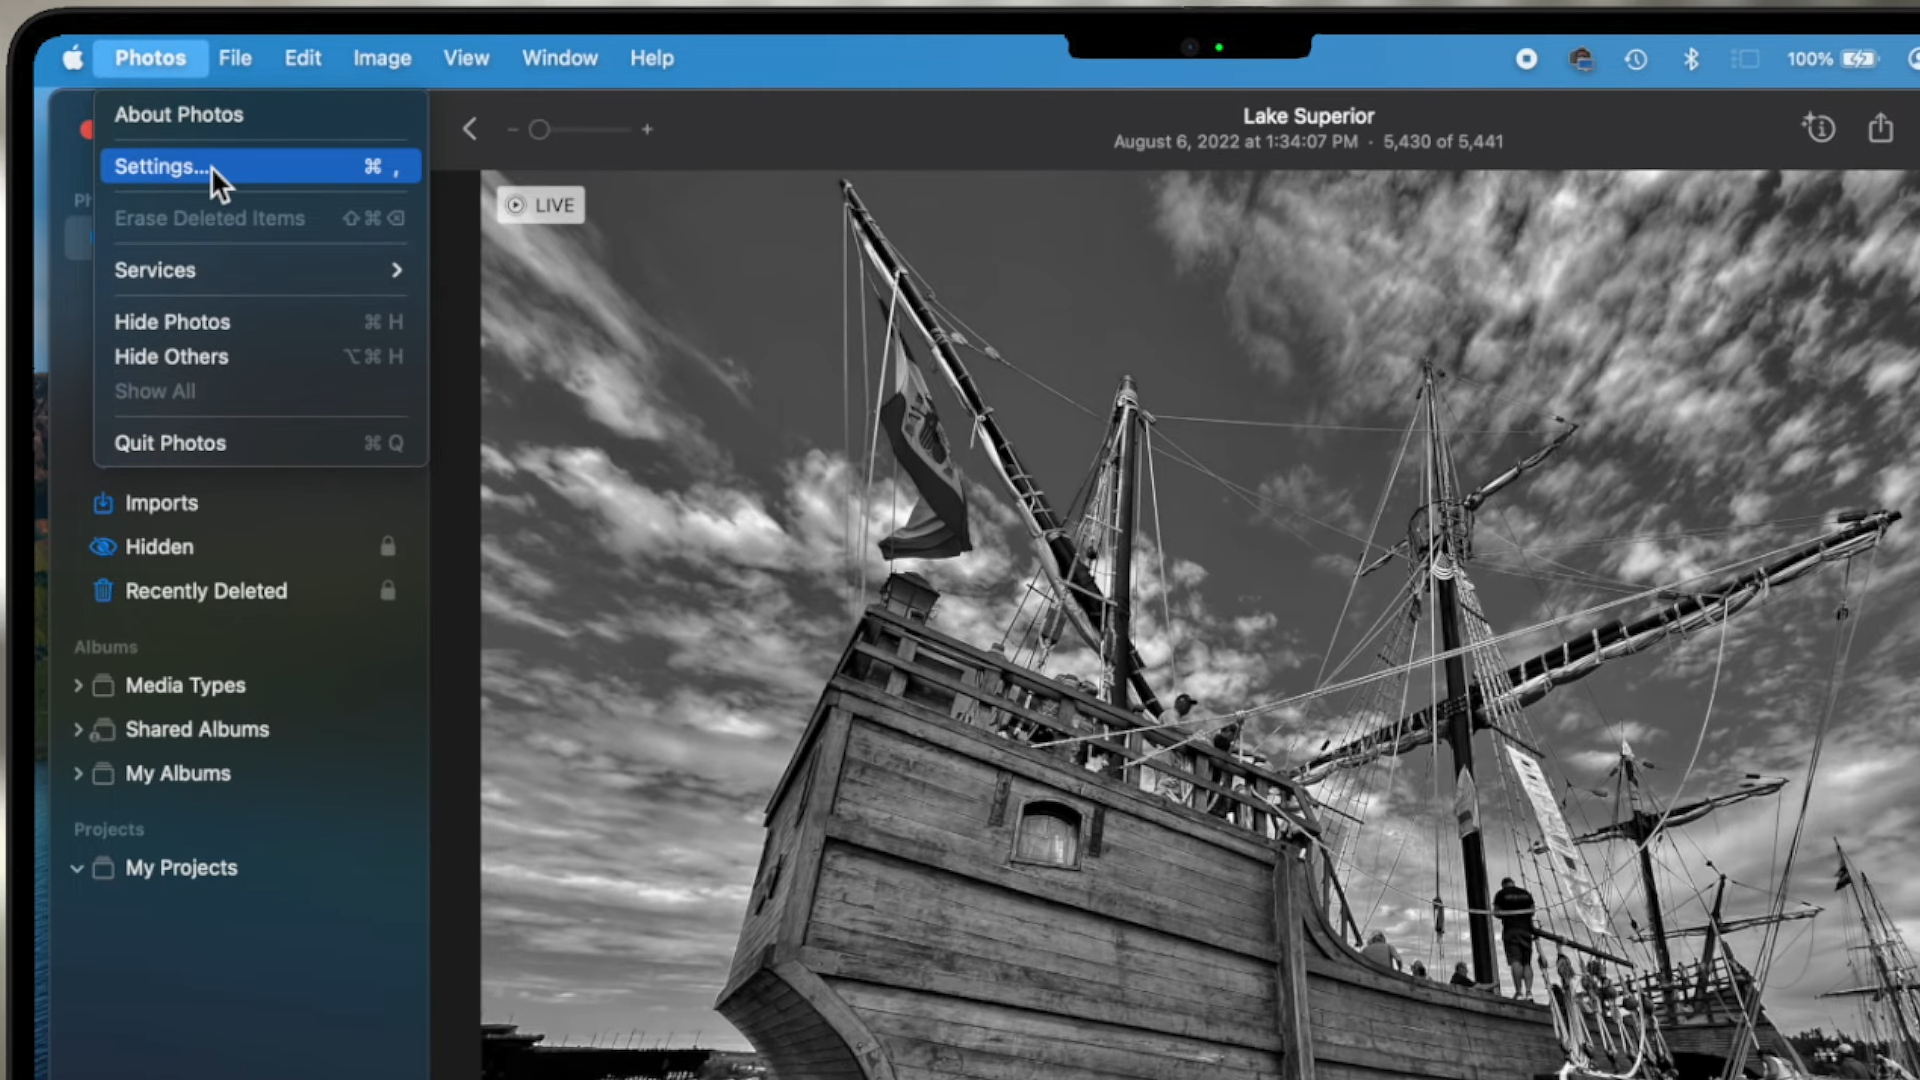
Make sure the toggle next to Photos is on - Now, you have to open the Photos app. Click on the one that says “Settings” or “Preferences,” depending on your operating system.
Go to Settings of Photos app - Under the Photo settings, there will be options like “General,” “iCloud,” and “Shared Library.” Choose “iCloud” to access specific photo-related options.
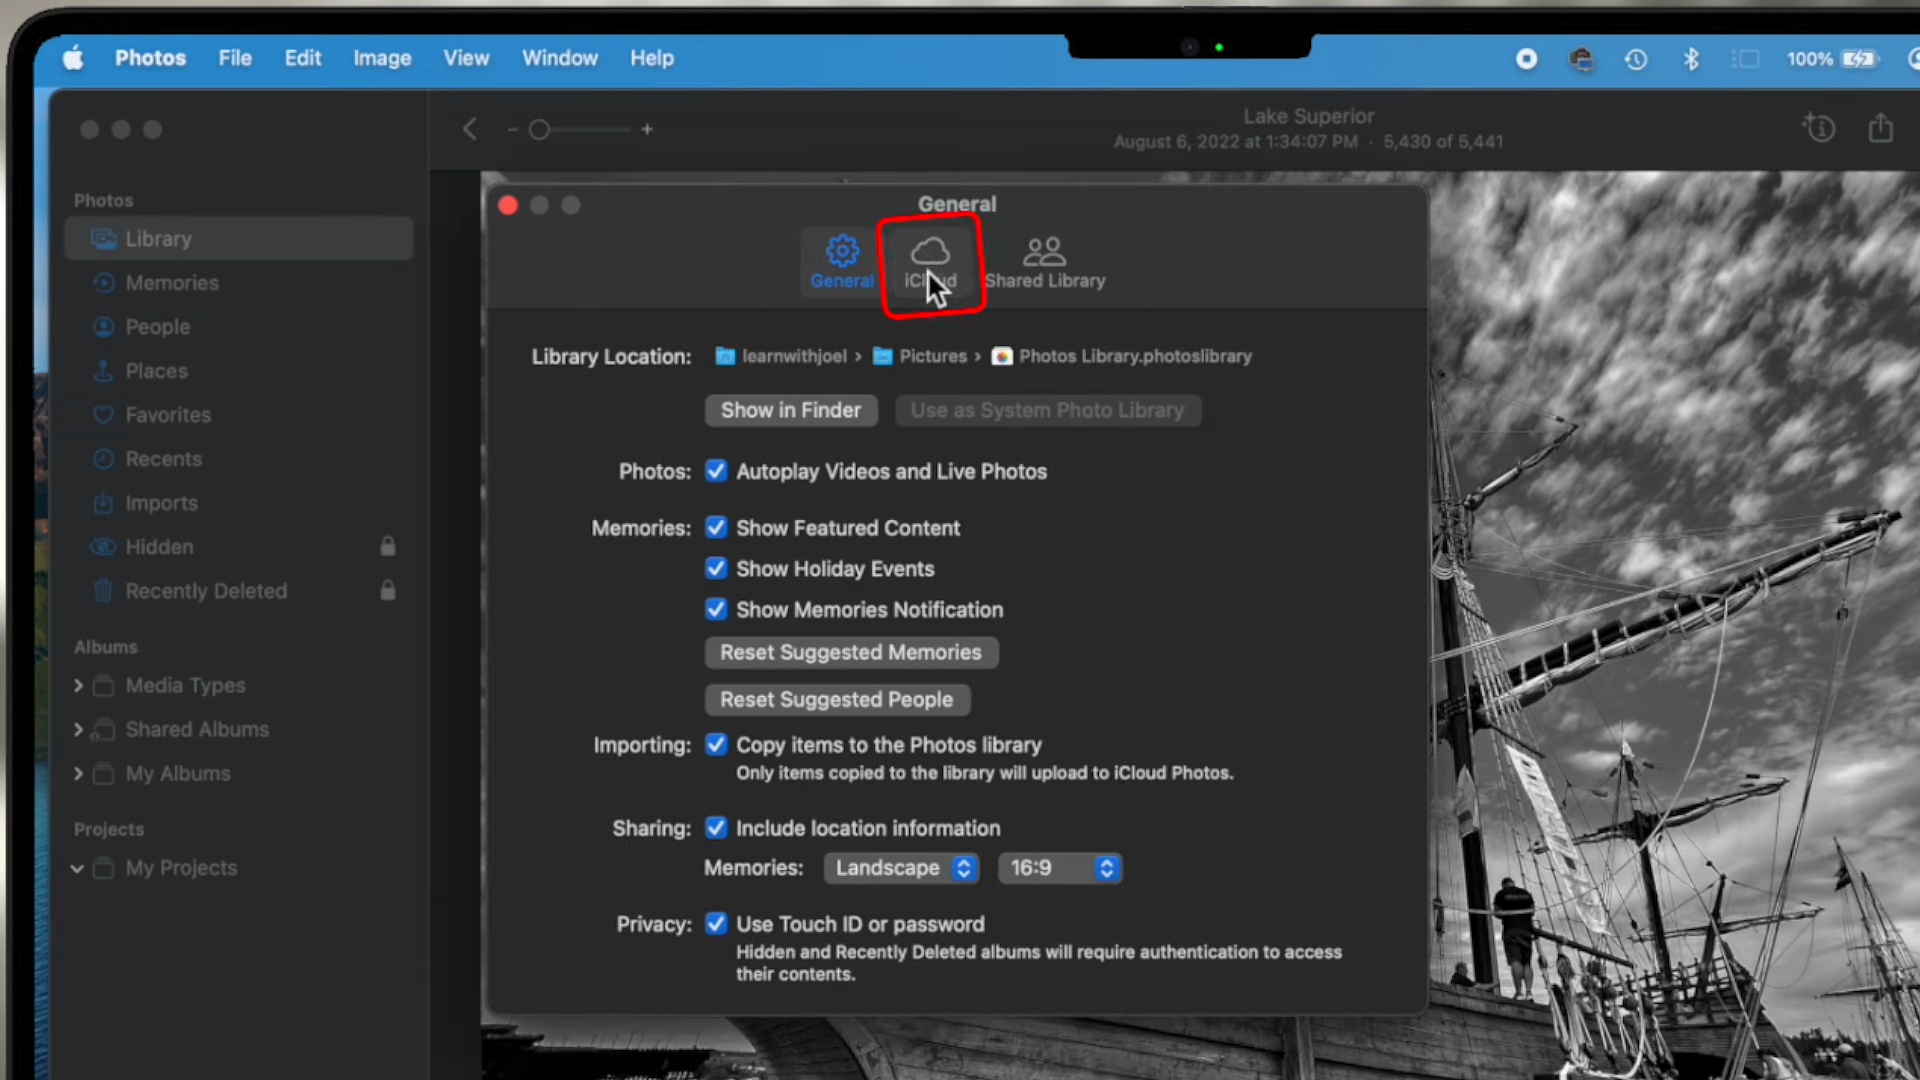
Click on iCloud from the bar - Look for an option “iCloud Photos.” It indicates the connection between your Apple Photo Library and iCloud. Ensure that this option is checked or enabled.
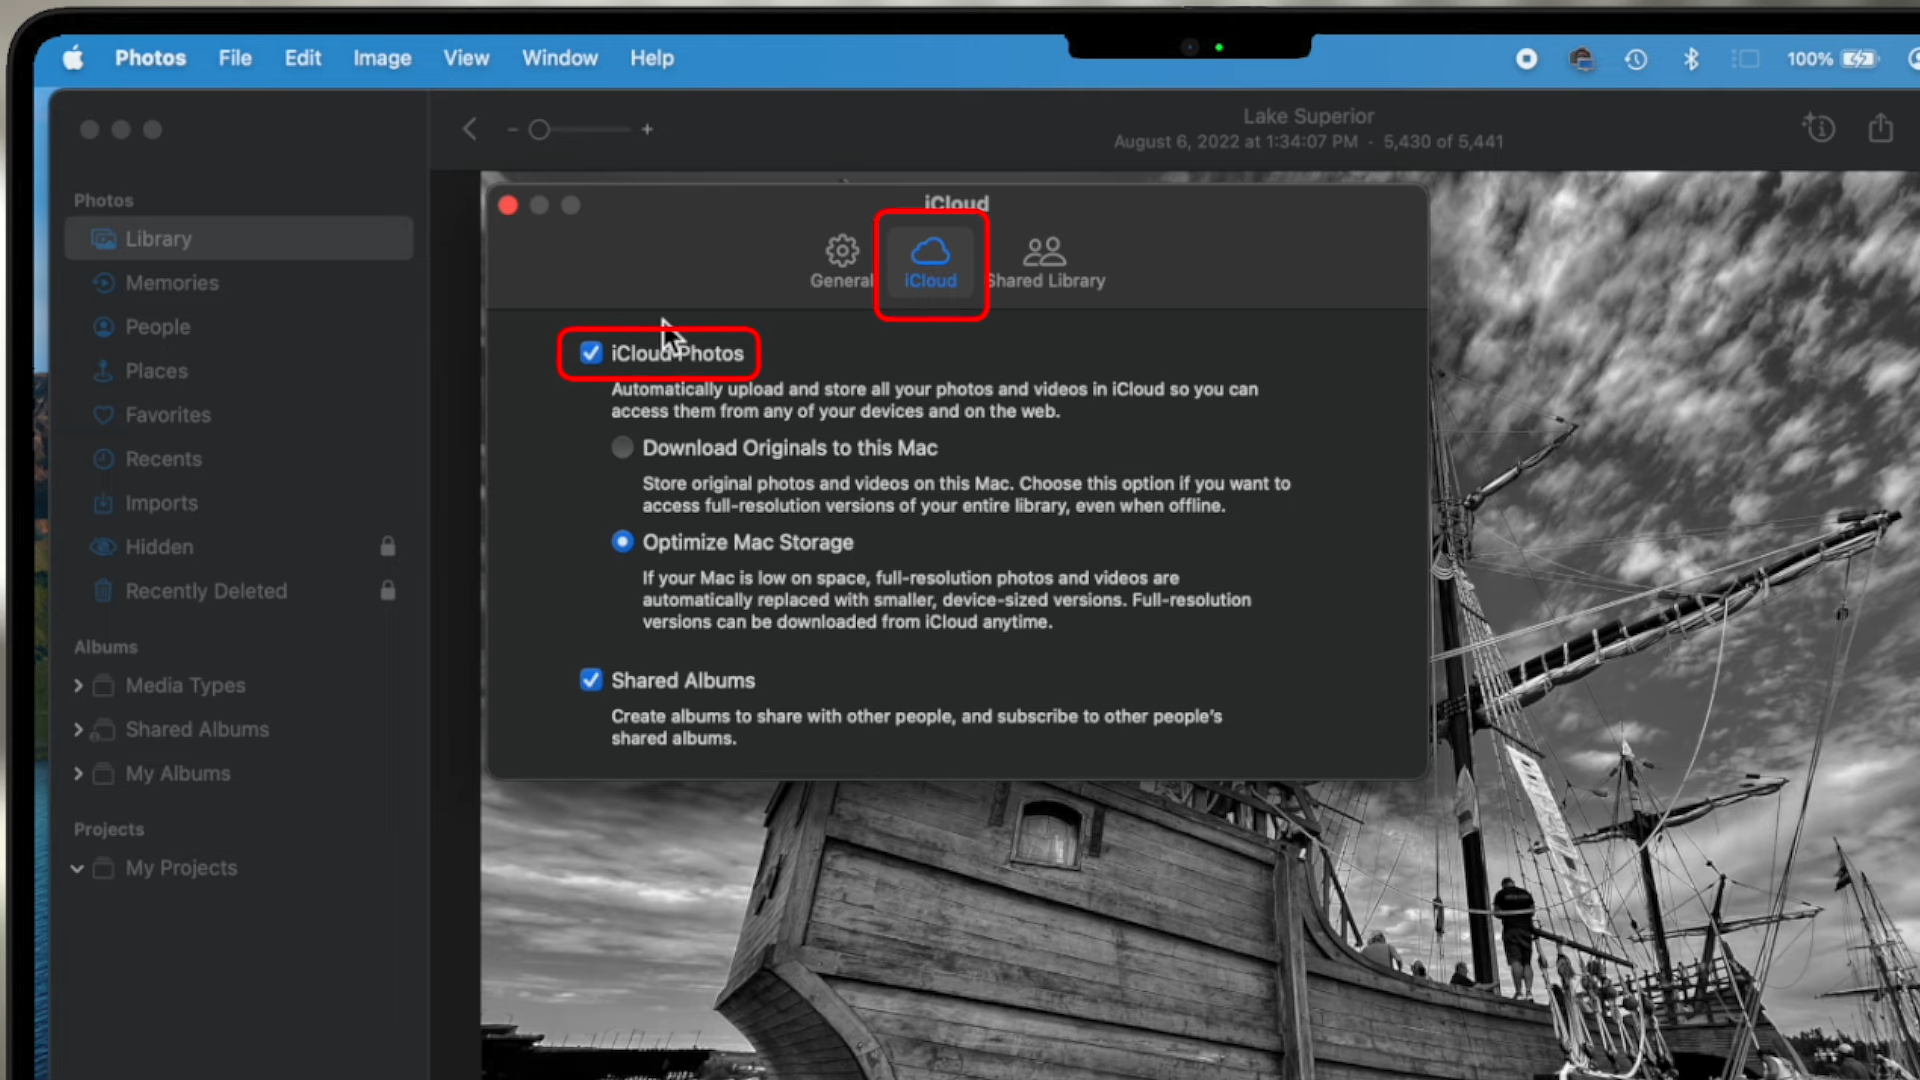
Make sure this option is checked
Images sourced from: Learn with Joel Feld
iCloud doesn’t just sync photos. It also works with other files. For instance, you can easily sync your iPhone’s calendar with your Mac using iCloud.
Method 2: Sync photos from iPhone to Mac using Finder
If you have macOS Catalina (10.15) or a newer version, you can use Finder to sync your iPhone with your Mac. Here’s how to do it:
- Use a USB cable to connect your iPhone to your Mac and open a new Finder window on your Mac. Look for your iPhone listed under devices in the left sidebar and click on it.
- Click on the “Photos” tab at the top of the window.

Click on Photos from the bar - First click on the checkmark box in front of “Sync photos to your device from.”

Click on the Checkmark
- Make sure the “Photos” is selected from list of options.

Select Photos from the list - Decide if you want to sync all photos and albums or only selected ones.

Choose the desired option - Click the “Apply” button and you are done.
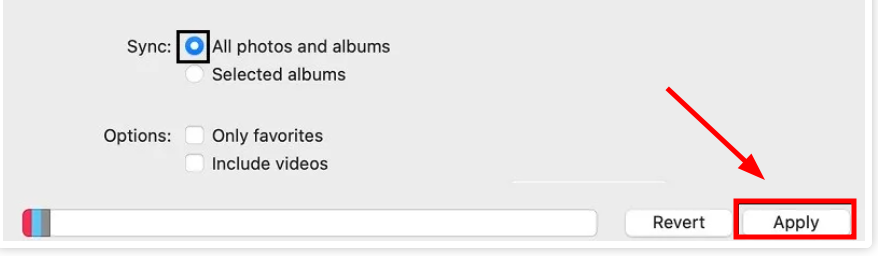
Click on Apply
With this syncing once turned on, your Mac and iPhone can sync automatically each time you connect them. Remember to click the Eject button in the Finder sidebar before disconnecting your device from your Mac.
↪ Things you need to know about this process
To sync Slo-Mo and Time-Lapse videos properly and keep their special effects, import them through the Photos app or Image Capture on a Mac with OS X Yosemite or a newer version. If you use iCloud Photos, these videos will maintain their effects.
For Live Photos, you need to import them to the Photos app on a Mac running OS X El Capitan or later to keep their live effect. However, they’ll lose this effect if you sync them back to your iPhone using your computer. Using iCloud Photos, regardless of your device, is best to preserve the live effect.
Remember, you can only sync your device with the System Photo Library on your Mac. If you have multiple photo libraries on your Mac, ensure the right one is set as the System Photo Library.
Method 3: Sync photos from iPhone to Mac with AirDrop
AirDrop makes transferring and syncing photos from your iPhone to your Mac simple, as it’s a file-sharing feature built into Apple devices. Though this is not an automatic syncing procedure, you can habitually transfer photos from your iPhone to your Mac weekly or monthly.
First, you need to activate AirDrop on both your iPhone and Mac.
↪ On iPhone:
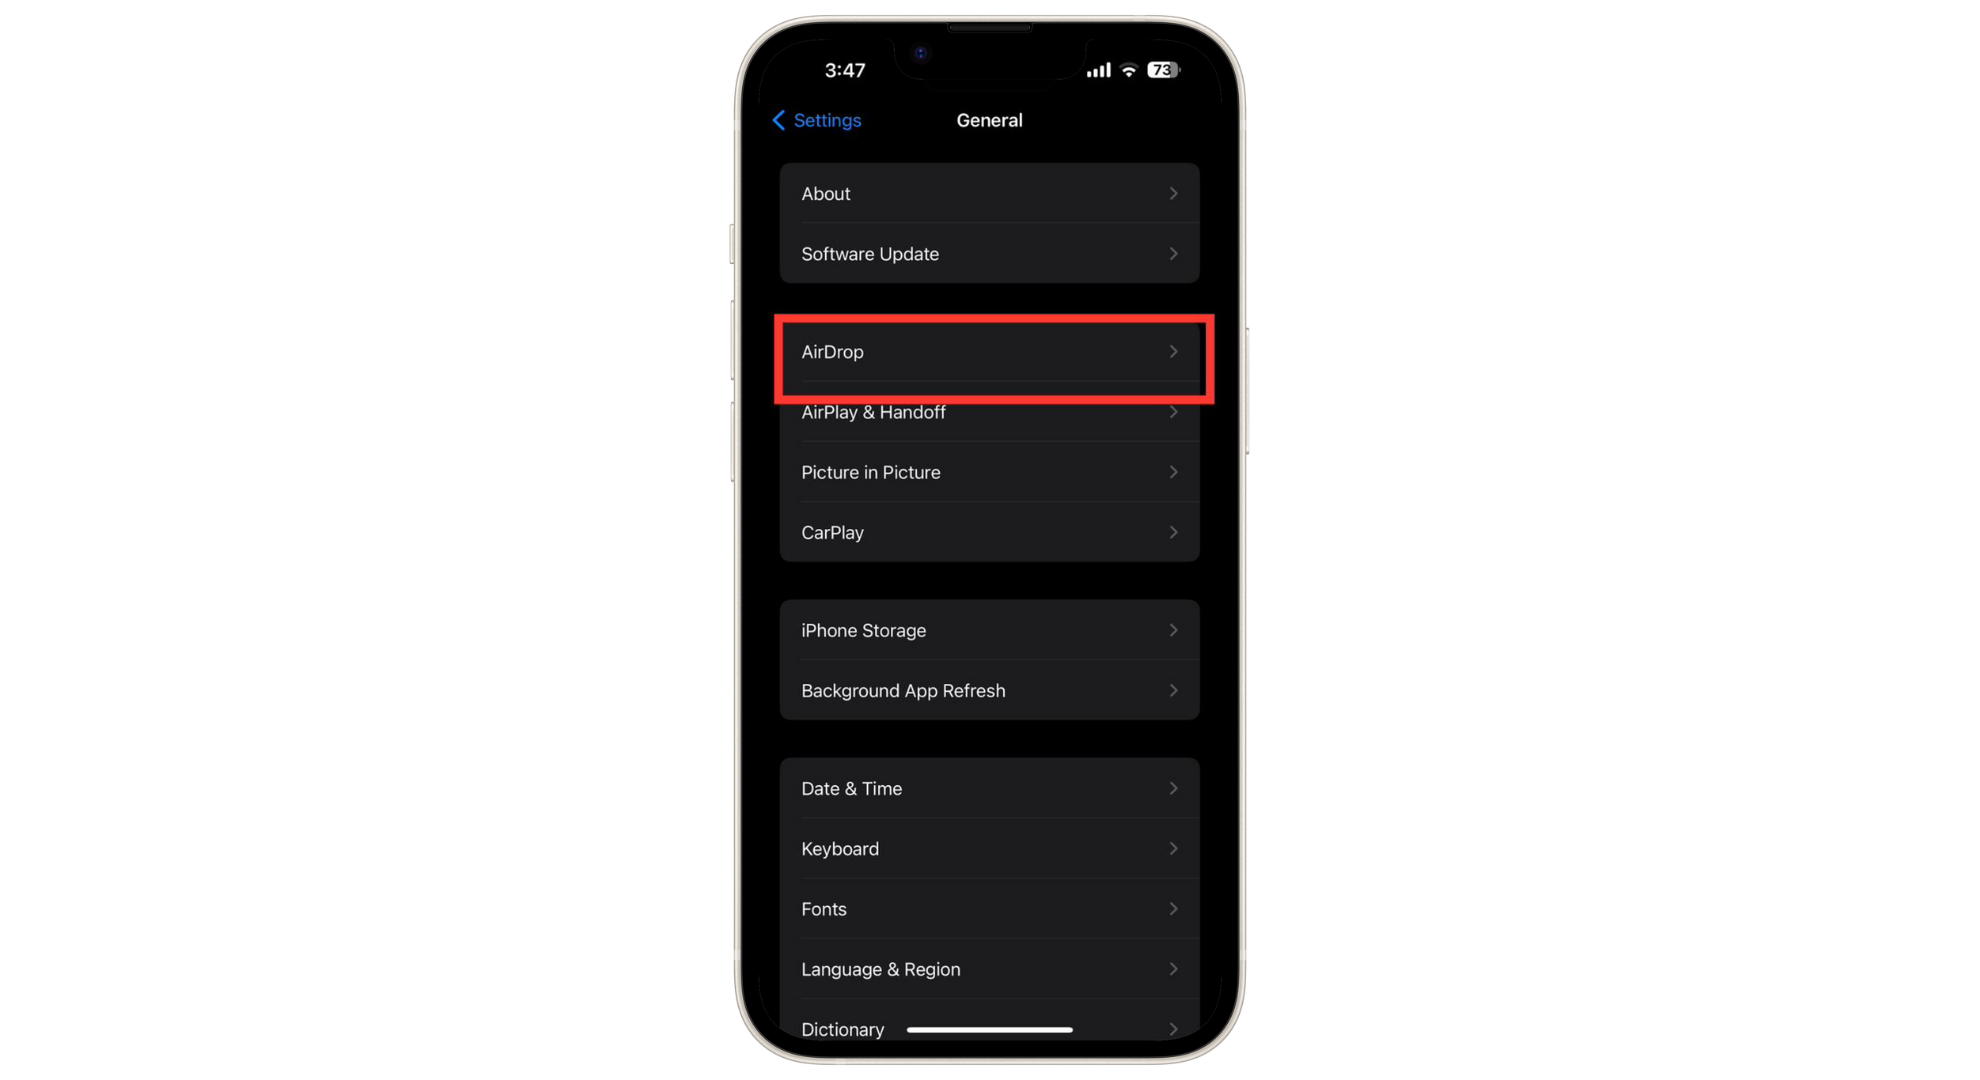
- Open the Settings app and navigate to “General.”

Go to General - Then tap on “AirDrop.”
Open the AirDrop settings - Choose “Everyone” or “Contacts Only” to decide who can send files to your phone via AirDrop.
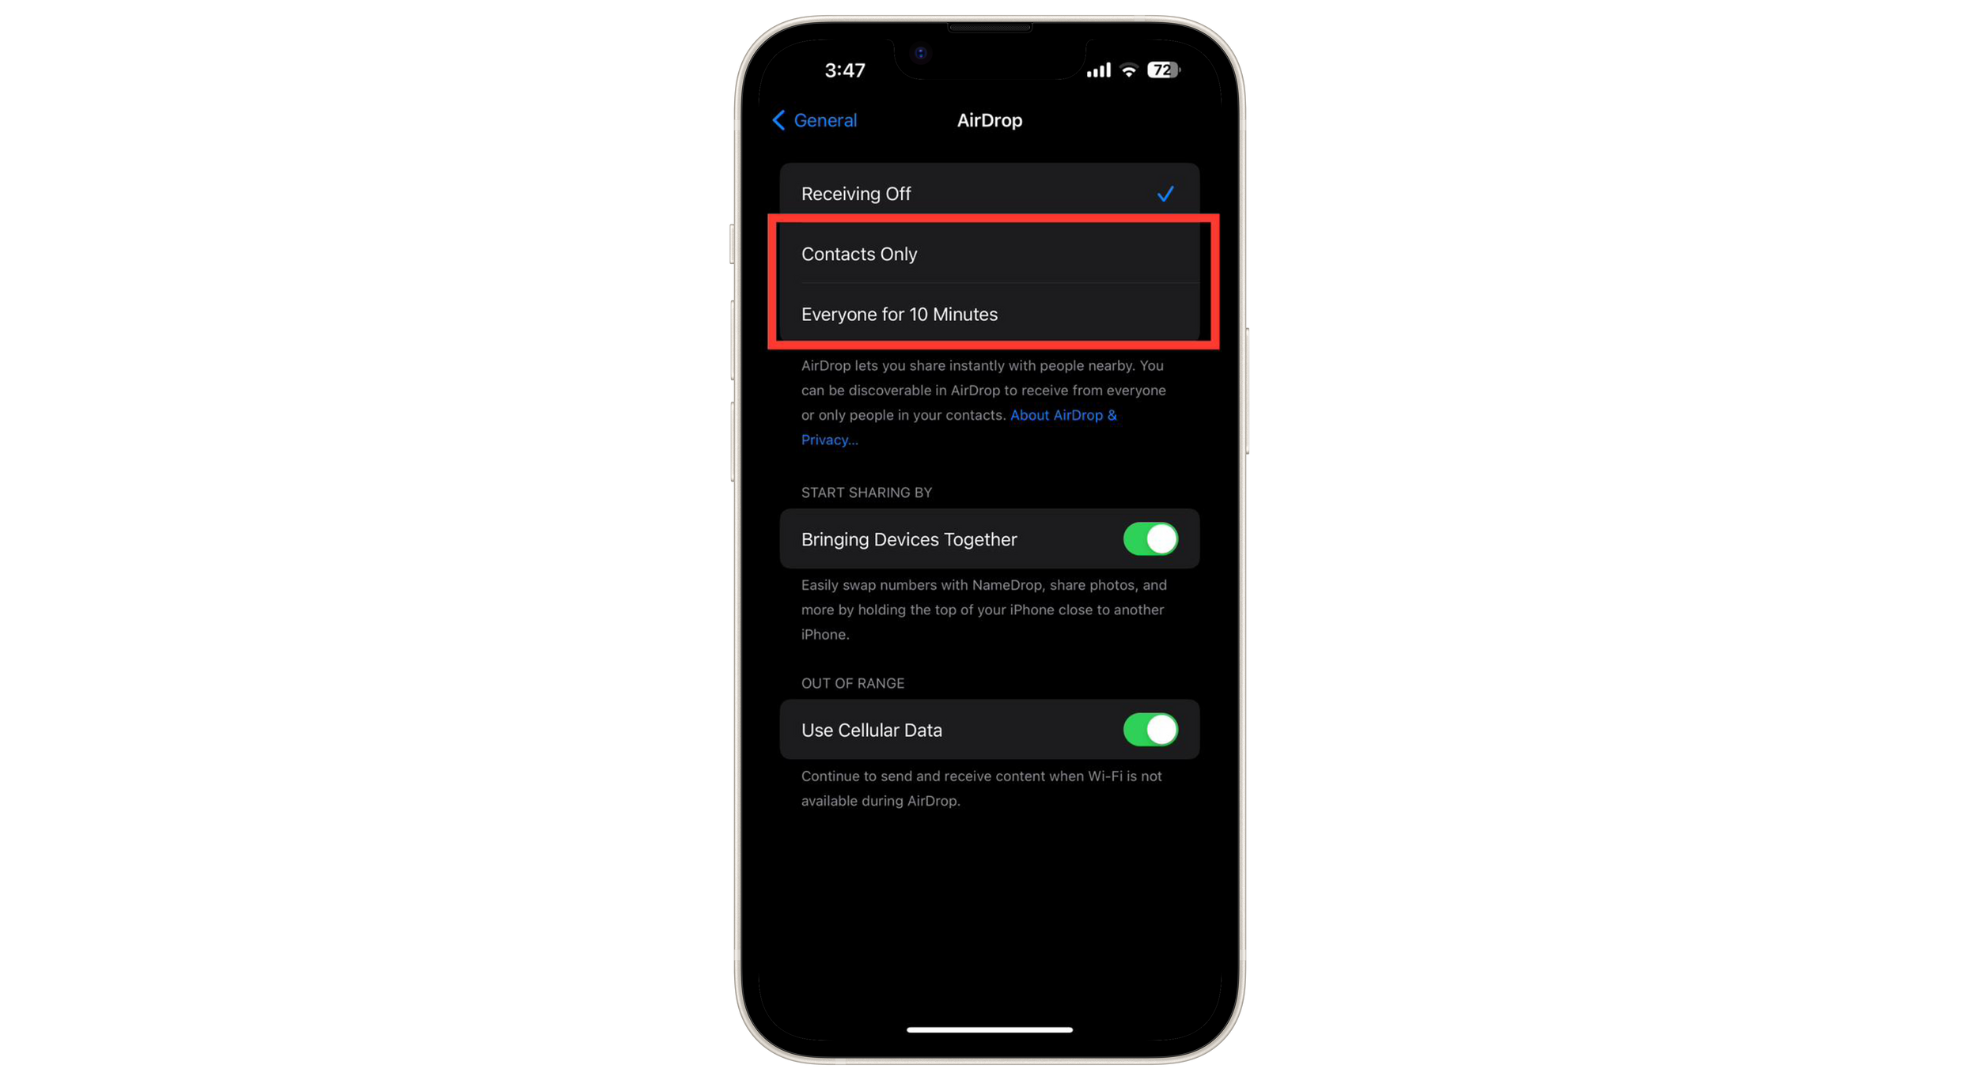
Select the desired option
↪ On Mac:
- Open Finder, then select “Go.”
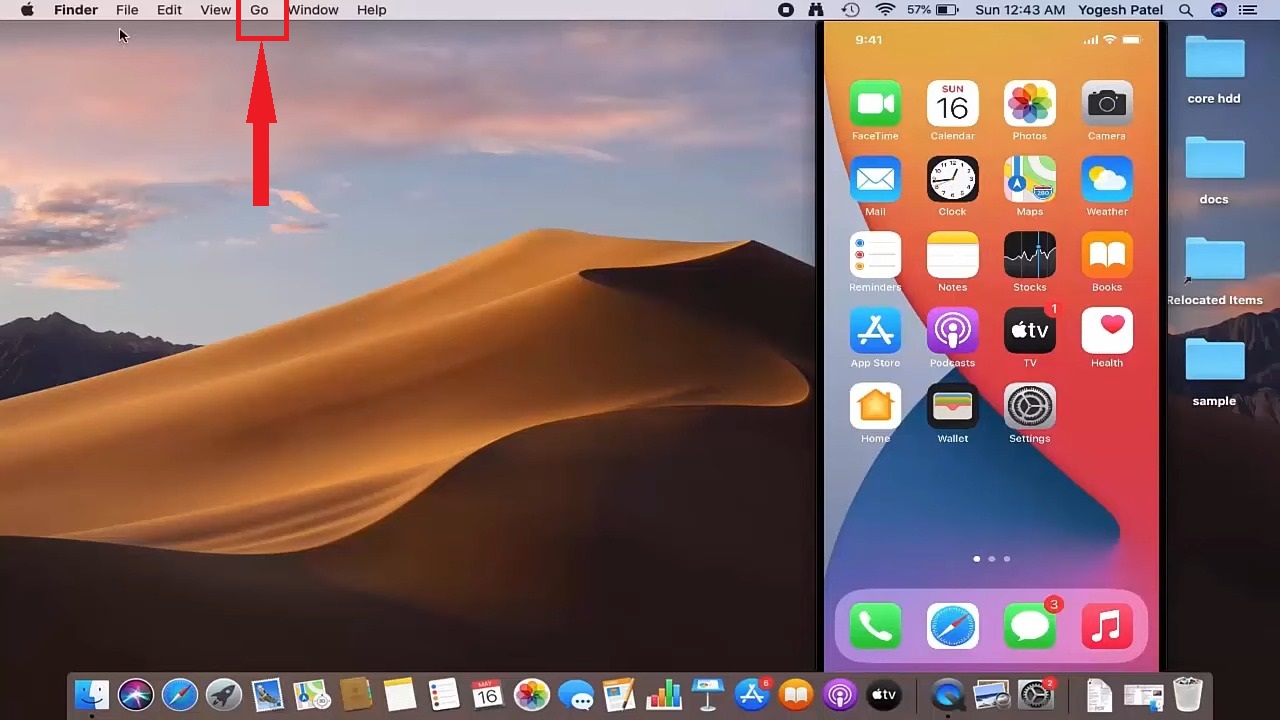
Select Go - Click on “AirDrop.“

Click on AirDrop option - Then, adjust your Mac’s visibility settings to “Everyone.”
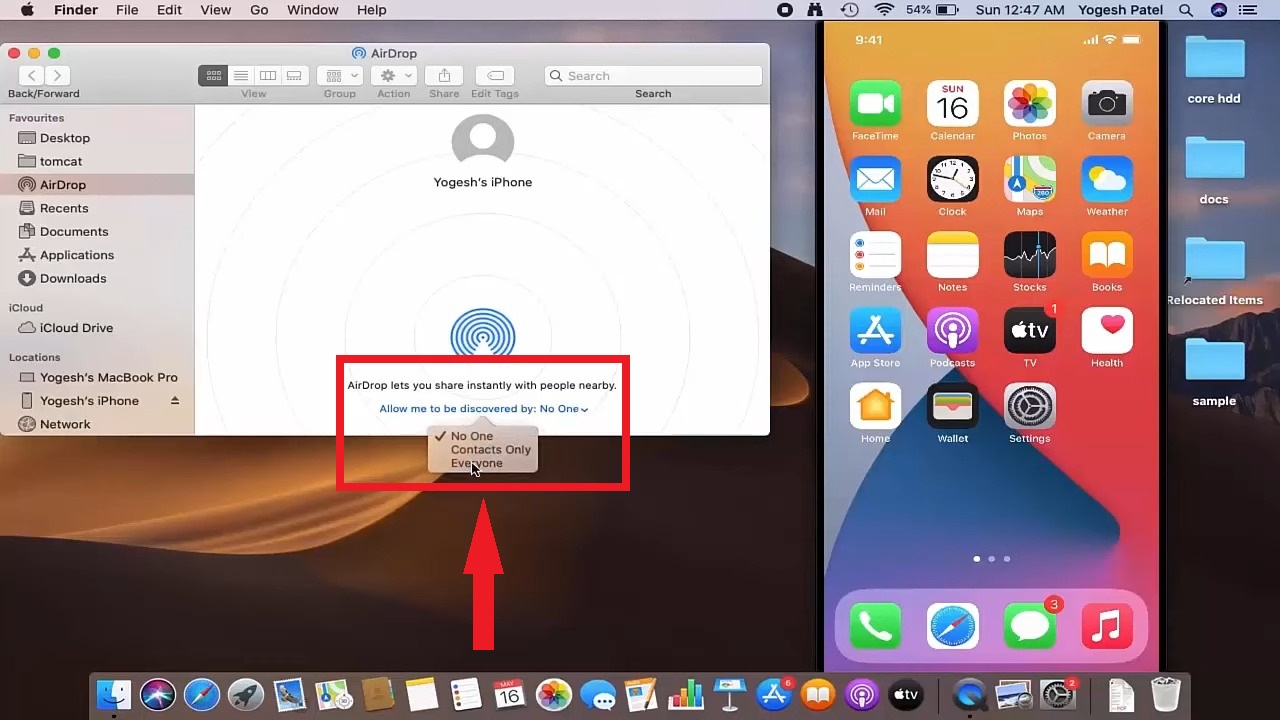
Adjust the Visibility
Once AirDrop is active on both devices, follow these steps:
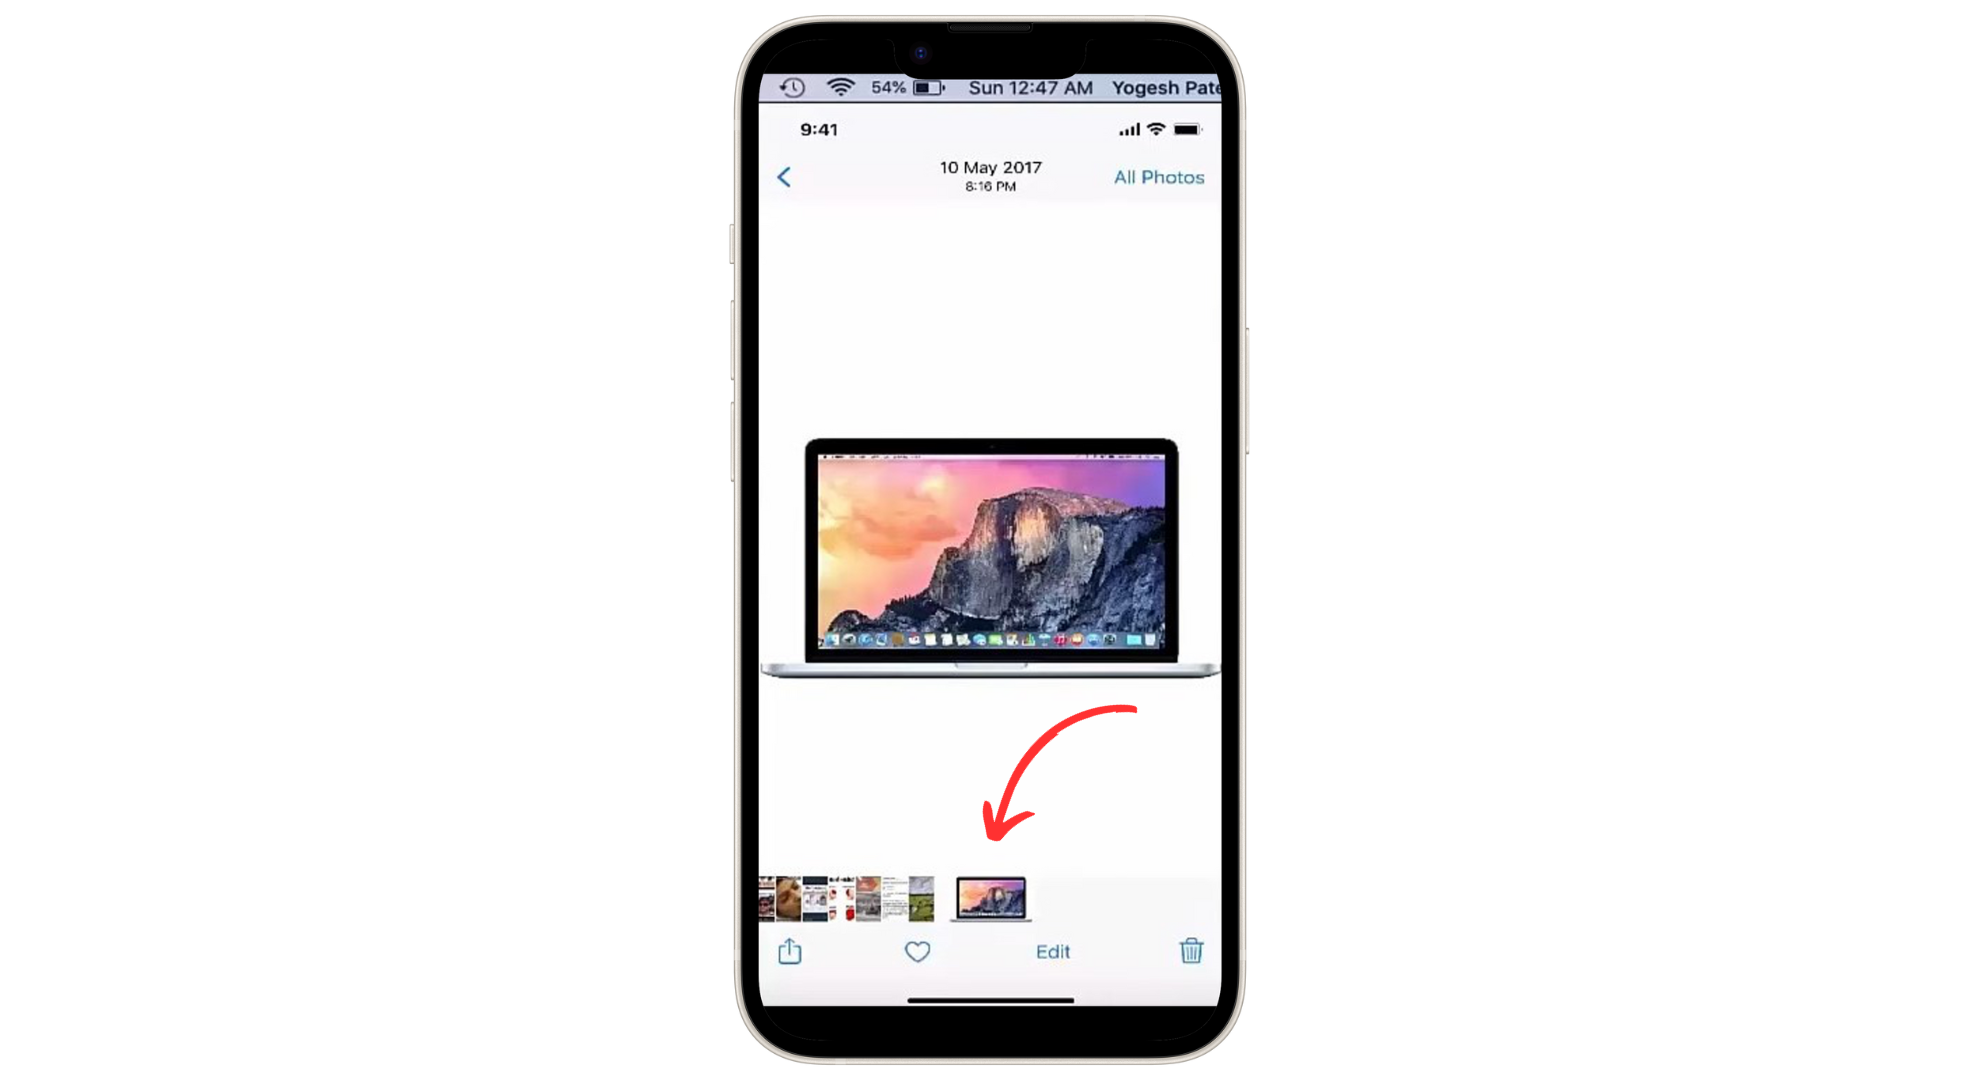
- Open the Photos app on your iPhone and pick the photos or videos you want to send to your Mac.
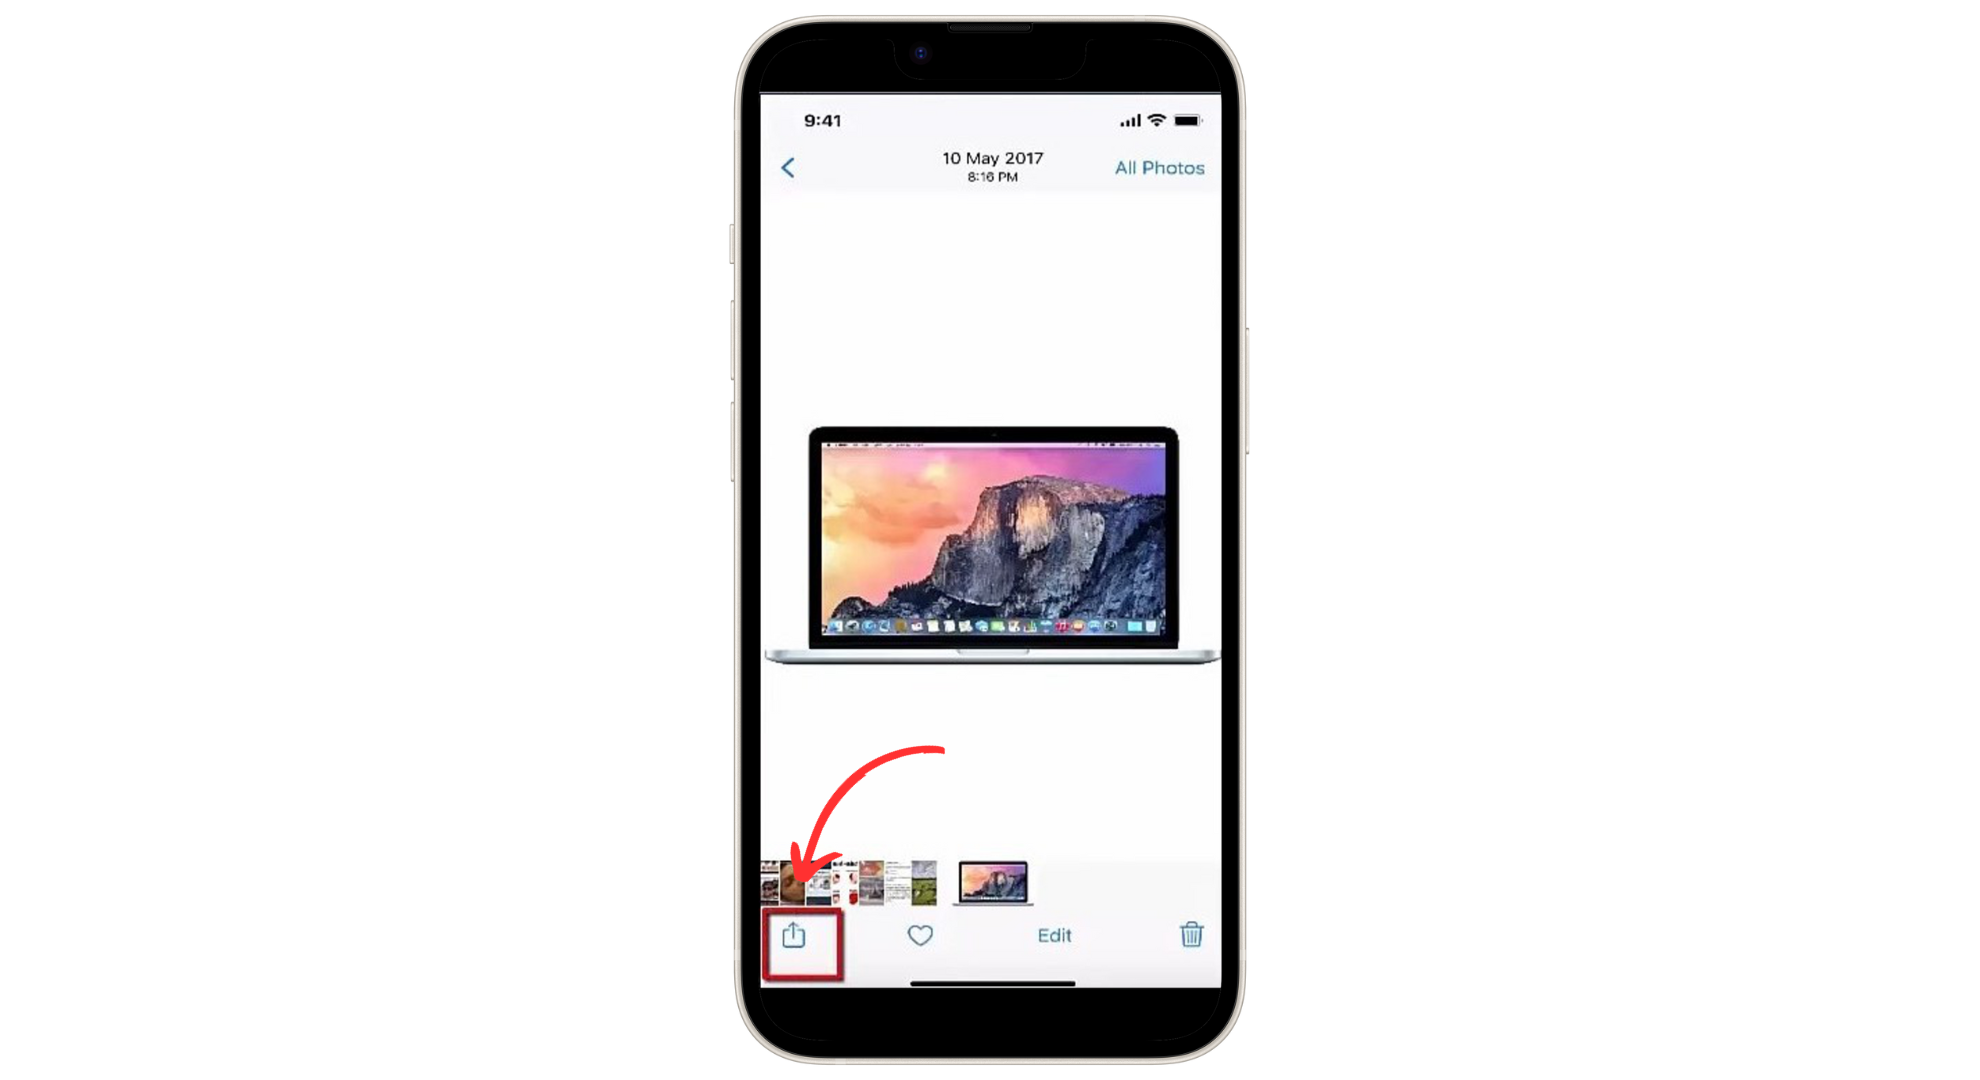
Open the Photos app - Tap the share icon (a square with an arrow) at the bottom left of the Photos app.
Tap the share icon - Select “AirDrop” in the options.
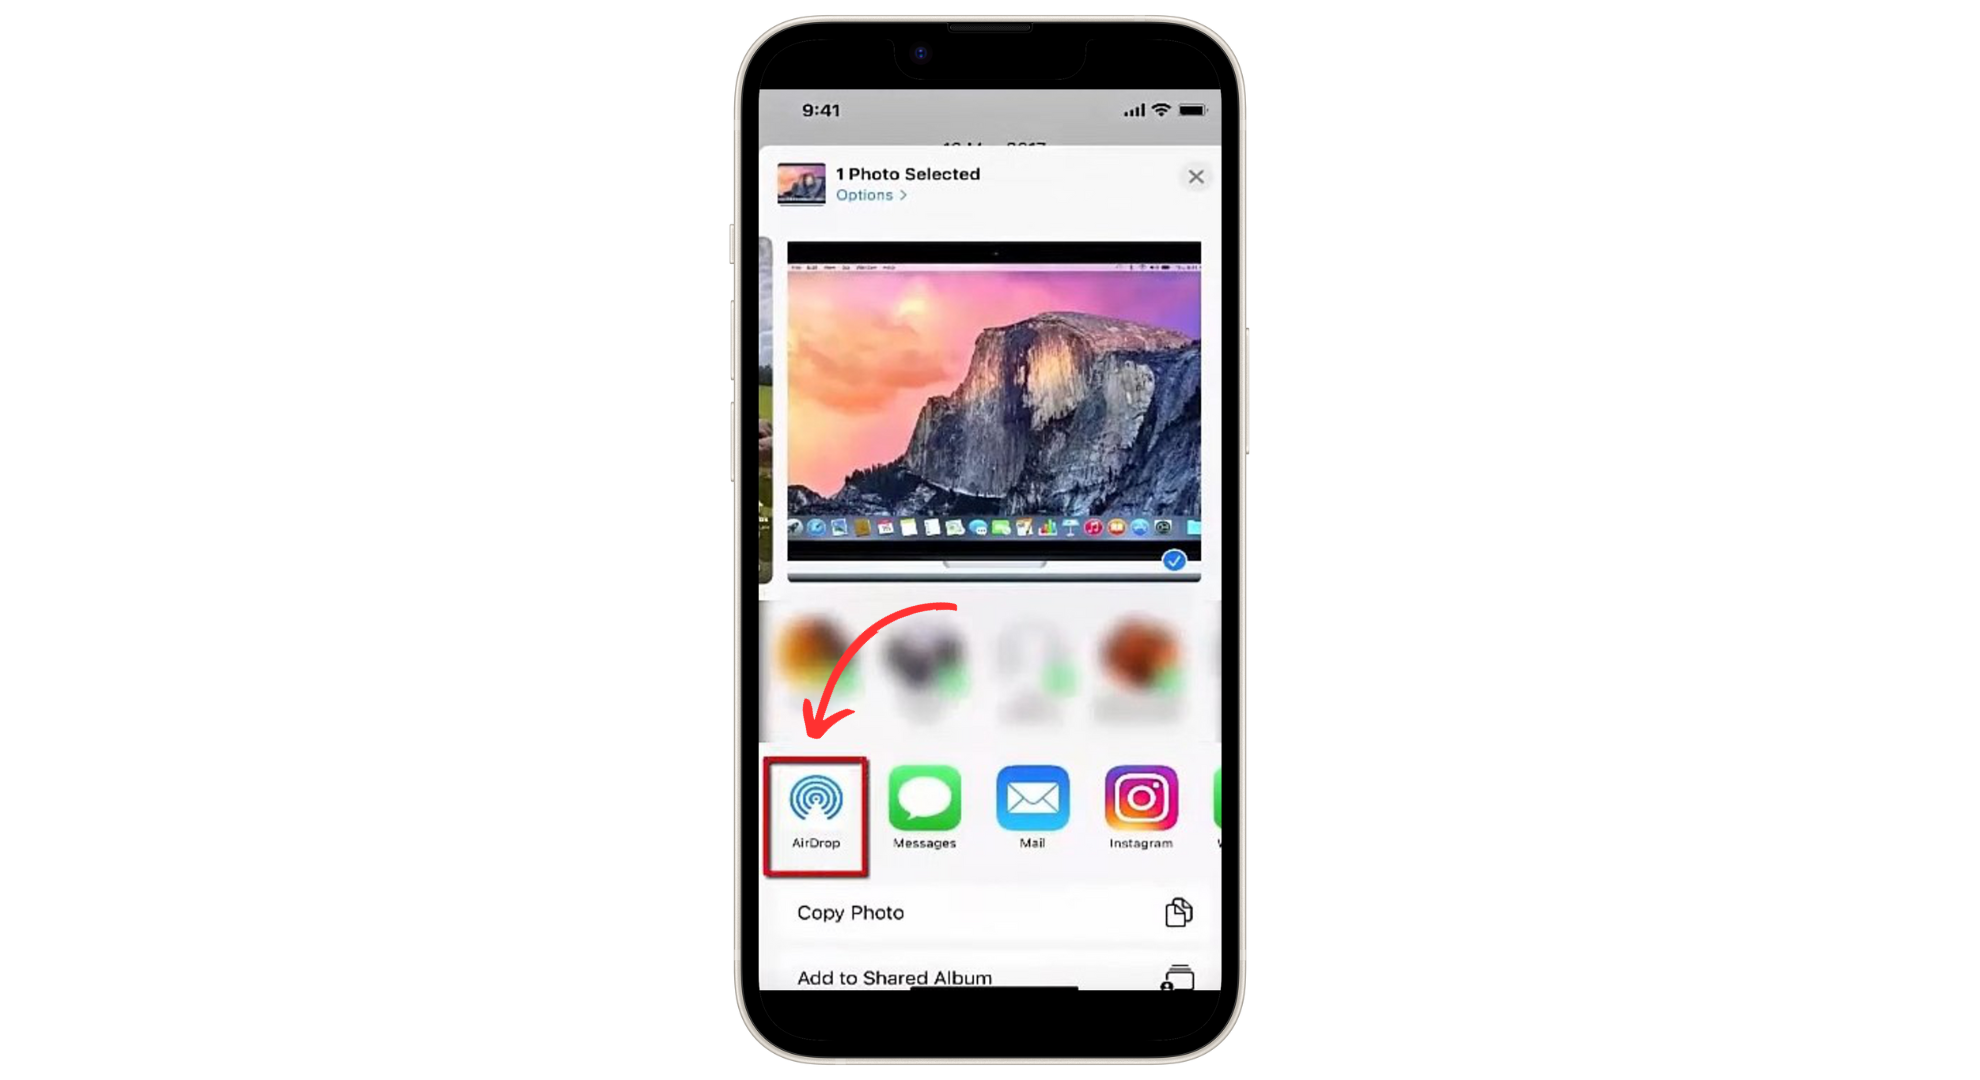
Select AirDrop - Choose your Mac from the AirDrop section and send your photo.
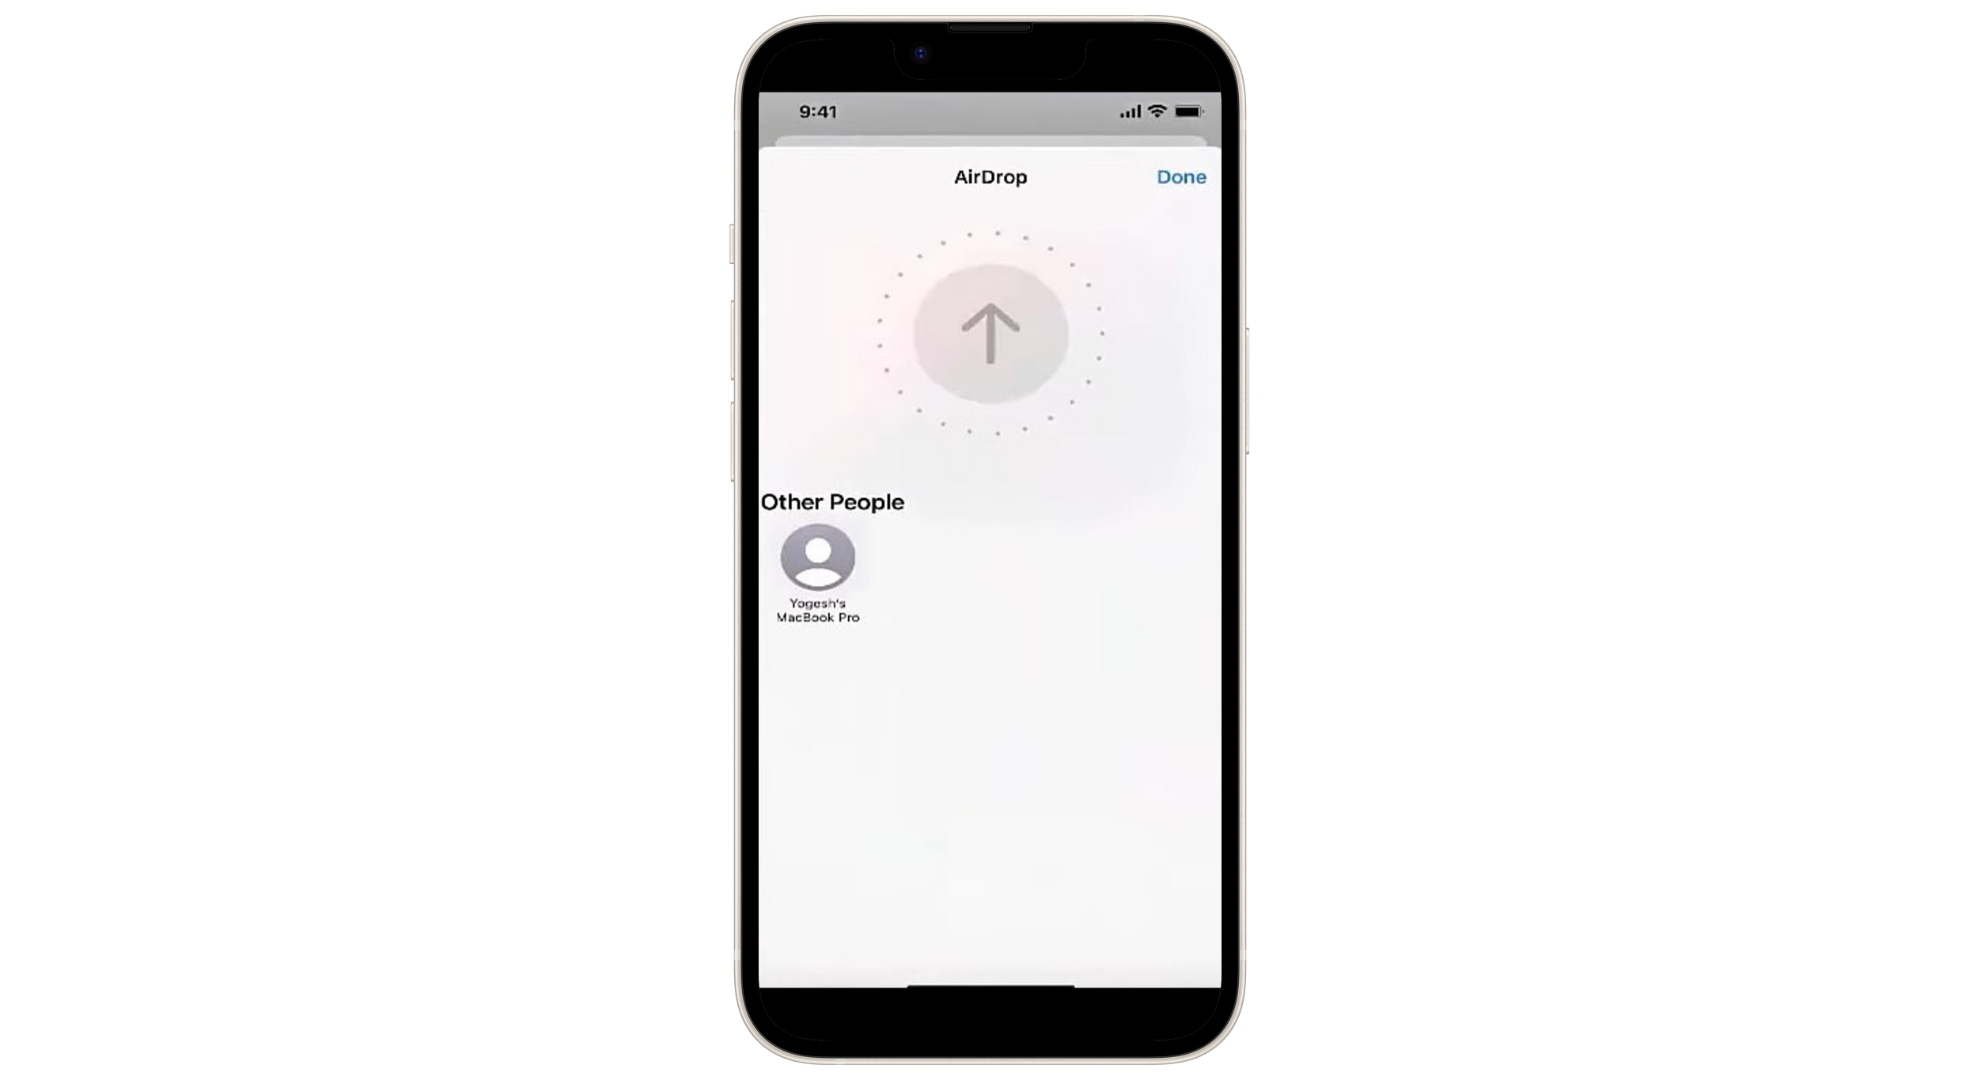
Choose your Mac from the AirDrop section - On your Mac, check the photos in the download folder. Your photos will be transferred within a few seconds.
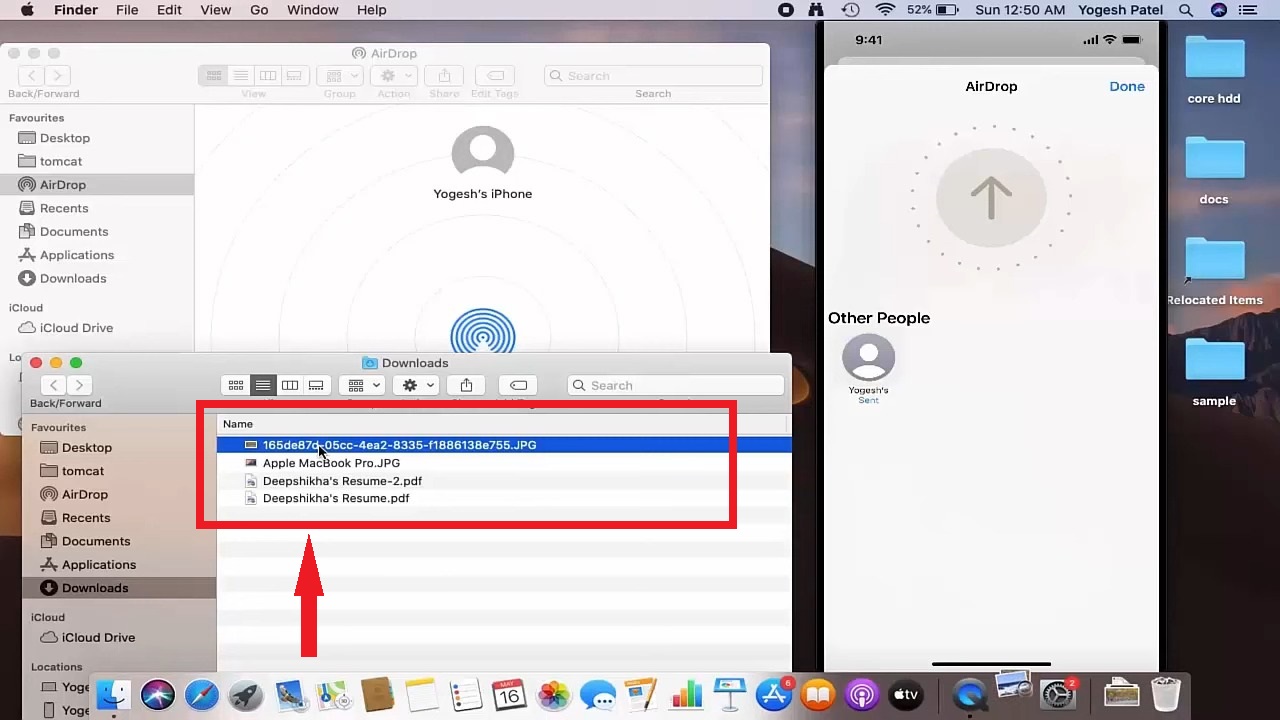
Check the photo in the download folder
Images sourced from ProgrammingKnowledge2
Method 4: Sync photos from iPhone to Mac using third-party apps

Apart from Apple’s own tools, you can also use different third-party apps to transfer photos from your iPhone to your Mac. Many of these apps are free, and some offer extra features you might need to pay for. Here are some popular photo transfer apps for iPhones, iPads, and Macs:
You can search in the App Store or online for photo-transferring apps to find one that fits your needs best.
Tips and tricks for syncing photos between iPhone and Mac
Syncing photos between your iPhone and Mac can be smooth and trouble-free with the right tips and tricks. These suggestions are great for making the process more efficient, keeping your photos well-organized, and solving any usual problems you might encounter.
- Enable iCloud Photo Library: Ensure iCloud Photo Library is active on your iPhone and Mac. This helps your entire photo collection sync automatically and in real time.
- Check internet connection: A strong and stable internet connection is important for iCloud to sync your photos. Check that both devices are connected to WiFi for a smooth transfer.
- Organize albums on iPhone: Organize your albums on your iPhone before syncing. This way, your photos will also be well-organized on your Mac, making it easier to find specific pictures.
- Regularly review and delete unwanted photos: Go through your photos on both devices now and then. Delete any you don’t need or duplicates. This saves space and keeps your photo collection neat.
- Fixing sync problems: If you have trouble syncing, try restarting your iPhone and Mac. Ensure iCloud is working right, and check for any device updates. These steps can often fix common problems with photo syncing.
Reviewed by Huzaifa Haroon