Fix: Windows stuck on BOOT Screen after installing new SSD
When you run out of space in your PC, installing successive storage drives is a common way to increase storage. A lot of users prefer to install SSDs on their respective systems because of its performance benefits. We can integrate two SSDs on a Desktop PC as well as on our laptops.
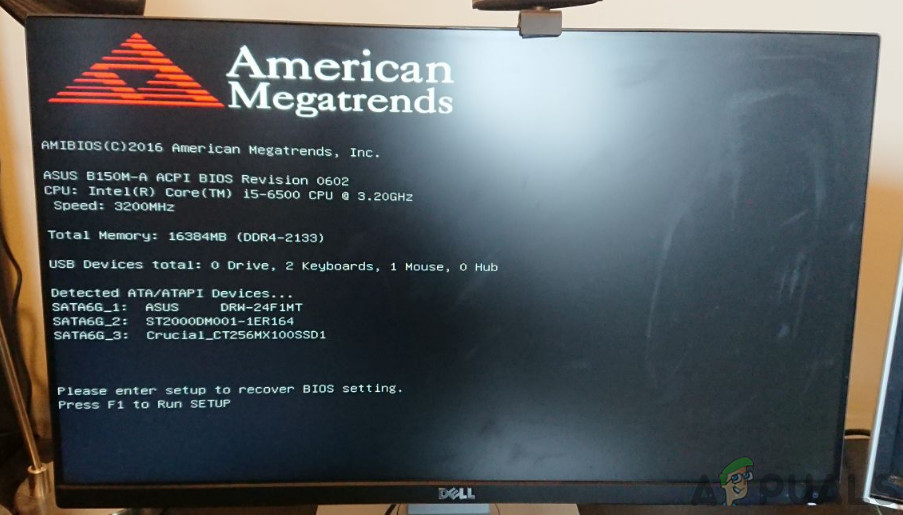
However, users have experienced an issue where after installing the second SSD, the system becomes stuck on the mainboard screen.
Keeping this pesky problem under consideration we’ve compiled some methods to get rid of this issue and after following this guide hopefully, your issue would be resolved.
Method 1: Update your BIOS using Q-Flash
Q-Flash is a BIOS flash utility embedded in the Flash ROM. With Q-Flash you can update the system BIOS without having to enter operating systems like MS-DOS or Windows first. This problem is interlinked with the current version of BIOS hence it needs to be upgraded so that the problem is eliminated. To update your BIOS follow the steps indexed below:
- From GIGABYTE’s website, download the latest compressed BIOS update file that matches your
motherboard model and extract the file and save the new BIOS file to a USB flash drive. - Start the computer and press ESC, F1, F2, F8, or F10 during the initial startup screen, and depending on the BIOS manufacturer, a menu will appear in front of you. In order to access Q-Flash press the F8 key in BIOS Setup.
- Insert the USB flash drive containing the BIOS file into the system’s USB port. Navigate to the main menu of Q-Flash, use the up or down arrow key to select Update BIOS from Drive, and press Enter.
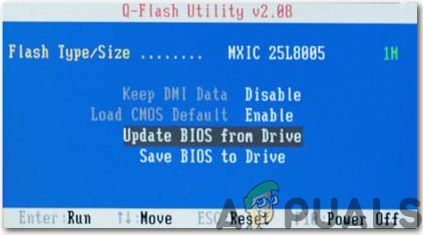
Update BIOS from Drive - Select your USB drive and afterward, choose the BIOS update file and press Enter.
- The process of the system reading the BIOS file from the USB drive will be displayed on the screen. When the message “Are you sure to update BIOS?” appears, press Enter to begin the BIOS update. The monitor will display the update process.

Update BIOS - When the update process is complete, press any key to return to the main menu. Press Esc and then Enter to exit Q-Flash and reboot the system. As the system boots, you should see the new BIOS version is present on the screen.
- Now, press to the Del button to enter BIOS Setup and select Load Optimized Defaults option and press Enter. Your system will re-detect all peripherals devices after a BIOS update, so reloading BIOS defaults is highly recommended.
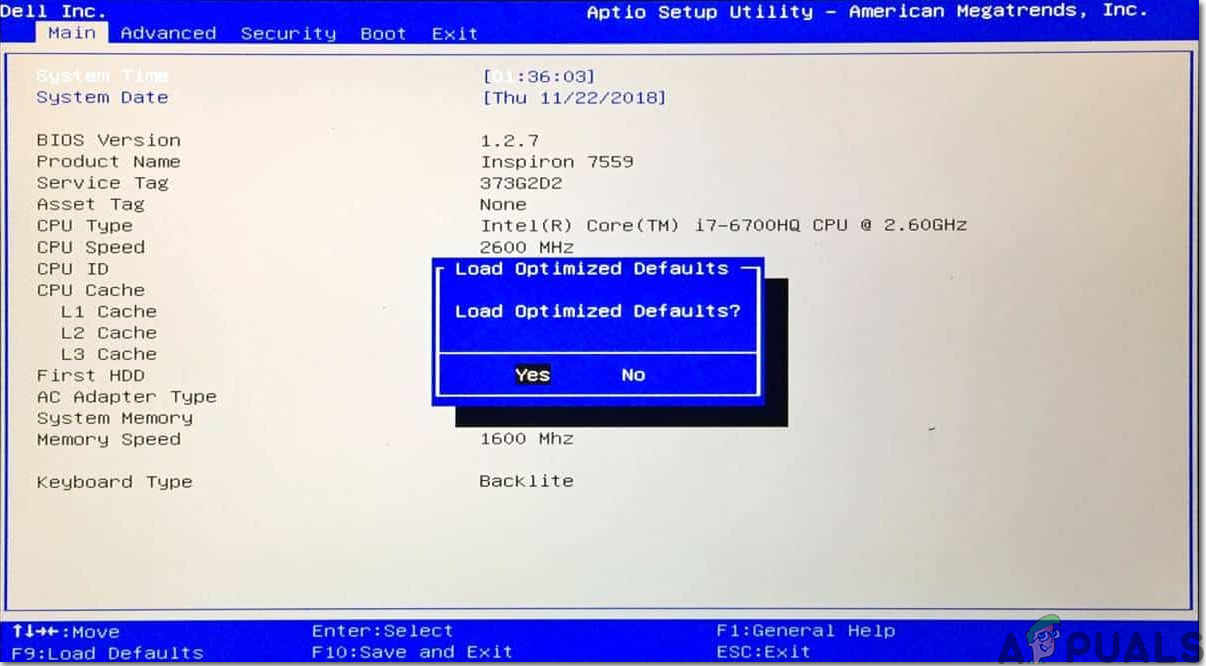
Load Optimized Defaults
Select Save & Exit Setup and then press Y to save settings and exit BIOS Setup. The changes take effect after the system restarts. This will reset settings back to factory defaults and if the system boots properly now, then re-configure the SATA mode and boot order again afterward.
Method 2: Set SATA to AHCI mode
If the SSD is correctly detected in BIOS, then changing the mode for memory devices from IDE or RAID to AHCI may solve the problem. AHCI is a mode where a computer can use all SATA advantages like a higher speed of data exchange with SSD, etc.
- After turning your system ON, press the F2 key to enter the BIOS setup menu. In the BIOS Utility dialog, select Advanced option and then choose IDE Configuration. The IDE Configuration menu will be displayed in front of you.

IDE Configuration in BIOS - Choose the Configure SATA option from the menu and hit Enter. You will observe that the menu will be displayed listing the SATA options like IDE, RAID, and AHCI.
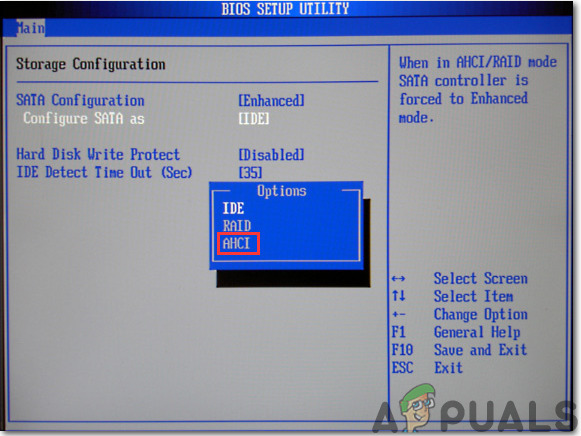
Configure SATA - From the SATA Options menu choose the AHCI option and press F10 to save your changes. Afterward, exit the BIOS Utility, and reboot your system and most probably the SSD will boot properly now.
Bonus workaround: If the above-mentioned remedies are unable to fix this issue then unplug all secondary SATA devices from the motherboard and restart your system. It would avoid the Operating System confusion and your Windows will be loaded properly now. Furthermore, you can also run StartUp repair options from the Windows Installation media, and hopefully, this will fix the booting issue with the SSD.


You absolute genius.
I have a gigabyte aero 15-sa. I bought 2 different SSDs and neither worked. The logo froze before the Bois page.Disconnecting and changing the Sata configuration from AHCI to Intel optane worked!