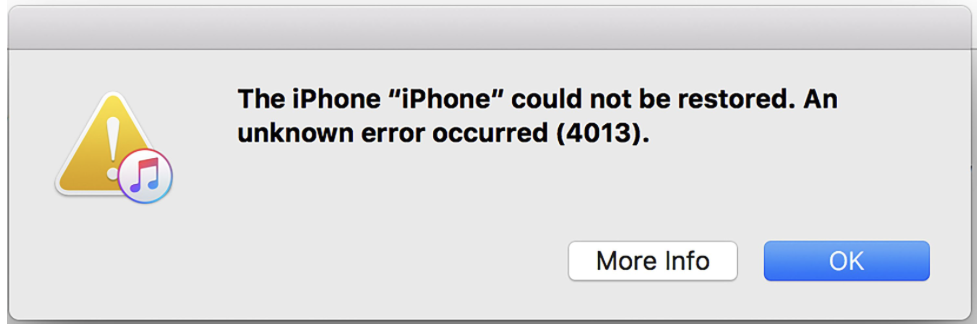
Fix: The Phone could not be restored. An unknown error occurred (4013)
Error “The iPhone could not be restored. An unknown error occurred (4013)” usually appears in iTunes or Finder when attempting to update or restore an iPhone. It occurs when the restore process is interrupted while iOS firmware is being installed on the device.
In most cases, the interruption is caused by unstable USB connections, faulty Lightning cables, damaged USB ports, or outdated versions of iTunes.
However, the error can also be triggered by hardware issues involving internal components such as the TrueDepth (Face ID) module or the earpiece flex cable. If these components fail to respond during device initialization, the restore process may stop.
1. Try a Different USB Cable or USB Port
Start by using an original or Apple-certified Lightning cable. Next, connect the cable to a different USB port on the computer. Ports directly connected to the motherboard are typically more stable than front panel ports, USB hubs, or docking stations.
If the issue continues, try restoring the device on a different computer running the latest version of iTunes or Finder. This helps rule out local driver or system conflicts.
2. Update iTunes or macOS
Outdated versions of iTunes or macOS can sometimes interfere with communication between the iPhone and the computer during system restores. Apple regularly releases updates to maintain compatibility with new iOS versions and devices.
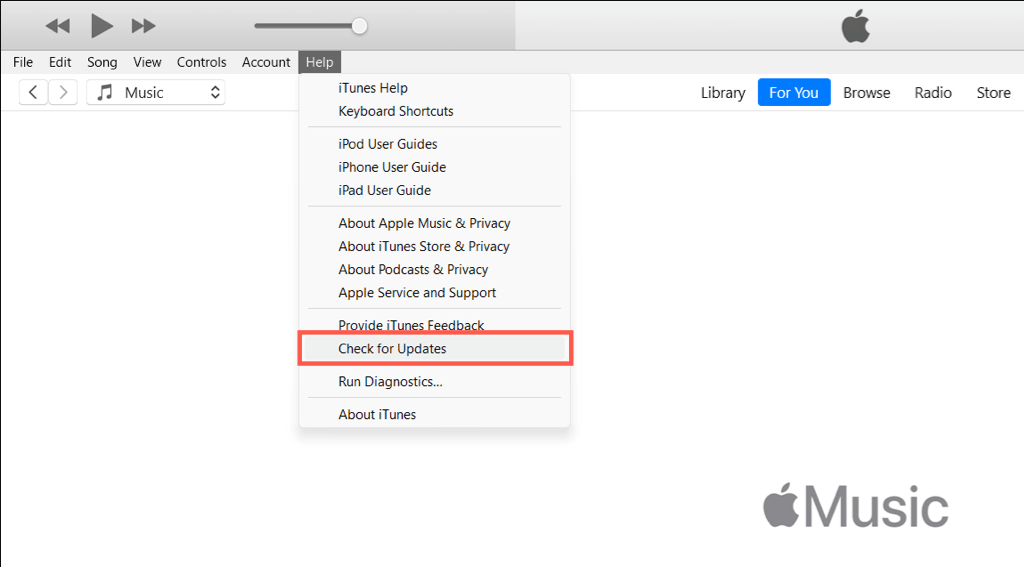
- On Windows, open iTunes and check for updates from the Help menu. If iTunes was installed from the Microsoft Store, check for updates through the Store application.
- On macOS, go to System Settings → General → Software Update and install any available updates. Since modern macOS versions use Finder for device restores, updating macOS also updates the restore support files.
3. Restore the iPhone Using Recovery Mode
If a normal restore fails, placing the iPhone into Recovery Mode allows iTunes or Finder to reinstall iOS even if the current system is damaged or unable to boot.
- Connect the iPhone to the computer and open iTunes or Finder.
- Press and release the Volume Up button.
- Press and release the Volume Down button.
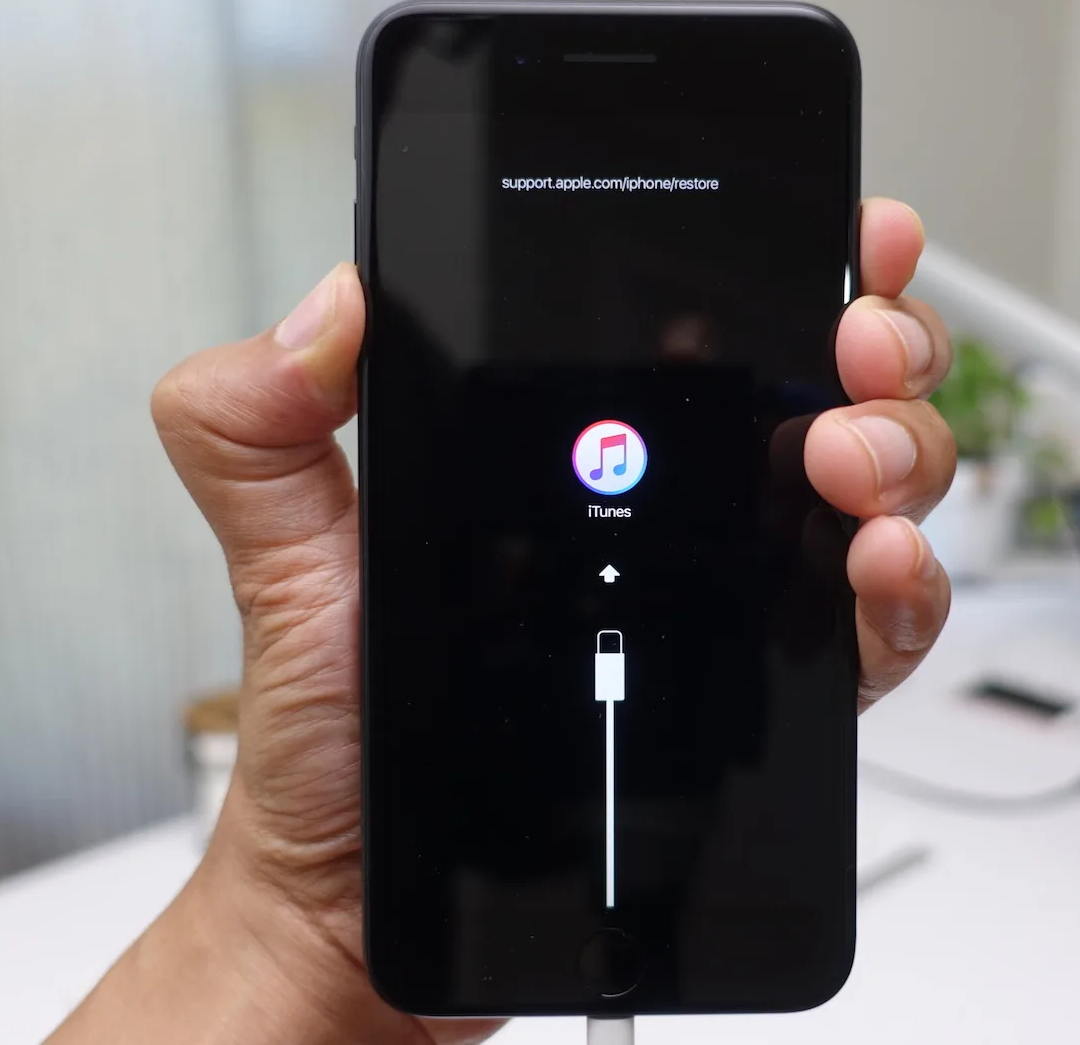
- Press and hold the Side/Power button until the recovery mode screen appears.
- When prompted in iTunes or Finder, choose Restore.
If Recovery Mode fails to restore the device, try DFU Mode, which performs a deeper firmware-level restore.
4. Faulty Face ID (TrueDepth) Component
In some cases, Error 4013 is linked to a malfunctioning Face ID / TrueDepth module. This component communicates with the logic board during device initialization. If the system cannot properly detect the module during firmware installation or startup, the restore process may fail.
Some repair technicians report that temporarily disconnecting the Face ID module can allow the restore to complete. After the restore finishes, the faulty component can then be replaced.
Since this requires opening the device and disconnecting internal components, it should only be performed by a qualified repair technician.