How to To Bring Back Photo Viewer in Windows 10
I know you all love the ease and the appearance of the original Photo Viewer, which is not the default in Windows 10. Using Photo Viewer is extremely easy and fast.
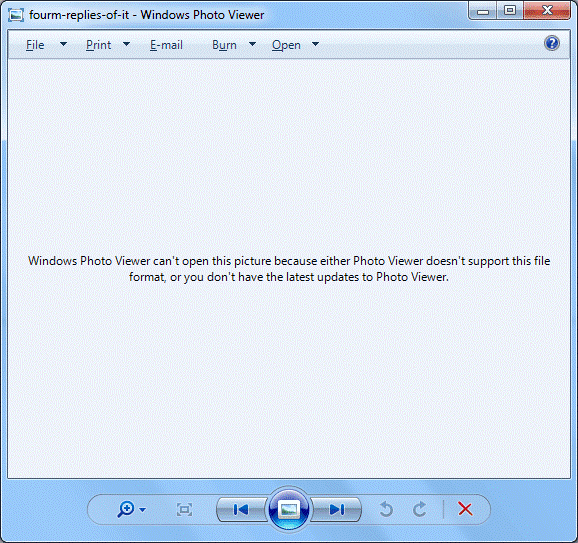
However, in Windows 10, this is not the case. What actually happens is that when you try to open a photo, it asks you to choose an option from the Photos metro app, Paint, or GIMP.
In this guide, I will walk you through the steps to set Photo Viewer as your default.
Using the Command Prompt.
- First of all, we need to find an existing image and note down its path. To make the entire process easy, open a Notepad file first. You can do this by holding the Windows Key and pressing R; then, in the Run dialog, type “notepad” and click OK.
- In Notepad, copy and paste the image page, locate an image on your system, or download an image. Then, right-click on it and select Properties.
- From Properties, note down its exact path in Notepad, for example: C:\users\john\desktop\image1.jpg.
- Then, on a new line in Notepad, copy and paste the command below:
%SystemRoot%\System32\rundll32.exe "%ProgramFiles%\Windows Photo Viewer\PhotoViewer.dll", ImageView_Fullscreen
- So, you now have two lines in the notepad: the first is the path to the image, and the second one is the long one from the grey box.
- Now, copy the path and add it to the end of the second line after ‘Fullscreen.’ This should then become:
%SystemRoot%\System32\rundll32.exe "%ProgramFiles%\Windows Photo Viewer\PhotoViewer.dll", ImageView_Fullscreen C:\users\john\desktop\image1.jpg
- Now, copy the entire line starting from % until the .jpg, select all of it, right-click, and select “copy.
- Hold the Windows key and press R. In the Run dialog, paste the command and then click OK
- This will open the image in the Photo Viewer.
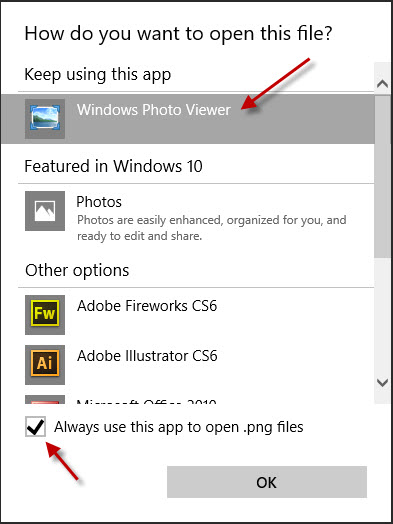
- Close it, and now try to open the same image directly.
You will now have the option to specify the Photo Viewer as the default program for opening or viewing pictures.
Using Registry Editor
If the command prompt method doesn’t work, you can also try using the Registry Editor to see if it solves the problem. Download the registry file from here and save it to an accessible location. Right-click on it and select Run as Administrator. After the registry file has been run, restart your computer and check if the editor has changed.
Thanks worked like a charm.