How to Fix Error Code: B200 on Canon Printers?
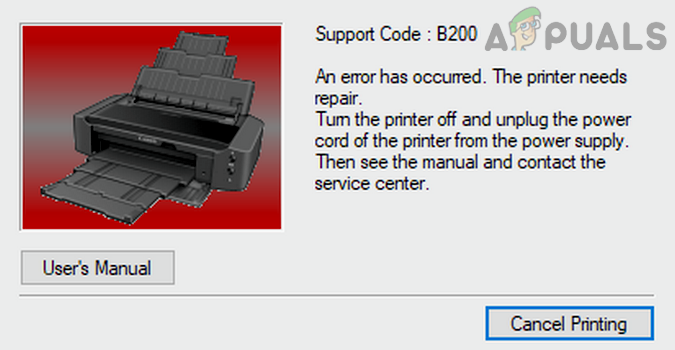
A Canon printer might show B200 error due to a hardware failure or an outdated firmware of the printer. The hardware failure of the printer might range from an improperly seated cartridge to a faulty print head. This error is widely reported on Canon printers and different printer models are affected. The error occurs when you try to power on the printer or try to print a document. In some cases, the printer light keeps flashing orange when the error occurs. Usually, the following type of error screen might be shown:
There can be many factors that cause the B200 error on a Canon printer but the following can be easily marked as the main ones:
- Outdated or Corrupt Firmware of the Canon Printer: If the firmware of the Canon printer is corrupt or outdated, then that may cause the B200 error on the printer as the printer may fail to detect an essential hardware component.
- Clogged Nozzles of the Printer: You may encounter the error B200 on a Canon printer if any of its Nozzles are clogged as the printer fails to print due to these clogged nozzles and this hardware malfunction may lead to the error at hand.
- Improperly Seated Printer Cartridges: A Canon printer may show the B200 error if any of its cartridges are not properly seated as the printer cannot communicate with that cartridge.
- Faulty Print Head: If the print head of the printer is clogged (due to dry ink) or if, due to a glitch, the printer is failing to relocate the print head back to its initial position, then this hardware failure may cause the error B200 on a Canon printer.
1. Power On the Printer After Opening the Cover of the Print Head Bay
A temporary glitch of a Canon printer may cause the B200 error as the printer is failing to communicate with the essential hardware printer modules. Here, powering on the Canon printer without its cover may solve the problem. But before trying that, check if the printer works fine by using a USB connection.
- Power off the Canon printer and open its printer head bay like the cartridges are being changed. No need to remove the cartridges or close the cover.
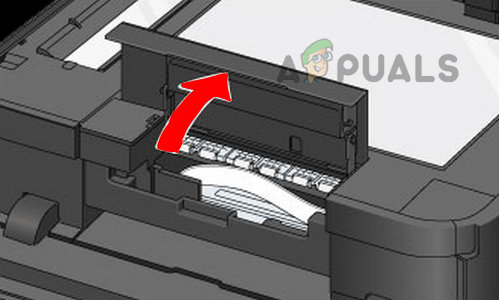
Open Printer Head of Bay of the Canon Printer - Now power on the printer and wait till the cartridge passes halfway to the left-hand side.
- Then, before the cartridge reaches the left corner, close the printer’s head cover and leave the printer in the power-on state.
- Now check if the Canon printer is clear of the B200 error.
- If not, retry the above steps but at the end, check if using the scan or copy function (without printing) of the printer resolves the error.
- If that did not work, check if bringing the printer close to the router resolves the issue (if Wi-Fi printing is being used). If so, then the signal drop due to the distance between the printer and router is causing the issue. Here, a user may keep the devices close to each other or use a Wi-Fi extender.

Bring the Canon Printer Close to the Router
2. Perform a Cold Restart of the Canon Printer
If the static current present in the printer is not letting the printer detect the presence of an essential hardware component, that may cause a B200 error on a Canon printer. In this context, performing a cold restart of the Canon printer may solve the problem.
- Power off the Canon printer and unplug its power cable.
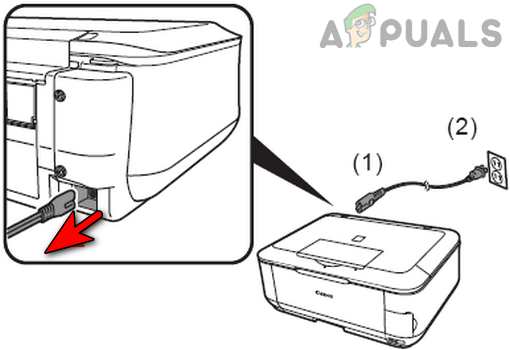
Unplug the Power Cable of the Canon Printer - Now wait for 5 minutes and then plug back the printer’s power cable.
- Afterward, power on the printer and check if it is clear of the B200 error.
- If not, power off the printer and unplug its power cable.
- Now press and hold the Power button of the printer for 30 seconds.
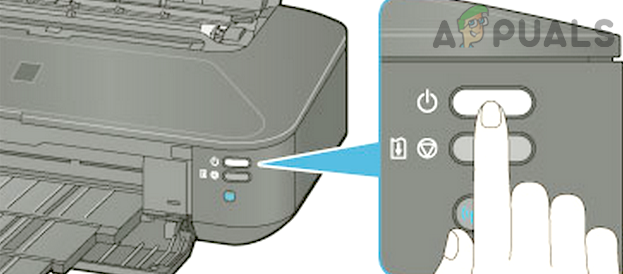
Press and hold the Power Button of the Canon Printer - Then, while keep holding the power button, plug back the printer’s power cable and keep holding the power button of the printer for another 30 seconds.
- Now, while keep holding the power button, press/hold the feed button of the printer and wait for 30 seconds.
- Then release the power and feed buttons.
- If the printer powers on after the last step, check if it is working fine.
- If not, unplug and plug back the printer’s power cable.
- Now power on the printer and check if it is clear of the B200 error.
- If the issue persists, power off the printer and unplug its power cable.
- Now press and hold the Canon printer’s power button for 30 seconds.
- Then plug back the printer’s power cable and turn the power bar on but keep a hold of the printer’s power button for another 30 seconds.
- Then release the power button and check if the printer is clear of the issue.
3. Reinstall the Canon Printer Driver
Although error B200 is usually a printer-related issue, in some cases, a corrupt Canon printer driver on your system might cause communication incompatibility between the printer and the system, resulting in error B200. In this context, reinstalling the Canon printer driver on the problematic system may solve the problem.
- Firstly, download the latest printer driver/software from the Canon website.
- Then right-click Windows and select Apps & Features.
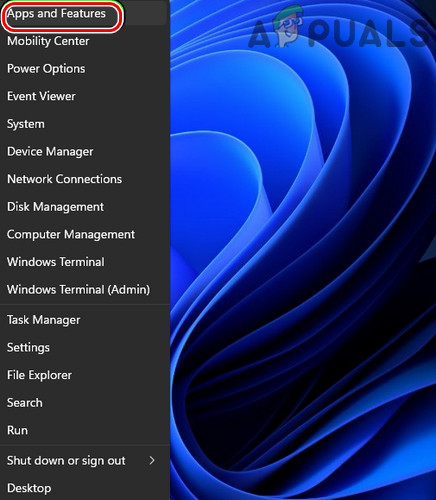
Open Apps & Features - Now expand the Canon printer options and click on Uninstall.
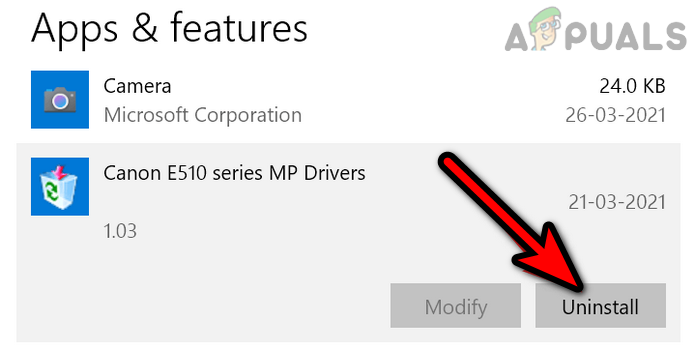
Uninstall Canon Printer - Then confirm to uninstall the Canon printer application and follow the prompts on the screen to uninstall the printer software.
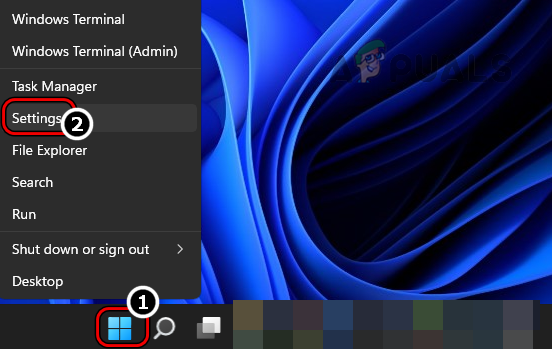
- Once done, restart the system and upon restart, right-click Windows.
- Now open Settings and head to the Bluetooth & Devices tab.
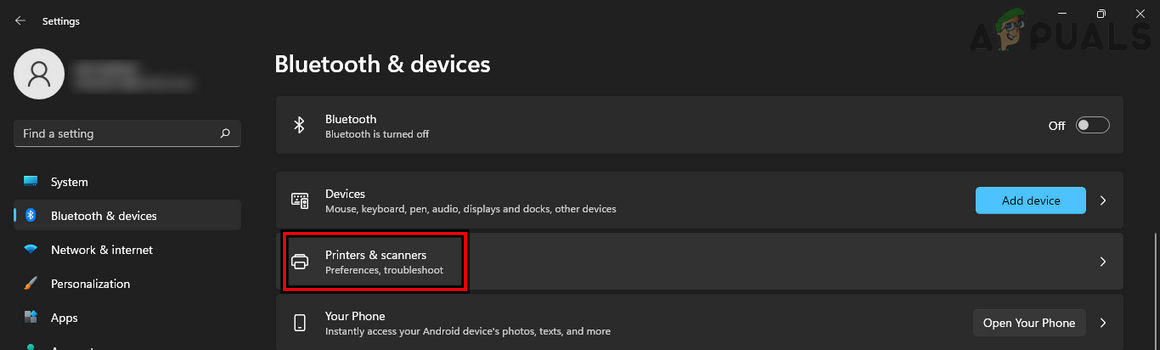
Open Windows Settings Through the Quick Access Menu - Then, in the right pane, open Printers & Scanners and select the problematic printer.
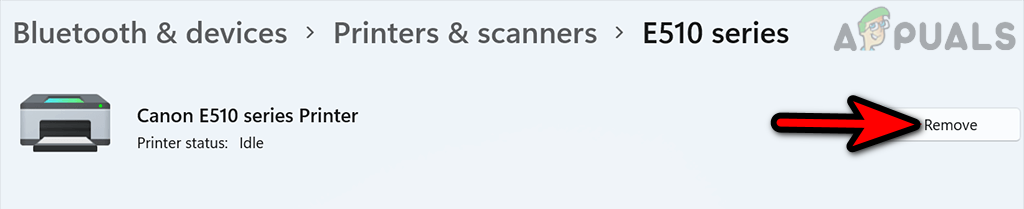
Open Printers and Scanners in Windows Settings - Now, near the top right, click on Remove and then confirm to remove the Canon printer.
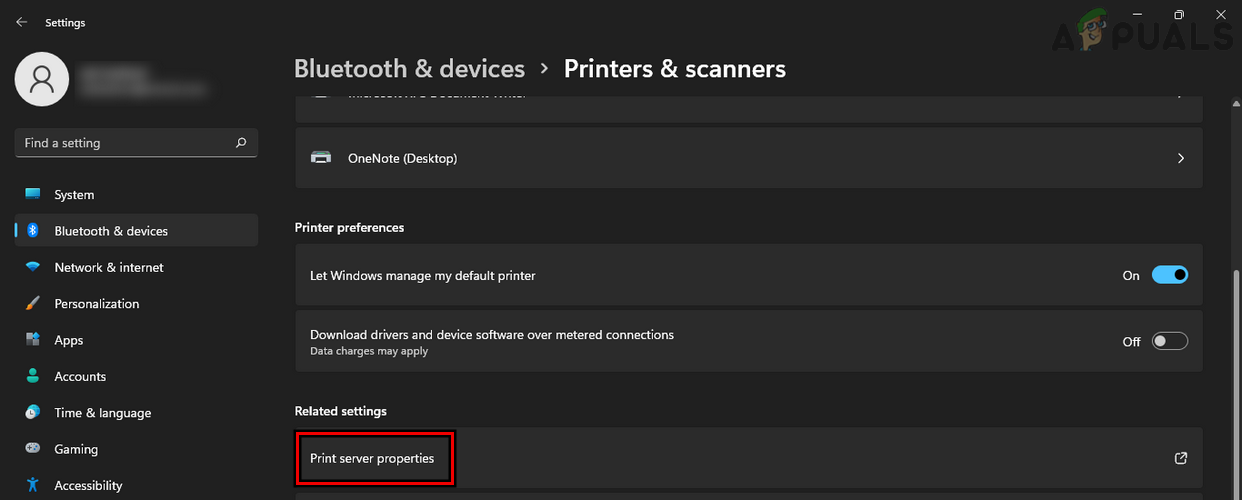
Remove Canon Printer from Devices - Then click on the Back button and under Related Settings, open Print Server Properties.
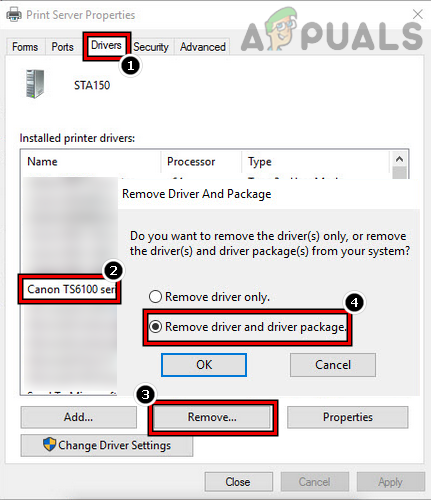
Open Print Server Properties - Now head to the Drivers tab and select the problematic Canon printer driver.
- Then click on Remove and select Remove Driver and Driver Package.
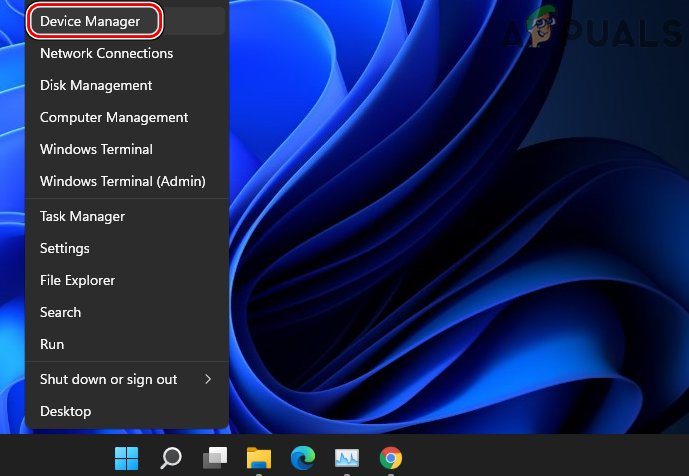
Remove Driver and Drive Package of the Canon Printer in the Print Server Properties - Once done, right-click Windows and open Device Manager.
Open Device Manager Through the Quick Access Menu - Now click on View and select Show Hidden Devices.
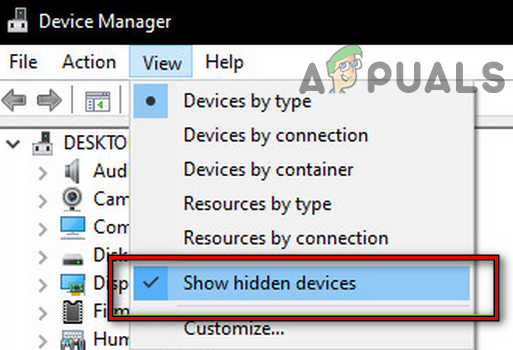
Show Hidden Devices in the Device Manager - Then expand Printers and right-click on the problematic Canon printer.
- Now select Uninstall Device and checkmark Attempt to Remove the Driver for This Device (if shown).
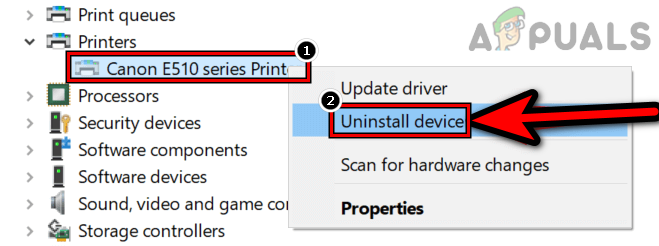
Uninstall the Canon Printer in the Device Manager - Then click on Uninstall and once done, restart your system and printer.
- Upon restart, reinstall the Canon printer driver/software as an administrator, and afterward, check if the Canon printer is clear of the error B200.
- If not, power off the Canon printer and wait for 5 minutes.
- Now, with the printer still off, try to print from the connected system, and when the printer is offline prompt is shown, click on Resume.
- Then power on the printer and afterward, check if the Canon B200 error is cleared.
4. Update the Firmware of the Canon Printer to the Latest Build
If the firmware of a Canon printer is outdated, then that may cause the B200 error as its incompatibility with the system’s OS may not let the printer properly communicate with the system. Here, updating the printer’s firmware to the latest build may solve the problem.
- Power off the printer and unplug its power cable.
- Now press/hold the printer’s power button for 10 seconds and then plug back the printer’s power cable.
- Now press the Menu button of the printer and open Setup.
- Then check the Estimated Ink Levels and make sure none of the cartridges show a yellow triangle. If any does, make sure to get it refilled.
- Now click on the back button to open Setup and select Device Settings.
- Then scroll down to Firmware Update and click on it (the printer must be online).
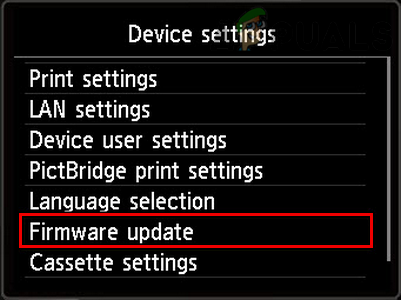
Open Firmware Update in the Device Settings of the Canon Printer - If a firmware update is available, let it install, and once the update is successfully installed, power off the printer.
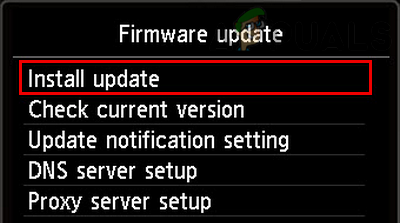
Install Firmware Update of the Canon Printer - Afterward, power on the printer and check if it is clear of the error B200.
5. Print Nozzle Check Pattern Through the Printer’s Maintenance Menu
If any of the printer’s Nozzle is clogged or the printer “thinks” that any of its Nozzle is clogged, then that may cause the B200 error on a Canon printer. In this context, printing the Nozzle Check Pattern through the printer’s Maintenance menu may solve the problem.
- Power off the printer and unplug its power cable.
- Now wait for a minute and plug back the printer’s power cable.
- Afterward, open the cover of the print head bay.
- Then power on the printer and when the printer prompts that the cover is open, press the Menu button.
- Now open Maintenance and select Print Nozzle Check Pattern.
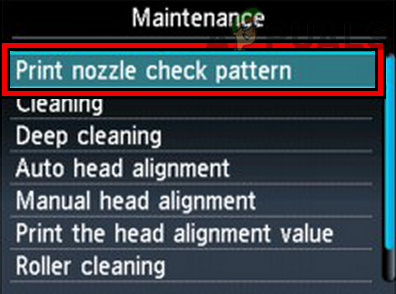
Print Nozzle Check Pattern of the Canon Printer - Once the sheet prints (if asked to, close the bay cover), check if the printer’s error B200 is cleared.
- If not, power off the printer and open the printer properties through the Devices and Printers menu of the Windows system.
- Now open Maintenance and select Nozzle Cleaning (All Colors).
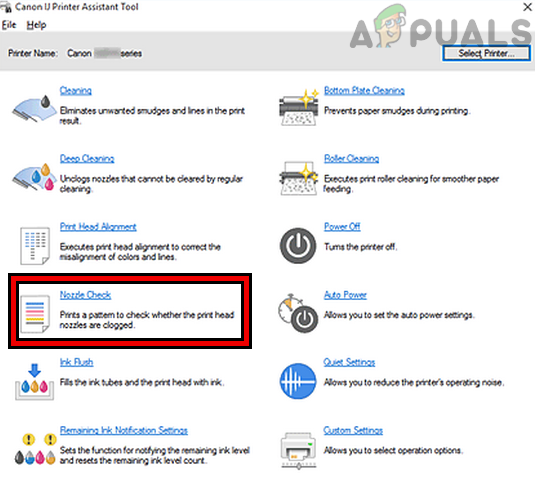
Perform Nozzle Check of the Canon Printer Through the Canon Printer Assistant Tool - Then, without starting the cleaning process, open the print head bay and power on the printer.
- Now, when the print carriage starts moving to the left-hand side and passes halfway (but before reaching the end), close the print head bay.
- Then, once the printer screen shows Canon, click the Start Cleaning command through the PC and wait till the cleaning cycle completes.
- Once done, print a test page and check if the printer is printing fine without error B200.
6. Reseat Cartridges of the Canon Printer
A Canon printer might show the B200 error if any of its cartridges are not seated properly as the printer fails to communicate with that cartridge. Here, reseating the printer cartridges may solve the problem.
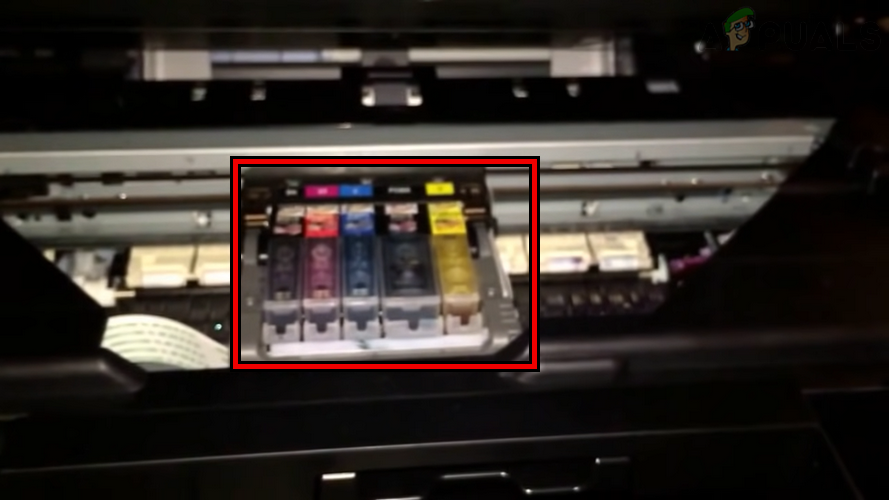
- Power off the printer and remove its cartridges. Make sure every cartridge has some ink in it, otherwise make sure to get it refilled.
- Now power on the printer and wait till the printer reports that it can’t recognize the print cartridge or the cartridge is missing.
- Once reported, insert back the cartridges. Make sure every cartridge is seated correctly and locked (you may hear a click sound).
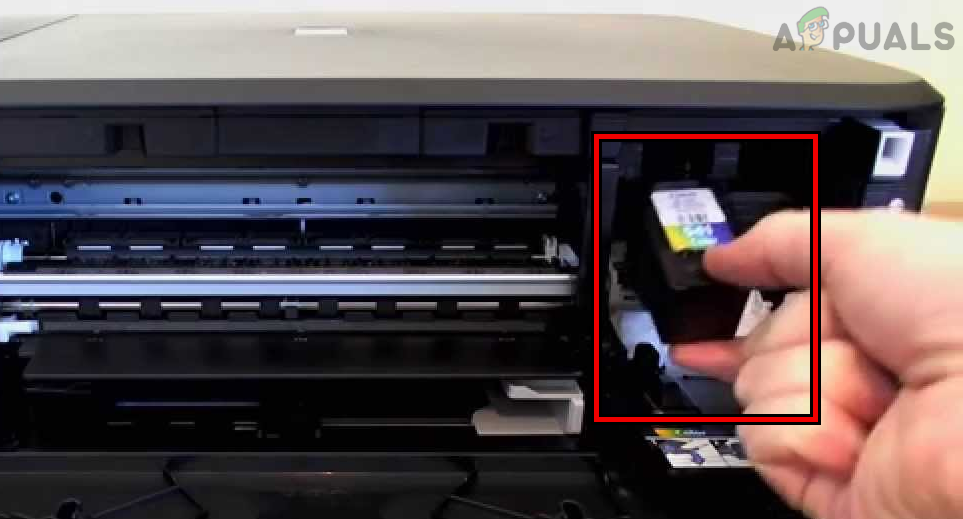
Reseat Print Cartridge in the Canon Printer - Now restart the printer and then check if it is operating fine.
- If that fails, check if connecting the printer directly to the power source (without any extension or power surge protector) solves the problem.
7. Manually Set the Print Head to its Initial Position
If the printer’s print head has failed to return to its initial position on the right side (due to a glitch), then that may cause the B200 error as the printer fails to detect the print head in its desired position. Here, manually setting the print head to its initial position on the right side may solve the problem.
- Power off the printer and unplug its power cable.
- Now open the cover of the print head bay and check the location of the print head.
- If the print head is on the left-hand side, gently move it to the right side. Be careful, do not damage the print head or related accessories.
Relocate the Print Head of the Canon Printer - Then close the cover of the print head bay and plug back the printer’s power cable.
- Now power on the printer and check if it is clear of the B200 error.
- If not, open the cover of the print head bay and move the print head to the left.
- Now press the power button multiple times (maybe 5 to 6 times) till the printer powers off.
- Again, press the printer’s power button multiple times till the printer power on and then check if it is clear of the error B200.
- If the issue persists, power off the printer and unplug its power cable.
- Now open the cover of the printer head bay and move the print head to the center.
- Then plug back the printer’s power cable and power on the printer to check if it is clear of the error B200.
- If the error returns when printing a document, repeat the above steps but do not print at the end and scan or copy a blank document to check if that clears the B200 error.
8. Hard Reset the Canon Printer to the Factory Defaults
You may encounter the B200 error on a Canon printer if the printer’s firmware is corrupt and due to this corruption, the printer is failing to properly establish a connection with its hardware components (like cartridges, etc.). In this context, hard resetting the Canon printer to the factory defaults may solve the problem.
- Press the power button to power off the Canon printer.
- Now press/hold the Stop button for 2 seconds and then while holding the Stop button, press/hold the printer’s power button.
- Then wait for 2 seconds and release the Stop button but keep a hold of the power button.
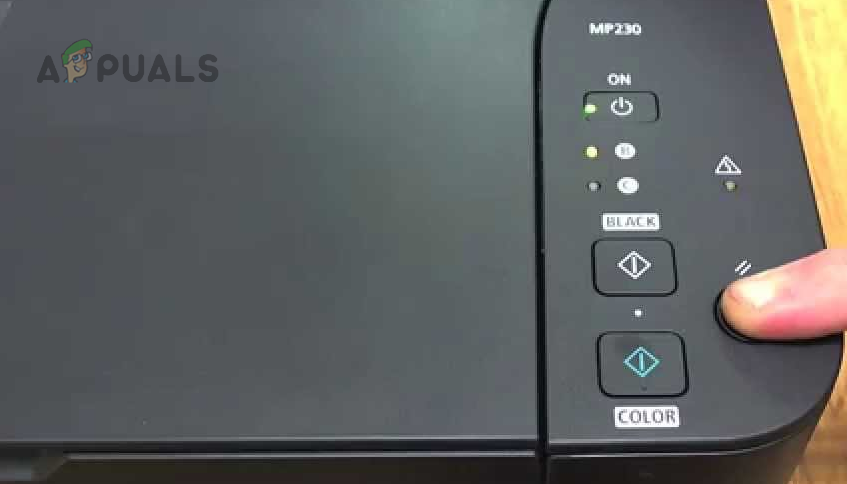
Press the Stop Button of the Canon Printer - Now press/release the Stop button 5 times and then immediately release the power button.
- Then wait till the printer powers on and afterward, check if error B200 is cleared.
- If the issue persists, power off the printer and remove its power cable from the power source.
- Now press the OK button 5 times and then connect the power cable back to the printer.
- Then power on the printer and check if error B200 is removed from the Canon printer.
- If that did not work, power off the printer and press the OK button 5 times (without unplugging the power cable).
- Now open and close the print carriage cover.
- Then power on the printer and check if it is operating normally.
- If the issue persists, power off the printer.
- Now simultaneously press the printer’s power button and Home button 10 times.
- Then wait till the printer powers on and check if it is working fine.
- If that did not work, power off the printer.
- Now simultaneously press the printer’s power button and Resume button.
- Once the printer powers on, check if it is clear of the B200 error.
9. Perform a Deep Cleaning of the Printer
If debris or ink has accumulated on different printer components (like a print head), then that may not let the printer properly operate that particular component and thus cause the issue at hand. Here, performing a deep cleaning of the Canon printer may solve the problem.
10. Clean Cartridges Holding Bay
- Firstly, power off the printer and unplug its power cable from the power source.
- Now open the printer panel to open the cartridges compartment and then remove the ink cartridges from the printer.
- Now slide the top bracket (that holds the cartridges) to a side to expose ink wells.
- Then use rubbing alcohol and Q-tips (plenty of) to clear out any residual ink from the ink wells. Make sure to clear out any debris (if present) from the printer’s internal as well.
- Now wait for at least two hours (so that the alcohol dries out) and then put back the cartridges into the printer.
- Then power on the printer and check if it is clear of the B200 error.
- If that fails, turn off the printer, open its cover, and ink section cover.
- Then unplug the printer’s power cable from the power source.
- Now carefully grab the printer’s ink carriage and slide it back/forth twice or thrice, about an inch.
- Then, without closing the cover, plug back the printer’s power cable and power it on.
- When it displays the error that covers are not in place, put back the covers, and afterward, check if the printer’s B200 is cleared.
11. Deep Cleaning Through the Maintenance Menu
- Power on the printer and press the Menu button.
- Now select Setup and open Maintenance.
- Then select Cleaning and wait till the process completes.
- Again, open the Maintenance menu and select Deep Cleaning.
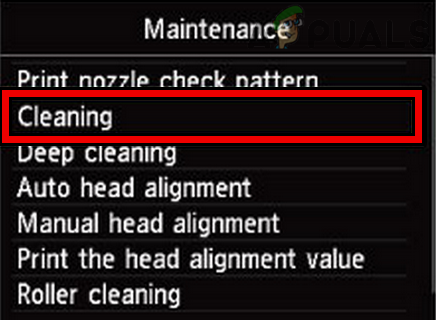
Perform Cleaning and Deep Cleaning of the Canon Printer Through the Maintenance Menu - Once done, open the Maintenance menu and select Auto Head Alignment.
- Afterward, once again do a deep cleaning of the printer and then check if it is operating normally.
- If not, launch the Canon printer utility on the connected system and open its Settings.
- Now select Utility and click on Open Printer Utility.
- Then click on Cleaning and select All Colors.
- Now follow the steps shown on the screen and then print a test page to check if the Canon printer’s B200 error is cleared.
12. Clean the Printer’s Print Head
If the printer has not been used for a long time or ink has dried in the print head of the printer, then that dried ink may not let the print head make the proper connection and thus cause the issue at hand. Here, cleaning the printer’s print head may solve the problem.
Warning:
Proceed at your own risk and be very careful in handling/removing/placing back/washing/swishing the printer head as the slightest mistake may make the printer or printer head useless. Don’t use the ribbon cable to plug out the print head as it may break if the print head is stuck.
- Turn off the printer and unplug its power cable from the power source.
- Now remove the cartridges from the printer and then remove the printer head. Depending on the Canon model, the method to remove the print head may differ. Some models have a lever to pull down to remove the print head.
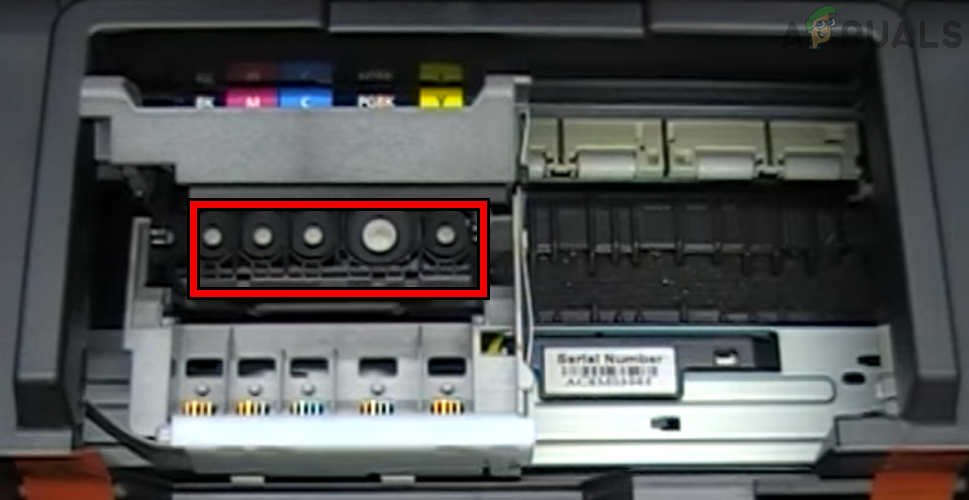
Remove the Print Head from the Canon Printer - Once the print head is out, put it under warm running water till the water turns clear.
- Now use a syringe to force warm water through the ink channels of the print head.
- Then use a dry syringe to air dry the ink channels of the print head. You may also try a compressed air can to dry the print head. You may also use alcohol and cotton to clean the print head.
- Then wipe the print head dry by using the pat dry method with a soft lint-free cloth (without rubbing the print head) and wait till the print head is totally dry.
- Now put back the print head into the printer and without closing the printer’s top cover, plug back the printer’s power cable.
- Then power on the printer and once it reports that the printer cover is not closed, close the cover and check if the printer is clear of the B200 error.
- If that fails, remove the print head from the print head bay and put it in warm water overnight.
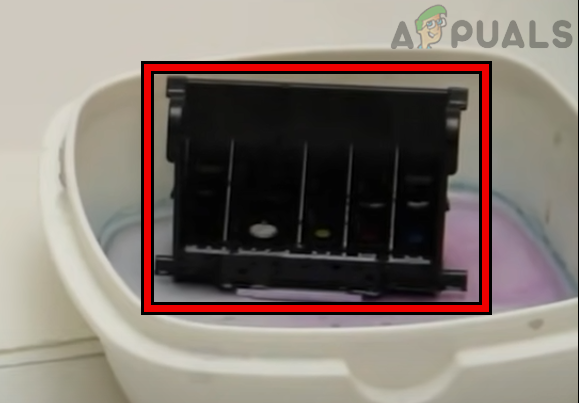
Soak the Print Head of the Canon Printer in Warm Water - Next morning, pat dry the print head and wait till it is fully dry.
- Then plug it back into the printer and then check if its B200 error is cleared.
- If not, power off the printer and remove the print head from the printer.
- Now spray a contact cleaner on the contact surfaces (usually, golden in color) of the print head and the contact posts that make a connection with the printer chassis.
- Then use Q-tips to wipe out the contact cleaner and once done, let it dry properly.
- Afterward, put back the print head and check if it has started to work fine.
- If not, remove the print head from the printer and spray the print head with a glass cleaner (like Windex). Make sure to target the spray towards outgoing and incoming ink orifices.
- Afterward, prepare a 50/50 mixture solution of the glass cleaner with water and soak the print head in that solution for at least two hours.
- Now swish the print head in the mixture to extract out any residual ink from it and then rinse the print head with excessive clean water.
- Then pat dry the print head with a lint-free cloth and then soak/swish the printhead in the rubbing alcohol for an hour.
- Now pat dry the print head with a ling free cloth and then heat dry the print head like a hot air blower or under the sun (but not too much).
- Then wait till the print head is fully dry (preferably wait overnight) and afterward, put back the print head into the printer.
- Now power on the printer and check if it is working normally.
- If that fails, remove the print head from the printer and clean it under warm running water.
- Now slightly unscrew the screws (around 75%) holding the plastic blocks of the print head but make sure the plastic blocks stay intact with the print head.
- Once again, rinse the print head under warm water and pat dry the print head.
- Then fully tighten the screws of the plastic blocks and heat dry the print head (like using a hot air blower) or wait till the print head is fully dry (like waiting overnight).
- Once the print head is fully dry, put it back into the printer and power on the printer to check if it is functioning fine.
- If the issue continues, check if masking the top left 3 terminals PIN of the print head clears out the error. If so, then the PGBK cartridge may fail to work.
If the error is still there, you may contact Canon support to clear out the error. If that did not work or not an optoin, check if using another cartridge or print head in the printer clears out the error.