Steam Set Launch Options and Full List
Steam lets you set launch options to customize game behavior, adjust game startup parameters, and troubleshoot any issues.
Note: This guide is intended for advanced Steam users familiar with command-line parameters. New users should be cautious about changing unfamiliar settings.
Not all Steam games support launch options, as it depends on the game developers and the game engine in use. This article will guide you through how to add launch options to customize Valve games specifically.
How to Set Launch Options in Steam Games?
Setting launch options for games is different from changing Steam client settings. Use the Steam client for game launch options, while adding launch options to Steam itself involves modifying the shortcut.
- Open Steam on your PC.
- Navigate to your Steam Library.
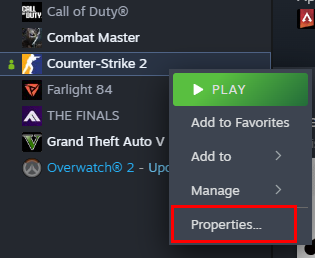
- Right-click on the game you want to adjust and select Properties.
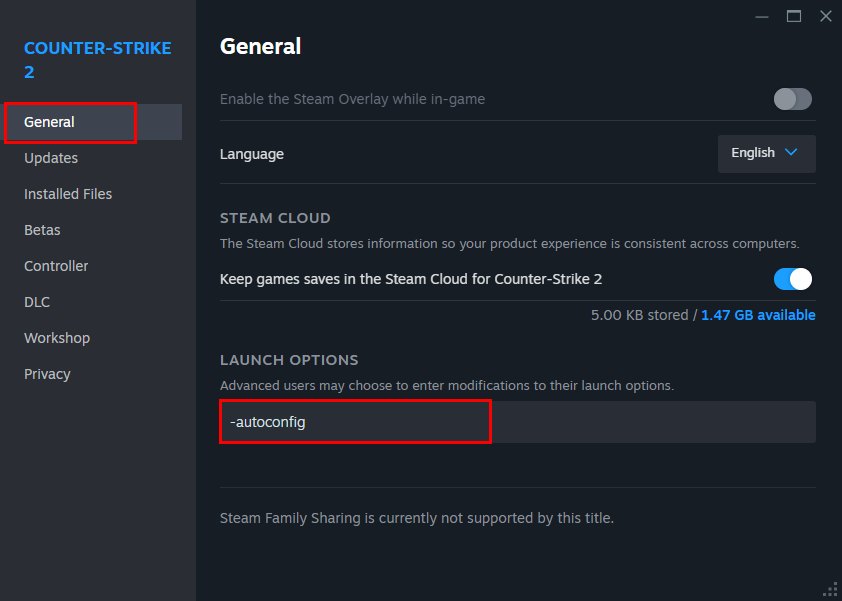
- Click on the General tab.
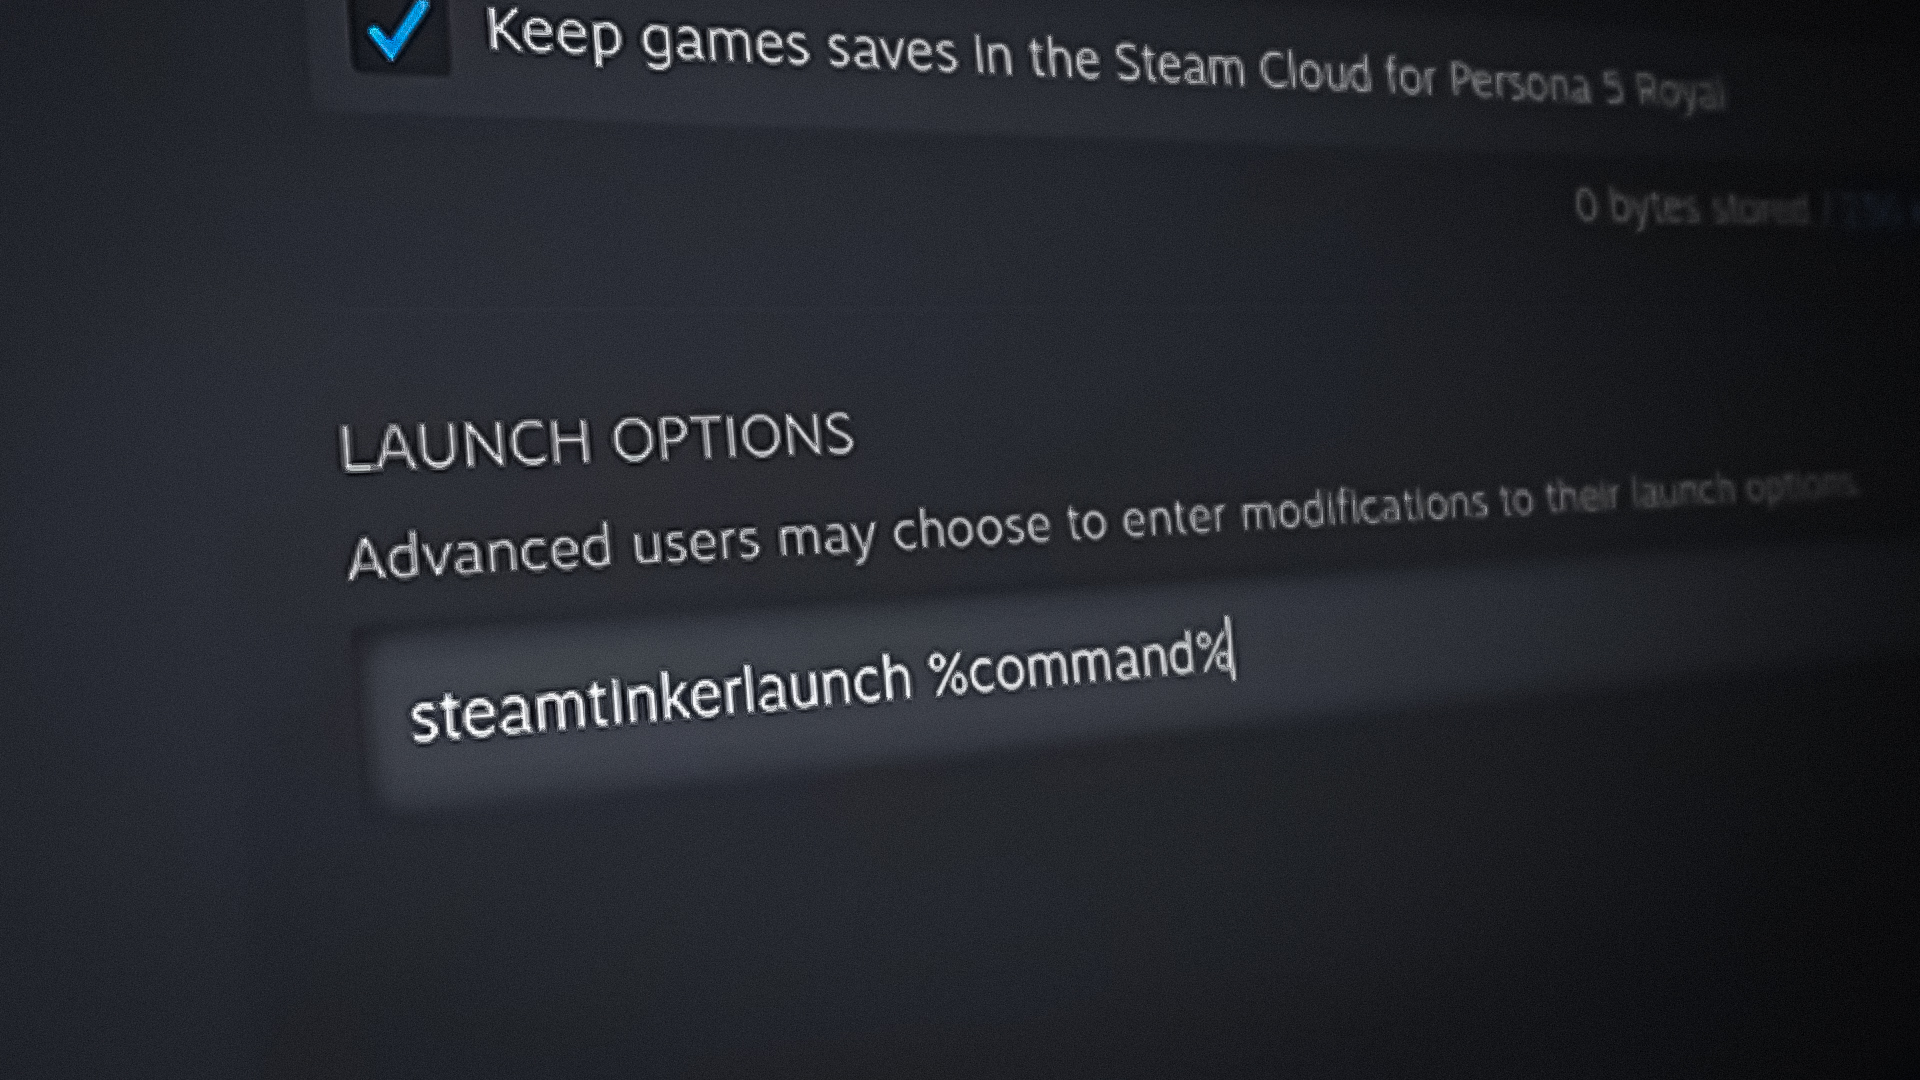
In the Launch Options field, add your desired options.
- Make sure to prefix each option with a hyphen (–). For example, use -novid.
Some might use a plus (+), but the hyphen is more common.
List of Launch Options You Can Use for Games
With launch options added, explore available options. These may not work for all games, as it depends on developer implementation. Below are some popular options used for Valve and Source engine games:
| Launch Option | It's Purpose |
|---|---|
| novid | When you add the novid launch option to a game, the intro video of the game will not be played. This can help you achieve faster load times. |
| 32bit | Using the 32bit launch option is useful on 64-bit operating systems as it forces the game to launch in 32-bit mode. |
| autoconfig | The autoconfig launch option will force the game to apply default graphics and performance settings for the hardware on your computer. Any settings in your config files will be ignored until this launch option is removed. |
| clientport | The clientport launch option can be used to change the default client port (27002). This can be helpful when you have multiple PCs in the same network connecting to the Steam servers. |
| high | Using the high launch option will set the priority of the game process to High on your computer. This will allow the game process to consume more resources of the game as it will be prioritized in the Windows scheduler. |
| width | You can use the width launch option to start the game with the resolution specified. Replace |
| height | This uses the same principle as width. Provide a value to start the game at the specified height resolution, for example, 1080. |
| freq or refresh | The freq and refresh launch options allow you to control the refresh rate of the game. If you have a higher refresh rate monitor, you can explicitly tell the game to run at the highest frequency. Provide a value next to the launch option, for example -refresh 240. |
| safe | The safe launch option starts the game in video safe mode. This means the game will be launched in windowed mode, in 640x480 resolution, along with the default refresh and disabled antialiasing. This can be helpful in troubleshooting any launch issues with the game. |
| nopreload | Using the nopreload launch option will force the game to not load any models unless they are needed. This can help in improving the performance of a game on lower-end computers. |
| mat_antialias and mat_aaquality | You can use these launch options to control the antialiasing mode of the game. The values accepted by mat_antialias are 0-8 in multiples of 2. In the case of mat_aaquality, you can provide a value from 0-4 in multiples of 2. Use a combination of both to choose your preferred antialiasing mode. For example, -mat_antialias 4 and -mat_aaquality 4 will set the antialiasing mode to 16x CSAA. |
| -con_enable 1 | This enables the console so you can use it in-game |
| -console | This also enables the console in-game and opens it up when the game starts. |
| -useforcedmparms | This allows the usage of –noforcemspd and –noforcemaccel. |
| -noforcemaccel | This allows the use of Windows mouse acceleration settings. |
| -noforcemspd | This allows the use of Windows mouse speed settings. |
| -fullscreen | This starts the game in a full screen from the start. |
| -x | This places the borderless window along the horizontal axis of the screen. This is very useful if you are using multiple monitors. For example, you can use “-x 1921”. If you are using three monitors, it will place it on the middle screen. |
| -y | This places the borderless window along the vertical axis of the screen. This is very useful if you are using multiple monitors. For example, you can use “-y 0”. This will place the game window on top of the monitor, over the task bar. |
| -autoconfig | This will help in restoring the video and audio configuration to their default settings for the current hardware which is detected. This will completely ignore any settings present in the .cfg files until this parameter is removed. |
| -override_vpk | This will force the Steam engine to search for custom game content which is placed inside the game’s installation directory instead of loading the default game files from the VPK files. However, do note that this feature cannot be used in matchmaking and is limited for single player only. |
| -enable_addons | This will force the Steam engine to search for whitelisted custom game content which is placed inside the game’s installation directory instead of loading the default game files from the VPK files. This can be used in matchmaking games. The whitelisted list includes many items such as HUD, icons, custom cursor images etc. |
| -nomousegrab | This enables the alt-tab function in some Linus devices where the game is running full screen and grabbing mouse won’t allow the players to use the alt-tab function while in-game. |
-language | This changes the language of the game and the menus. You can place the name of the language in place of code. The command line will look something like “-language Italian”. |
| -nod3d9ex | This forcefully disables the Windows Aero DirectX extensions. This is used to enhance performance in some cases. |
| -nomicsettings | This stops the game from changing the microphone output values when the game launches. This is particularly useful for people who are using third party applications such as Skype where their microphone value will get forcefully maxed out when they run the game. |
| -nosound | This turns off the sound in-game. |
| -dx9 | This will force the game to run on DirectX 9 |
| -dx11 | This will force the game to run on DirectX 11. |
| -gl | This forces the game to run on OpenGL. On Windows, the OpenGL DLC must be present in the system and should be installed for this feature to run. |
| -vulkan | This applies the Vulcan support. |
| -nogrammeramp | This will force the game to use the desktop color profile. |
| -antiaddiction_test | This adds an uptime clock so you can see how much time is passing by while you are playing. This is very useful for keeping track of minutes passed while in-game. |
How to Apply Launch Options in the Steam Client?
You can also apply launch options to the Steam client itself for troubleshooting or customization.
- Open File Explorer.

Opening File Explorer - Navigate to the folder where Steam is installed on your computer.
- Locate the Steam.exe file, right-click it, and choose Create shortcut from the context menu.
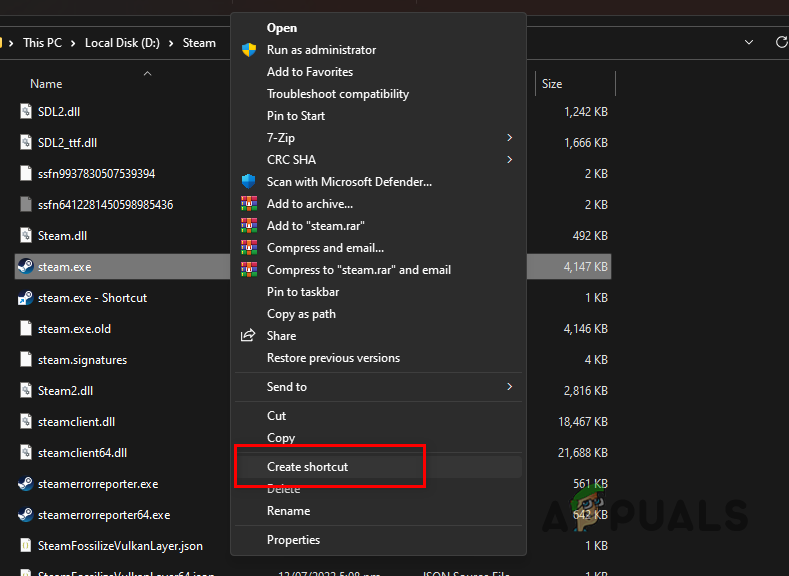
Creating a Steam Shortcut - Find the newly created shortcut, right-click it, and select Properties.
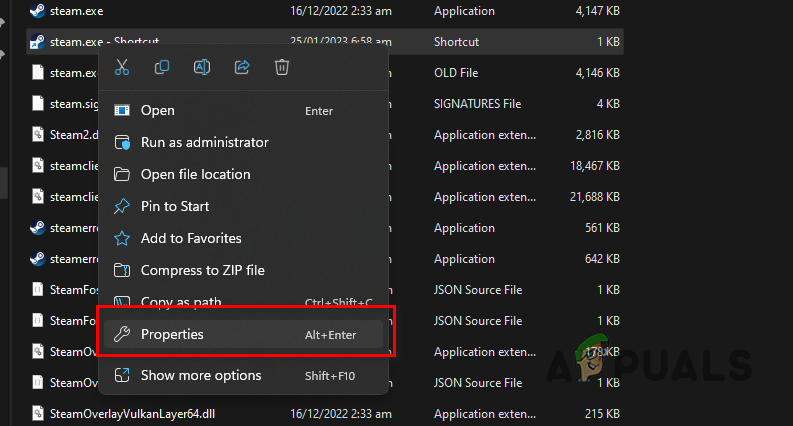
Opening Steam Properties - In the Target field within the Properties window, add your desired parameters. Make sure to separate each parameter with a semicolon (;).
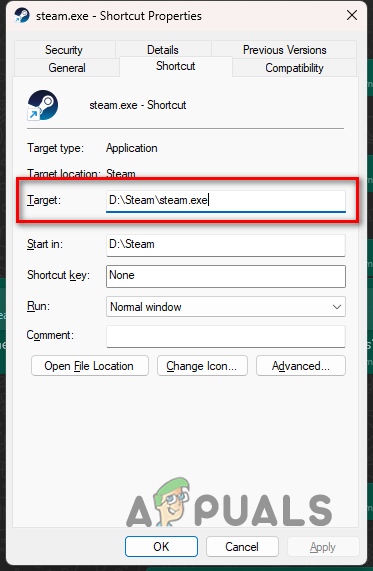
Steam Properties
List of Launch Parameters for the Steam Client
Now, let’s review parameters for the Steam client.
- clearbeta — Exit any beta programs you’re in, if you can’t via Settings.
- console — Enables the Steam debug console tab.
- single_core — Forces Steam to run on your main CPU core.
- tcp — Forces connections to Steam servers to use TCP.
- tenfoot — Launches Steam in Big Picture Mode.
- no-browser — Disables embedded web and in-game overlay browsers, restoring the old friends list and chat UI.
- language <language> — Sets client language by replacing <language> with the code (e.g., -language german).
- cafeapplaunch — Launches Steam apps in cyber cafe mode, verifying files before starting.
- log_voice — Logs Steam voice chat data to logs/voice_log.txt in the install directory.
FAQ About Launch Options
Are these options universal across all Steam games?
No, not all games support every launch option listed. These depend on the game developer’s implementation and the game engine. Consult the game’s documentation for specific support.
Can I see a list of launch options from the game itself?
Some games may display a list of supported launch options through their console or developer mode. Enable these and type commands like `help` or refer to modding communities and forums.
Do launch options impact game performance?
Yes, certain options can affect game performance, either positively or negatively. For instance, `-high` can increase CPU priority for the game, which might improve performance on some systems but cause instability on others.
Can I reset launch options if something goes wrong?
Yes. Simply clear the launch options text box in the General Properties tab for the specific game and save the changes to reset to default settings.
Are these changes reversible?
Yes, you can always delete or modify the launch options as needed. Launch options do not permanently alter the game files.
A nice Informative site.
-noVid Removes those annoying pre-game advertising videos’