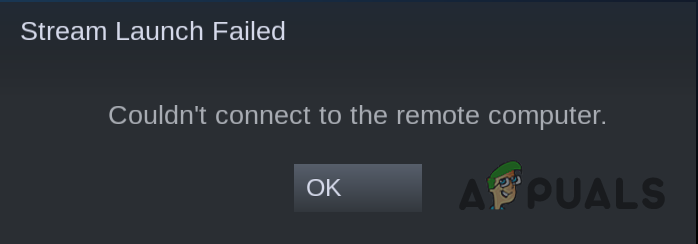
Fix: ‘Couldn’t Connect to the Remote Computer’ Steam Remote Play
The ‘Couldn’t connect to the remote computer’ issue in Steam Remote Play can arise due to missing the required Microsoft runtime libraries on the host and client systems, the Windows firewall blocking the streaming client from Steam, or other reasons.
It can also be influenced by the network type configured on the host PC. In this guide, we will outline several proven methods to resolve the issues with Steam Remote Play functionality.
1. Install Microsoft Runtime Libraries
To begin, ensure the Microsoft runtime libraries are installed on both your systems—host and client. These libraries are essential for the proper functioning of Steam Remote Play.
Remember to install the x32 runtime libraries even if you are on a 64-bit architecture.
- Open the official Microsoft runtime libraries page by clicking here.
- Scroll down and download the runtime libraries using the provided links.
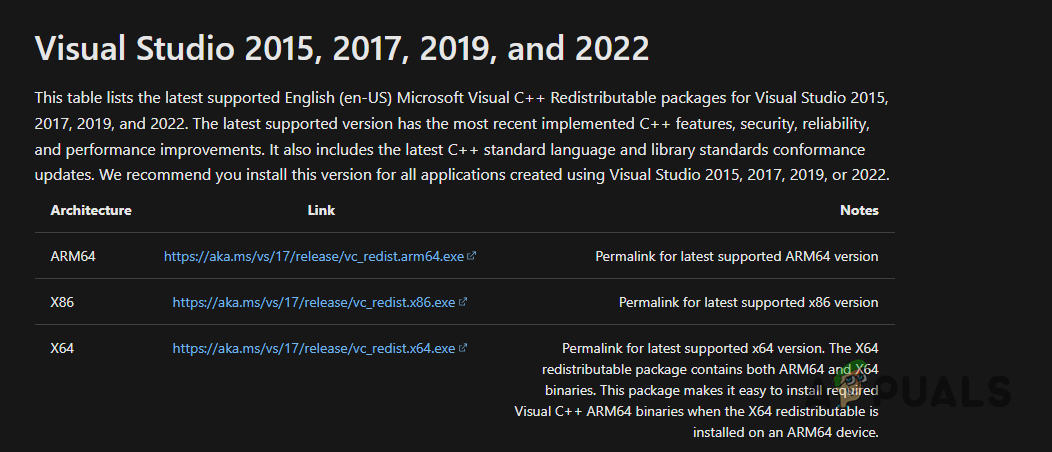
Downloading Microsoft Runtime Libraries - Select and download the x86 version, regardless of whether you have an x64 system.
- Install the runtime libraries on your PC and then restart it.
- Check if the issue has been resolved.
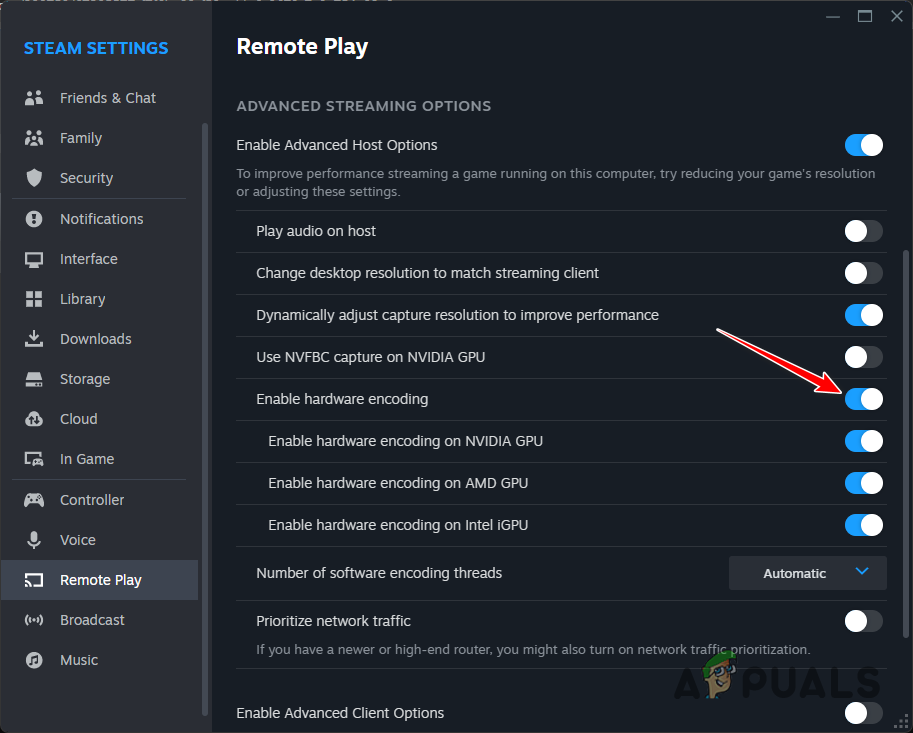
2. Disable Hardware Encoding
Hardware encoding can enhance stream quality based on your GPU’s capabilities but it can sometimes disrupt Steam Remote Play.
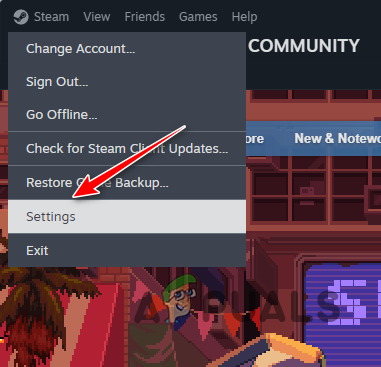
- Launch the Steam client on your PC.
- Click on the Steam menu and navigate to Settings.
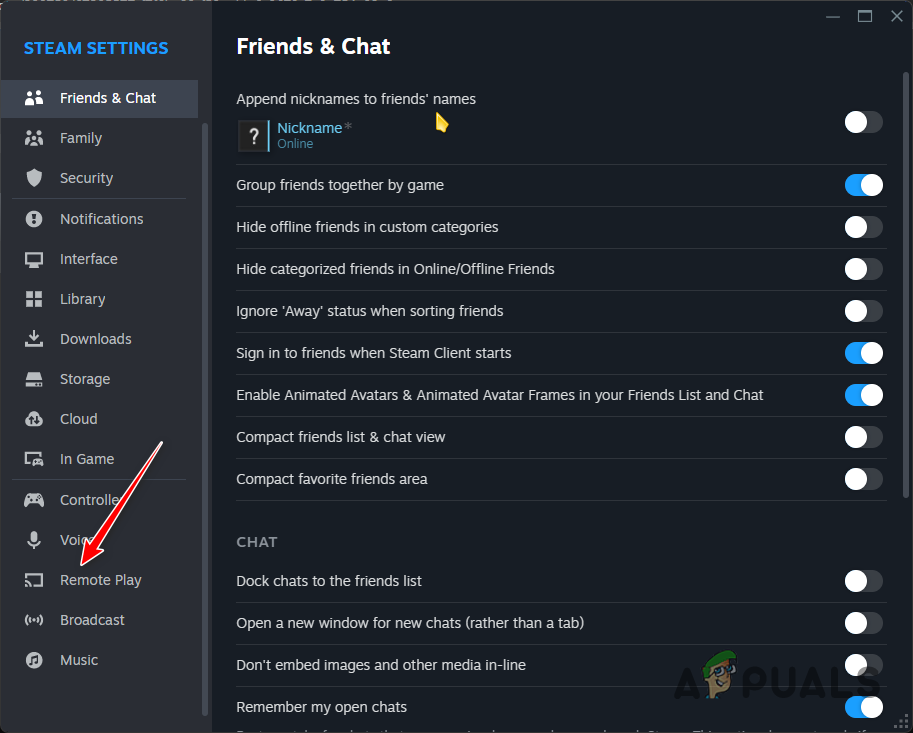
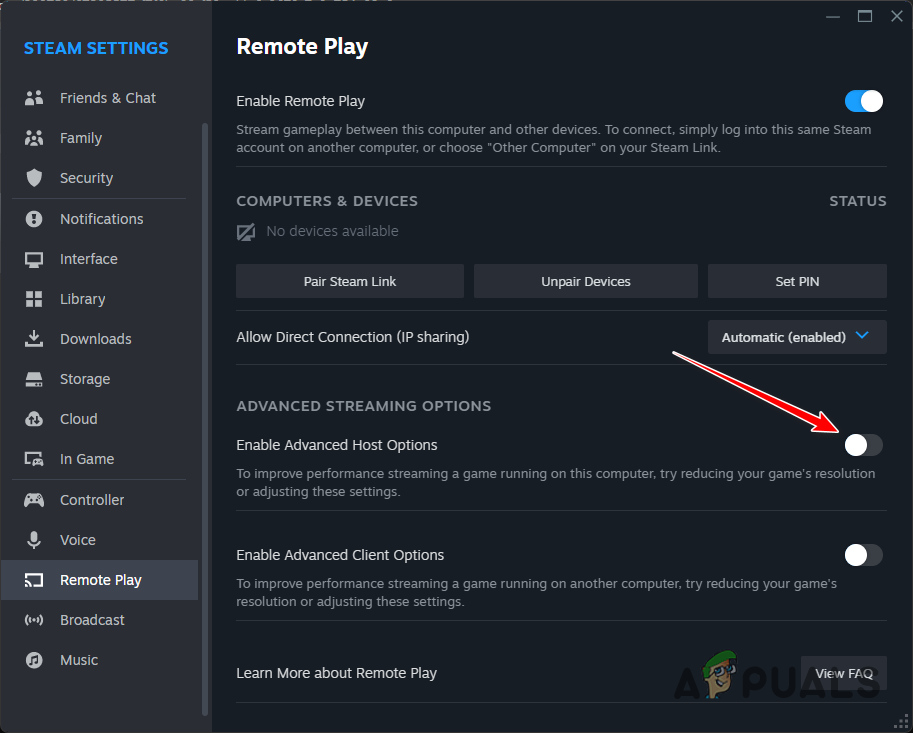
Opening Steam Settings - Head over to the Remote Play tab.
Navigating to Remote Play - Toggle on the Enable Advanced Host Options to see more settings.
Enabling Advanced Host Options - Disable the Enable hardware encoding option.
Disabling Hardware Encoding - Restart Steam and check if the issue persists.
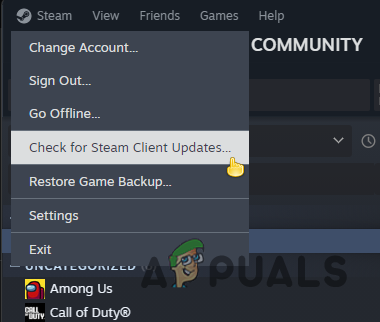
3. Update Steam App
A recent Steam update caused issues with remote play that were later fixed in a subsequent patch. Ensure your Steam is up to date.
- Open your Steam client.
- From the menu, select Steam and then Check For Steam Client Updates.
Checking for Steam Updates - Let the client download and install any available updates, then try using Remote Play again.
4. Allow Steam’s Streaming Client through the Firewall
The Windows Defender Firewall may block network requests from Steam’s streaming client. To remedy this, add the streaming client to the firewall’s whitelist:
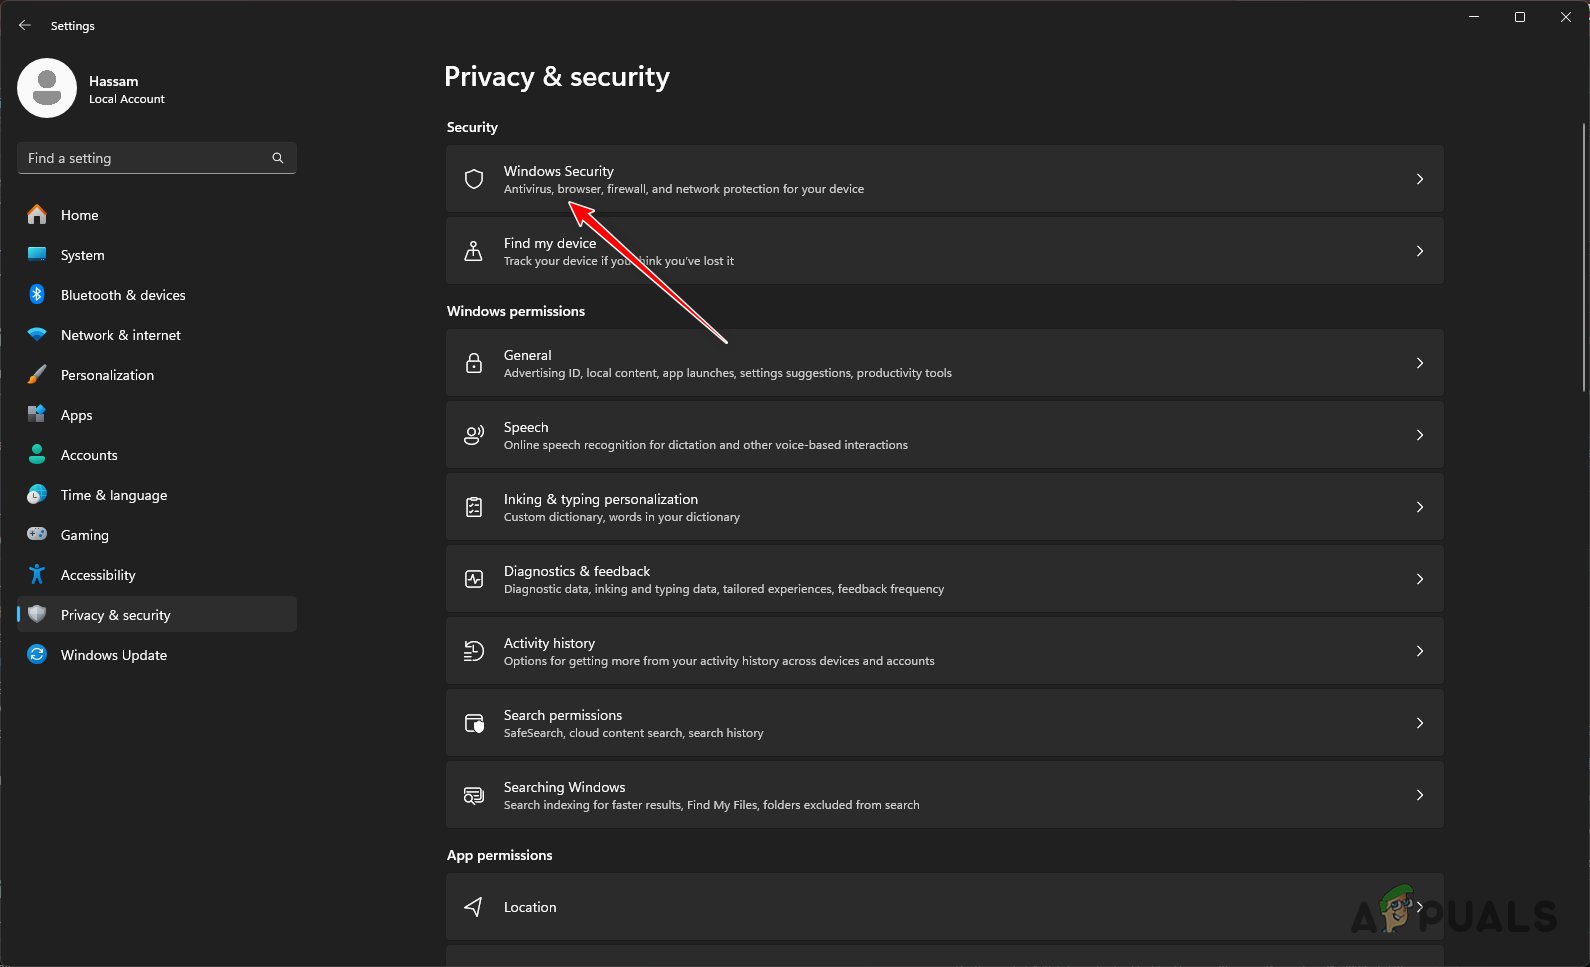
- Open the Settings app by pressing Win key + I.
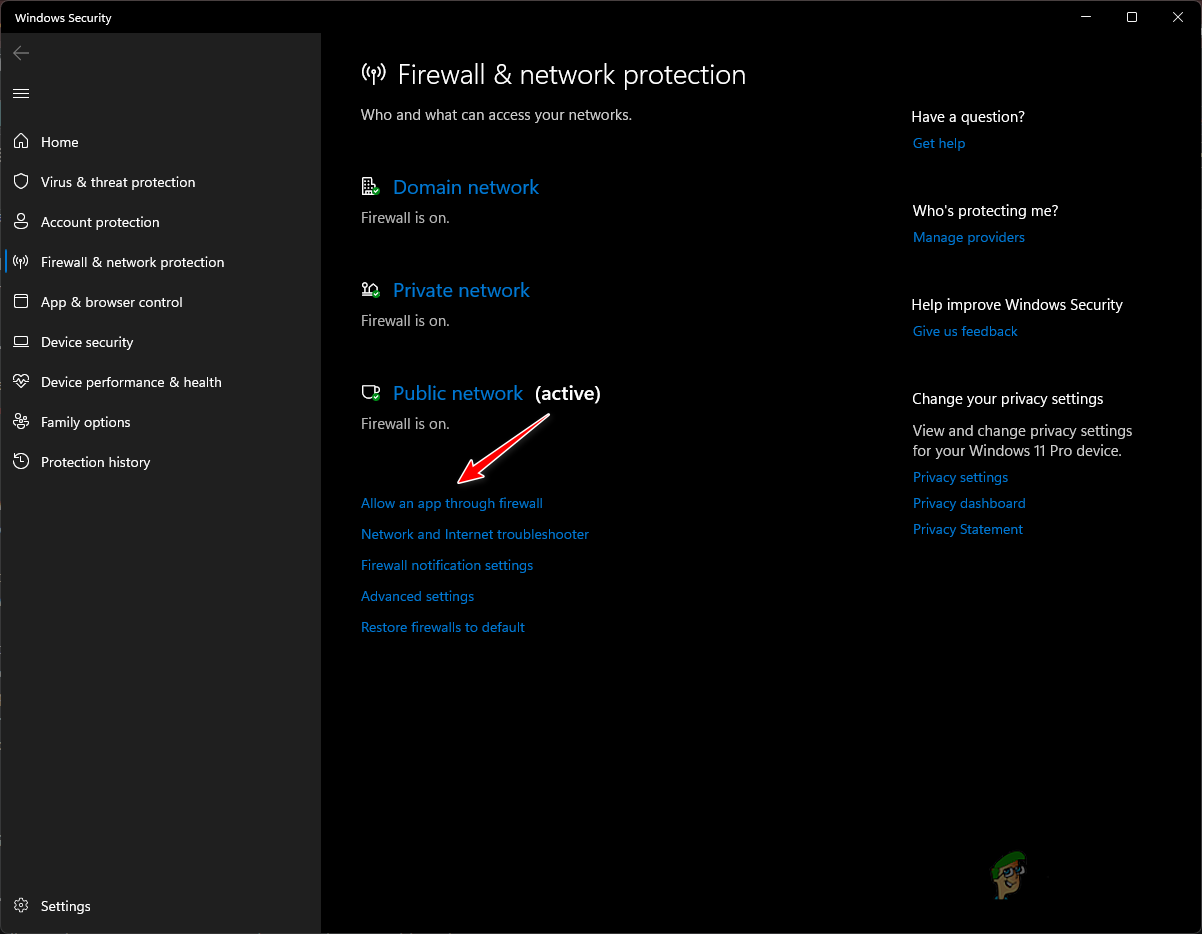
- Navigate to Privacy & Security > Windows Security > Firewall & Network Protection.
Navigating to Windows Security - Click on Allow an app through firewall.
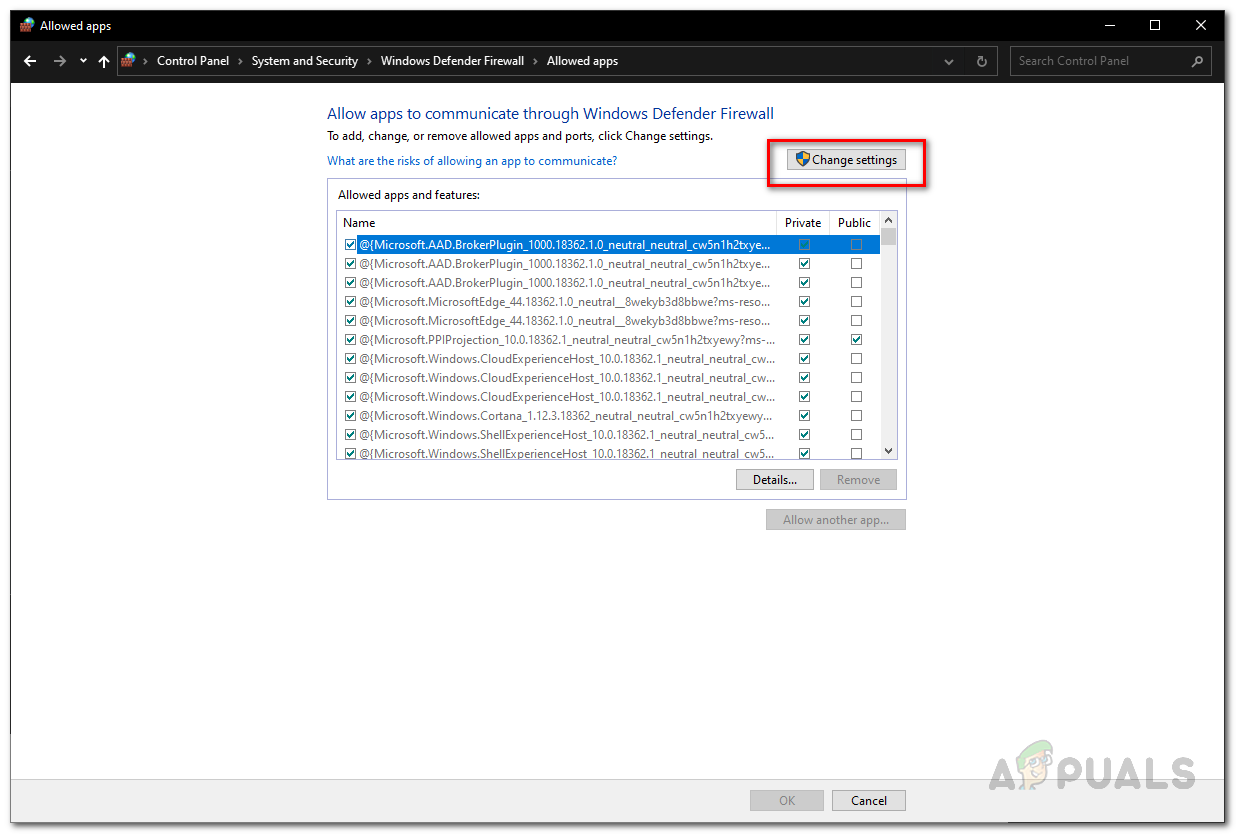
Opening Firewall Whitelist - Select Change settings.
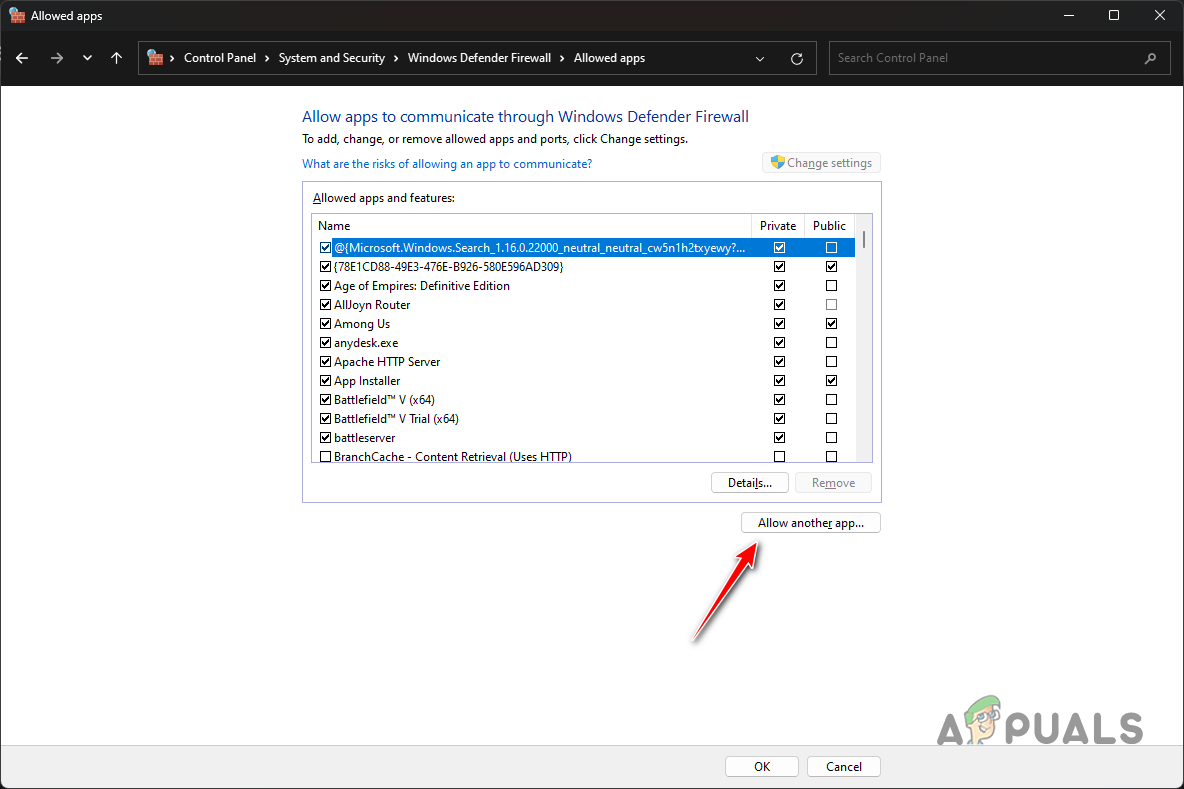
Changing Firewall Whitelist Settings - Choose Allow another app.
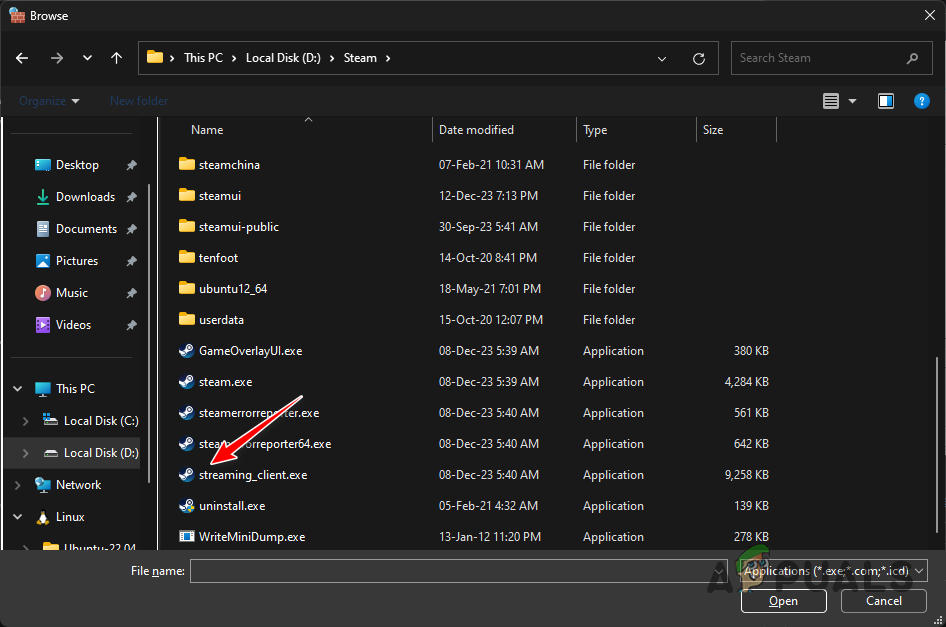
Adding an App through the Firewall - Using the Browse feature, locate and select the streaming_client.exe in the Steam installation folder.
Adding Steam Streaming Client to the Firewall - Select Network Types and ensure both Private and Public are checked.
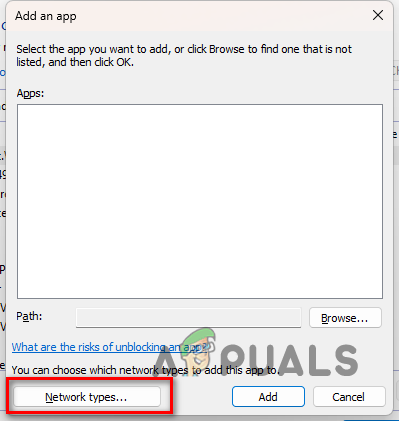
Changing Network Types - Click OK to save the changes and add the app.
- Check if Remote Play is now functioning correctly.
5. Change Windows Network Type
The host machine’s network type can affect the Remote Play function. Issues may arise if the network type is set to Public rather than Private.
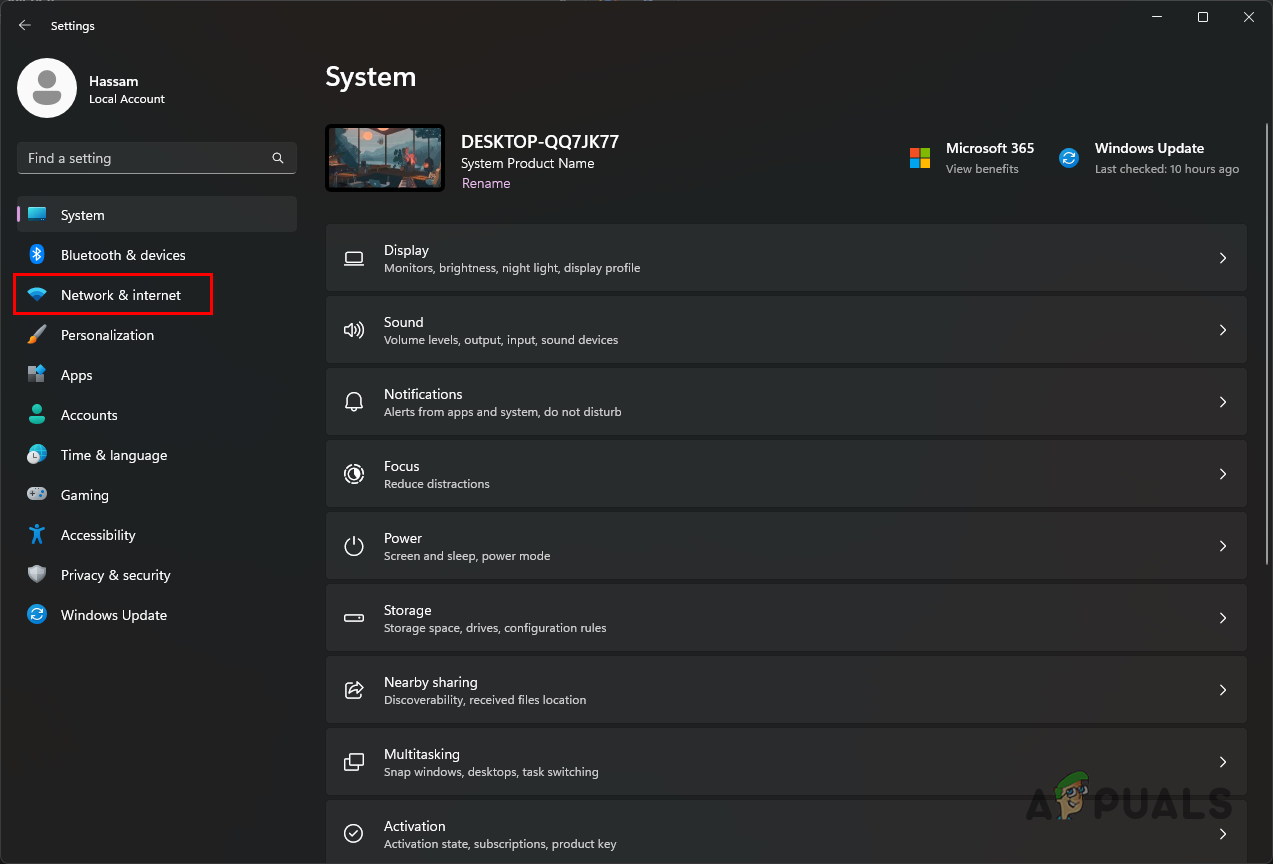
- Press Win key + I to open the Settings app.
- In Settings, go to Network and Internet.
Navigating to Network and Internet - Click your active network connection, then change the Network Profile Type to Private network.
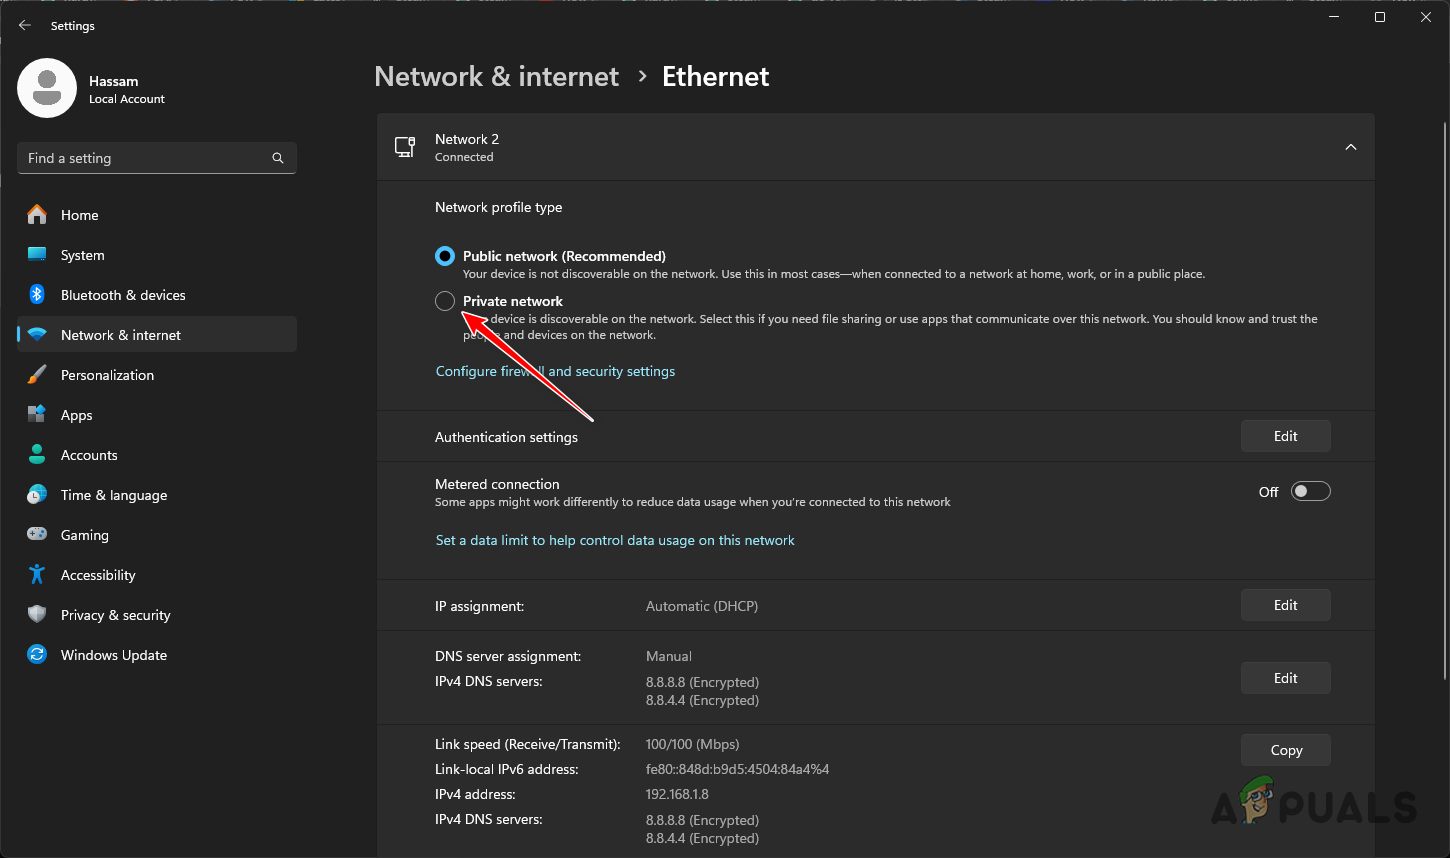
Changing Network Profile Type - Try Remote Play to see if the issue is fixed.
6. Disable IPv6
IPV6, even if not actively in use, can still cause network disruptions. Disabling it may resolve functionality issues with Remote Play.
- Access Settings by pressing the Windows key + I.
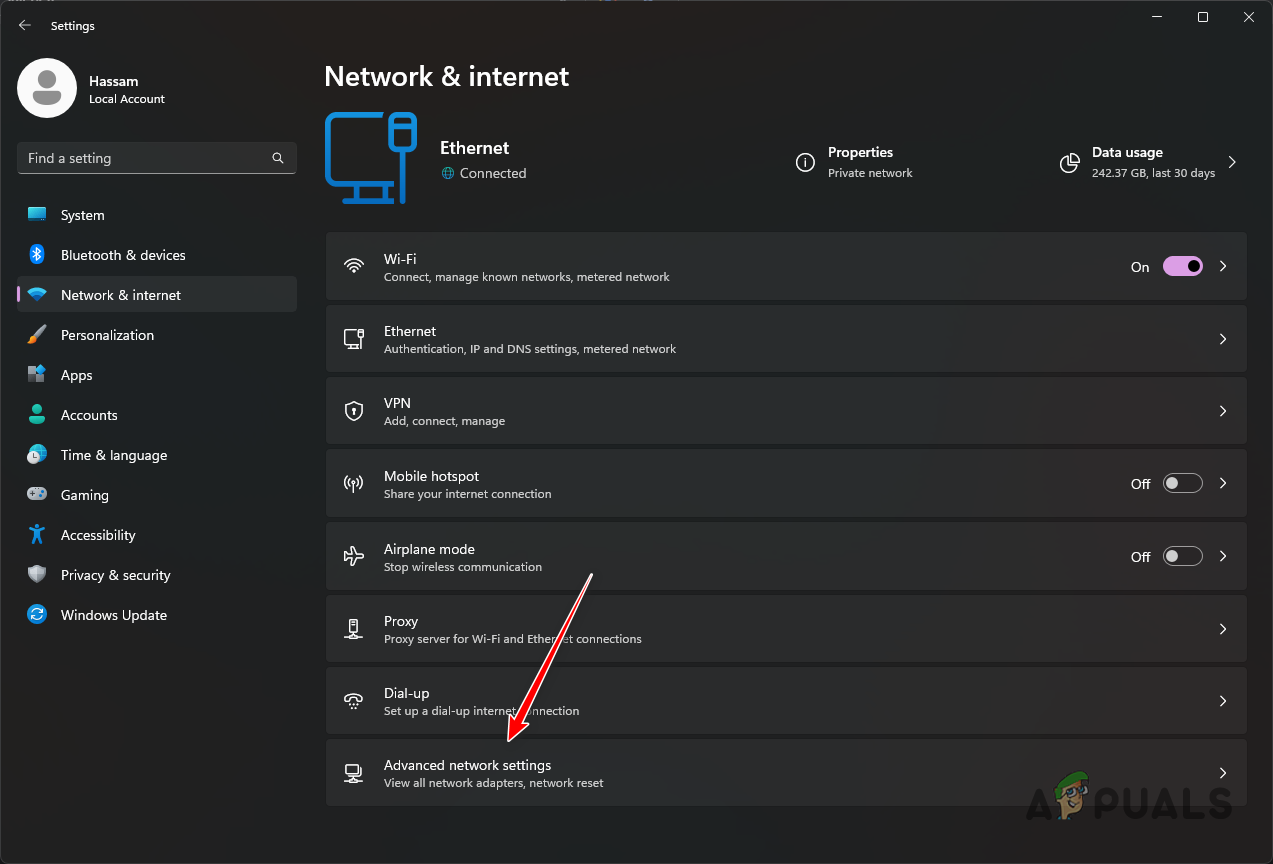
- Navigate to Network and internet > Advanced network settings.
Navigating to Advanced Network Settings - Expand your network adapter options by clicking the down arrow.
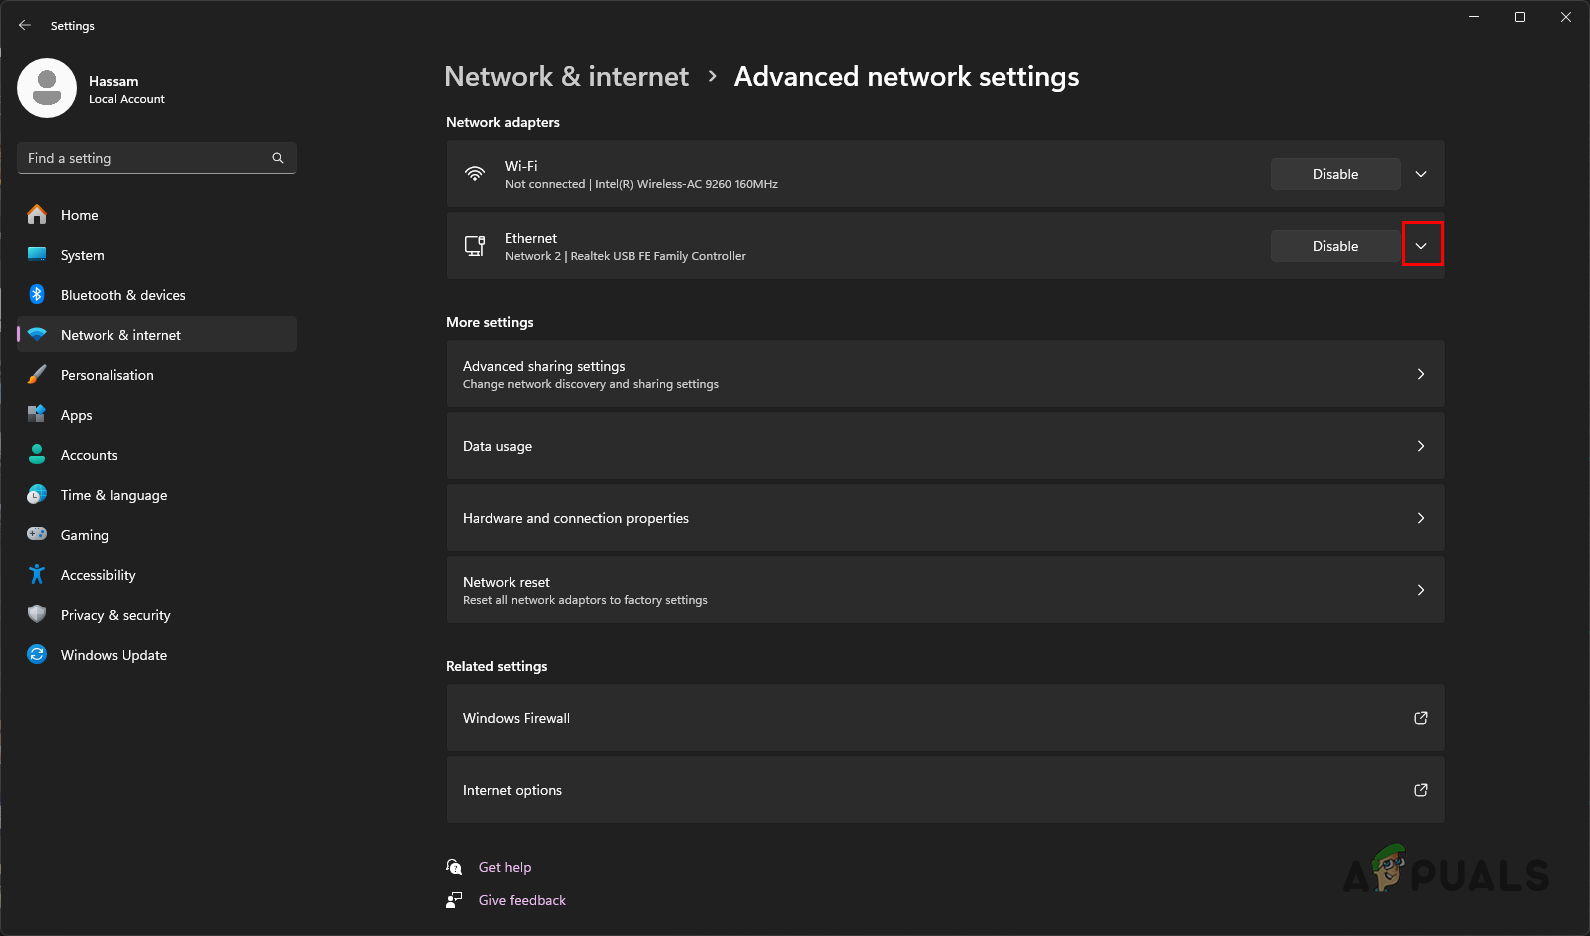
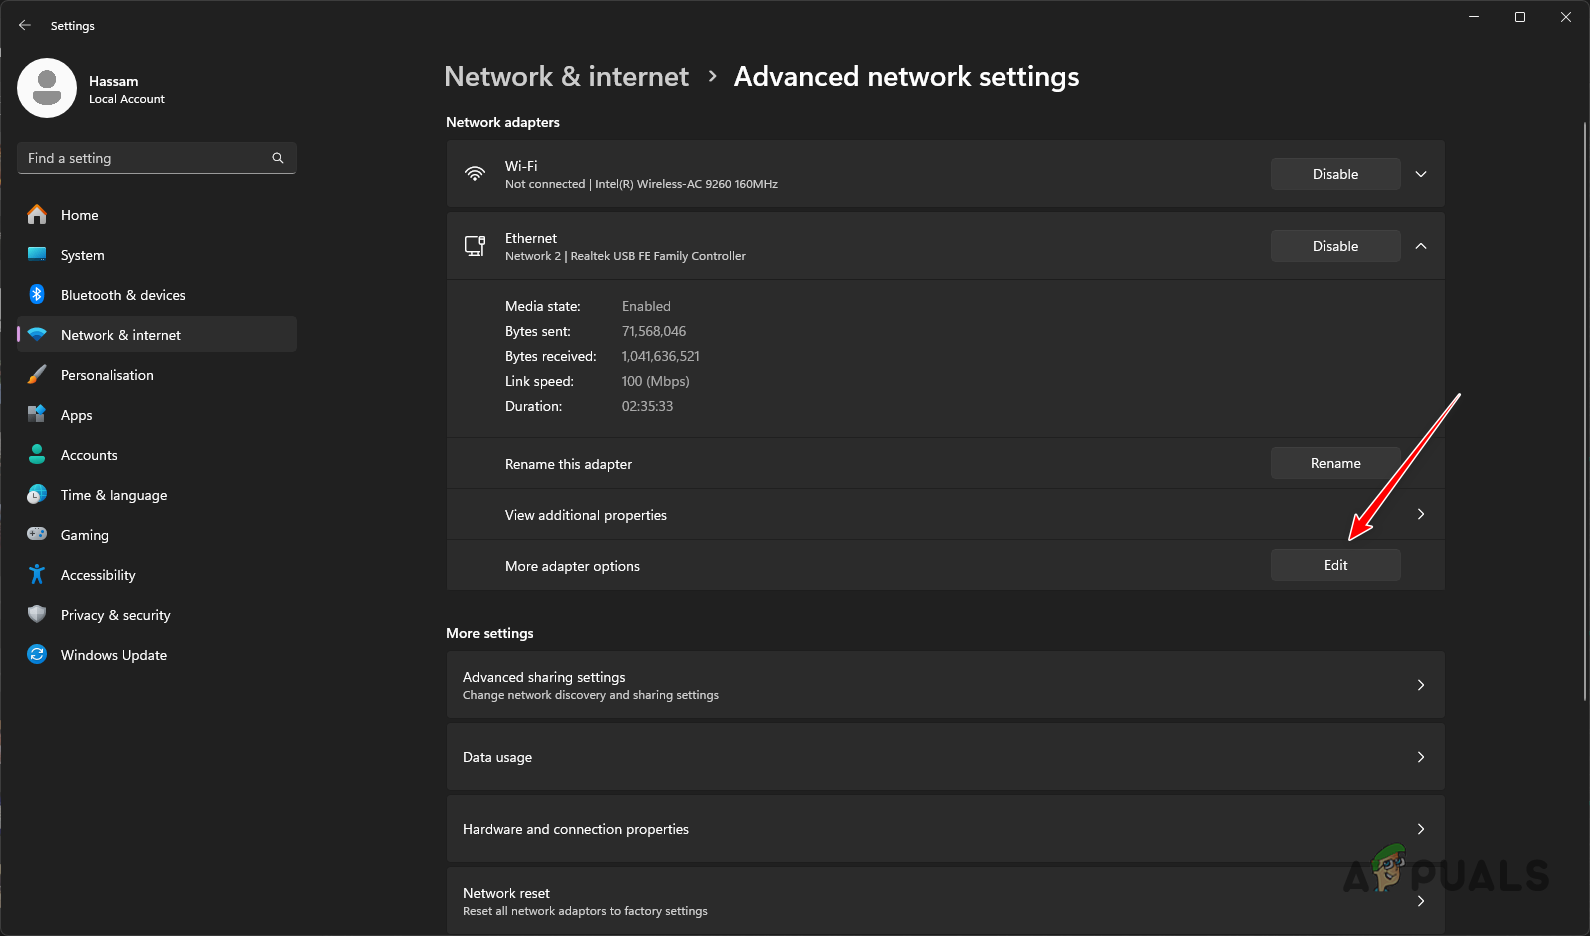
Expanding Network Adapter Options - Select the Edit button in the More adapter options section.
Editing Network Adapter Options - In the Properties window, uncheck Internet Protocol Version 6 (TCP/IPv6).
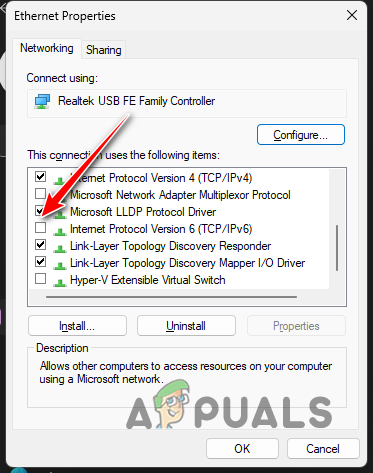
Disabling IPv6 - Click OK, then test Remote Play once more.
7. Manually Connect to Host
If none of the above steps work, try starting the game manually on the host machine and then connect from the client device by clicking the Connect option. This manual connection method may bypass the issue.
If you’ve tried all solutions and Steam Remote Play is still not functioning, consider seeking further assistance from the Steam Remote Play support team.


Thats a crazy lot of steps for fixing a new steam feature that steam software programmers should figure out. Not my Job. Thanks for the info though. =)