Fix: Steam Error Destination Folder Must Be Empty
The “Destination folder must be empty” error typically appears when you’re trying to install Steam into a folder that already contains files. It can also occur when launching a game through the Steam app, adding a new Steam library, moving your Steam installation or game files, or reinstalling Steam without first removing the existing files.
This error might seem confusing at first, but the fix is usually simple. Below are several proven solutions that should help you get Steam working properly again.
Scenario 1: Installing Steam into a Non-Empty Directory
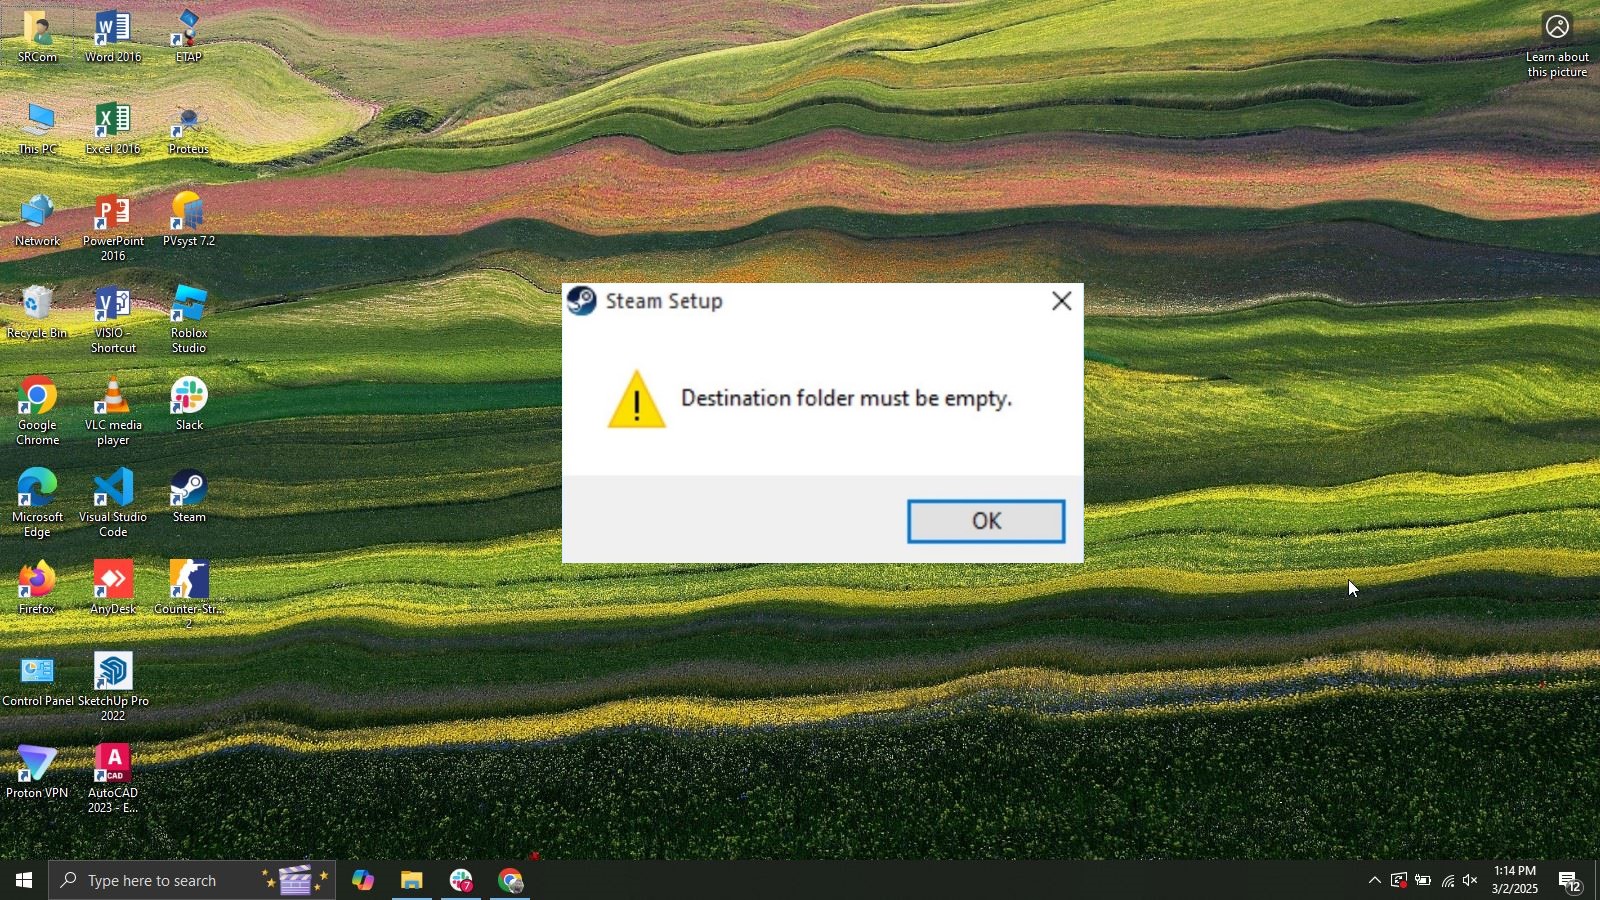
Unlike some applications, Steam requires a completely empty folder for installation. If you try installing it into a folder that already contains files, you’ll likely encounter the “Destination folder must be empty” error.
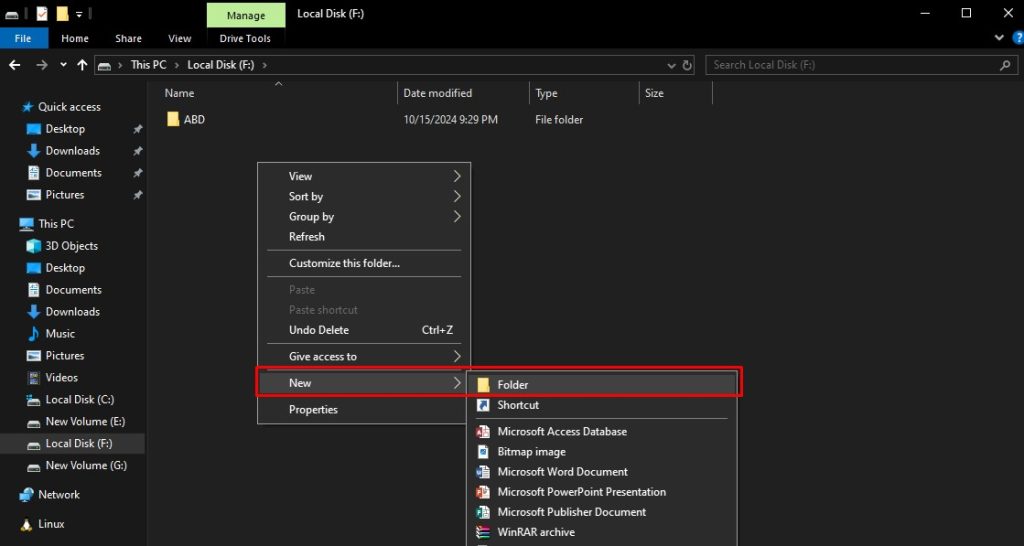
To avoid this, simply navigate to any drive, create a new folder (for example, name it “Steam”), and select this as the installation destination when prompted by the Steam installer. Once installed, Steam should run without displaying the error.
Scenario 2: Adding a New Steam Library
The “Steam library folder is not empty” error can appear when you’re trying to add a new Steam library and select a folder that already contains existing files. To resolve this, you’ll need to create a brand-new folder specifically for the Steam library—inside a new directory that doesn’t already have Steam-related files.
If you’ve already added all your library directories, you can still choose one of them, create a new subfolder, and then select that folder as your Steam library destination.
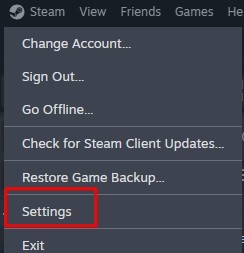
- Launch Steam and click the Steam menu in the top-left corner.
- Select Settings from the dropdown menu.
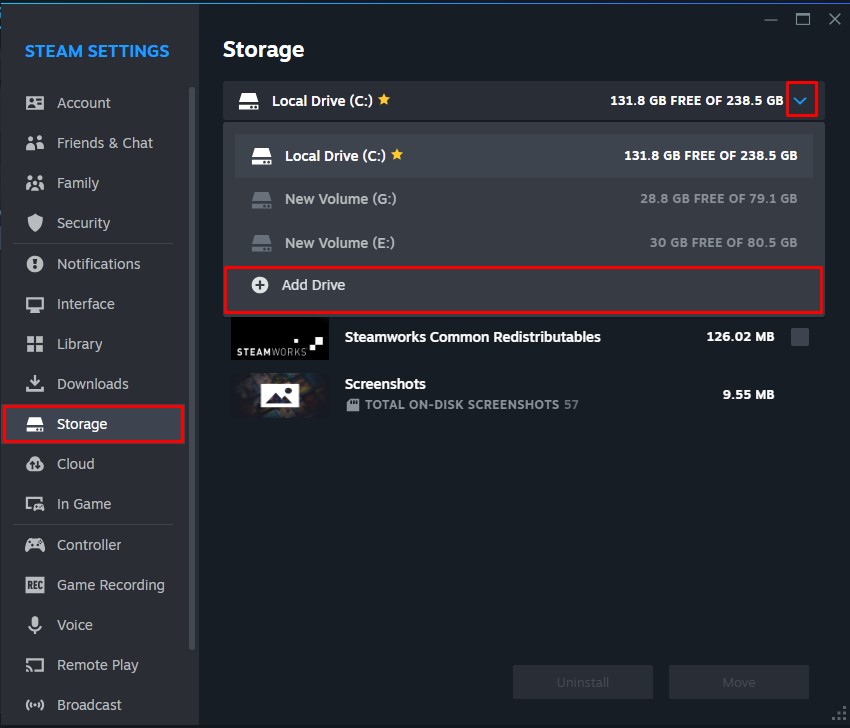
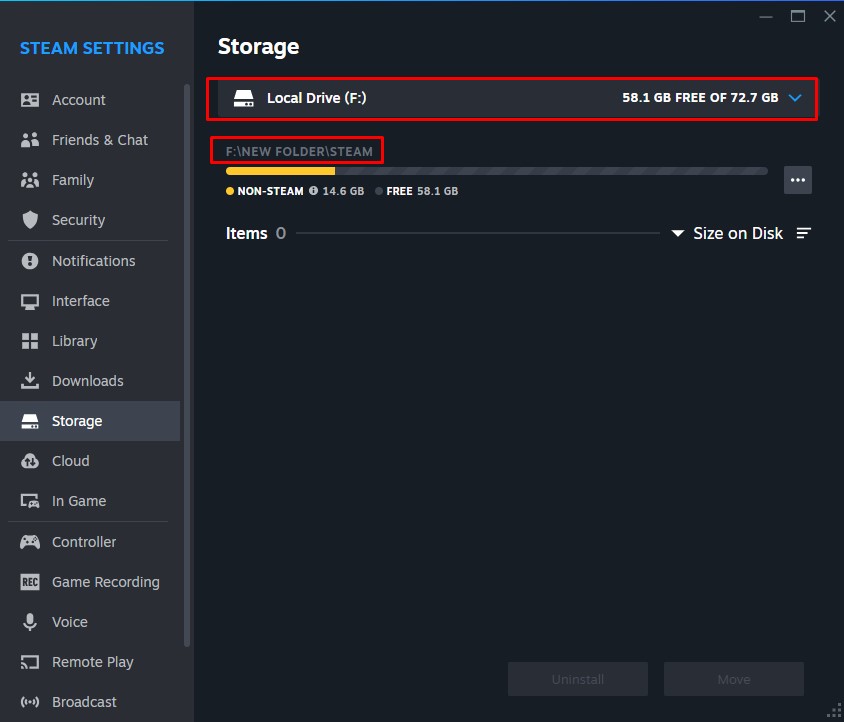
- Navigate to the Storage tab in the settings window.
- Click the drop-down menu next to your current drive and select Add Drive.
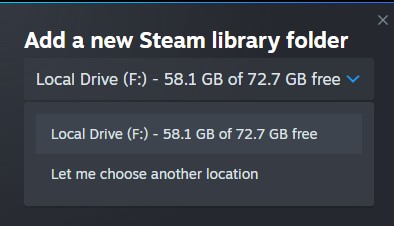
- From the new pop-up window, select Let me choose another location.
- Browse to and select your desired drive, then create a new folder (name it anything you prefer).
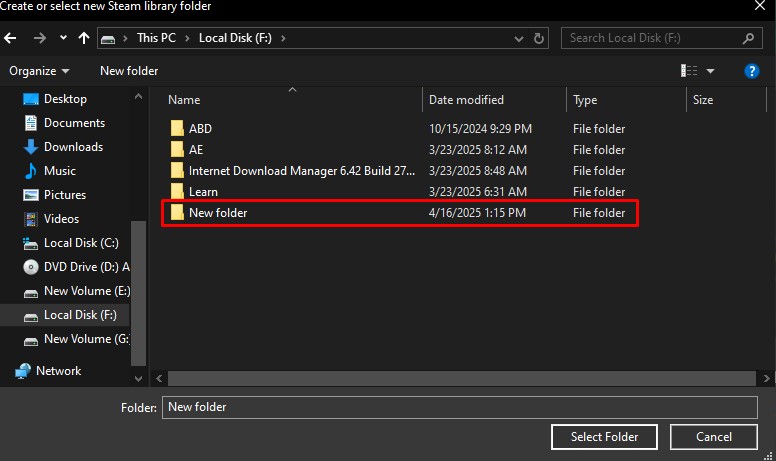
- Open this new folder and create a subfolder named exactly “Steam”.
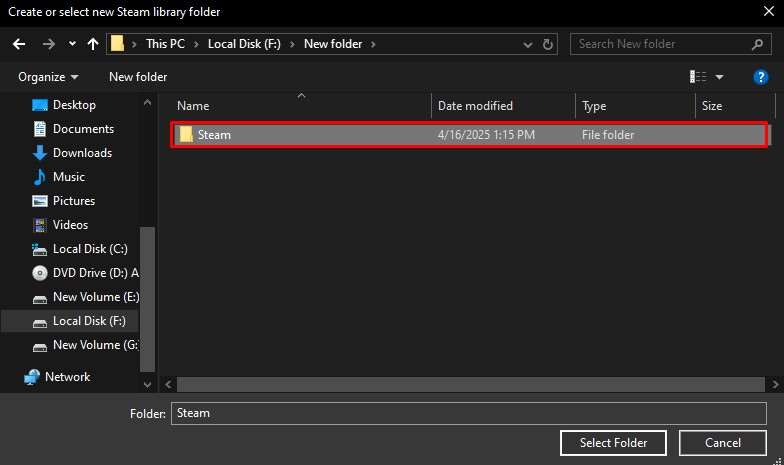
- Select this empty Steam folder as your library location.
- Return to the Storage drop-down menu and select your newly added drive.
- Close settings and begin your game installation.
- When prompted, select the same drive containing your new Steam folder.
- Click Install – this should resolve the error.
- Remember to use this same directory for future game installations.
Scenario 3: Moving Steam Installation or Game Files
While moving a game from one hard drive to another, you might encounter a similar error that says:
“Moving content for the following app has failed: Folder already exists.”
This usually happens when the destination folder already contains leftover files from a previous installation or move attempt. To fix this, you’ll need to delete the existing game folder at the destination drive and then try moving the game again.
Don’t worry—this won’t delete your game itself. Steam will move the game files properly, and you’ll still be able to play it from your preferred drive once the process is complete.
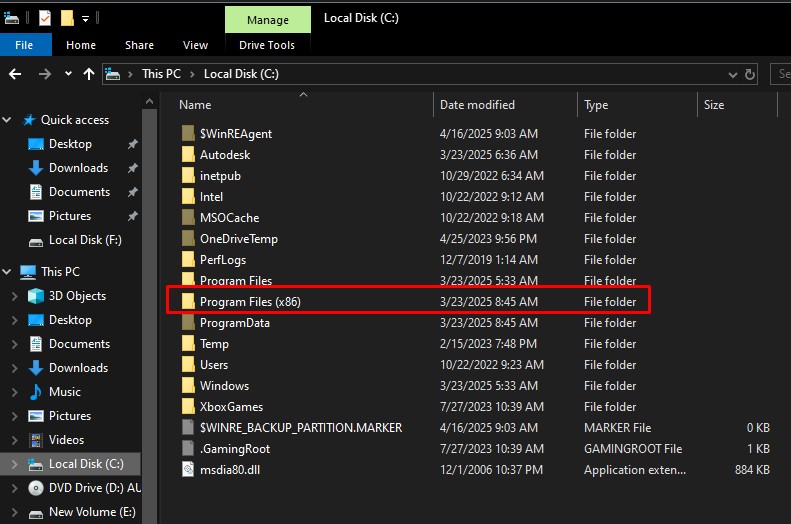
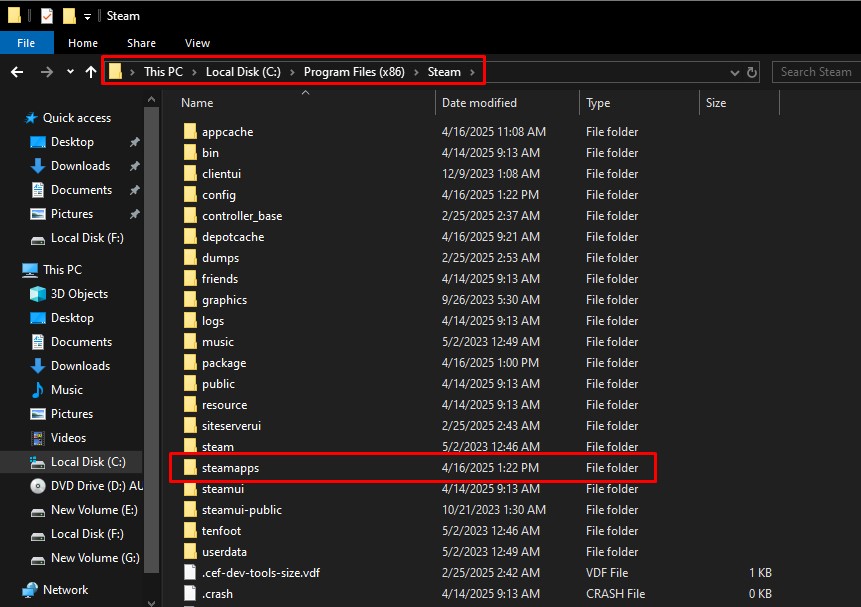
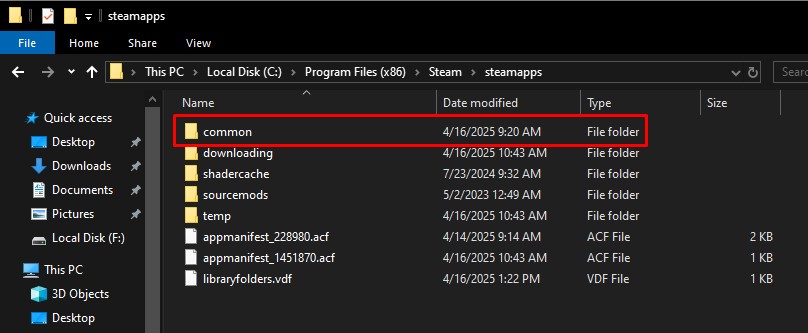
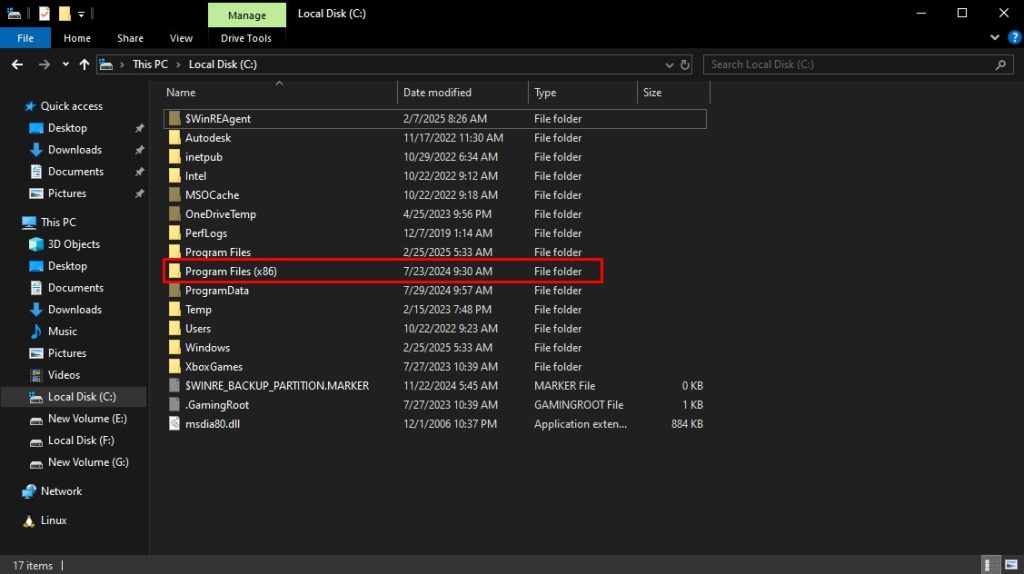
- Navigate to C:\Program Files (x86) in File Explorer.
- Open the Steam folder, then enter the steamapps folder.
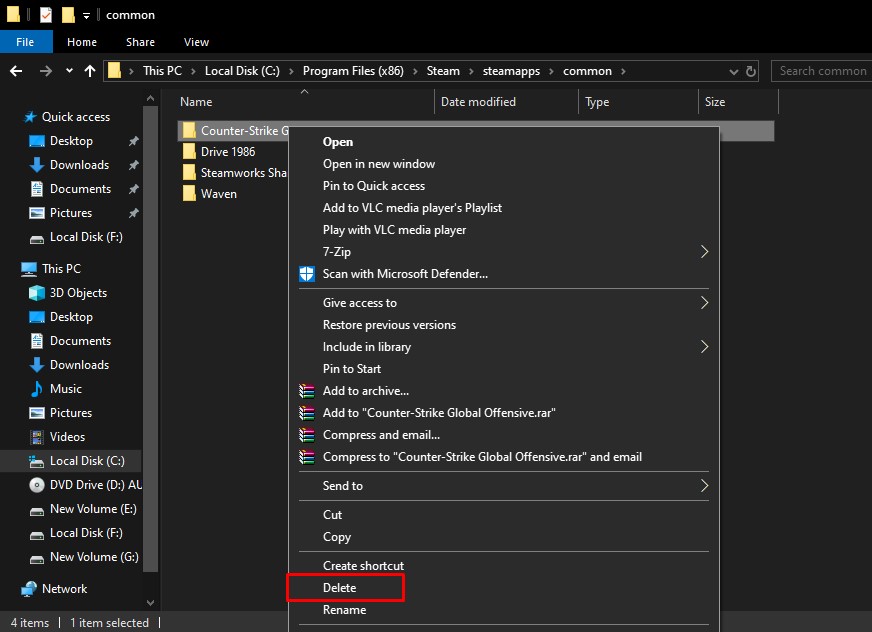
- Go into the Common folder and find your game’s folder.
- Delete the game’s folder (this removes local files but keeps your Steam installation intact).
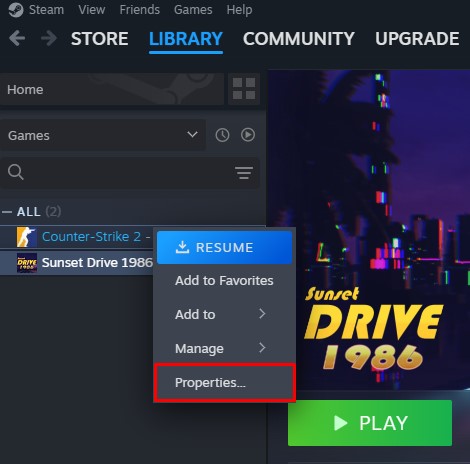
- Open Steam and right-click the game in your library.
- Select Properties from the context menu.
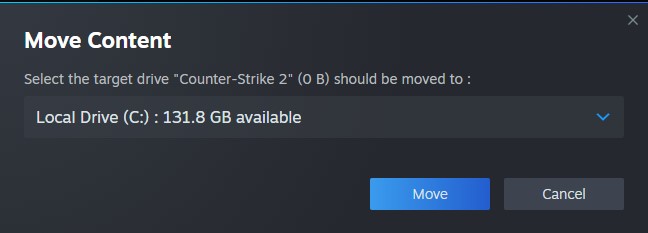
- Go to the Installed Files tab and click Move Install Folder.
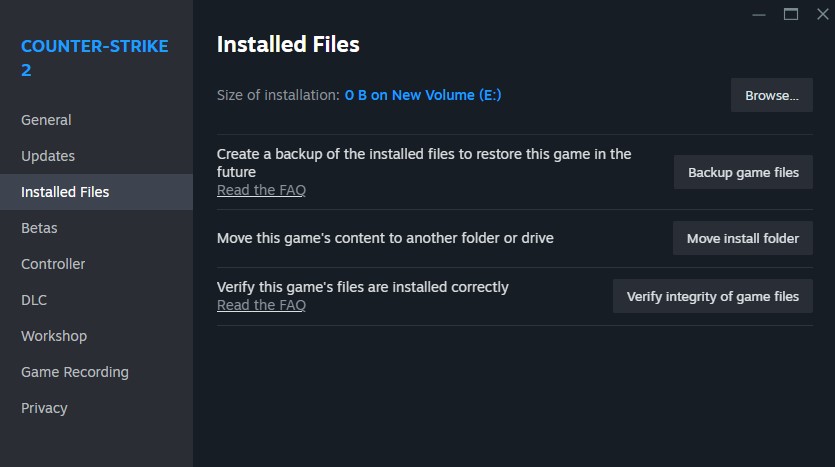
- Choose your destination drive from the dropdown and click Move.
- Wait while Steam moves your game files (time depends on game size).
- Once complete, you can launch and play your game from the new location.
Scenario 4: Reinstalling Steam Without Removing Previous Files
If you did not remove all the Steam files and are trying to reinstall it, you will face the “folder is not empty” error. To fix this issue, you must ensure that every Steam file is deleted before you reinstall the app.
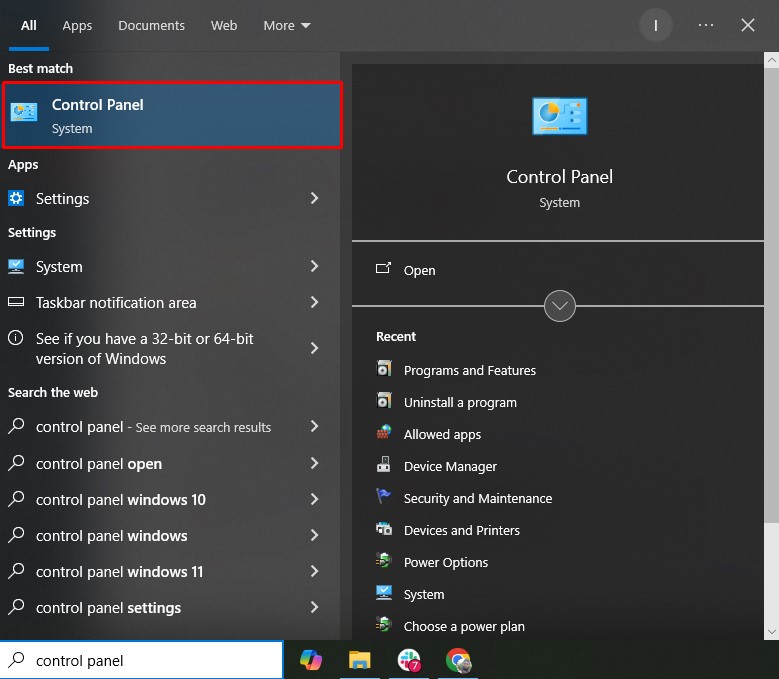
- Click the Start Menu and type Control Panel, then select it from the Best match results.
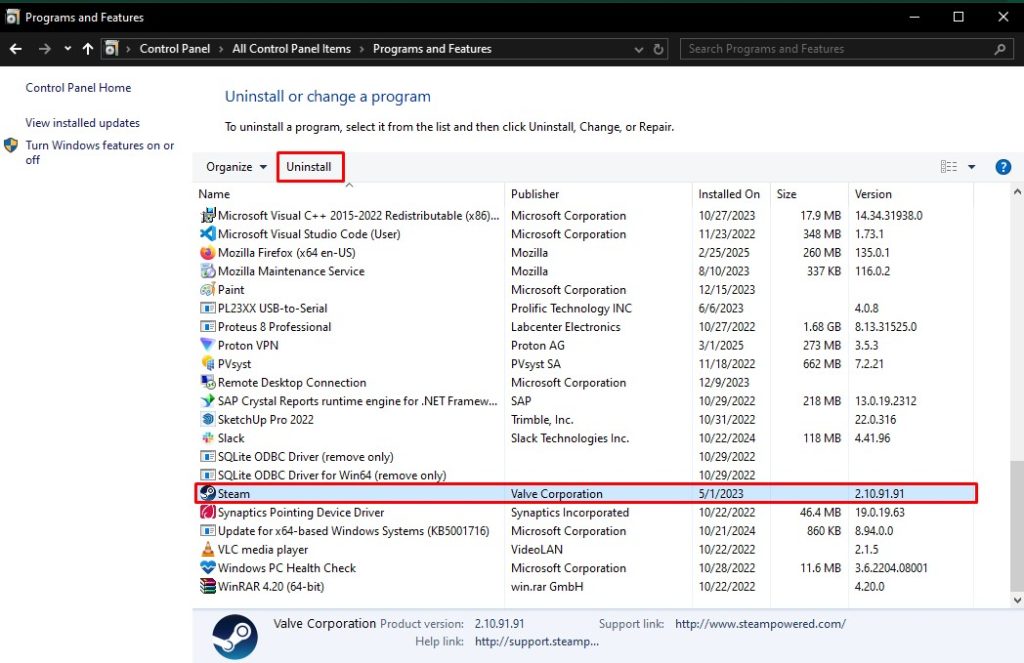
- In Control Panel, select Programs and Features.

- Locate Steam in the list, select it, then click Uninstall from the top menu.
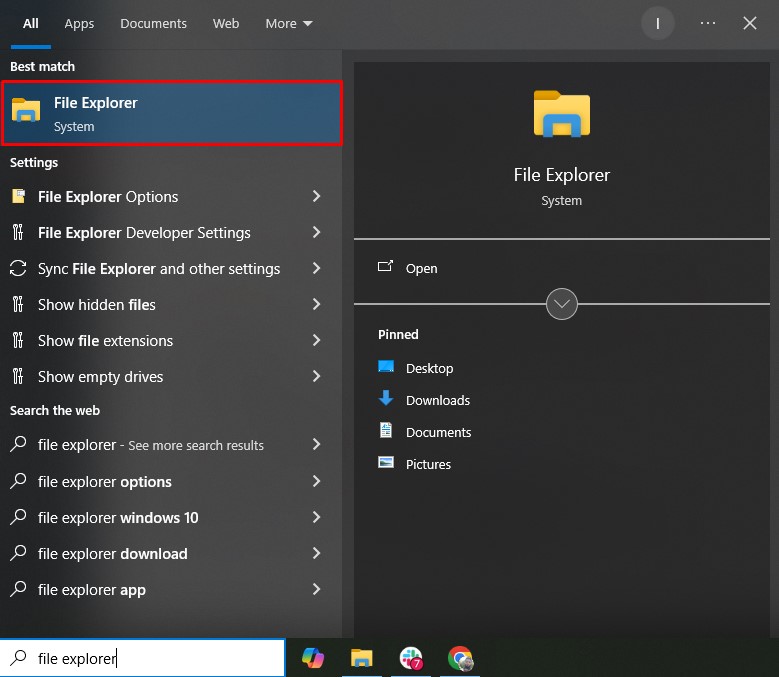
- Close Control Panel and reopen the Start Menu, then search for and open File Explorer.
- Navigate to This PC → Local Disk (C:).
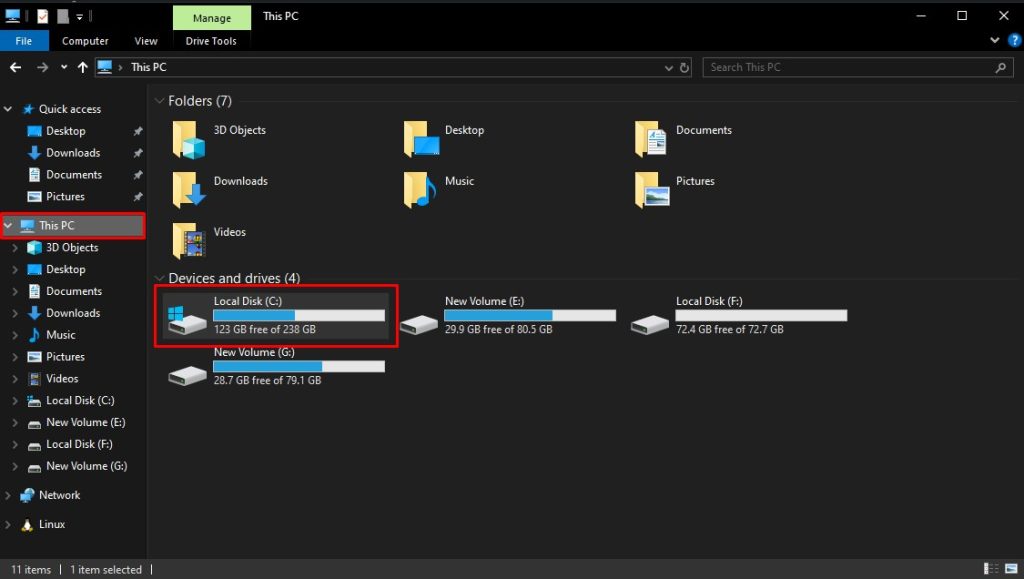 Note: If Steam was installed on another drive, navigate there instead.
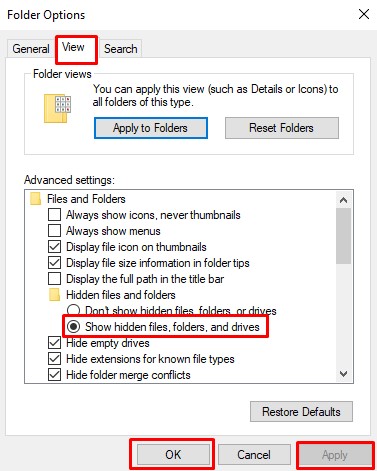
 - Click the View tab and select Options.

- In the View tab, enable Show hidden files, folders, and drives, then click Apply → OK.
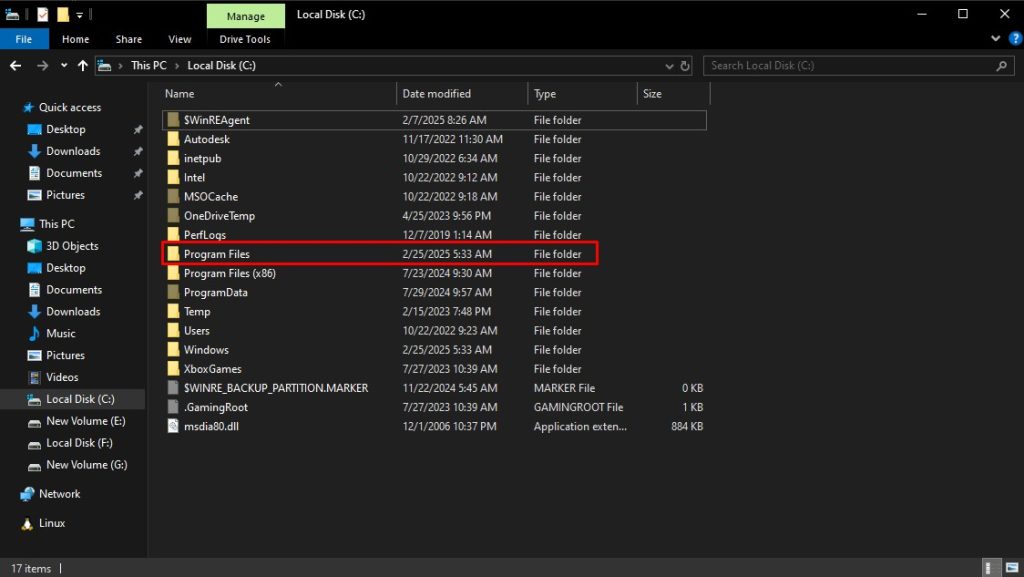
- Navigate to Program Files and delete any remaining Steam folder.
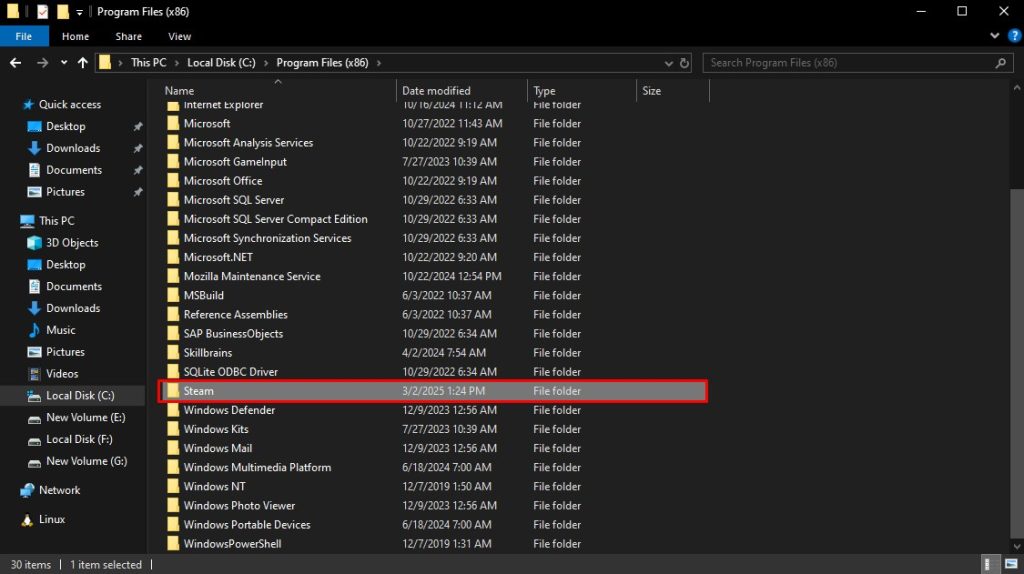
- Repeat the process in Program Files (x86) to ensure complete removal.
- Restart your computer to complete the uninstallation process.
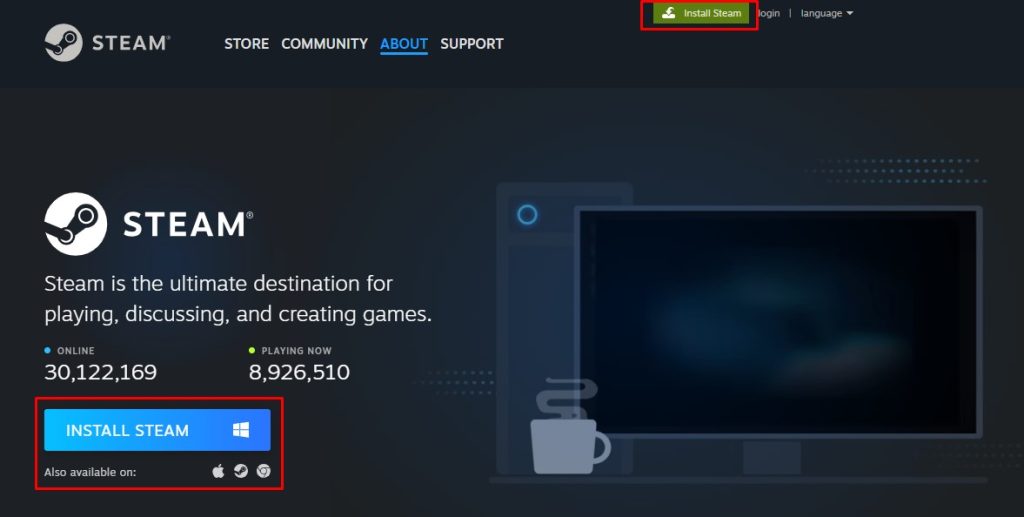
- Visit Steam’s official website and click Install Steam (twice: once on the homepage and again on the download page).
- Run the installer and choose a new folder location when prompted (don’t reinstall to the same location).
- Complete the installation and launch Steam – it should now work properly.
If issues persist, contact Steam Support for further assistance.