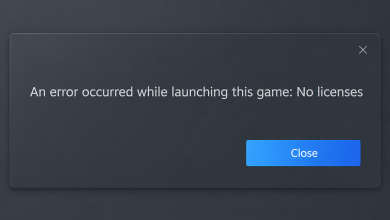
Steam disconnecting randomly? Try these fixes
Some users have been facing connectivity issues while trying to use the Steam client on their systems. As it turns out, for some users, the Steam client fails to connect to the internet upon launching it up. This refers to the friends list of the Steam client that allows you to communicate with your friends. In addition to that, for other users, the client loses connection while in-game and so forth. This can, in some cases, happen due to the Steam browser cache on your computer or at times, due to the DNS server that you are using. In this article, we are going to show you how to resolve the problem in question so just follow through.

As it turns out, internet connectivity is essential for the Steam client to operate properly. In some cases, the Steam client may be disconnecting due to the Steam servers facing an outage in which case all you can do is to simply wait for it. However, when the issue is only limited to your system, there are a number of troubleshooting steps that you can follow to reach a solution. In some rare instances, the problem in question can also originate due to your ISP. In case your issue persists after trying the mentioned methods down below, it is very likely that the problem is being caused by your ISP and as such, you will have to reach out to them.
Before we begin with the different methods, however, it is important to establish an understanding of the various possible causes of the issue in question. Therefore, without any further ado, let us jump into it.
Now that we have gone through the possible list of causes, let us get started with the different methods that you can use to troubleshoot the issue.
Clear Steam Browser Cache
The first thing that you should do when you encounter the problem in question is to clear out the browser cache. As it turns out, the Steam client comes with its own browser embedded into the client that can be used to navigate the Steam store or view community profiles.
As such, the browser creates a local cache that stores certain information about your usage. In some cases, when this cache gets corrupted or damaged, the problem in question can arise. If this case is applicable, you can resolve the issue by simply clearing out the browser cache. Follow the instructions given down below to do this:
- First of all, open up the Steam client on your computer.
- At the top left corner, click on the Steam option, and from the drop-down menu, choose the Settings option.

Opening up Steam Settings - On the Settings window, on the left-hand side, switch to the Web Browser tab.
- There, click on the Delete Web Browser Cache button and follow it up by clicking Delete All Browser Cookies.
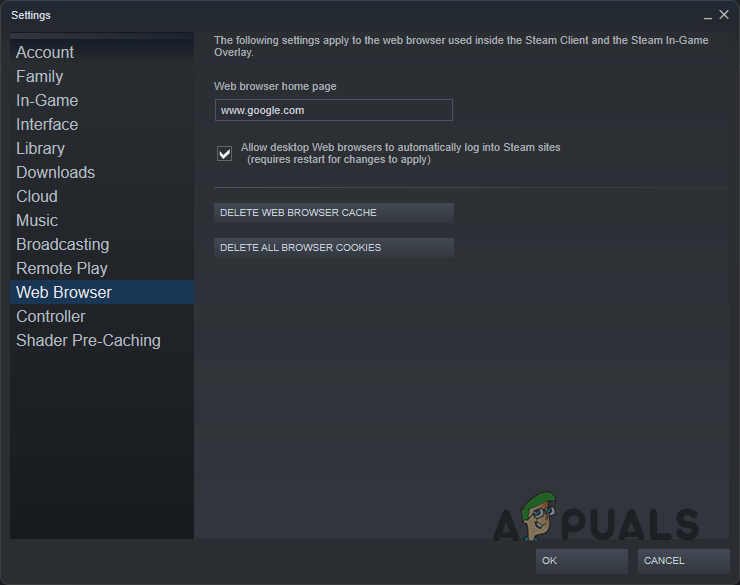
Clearing Steam Browser Cache - Once you have done that, click the OK button.
- With that done, your Steam client will be restarted. See if the problem still persists.
Disable Third-Party Antivirus
In some cases, the problem can also be caused due to the interference of a third-party application on your computer. This has become pretty common over these years and usually, the culprit behind such issues is the third-party antivirus program that you have installed on your system. These programs, while monitoring your system for malware, interfere with other apps and can often cause them to not work properly.
If you do have third-party antivirus software installed on your system, we would recommend disabling the third party security program completely temporarily to see if doing so resolves the issue. In case it does, you can whitelist the app on your antivirus program so that it no longer causes any issues with it.
Change DNS Server
Finally, the Domain Name System or DNS server that you are using on your computer can also cause the problem in question at times. By default, you use the DNS server that is provided by your ISP. However, should you face any issues with the default DNS server, you can easily change it on your computer to resolve any issues.
As such, you can try using a third-party DNS server from either Google or Cloudflare to see if that resolves the problem for you. Once you have changed your DNS server, you will be running some commands in the command prompt which will ensure that the new DNS server is registered properly on your system and the old cache is deleted. To do this, follow the instructions that are given down below:
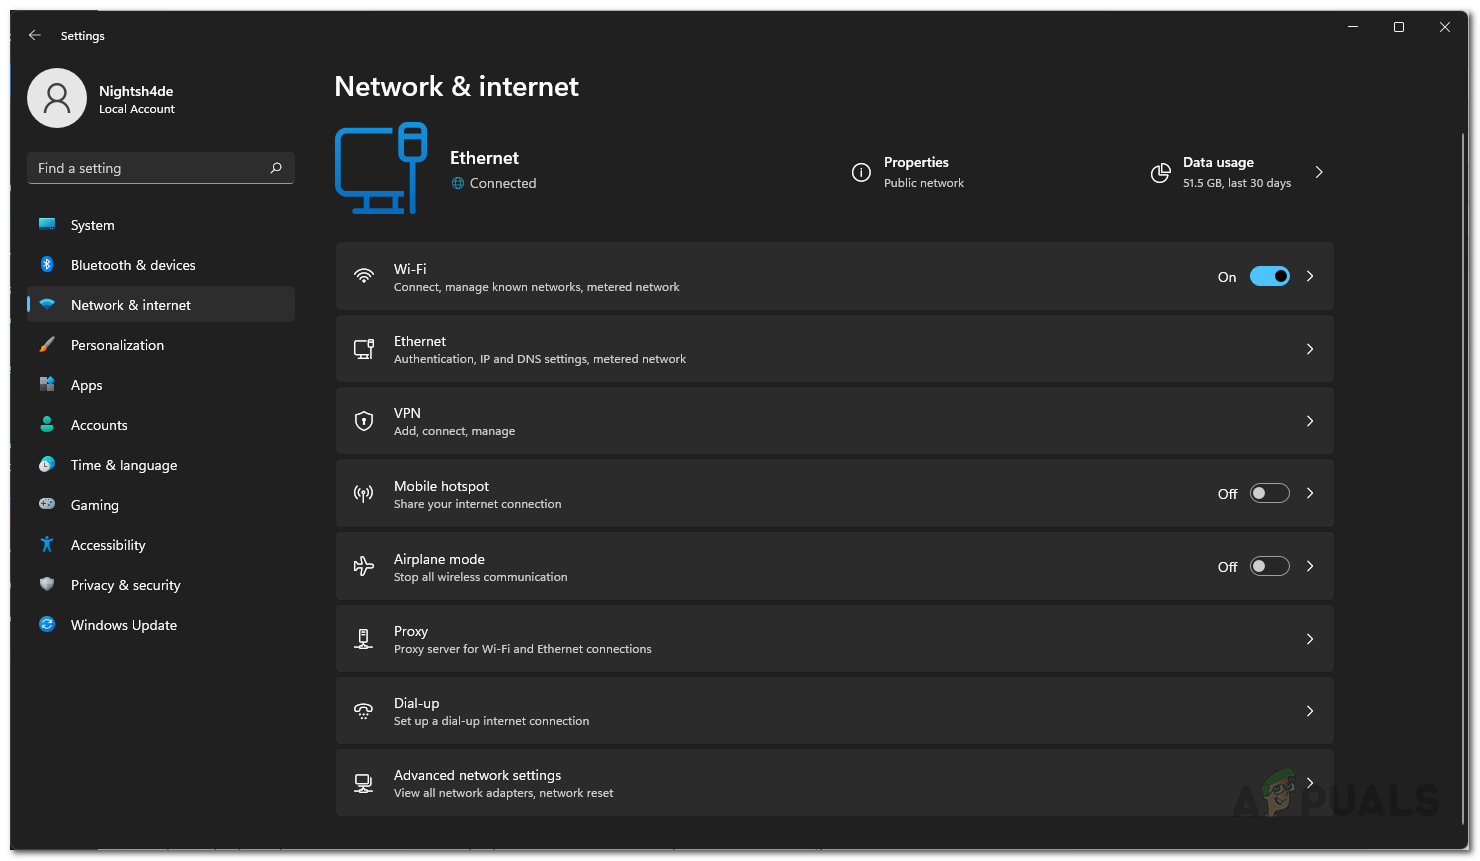
- To start off, right-click on the network icon on your taskbar and choose the Network and Internet settings option.

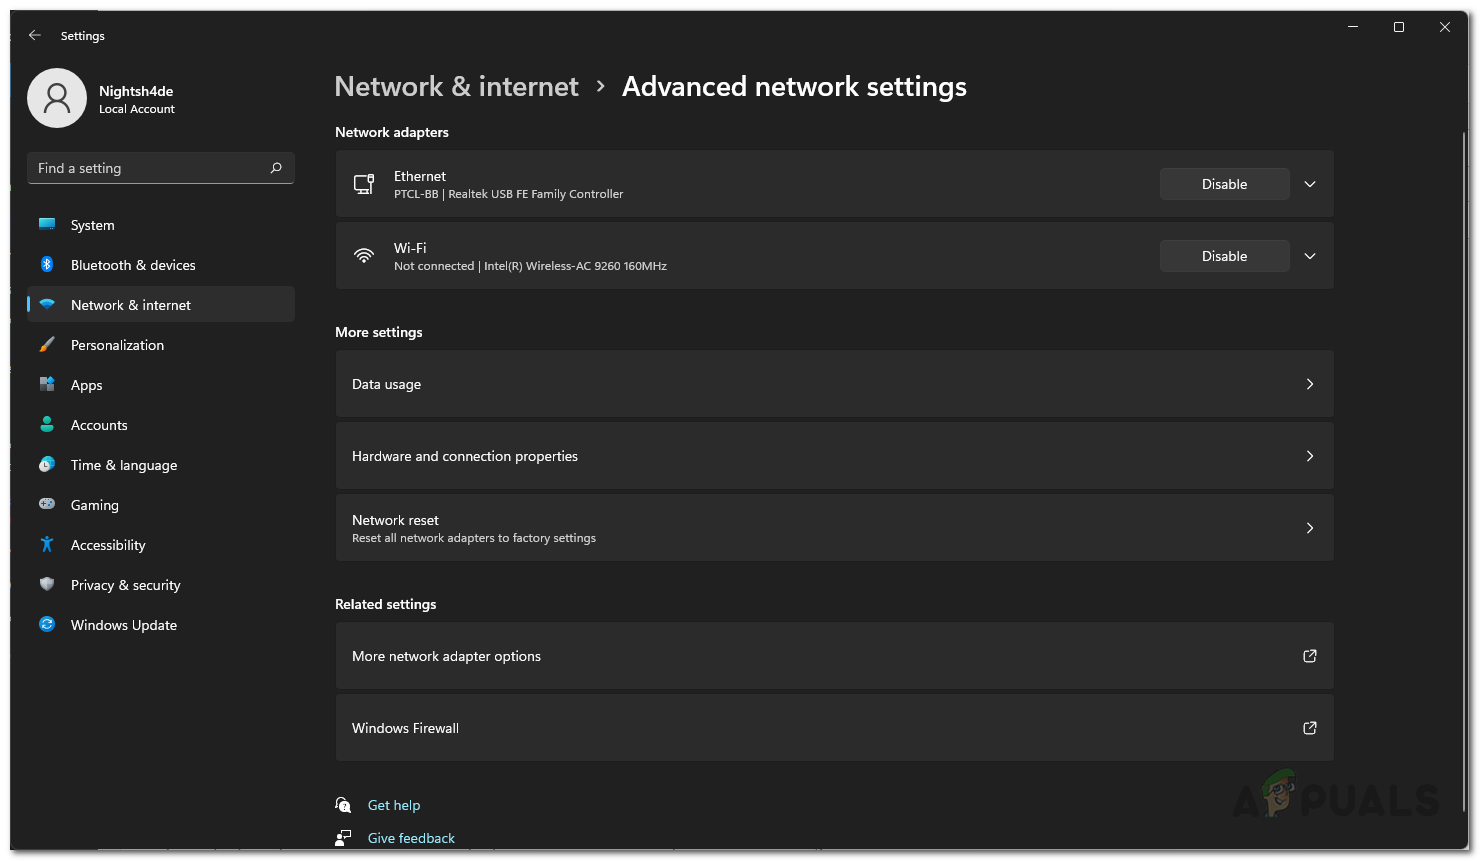
Opening up Network Settings - On the settings window, click on the Advanced network settings option.
Network Settings - After that, click on the More network adapter options option.
Advanced Network Settings - On the new window that comes up, right click on your network adapter and from the drop down menu, choose Properties.
- Then, on the Properties window, double click on the Internet Protocol Version 4 (TCP/IPv4) option.
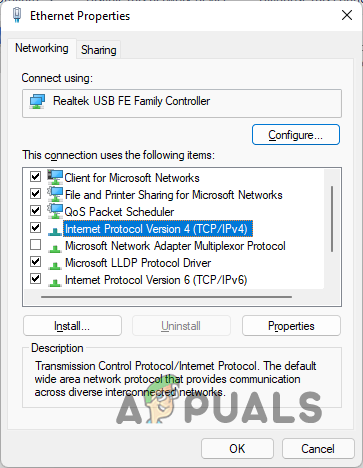
Ethernet Properties - Once you have done that, choose the Use the following DNS server addresses option and then provide one of the following addresses:
Google: 8.8.8.8 8.8.4.4
Cloudflare: 1.1.1.1 1.0.0.1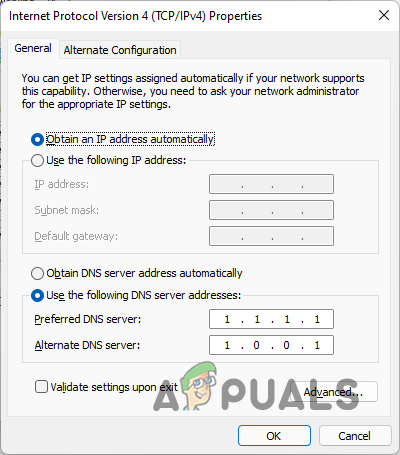
Changing DNS Server - Then, click the OK button.
- With that done, open up the command prompt by searching for it in the Start Menu.
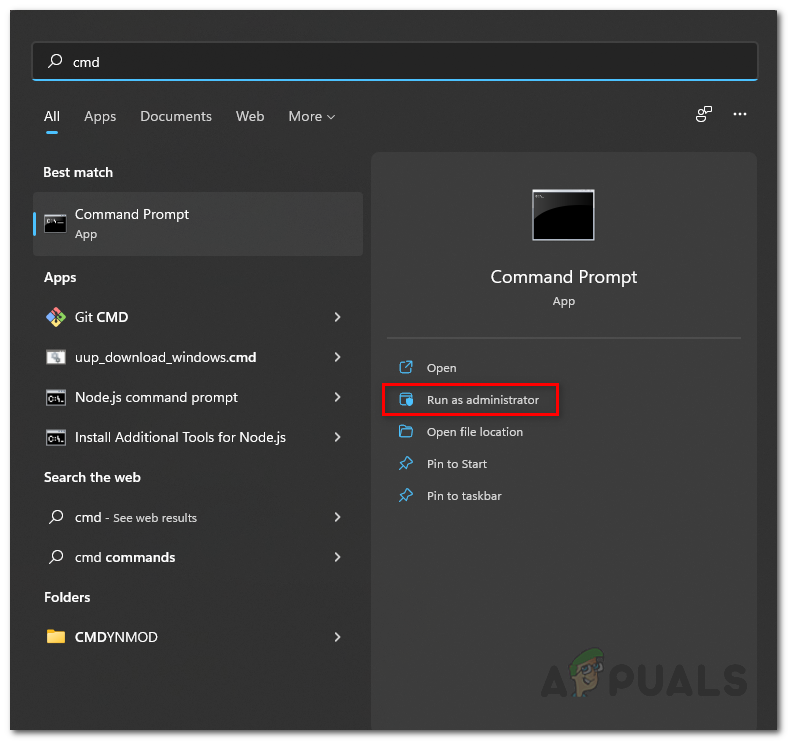
Opening up Command Prompt - In the command prompt window, type in the following commands one by one and hit Enter:
ipconfig /flushdns
ipconfig /release
ipconfig /renew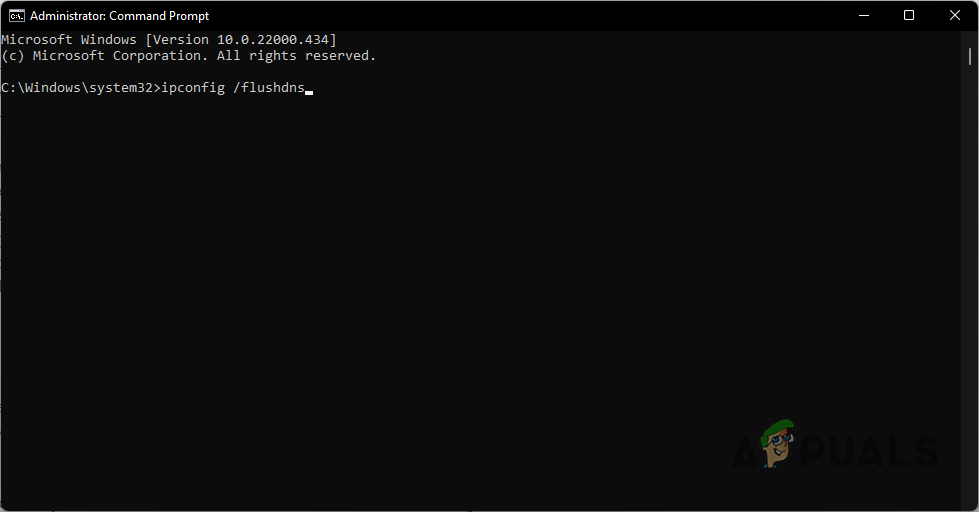
Flushing DNS - Once you have done that, go ahead and restart your Steam client.
- See if the problem still persists.