How to Fix the Issue of an SSD Not Showing Up in Windows
When an SSD shows up in the BIOS but not in Windows, it means there’s a problem with how the system talks to the drive. Usually, this happens because the SSD isn’t set up or doesn’t have a drive letter, so Windows can’t access it.
Common reasons include the SSD not being initialized, missing a drive letter, or having the wrong file system. Also, outdated or missing drivers can stop Windows from recognizing the SSD.
In this article, we will discuss different ways to solve this error.
1. Format and Assign a Letter to SSD
When an SSD doesn’t show up in Windows, it’s usually because it hasn’t been formatted or doesn’t have a drive letter. Formatting it and assigning a drive letter ensures Windows recognizes it in File Explorer and makes it ready to store data.
Please Note that formatting a drive will erase all data on it. It is essential to back up any important data before proceeding with this step to prevent data loss.
1.1. Using Disk Management
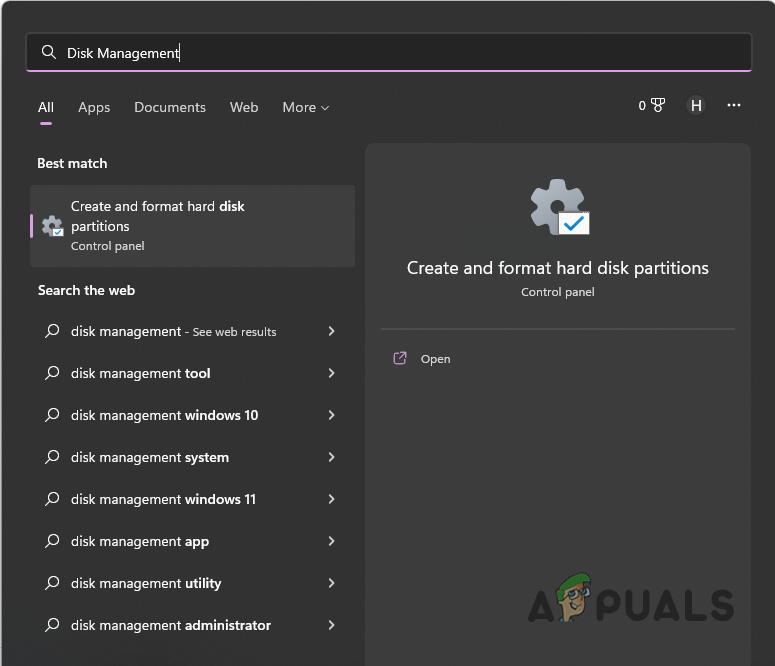
- Open the Start Menu, search for Disk Management, and launch it.
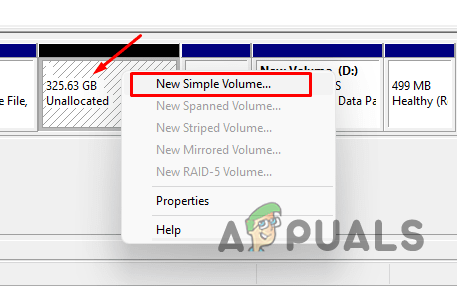
Opening Disk Management - If your SSD is not initialized, right-click it and select Initialize Disk.
- Right-click the Unallocated space and choose New Simple Volume to begin partitioning.
Creating New Simple Volume - Specify the partition size and click Next.
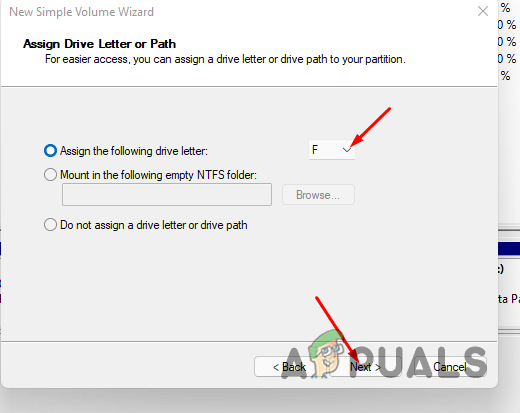
- Select a drive letter for the new partition and click Next.
Assigning Letter to Partition - Choose Format this volume with the following settings.
- Set the File system to NTFS and optionally name the partition.
- Check Perform a quick format.
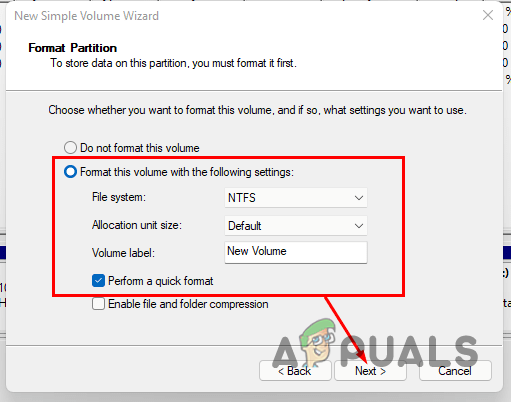
Formatting New Partition - Click Next to finish.
1.2. Using Diskpart
In case the SSD does not appear in Disk Management, the command-line utility diskpart is an alternative.
- Open the Start Menu, search for ‘Command Prompt’, and select Run as administrator.
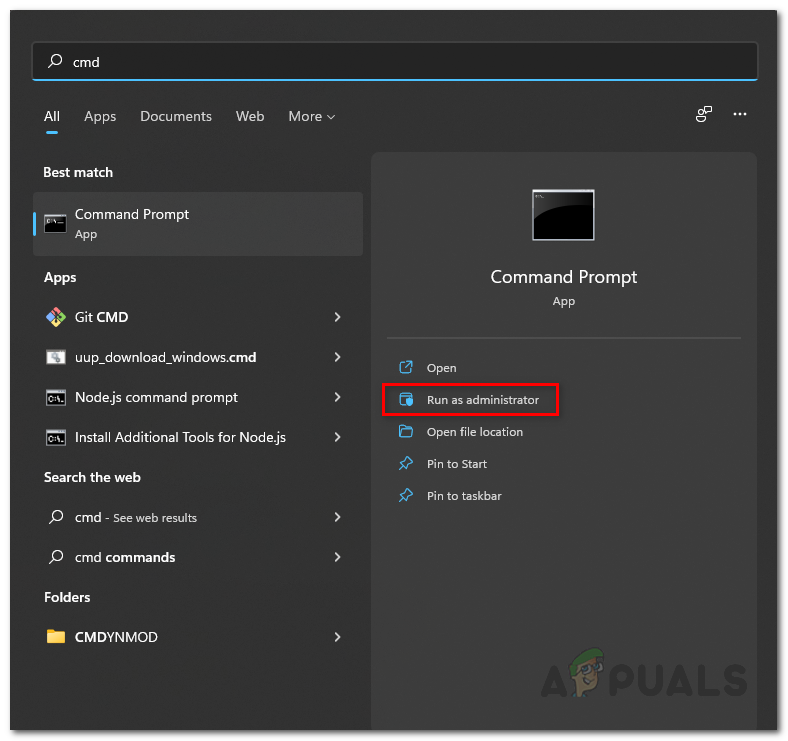
Running Command Prompt as Admin - In the Command Prompt, type diskpart and press Enter.
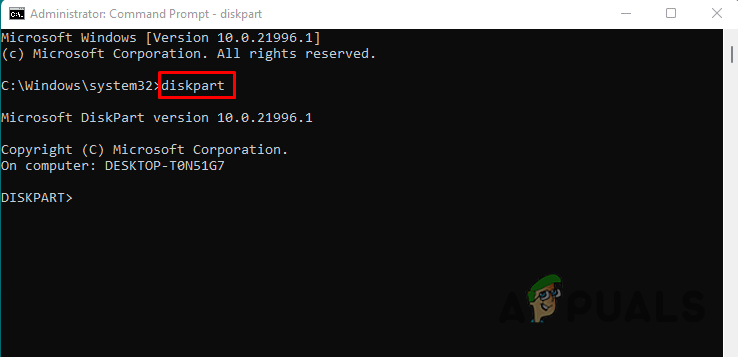
Opening Diskpart utility - Type list disk and press Enter to see available drives.
- Type select disk X, replacing X with your SSD’s number.
- To create a partition, type create partition primary size=X, where X is the size in MB (e.g., 102400 for 100 GB).
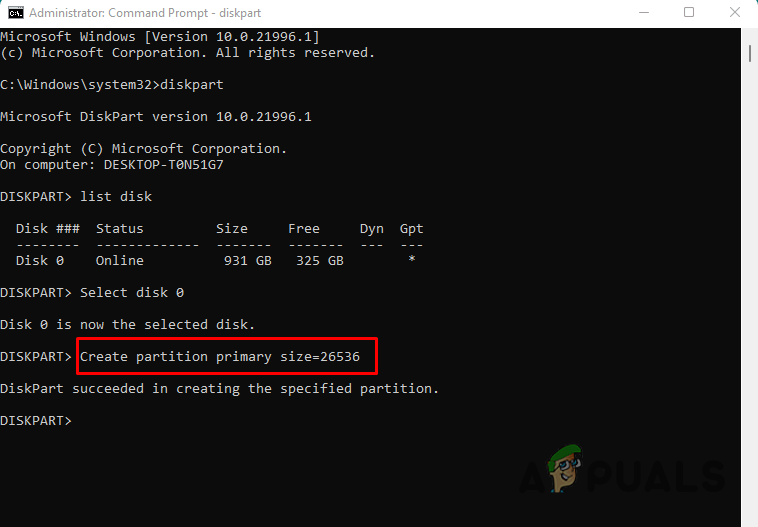
Creating Partition in Diskpart - Format the partition using format fs=ntfs quick.
- Assign a drive letter with assign letter=X, substituting X with your chosen letter.
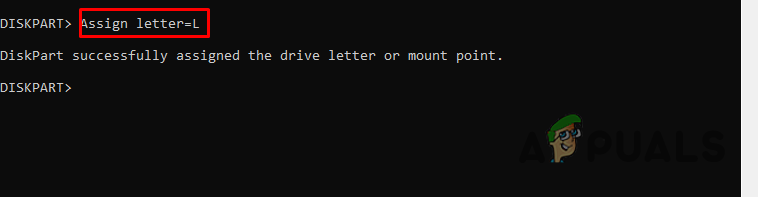
Assigning Letter in Diskpart - Check if the SSD is now visible in File Explorer.
Manipulating disk partitions can lead to data loss if not done correctly. Please proceed with caution and ensure you have backups of any important data.
2. Check SSD Drive Installation
Properly installing an SSD is key for it to work. Making sure the drive is firmly connected to the motherboard and power supply helps avoid problems like loose cables, which can stop Windows from detecting it. This basic check solves hardware issues before moving to software fixes.
Another important consideration is the PC’s hardware configuration. The motherboard’s chipset and the system’s PCIe lane distribution, influenced by the CPU, determine which M.2 slots can be used. In certain configurations, using an M.2 slot may disable some PCIe lanes, resulting in hardware recognition issues.
3. Disable Fast Startup
A quick boot process can sometimes cause the system to miss detecting new hardware like an SSD. Turning off Fast Startup makes sure the system fully checks all devices during startup, increasing the chances of the SSD being detected properly.
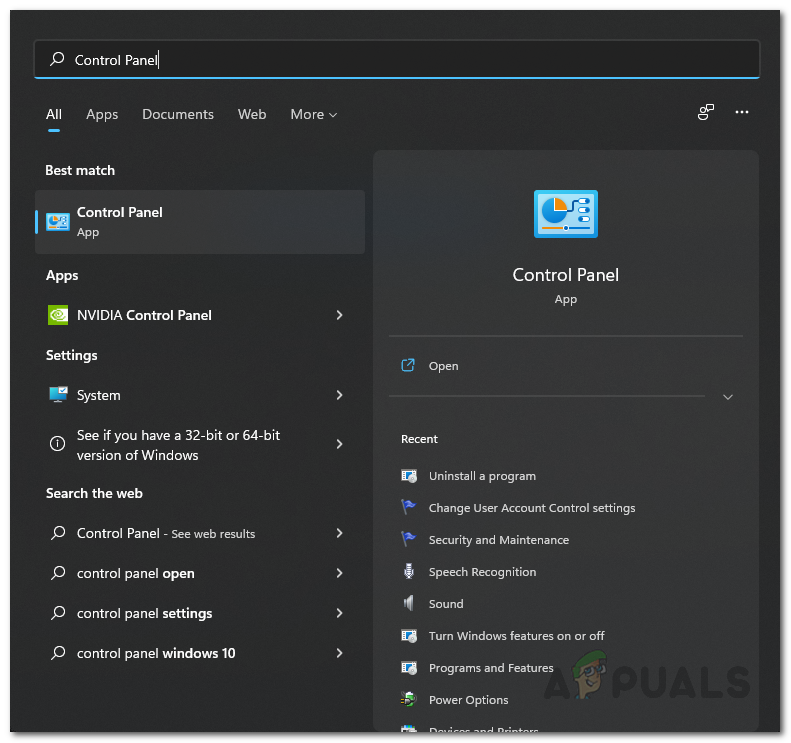
- Open the Start Menu, search for Control Panel, and open it.
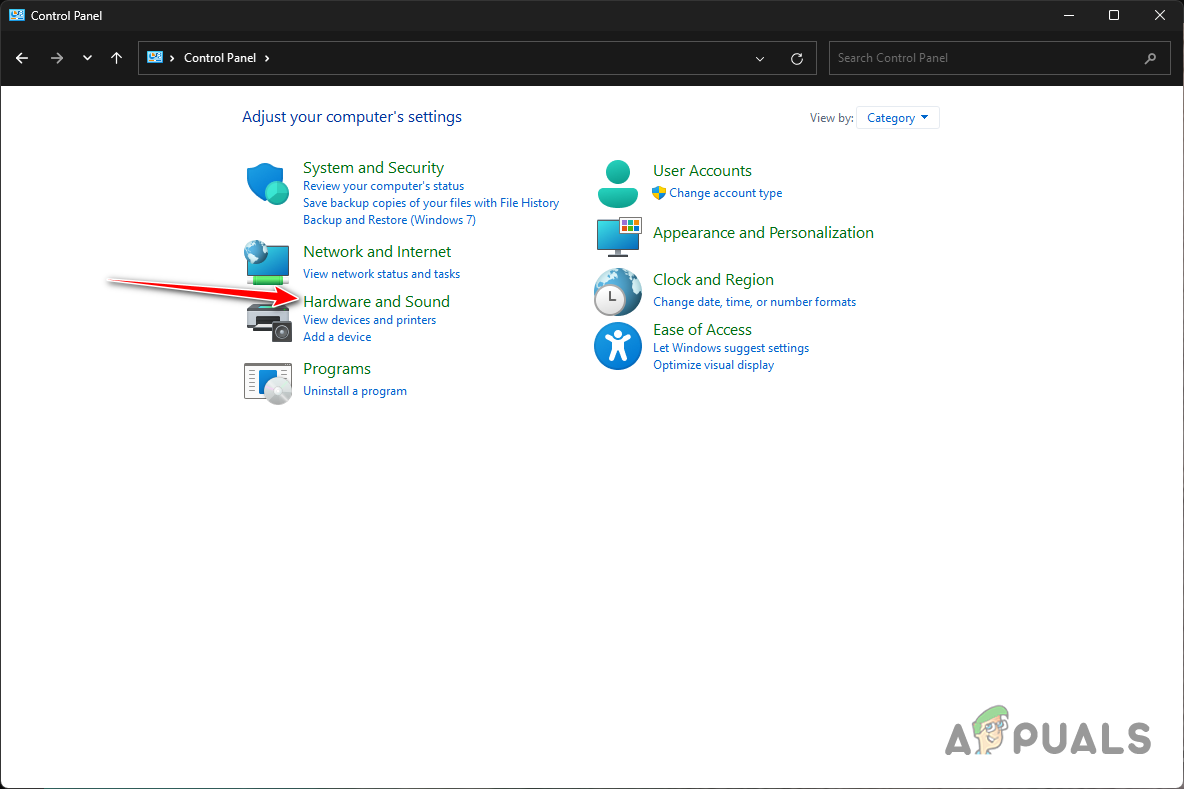
Opening Control Panel - Navigate to Hardware and Sound > Power Options.
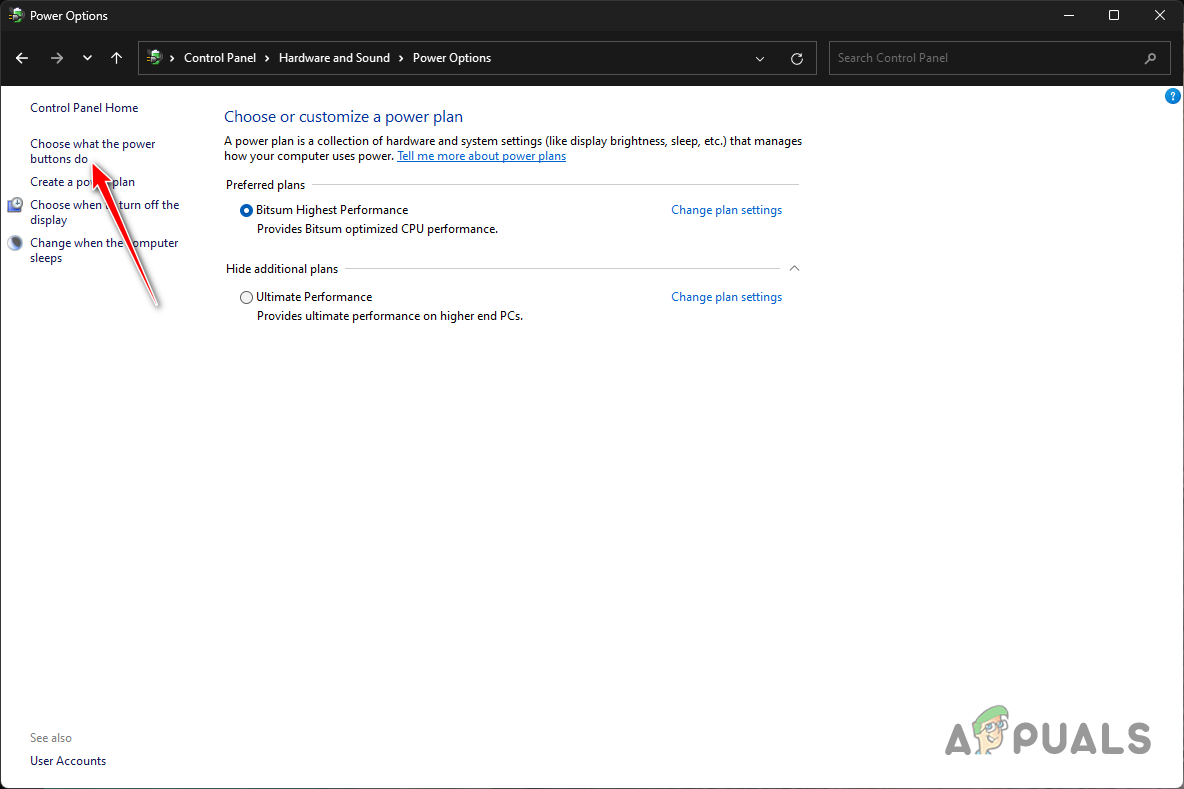
Navigating to Hardware and Sound - Select Choose what the power buttons do from the left menu.
Navigating to Choose what power buttons do - If needed, click Change settings that are currently unavailable. Then, uncheck Turn on fast startup and click Save changes.
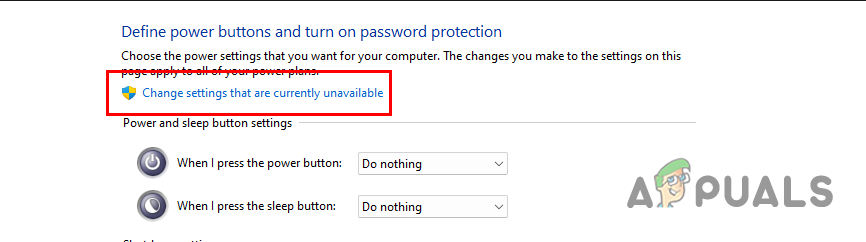
Change settings that are currently unavailable option
4. Boot into the SSD
Making sure your system boots from the SSD can fix detection issues by setting it as the main boot device in BIOS. This avoids conflicts with other drives and verifies that the SSD is set up correctly, helping the system to recognize it properly.
Please note if the SSD is intended for storage rather than booting an OS, modifying the boot order is unnecessary.
6. Disable RAID
Switching from RAID to AHCI mode can help fix SSD recognition problems because RAID setups often need specific drivers that Windows might not find on its own. By turning off RAID, the system uses a simpler setup that is more commonly supported, making sure the SSD is detected and accessible.
Before altering RAID settings, ensure all necessary data is backed up, as disbanding a RAID array will result in data loss. Then proceed to boot into your BIOS and disable RAID. After doing so, check if the drive is now detected.
7. Reinstall Windows
If none of the solutions work, reinstalling Windows can fix deep system issues. It replaces damaged files, resets settings, and helps the OS recognize and use the SSD correctly.
Please be aware that reinstalling Windows will result in the loss of data on your system partition. Back up any important files before proceeding. Our guide on Clean Installing Windows offers detailed steps for this process.
8. Faulty SSD
If reinstalling Windows doesn’t work, the problem might be with a faulty SSD. A bad SSD can stop it from being detected or working properly, even with software fixes. Try testing it in another system or using manufacturer tools to check its condition. If it’s confirmed to be faulty, replacing the SSD is necessary to fix the issue.


The third party worked for me. As to why windows disk manager did not work I have no idea. Spent 3 hours and once I made the petition using the free version windows noticed it.
Pro tip though not mentioned and is important. Make sure to change to AcHI. You will need to boot into safe mode before making the change in BIOS. Once change is done and you have done a full cycle of logging back in while in safe mode you can exist safe mode and boot from normal. You do this to avoid a fresh install.