How to Fix Security Intelligence Update Not Downloading?
Windows 11 users have been facing a problem with installing the security intelligence update on their computers lately. According to most users, the update gets stuck after installing just a bit. In some cases, the update does not install at all.
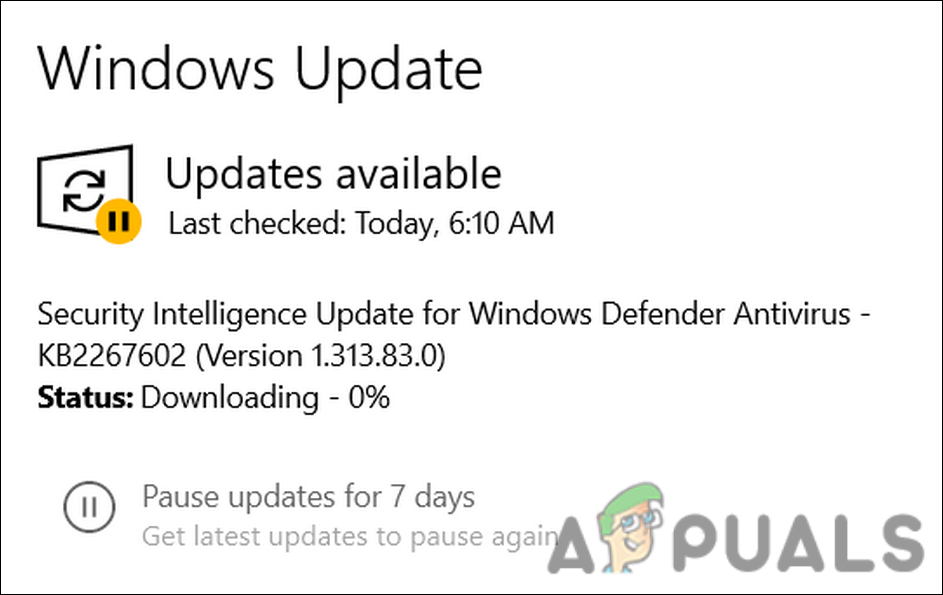
We had a look at the issue and discovered that it can be caused due to a temporary glitch or a corruption error in the system. In most cases, a simple restart fixes this problem. If that does not help, you can try running the built-in troubleshooting utilities to fix the problem.
Below, we have listed several troubleshooting methods that will help you resolve the issue and download the security intelligence update without any problems.
1. Install the Update Manually
You can install the updates manually if they aren’t downloading from Windows Update section.
For this, you need to head over to the Microsoft update catalog using your browser and look for the update there. Once found, simply download and install it online.
Here is all you need to do:
- Launch your browser and navigate to the Microsoft update catalog.
- Type the KB number of the targeted update in the search area on the top of the screen and click Enter.
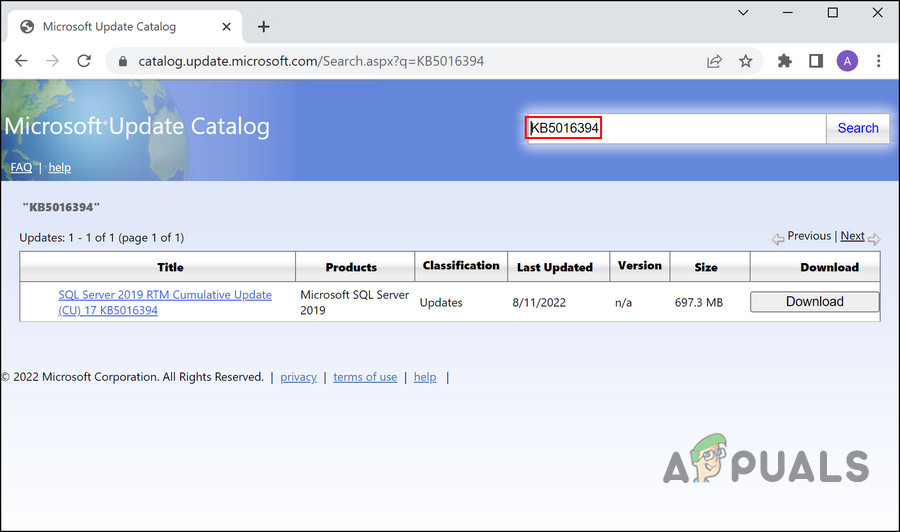
Enter the KB number of the update - The catalog should now display a list of appropriate options. Locate the right update for your device and click on the Download button for it.
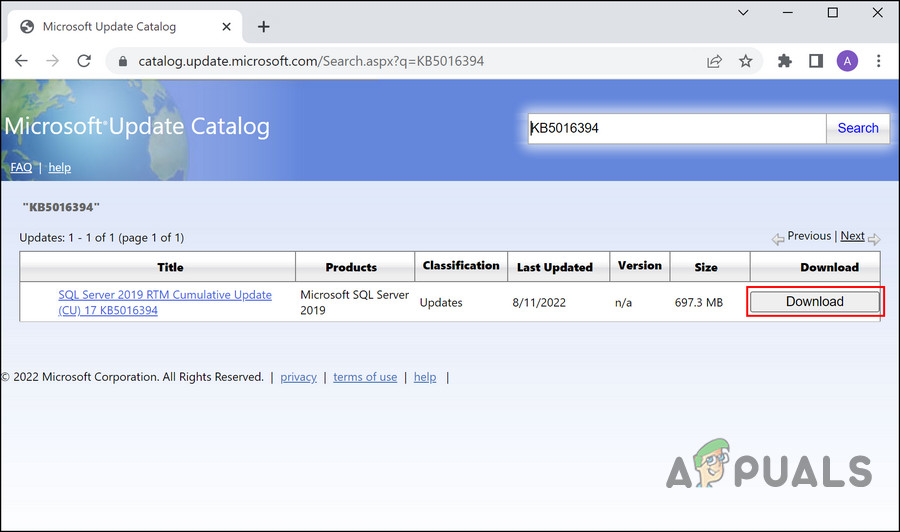
Download the update manually - After the update is downloaded, click on to Install it.
- Follow the on-screen instructions to complete the installation process.
2. Run System Scans
It may be possible to resolve the problem using the built-in Microsoft-developed utilities if it is caused by a corruption error or virus inside the system.
We will use System File Checker (SFC) and DISM (Deployment Image Servicing and Management) in this situation. With SFC /scannow, you can scan all protected system files and replace corrupted ones with cached copies located in %WinDir%\System32\dllcache.
In contrast, DISM.exe can prepare and service Windows images, such as Microsoft Windows PE, Microsoft Windows Recovery Environment, and Microsoft Windows Setup. Generally, it is used to fix issues not resolved by SFC and is considered more powerful than SFC.
Here is how you can run the SFC and DISM utilities:
- Press cmd in the search area of the taskbar and click on Run as administrator.
- In the Command Prompt window, execute the following command:
sfc /scannow
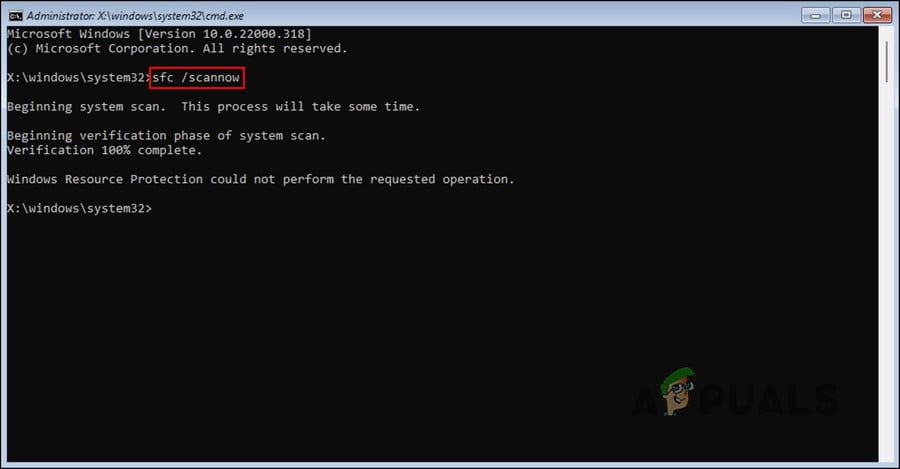
Execute the sfc command - Once the command is executed, move forward with executing the DISM command:
DISM /online /cleanup-image /restorehealth
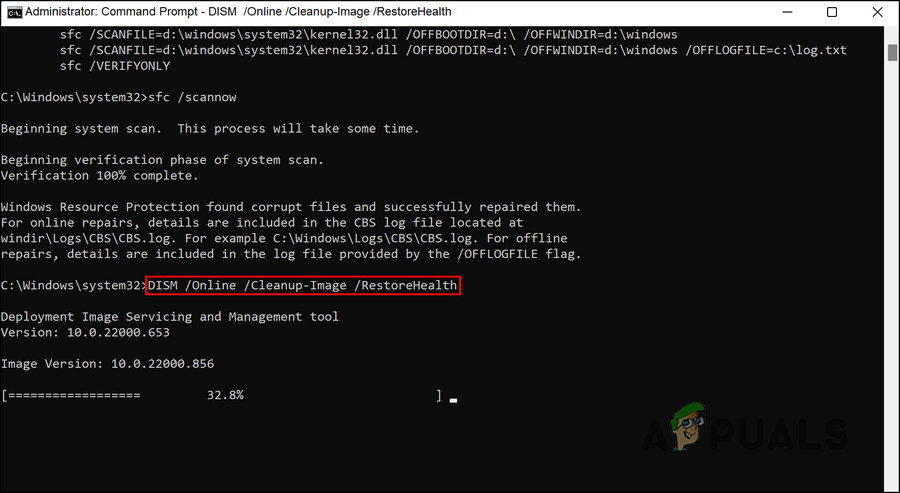
Run the restore health command
Hang in there while this command finishes. When the command has been executed, close the Command Prompt window and try installing the pending security update again.
3. Run the Update Troubleshooter
Problems related to Windows updates can also be resolved using the update troubleshooter. This utility is developed by Microsoft specifically to identify potential problems within the system that might be causing the issue and then resolve them.
Here is how you can run the update troubleshooter:
- Press Win + I keys together to open Windows Settings.
- Choose System from the left pane.
- Select Troubleshoot > Other troubleshooters.
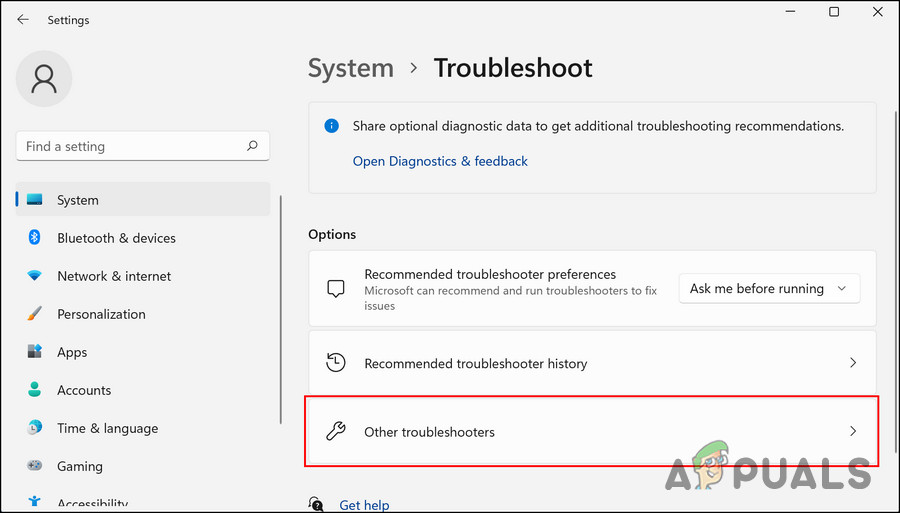
Click on the Other troubleshooters option - In the following window, look for the Windows Update troubleshooter and click on the Run button for it.
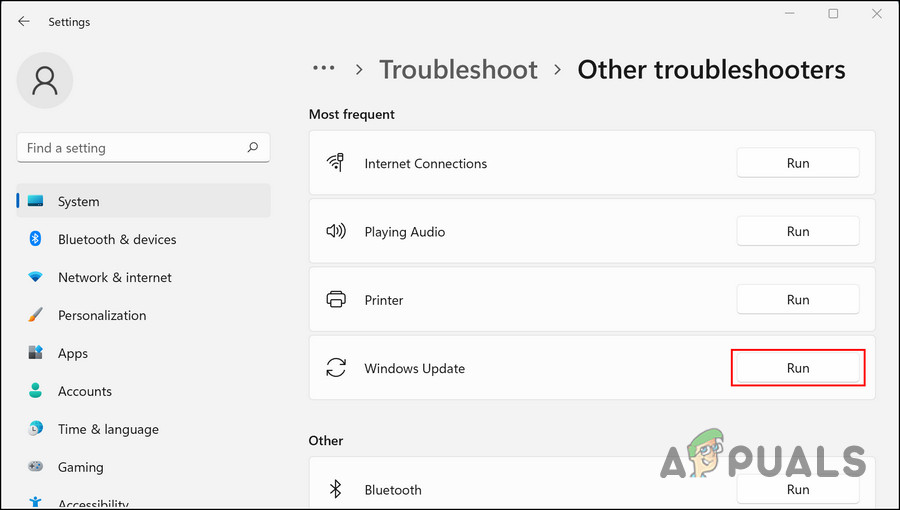
Click on the Run button - Wait for the troubleshooter to scan for errors. If it finds any issues, it will notify you and in that case, click on Apply this fix to apply the solution suggested by the troubleshooter.
- If the troubleshooter fails to identify the problem, click on Close the troubleshooter and move to the next method below.
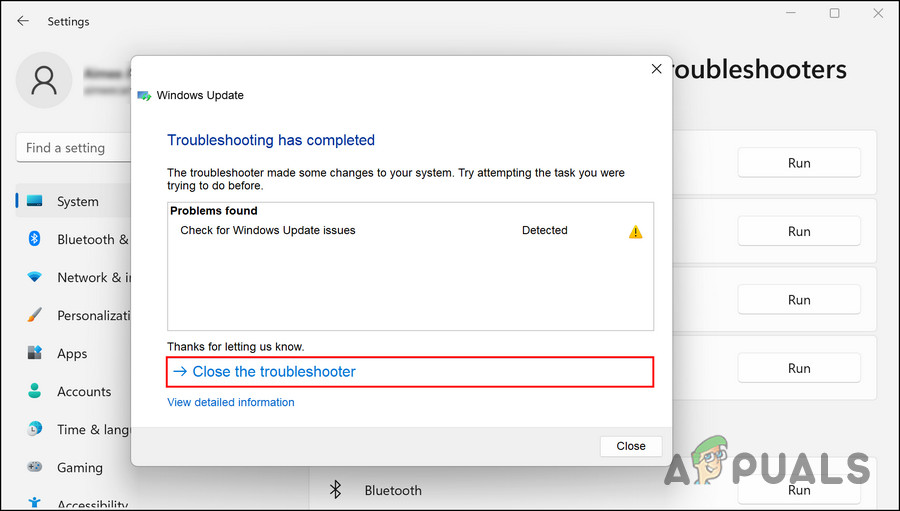
Click on the Close the troubleshooter
4. Reset Windows Update Components
Your Windows update components might also be corrupt, preventing you from installing the latest system and security updates.
You can reset the Windows update components to resolve the issue if this happens.
Follow these steps to proceed:
- Type Notepad in Windows search and click Open.
- In the Notepad window, type the commands listed below:
SC config trustedinstaller start=auto

net stop bits

net stop wuauserv

net stop msiserver

net stop cryptsvc

net stop appidsvc

Ren %Systemroot%\SoftwareDistribution SoftwareDistribution.old

Ren %Systemroot%\System32\catroot2 catroot2.old

regsvr32.exe /s atl.dll

regsvr32.exe /s urlmon.dll

regsvr32.exe /s mshtml.dll

netsh winsock reset

netsh winsock reset proxy

rundll32.exe pnpclean.dll,RunDLL_PnpClean /DRIVERS /MAXCLEAN

dism /Online /Cleanup-image /ScanHealth

dism /Online /Cleanup-image /CheckHealth

dism /Online /Cleanup-image /RestoreHealth

dism /Online /Cleanup-image /StartComponentCleanup

Sfc /ScanNow

net start bits

net start wuauserv

net start msiserver

net start cryptsvc

net start appidsvc
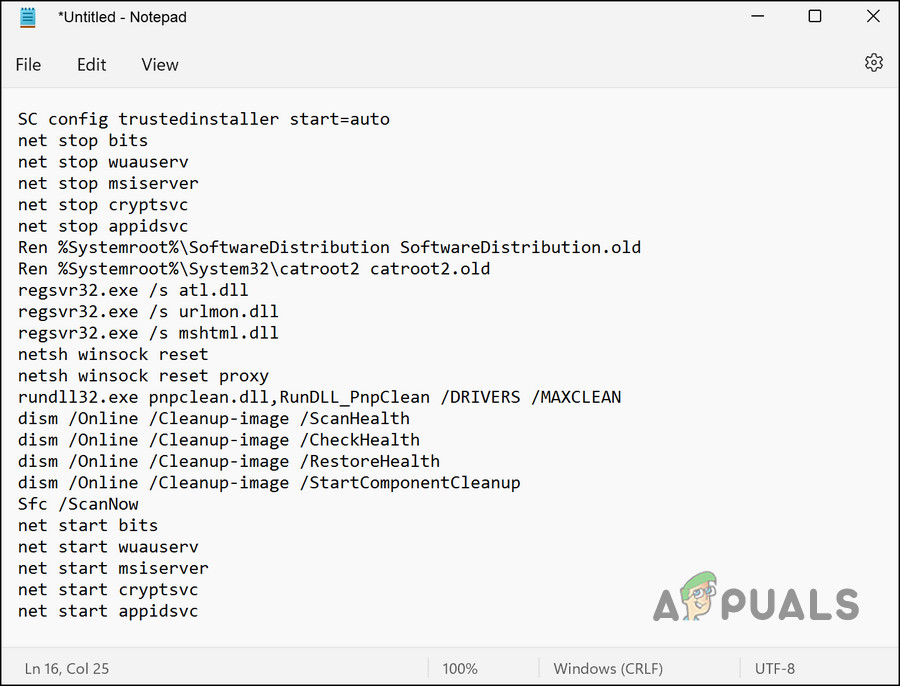
Type the commands in the Notepad - Navigate to File > Save.
- Expand the dropdown for Save as type and choose All files.
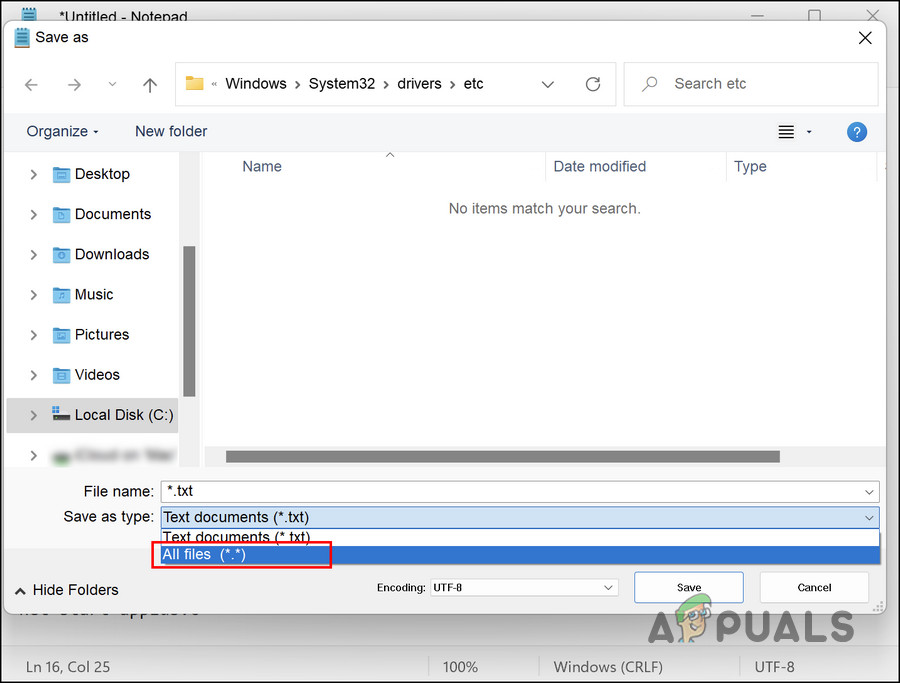
Choose All files save as type - Enter a name with a batch extension (.bat), like xyz.bat.
- Click Save and then close the Notepad.
- Next, right-click on the batch file you just created and choose Run as Administrator from the context menu.
- Wait for the commands to execute, and then restart your computer.
Upon reboot, check if the issue is resolved.


