How To Run a PowerShell Script? The 2 Best Methods
- Adjust the Execution Policy to allow script execution by using the "Set-ExecutionPolicy RemoteSigned" command which balances security and functionality.
- Run PowerShell scripts through different methods such as "Run with PowerShell" Windows PowerShell CMD or PowerShell ISE based on your needs.
- Create PowerShell scripts using Notepad or PowerShell ISE to automate tasks and streamline system administration.
In this article, we’ll help you get started by explaining everything you need to know for running your first PowerShell script. Along the way, we will also look at how you can create your own PowerShell scripts and provide a few examples to spark your creativity. So, let’s jump right in!
Step 1: Setting the Execution Policy
When trying to execute PowerShell scripts for the first time, you are likely to encounter an error stating, “cannot be loaded because running scripts is disabled on this system.” This error occurs because your execution policy is set to Restricted, RemoteSigned, or AllSigned. Therefore, the first step to running PowerShell scripts is to understand the purpose of the execution policy and configure it accordingly.
↪ The Execution Policy and its Levels
The PowerShell script Execution Policy is a system-wide configuration setting that controls whether PowerShell scripts can be executed based on their source and digital signature. By default, this policy is set to “Restricted,” blocking all script execution. This helps minimize the risks associated with running scripts downloaded from the internet, ensuring controlled access and security on your system.
There are four levels for the Execution Policy:
- Restricted: This policy is set by default on all Windows client computers and restricts the execution of all scripts.
- Unrestricted: For non-Windows devices, this policy is set by default and allows you to run any script. However, it still returns a warning message before executing a script that was downloaded from the Internet.
- Remote Signed: This policy allows you to run any script that is digitally signed or written on your local computer, even if it doesn’t have a signature.
- All Signed: Whether the script is downloaded from the Internet or written locally, they all must be signed digitally by a trusted publisher to be executed under this policy.
↪ Changing the PowerShell Execution Policy
Now that we know the significance of the execution policy and the different ways it works, let’s look at adjusting these restrictions. Here’s a detailed rundown on how to change the PowerShell Execution Policy:
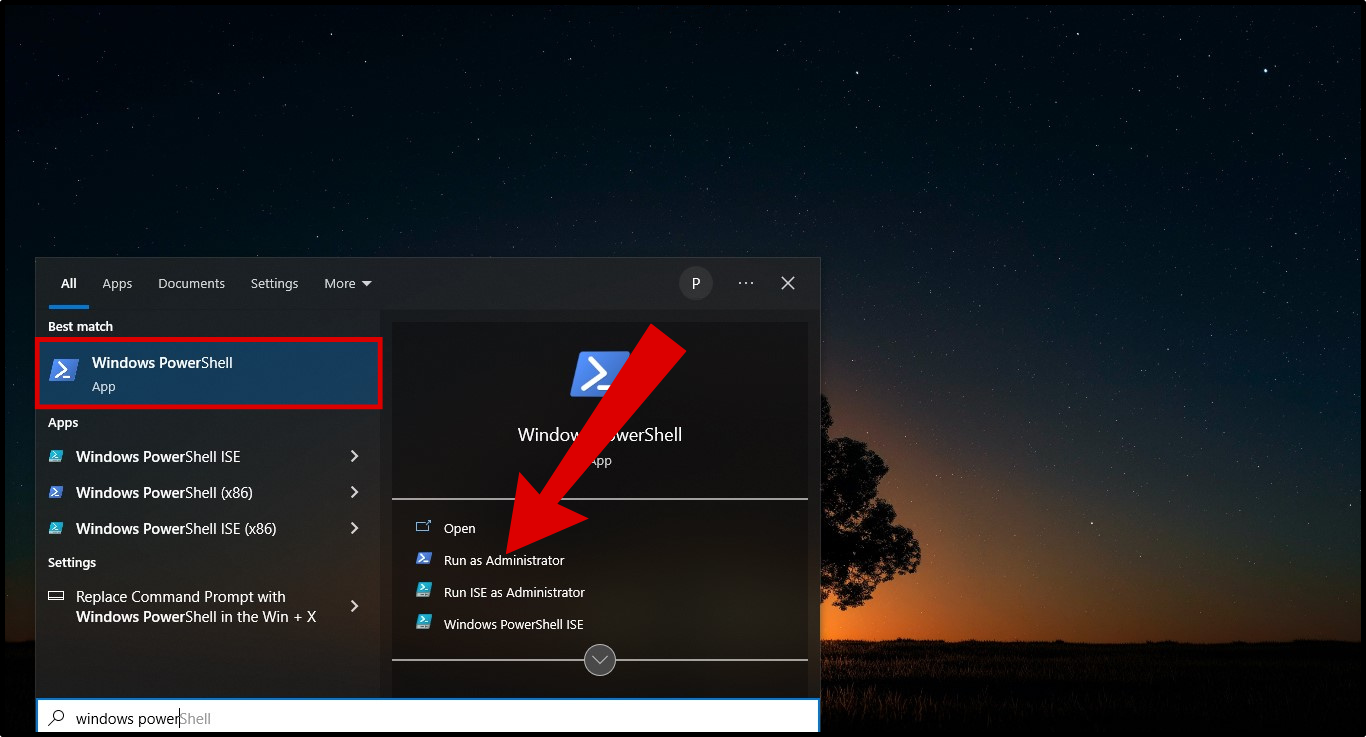
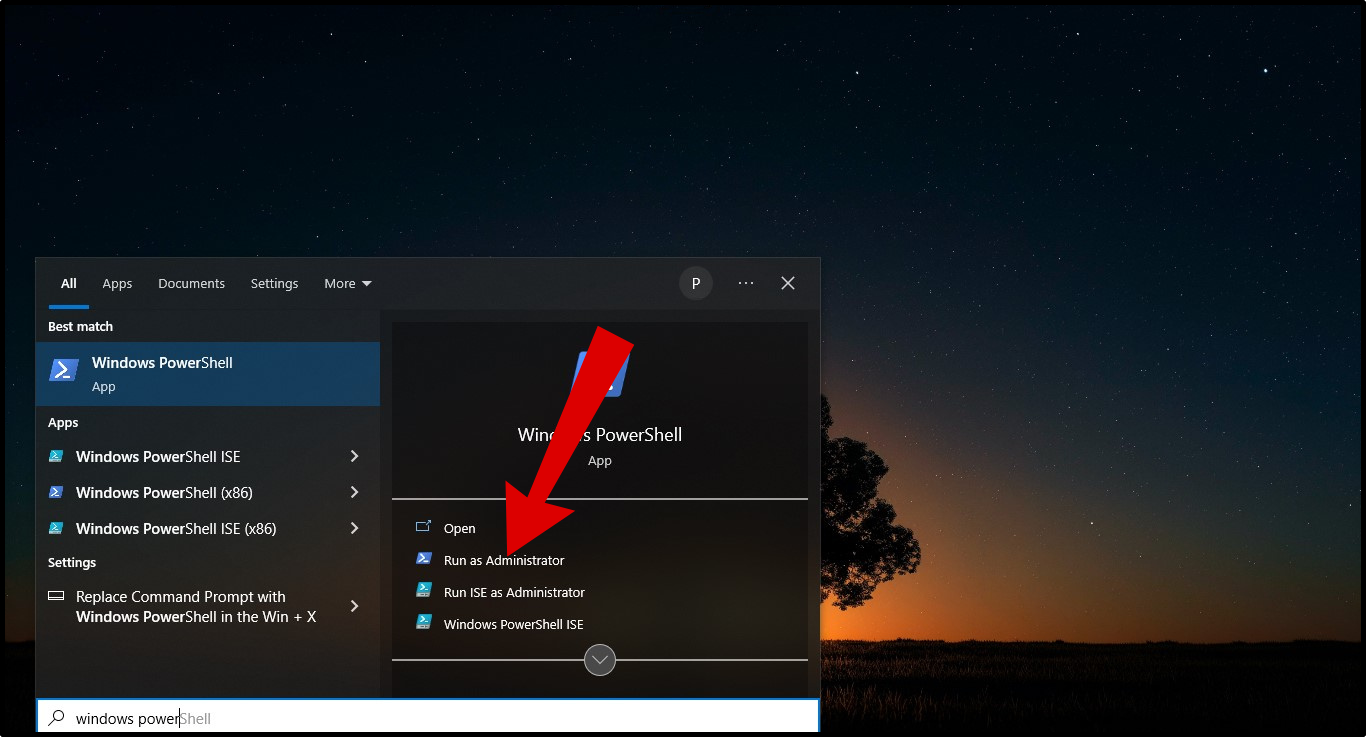
- Open Windows PowerShell using the Windows Search bar and ensure you run it as an Administrator.
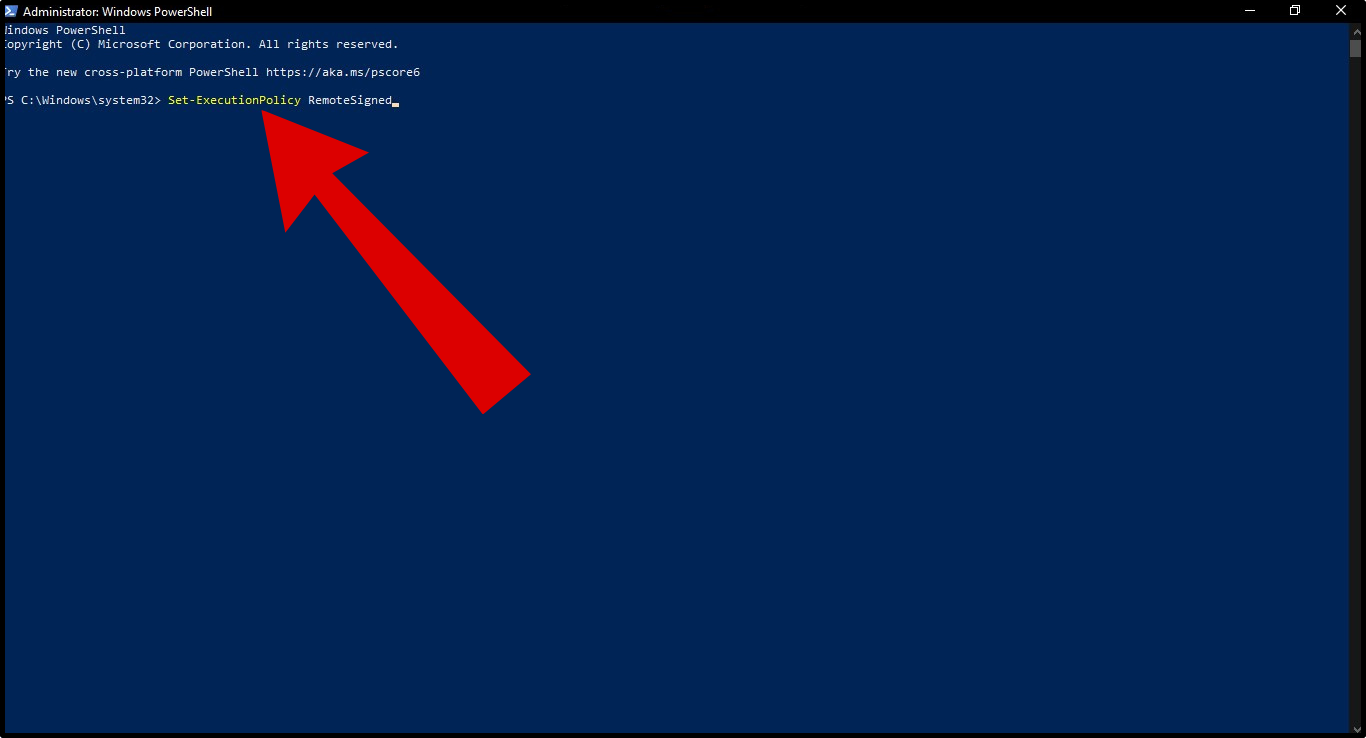
Run Windows Powershell - Next, run the “Set-ExecutionPolicy RemoteSigned” PowerShell command to change your system’s execution policy. We will be changing the execution policy to Remote Signed as it offers a balanced level of security. However, you can choose any one of the four based on your requirements.
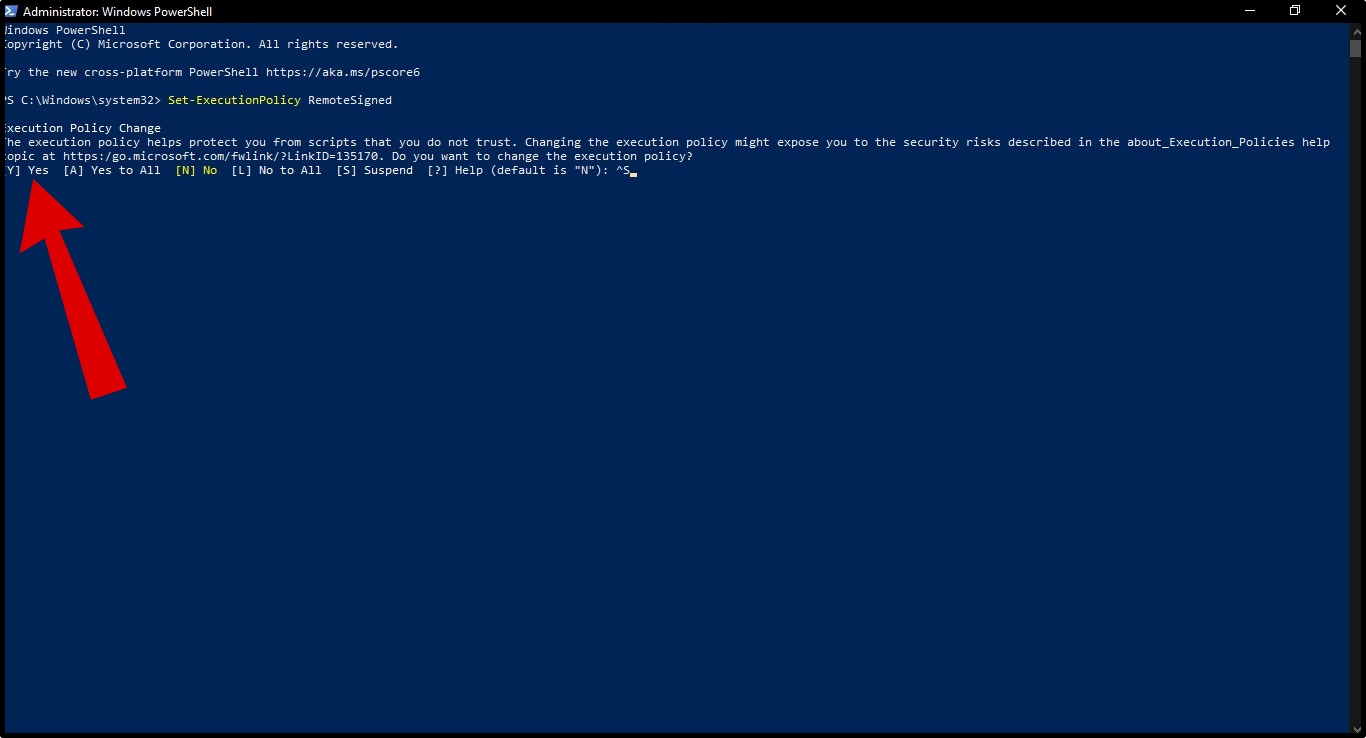
Change Execution Policy - As you enter that, you should see an output asking you to confirm the action. Here, enter Y for Yes and press the Enter key to confirm the policy change.
Press Y For yes - To verify your current execution policy, you can use the “Get-ExecutionPolicy” command.
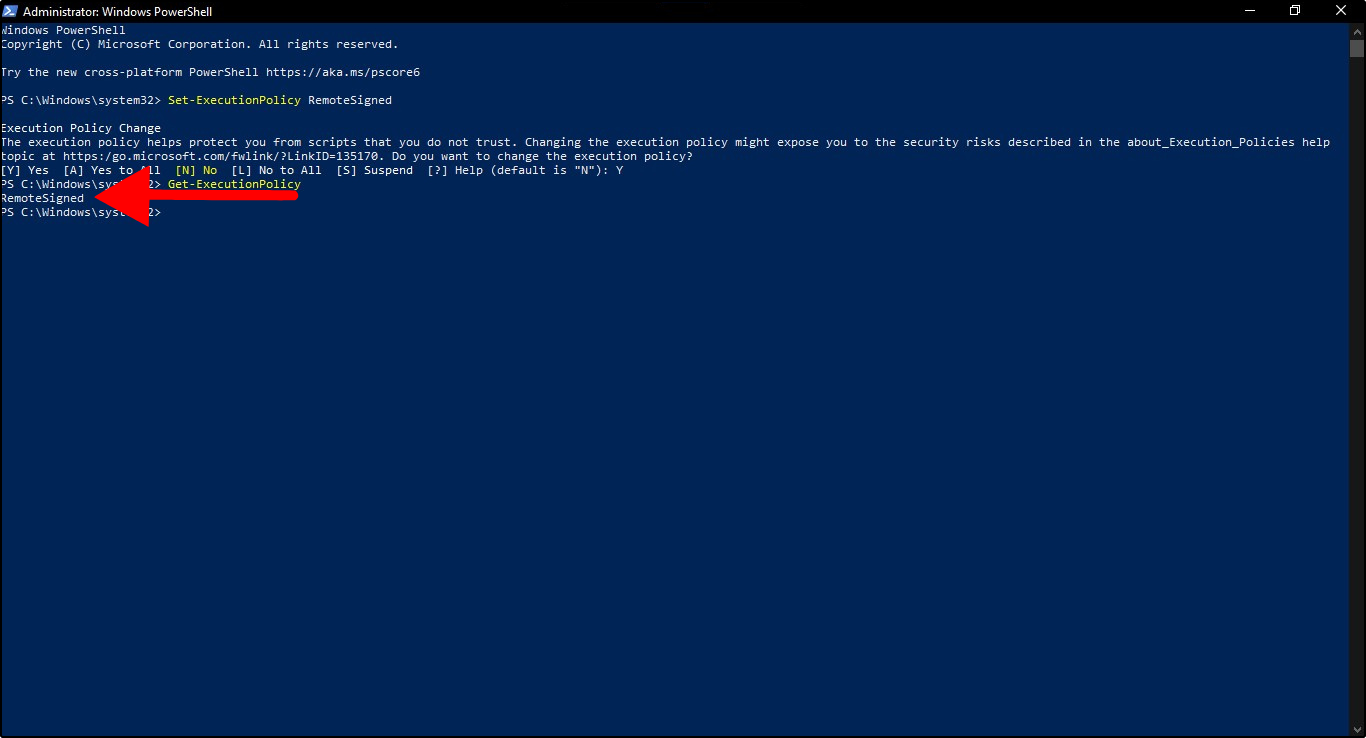
Setting Execution Policy
Step 2: Run PowerShell Scripts
Now that you have configured the execution policy, you are ready to run your first PowerShell script. There are several options available for running PowerShell scripts, and you should choose the method that seems most straightforward for you. With that said, let’s take a closer look at the four different methods to run a PowerShell script.
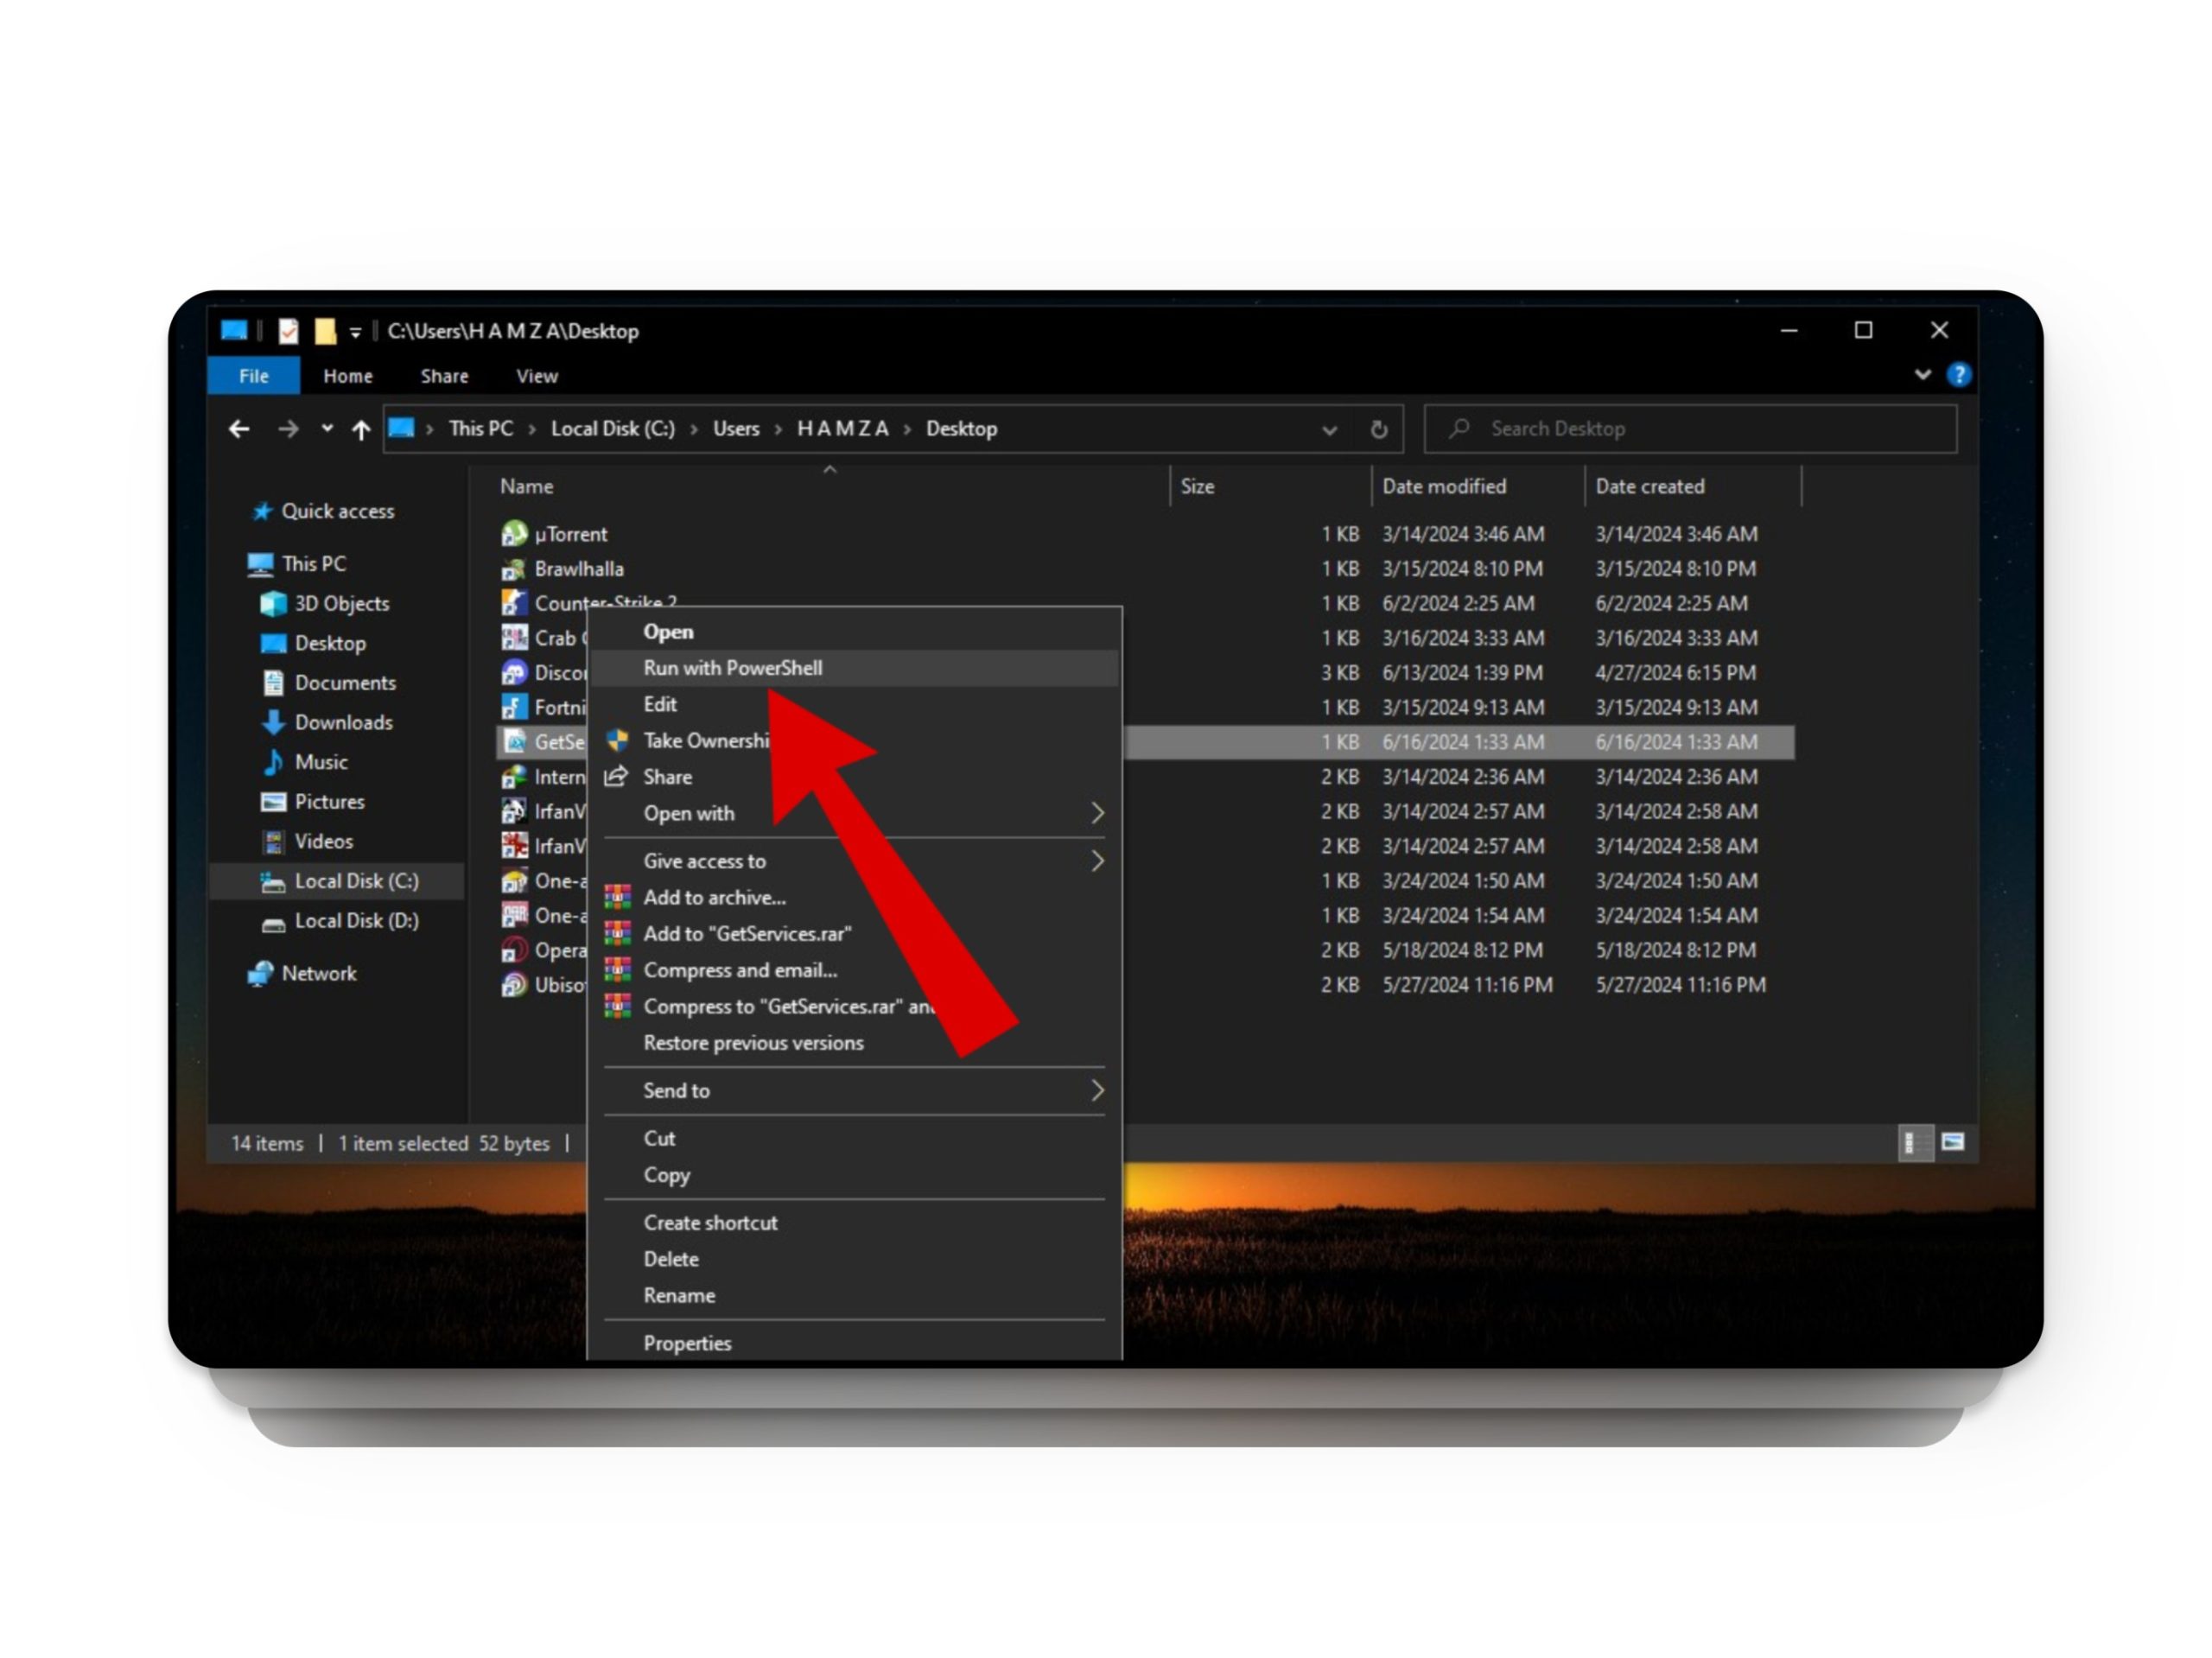
1. Run With PowerShell
The fastest and easiest method to run PowerShell scripts is by right-clicking on them and selecting the “Run with PowerShell” option. However, with this method, the script runs and closes immediately, which means you won’t be able to check for errors or review the output thoroughly. This approach is best suited for scripts designed for a specific action, such as cleaning temporary files.
2. Using Windows PowerShell
The most preferred method for running PowerShell scripts is by using the command line within Windows PowerShell itself. To run a PowerShell script using Windows PowerShell, follow these steps:
- Open Windows PowerShell as an administrator.
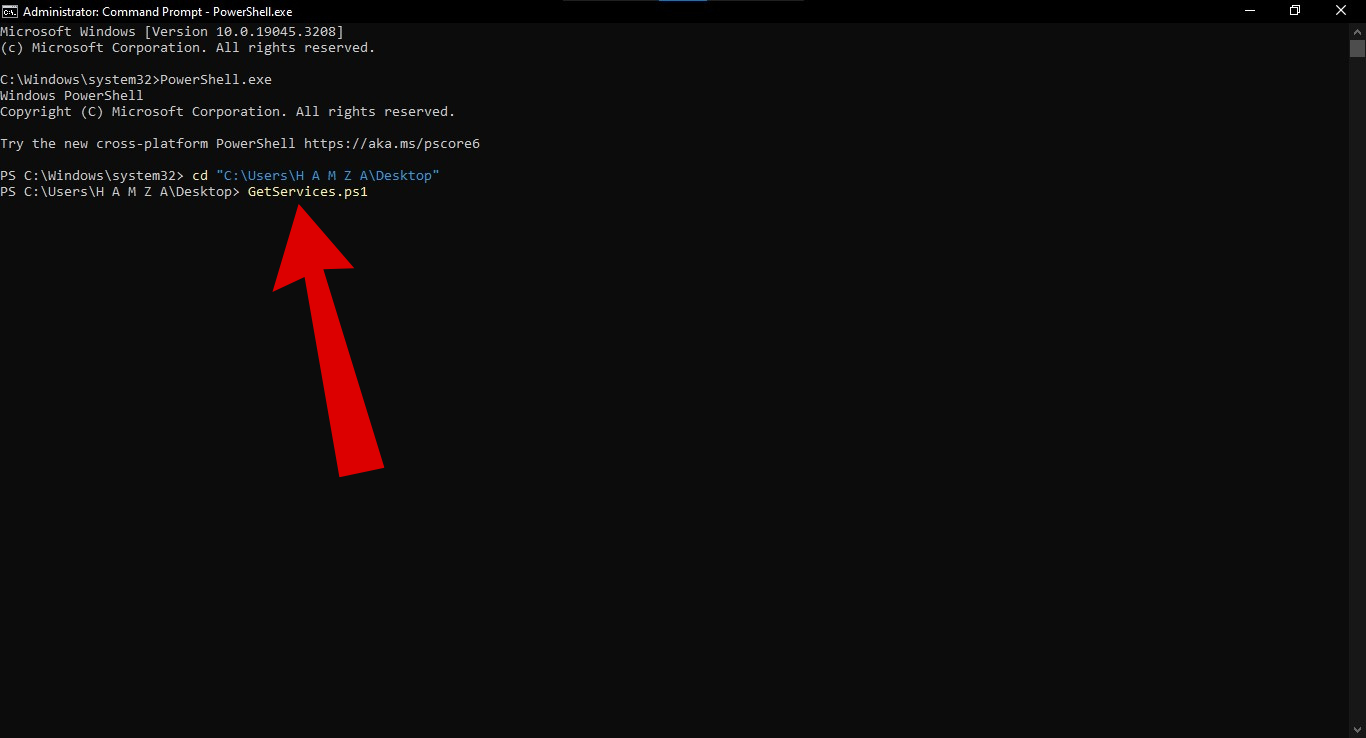
Run Windows Powershell - Navigate to the folder where your script is located using the command — cd “c:\path” (make sure to add the path within the quotation marks). In our case, we have simply saved the script on our desktop.
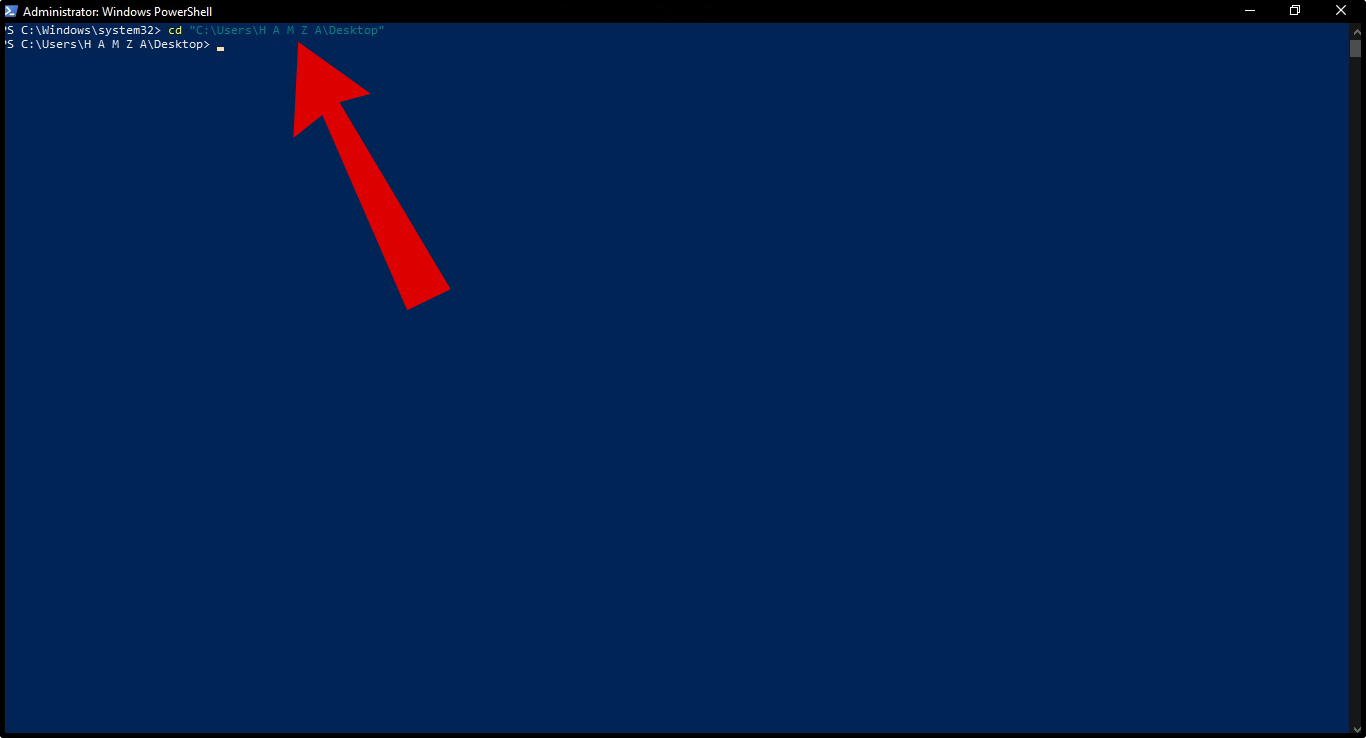
Navigate to the directory - Next, enter the name of your script, ensuring you match the case exactly as it appears.
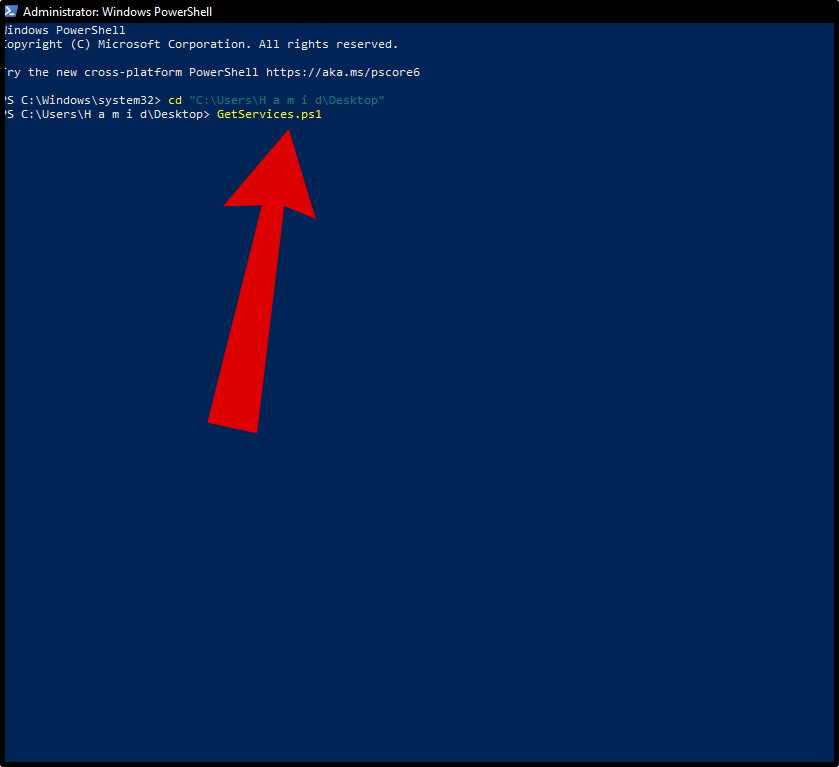
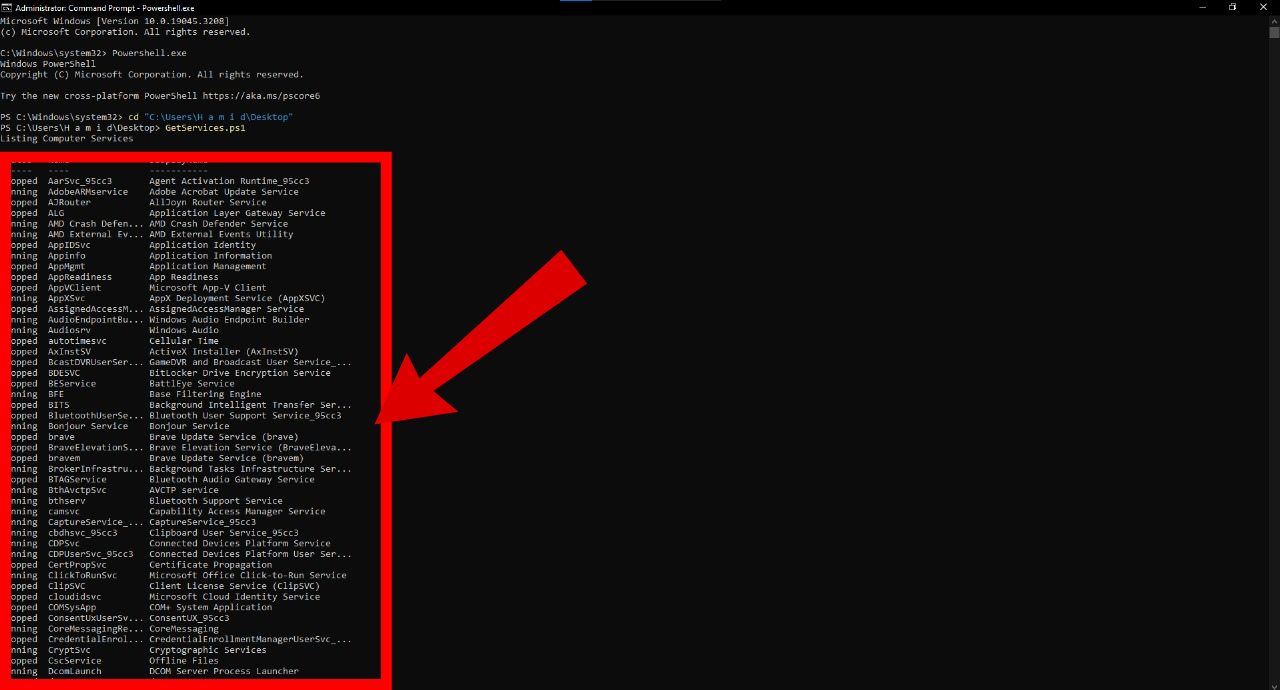
Enter your script - Finally, hit the Enter key on your keyboard, and your script should be executed.
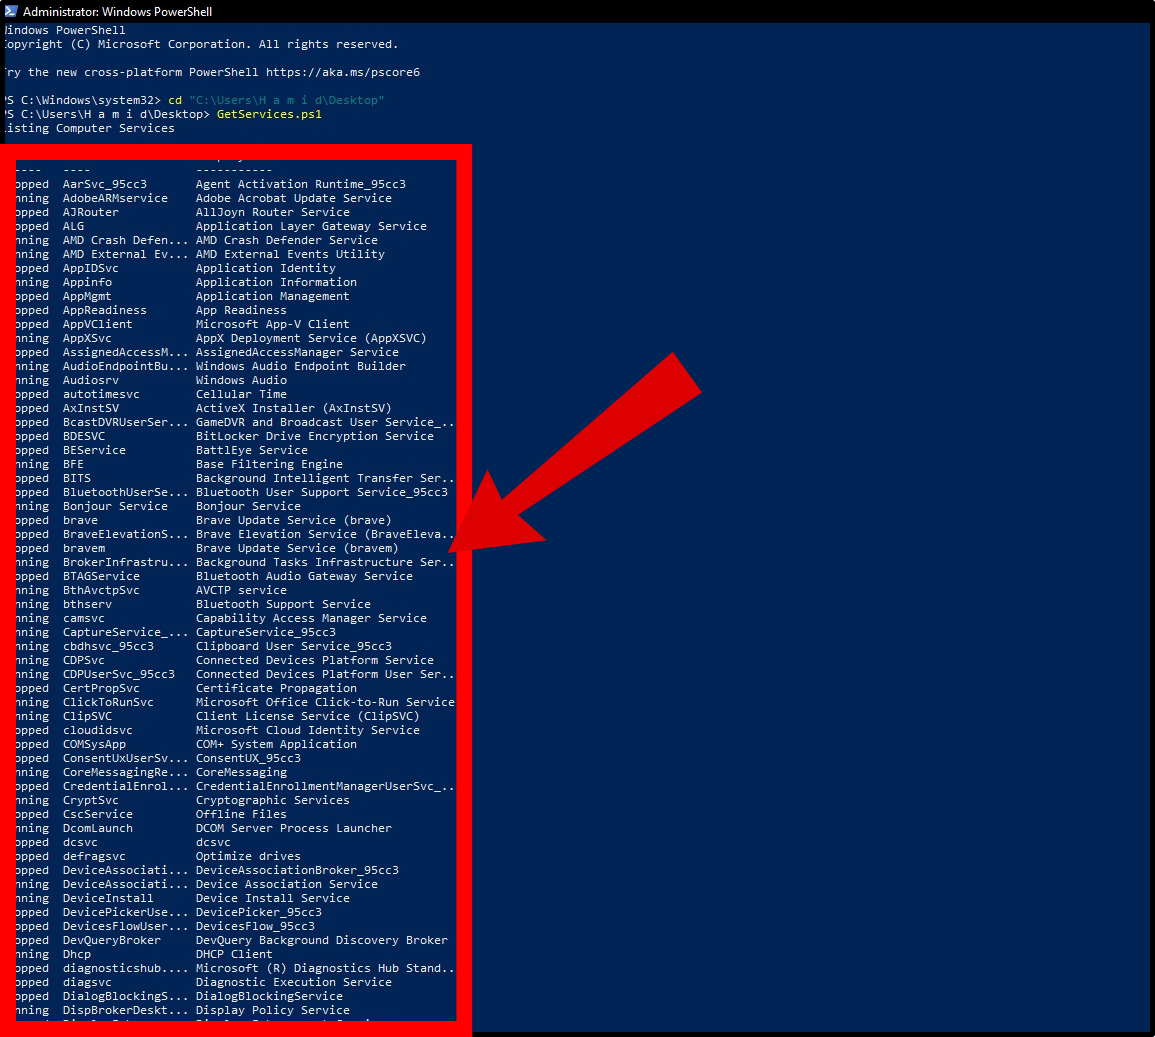
Run your script
3. Using CMD
Similar to Windows PowerShell, CMD or the Command Prompt is also a command-line interface available in Windows. If you prefer CMD over Windows PowerShell, you can use it to run your PowerShell scripts. Here’s how to run PowerShell scripts using CMD:
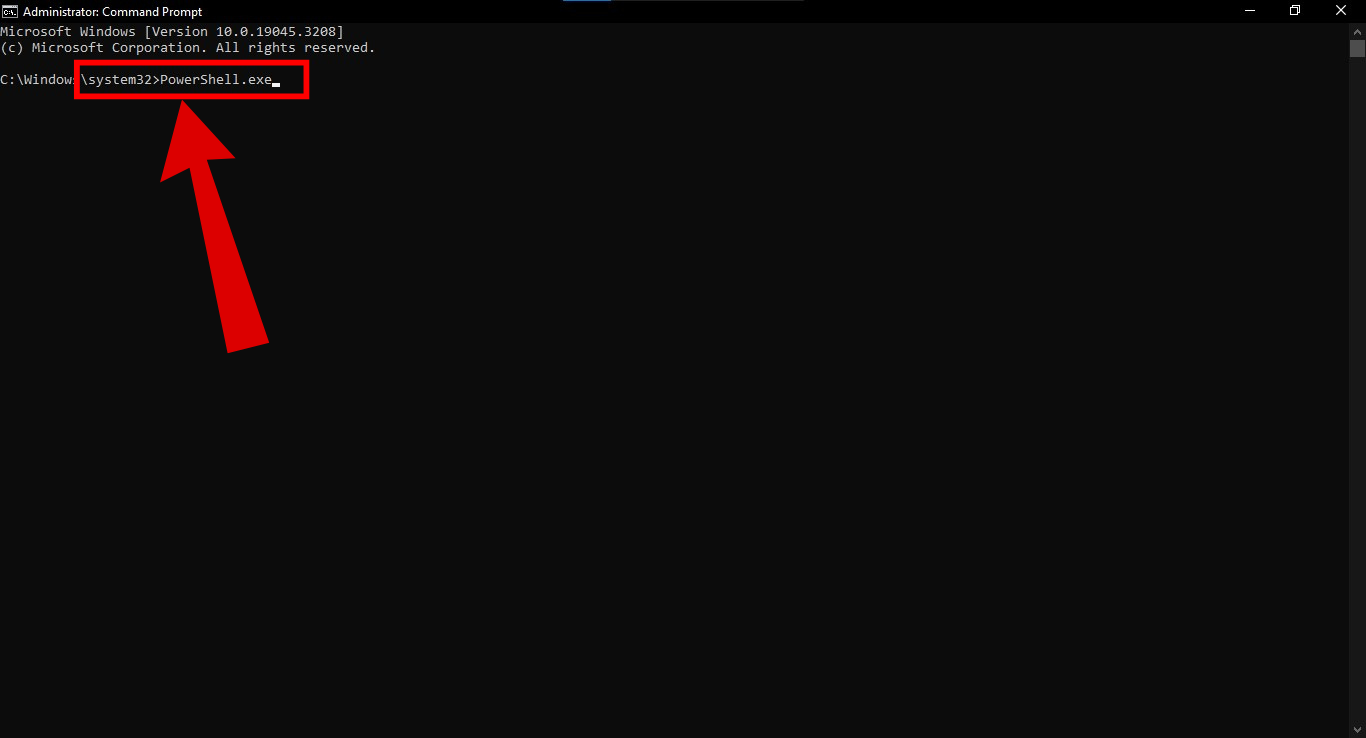
- To run scripts using the command prompt, start by opening the PowerShell executable and then passing the script path as a parameter to it. To do this, head to the Windows Search bar and open Command Prompt (CMD) as an administrator.

Run CMD as admin - Next, enter PowerShell.exe to launch the PowerShell environment within CMD, where you can proceed to execute your scripts by providing their file paths as parameters.
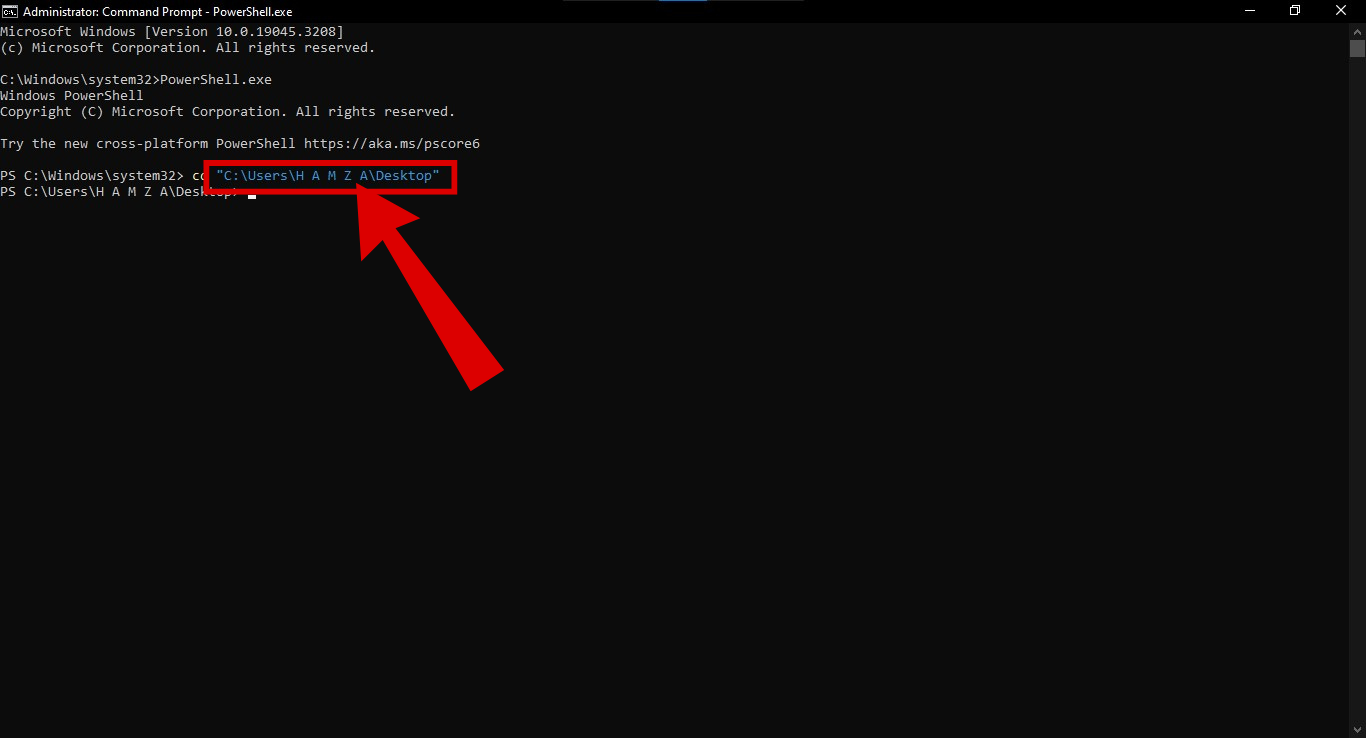
 Enter PowerShell.exe
 - From here, navigate to where your script is located using the command — cd “c:\path”.
 Enter your directory
 - Now, enter the name of your script.
 Add your script
 - Finally, press Enter, and the script will be executed within CMD.
 Your script should run right away
4. Using PowerShell ISE
Windows PowerShell ISE (Integrated Scripting Environment) is an official scripting tool and development environment for PowerShell. It provides a graphical user interface (GUI) that simplifies the creation, debugging, and execution of PowerShell scripts. If you write your scripts or edit others, you’ll probably be using PowerShell ISE.
In that case, here’s a quick rundown to run PowerShell scripts using PowerShell ISE.
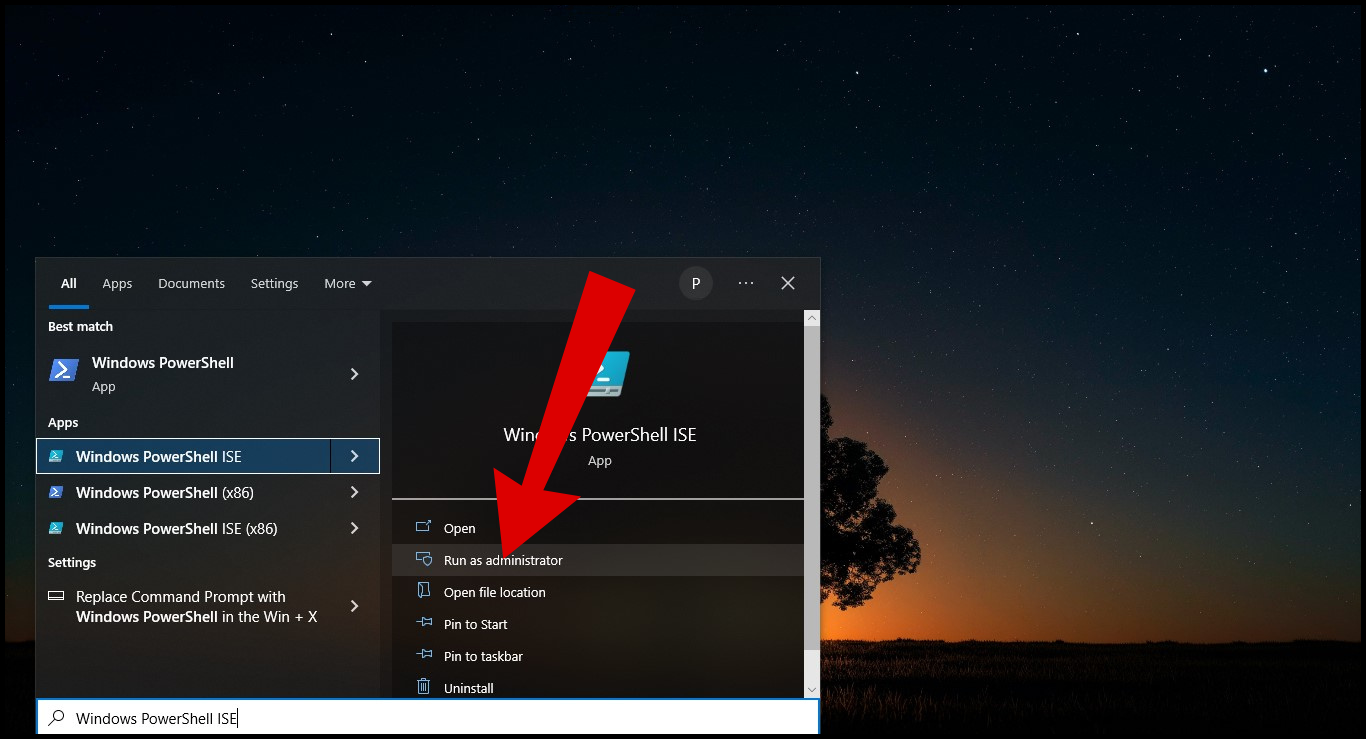
- Open Windows PowerShell ISE using the Windows Search bar and ensure to run it as an administrator.
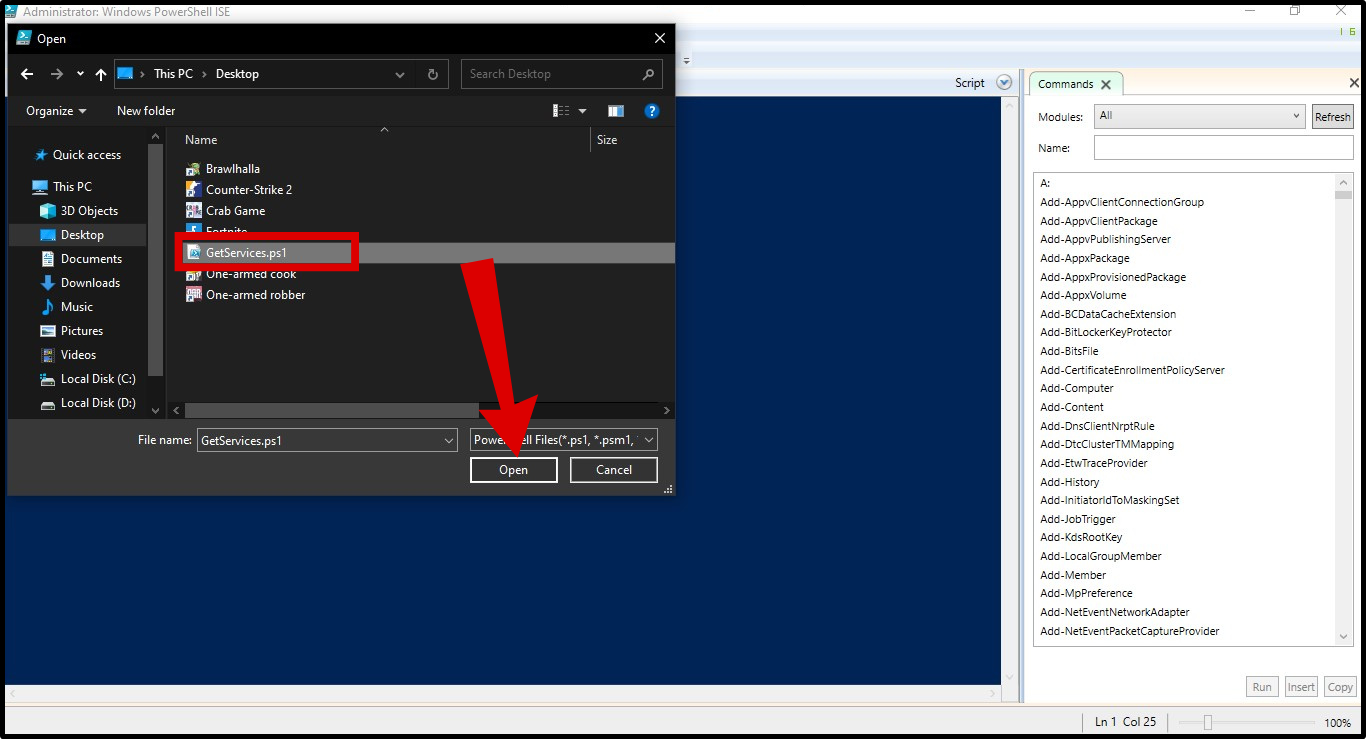
Run Windows PowerShell ISE - Next, click on File and select Open from the drop-down menu. This will open the File Explorer.
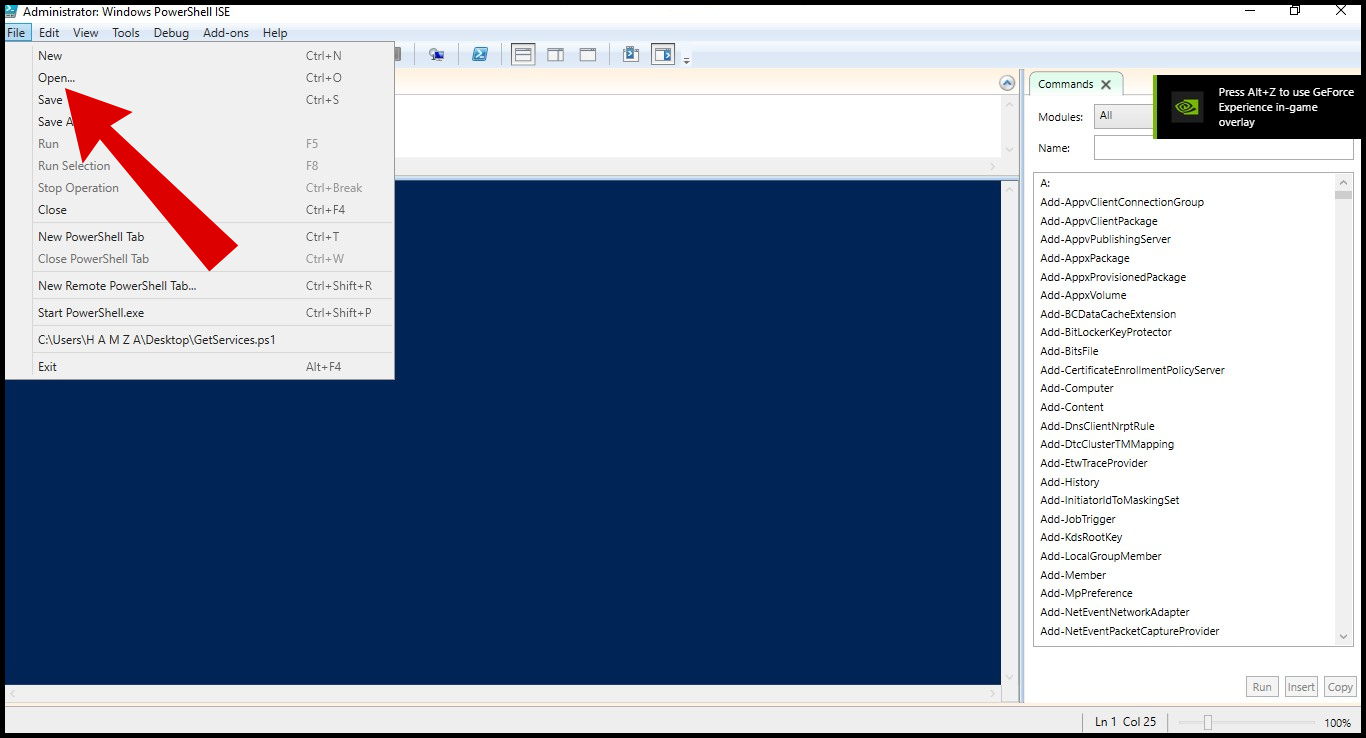
Now open your file - Here, navigate to your script’s directory and press the Open button.
Select your script - To execute the script, simply click the green run button or press the F5 key on your keyboard. This will run the script within the integrated PowerShell terminal located at the bottom of the window.
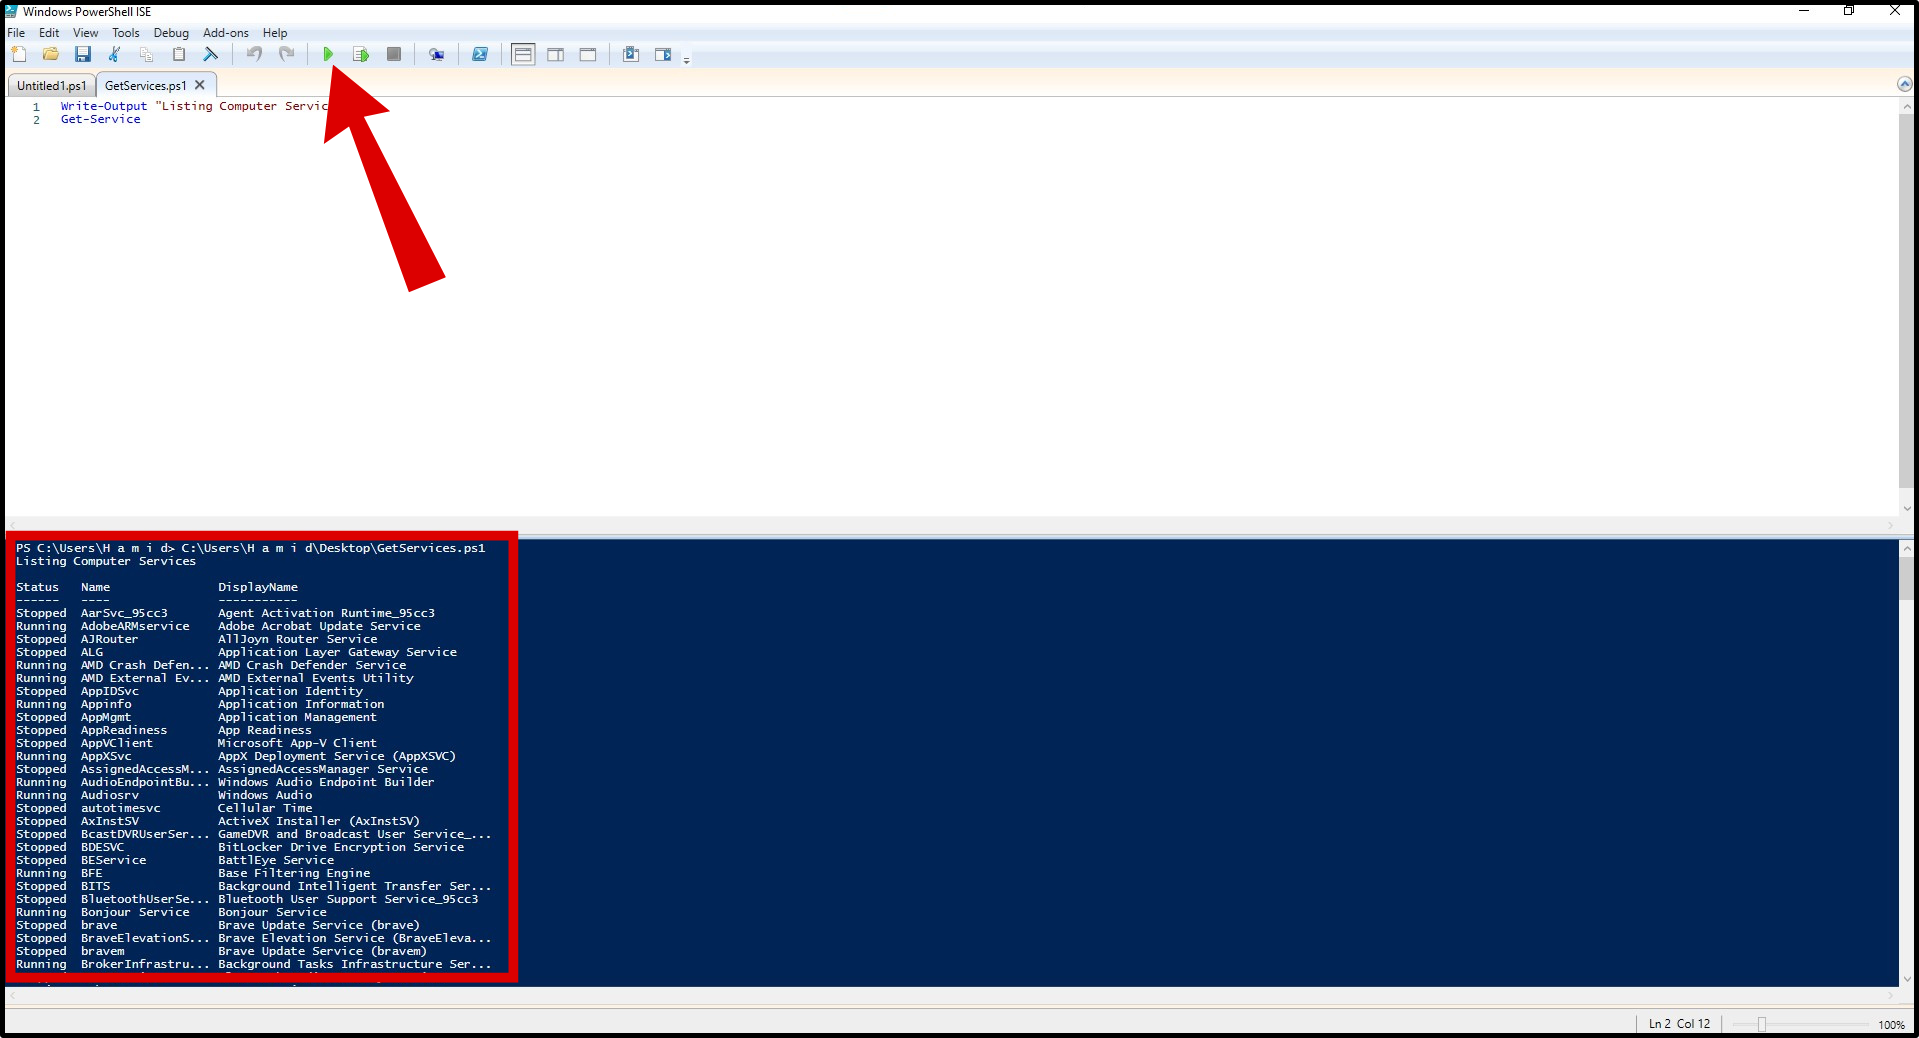
Run your script
Now that you have learned everything about running PowerShell scripts, it’s time to put your knowledge to the test. Windows PowerShell is a powerful scripting language that introduces a new way to interact with and automate your operating system with just a few simple command lines. So, what are you waiting for? Start running your scripts right away!


