How to Root Samsung Galaxy S4 SHV-E300S
The Samsung Galaxy S4 SHV-E300S, which is the Korean variant, has been finally updated to Android 5.0.1 and this is most probably the final official OS this phone is going to get. You may want to root your phone because you lost root access during the update or you want to install a custom rom with the latest version of Android.
You can root your SHV-E300S by either using ChainFire’s Autoroot or SuperSu. Autoroot is the fastest way to achieve root on this device and works on only the Lollipop (5.0.1) version whiles in the SuperSu method works for lower versions.
Before you continue, you should have the following downloaded on your PC and Samsung Drivers installed.
Method 1: Using Autoroot
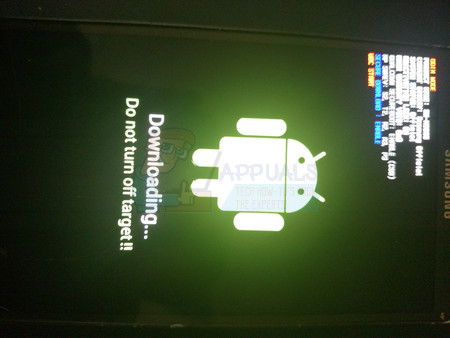
- Boot your Samsung Galaxy S3 into Download Mode by pressing the Volume Down + Home + Power buttons while the phone is off. When you see a warning screen, press the Volume Up button to continue.
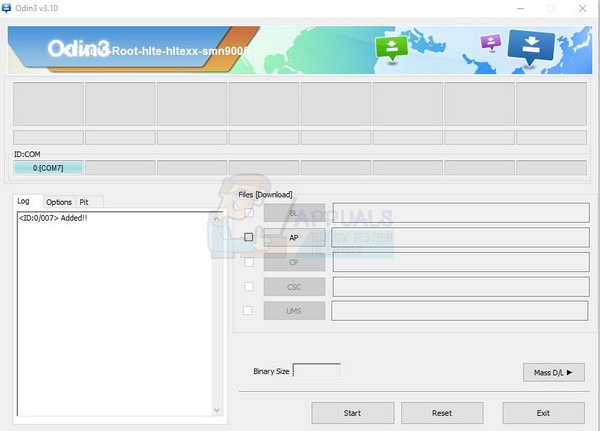
- Open Odin 3.07 application. You’ll have to extract the zip file if you haven’t done that already.
- Connect your phone to the computer using a USB Cable. When Odin detects the phone, the ID:COM section will turn blue and “Added!” will be show in the message box.
- Click on the PDA/AP button and select the CF-Auto-Root-jalteskt-jalteskt-shve300s.zip file. Make sure only the Auto Reboot and Reset Time checkboxes are checked and everything else unchecked.
- Click on the Start button and wait for Odin to flash the autoroot to the phone. A PASS message will be displayed and the device will reboot when the rooting is successful.
- After the phone boots, verify if the device is rooted by searching the installed applications for the SuperSU application.
Method 2: Flashing SuperSU
This method involves flashing a custom recovery and then the supersu zip. It works for any version of Android you are running on your SHV-E300S.
- Copy the SuperSU zip to your phone using a USB cable.
- Boot your Samsung Galaxy S3 into Download Mode by pressing the Volume Down + Home + Power buttons while the phone is off. When you see a warning screen, press the Volume Up button to continue.
- Open Odin 3.07 application and connect your phone to the computer using a USB Cable. When Odin detects the phone, the ID:COM section will turn blue and “Added!” will be show in the message box.
- Click on the PDA/AP button and select the i9500-cwm-recovery-6.0.3.2-2.tar (CWM Recovery) file. Make sure only the Auto Reboot and Reset Time checkboxes are checked and everything else unchecked.
- Click on the Start button and wait for Odin to flash the autoroot to the phone. A PASS message will be displayed and the device will reboot when the rooting is successful.
- After the phone reboot, turn it off and boot into the recovery mode by pressing the Volume Up+ Home + Power buttons and releasing the buttons when the Samsung logo comes up. The recovery uses the volume buttons to scroll and power button to select.
- In the recovery, go to install zip from sdcard, select the SuperSU zip file and the select confirm to flash.
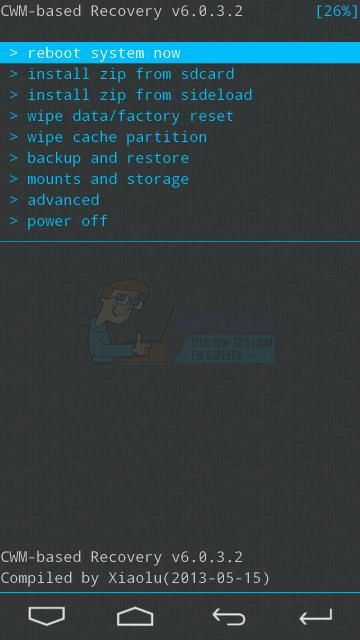
- After flashing, go back to the main screen and select reboot system now. Your system will reboot and you should find the SuperSU application in your app drawer.