How to Remove Options from the Ctrl + Alt + Del Screen in Windows 10?
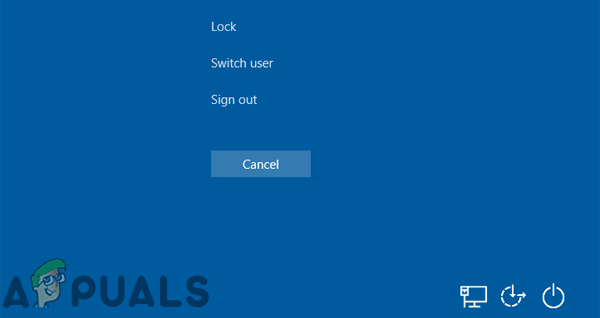
Most users are aware of the Ctrl + Alt + Del keyboard command that is usually used to interrupt a function. This keyboard combination depends on the context in which it is used. In Windows 10, by pressing this keyboard combination, it will show a screen with different options listed. Users can lock, switch user, sign out, change a password, and open task manager from the options by pressing Ctrl + Alt + Del. In this article, we will show methods through which you can remove any of the options from Ctrl + Alt + Del screen.
Removing Options from the Ctrl + Alt + Del
Changing some of the settings are not possible by going through the Control Panel or Settings app on Windows. However, the Local Group Policy Editor and Registry Editor can be used to configure it. There are four options that can be removed from the Ctrl + Alt + Del screen. You can get the idea about removing each option by the names of the settings in the below method.
However, removing any of the options from the Ctrl + Alt + Del screen will also disable them from most of the places. Users will be unable to access the removed option by shortcut keys or other methods. Make sure to remove only the option that you will not be using.
Method 1: Removing Options through the Local Group Policy Editor
The Local Group Policy Editor is used to control the working environment of computer accounts and user accounts. An administrator can use the Local Group Policy Editor to modify different policy settings for multiple users. Each policy setting provides information about the function and purpose of that policy setting.
If you are using Windows Home Edition, then skip this method and try the Registry Editor method.
However, if you have the Local Group Policy Editor on your system, then follow the below guide:
- Hold the Windows key and press R to open a Run dialog. Then type “gpedit.msc” and press the Enter key to open the Local Group Policy Editor.
Note: If the UAC (User Account Control) prompt appears, choose the Yes option.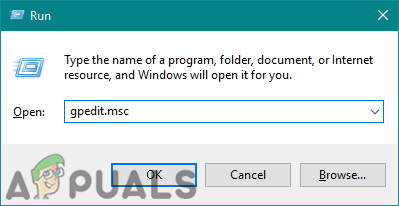
Opening Local Group Policy Editor - In the Local Group Policy Editor window, navigate to the following path:
User Configuration\Administrative Templates\System\Ctrl+Alt+Del Options

Navigating to settings Note: There are four different options that you can disable it.
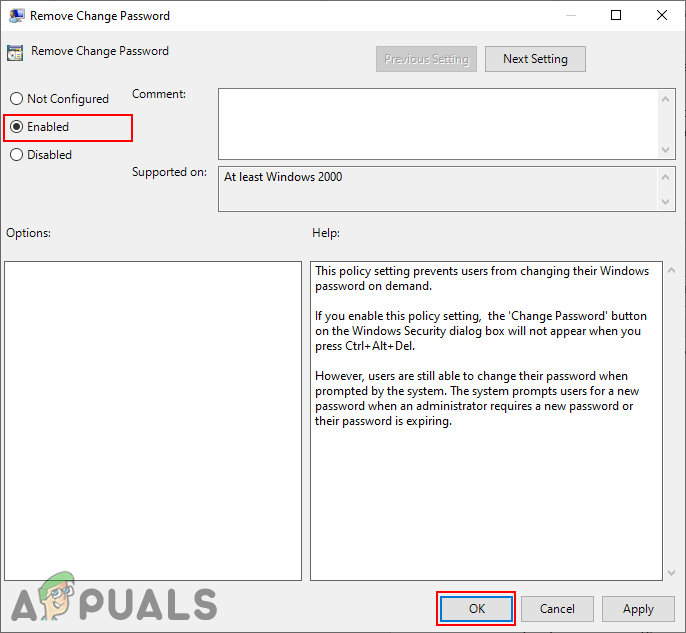
- For removing the change password option double-click on the “Remove Change Password” setting. It will open another window, change the toggle from Not Configured to Enabled. Finally, click on Apply/Ok to save the changes.
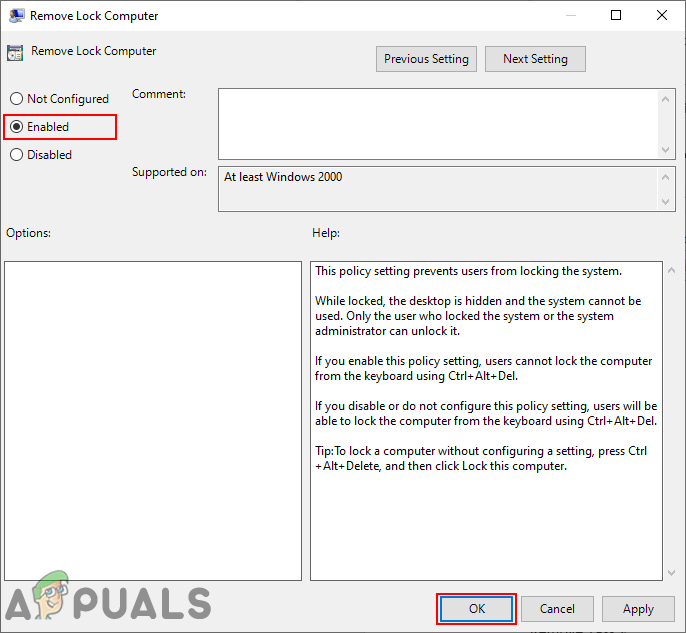
Removing change password option - If you want to remove the lock computer option by double-click on the “Remove Lock Computer” policy setting. A new window will open up, change the toggle from Not Configured to Enabled. Then click on the Apply and Ok button to save the changes.
Removing lock computer option - For removing the Task Manager option from the list of Ctrl + Alt + Del, double-click on the “Remove Task Manager” setting. It will open a new window where you can change the toggle from Not Configured to Enabled. To save the changes, click on Apply/Ok buttons.
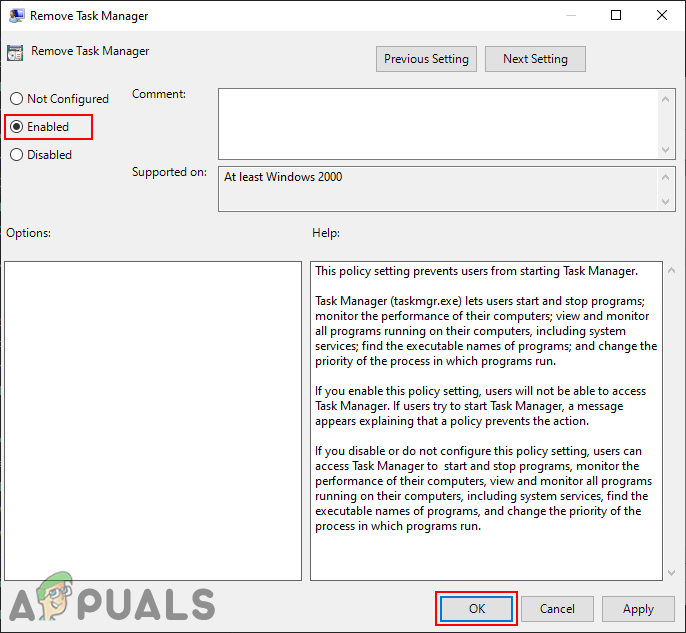
Removing Task Manager option - To remove the Sign Out option, double-click on the “Remove Logoff” policy setting. Now change the toggle option from Not Configured to Enabled. Click on the Apply/Ok button to save changes.
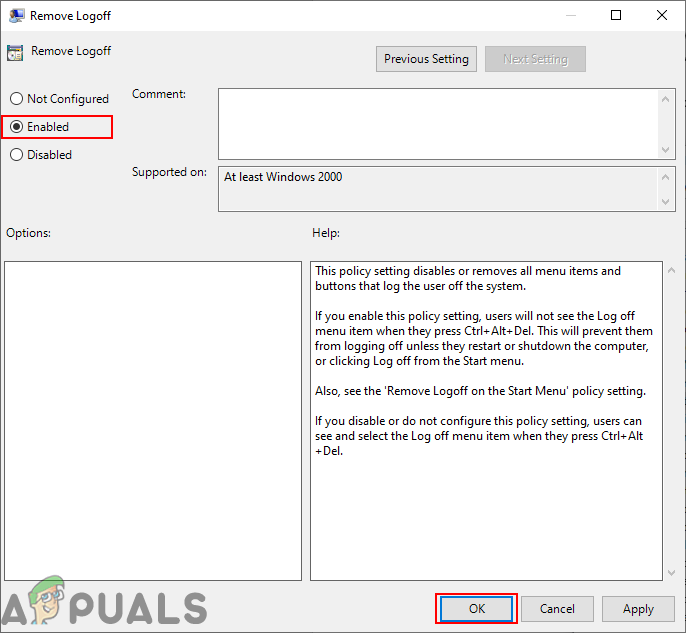
Removing Sign Out option - Enabling any of the settings will remove that option. To enable it back, simply change the toggle for the setting back to Not Configured or Disabled.
Method 2: Removing Options through the Registry Editor
Another method to remove the options from the Ctrl + Alt + Del screen is by using the Registry Editor. This is also the only method for the users of Windows Home Edition operating system. However, for the users who used the Local Group Policy Editor method, their Registry Editor value will automatically update for that specific setting. Unlike the Group Policy Editor, users are required to create the missing key and value.
In the below steps, we have included values for all four options. However, you can choose only the ones that you want to remove and not all of them.
Note: Value data 1 will enable the value and value data 0 will disable the value.
- Press the Windows + R keys together to open a Run dialog. Then type “regedit” in the dialog and press the Enter key to open the Registry Editor. Choose the Yes option for UAC (User Account Control) prompt.
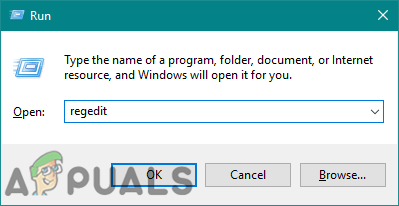
Opening the Registry Editor - In the Registry Editor window, navigate to the following key:
HKEY_CURRENT_USER\Software\Microsoft\Windows\CurrentVersion\Policies\System
- If the System key is missing, simply create it by right-clicking on the Policies key and choosing New > Key. Name the key as “System“.
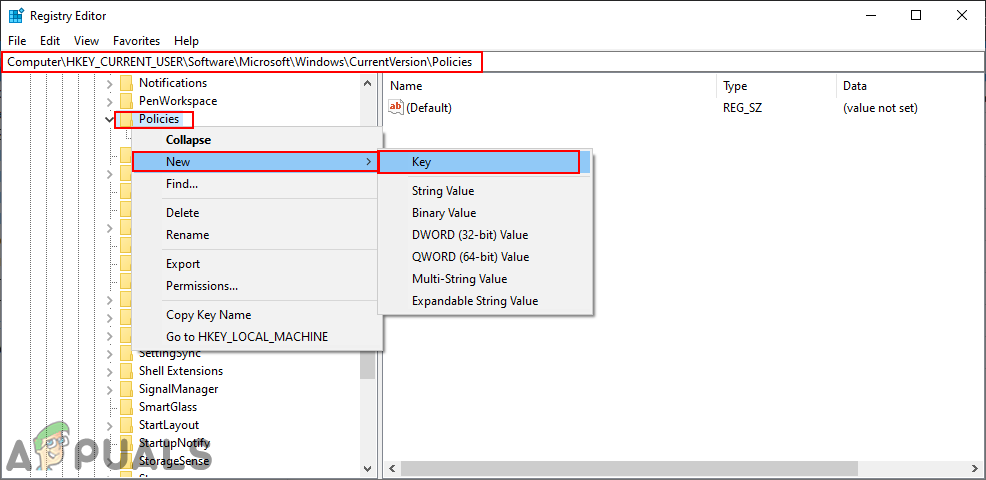
Creating the missing key - To remove the change password option, select the System key, right-click on the right pane, and choose New > DWORD (32-bit) Value. Name the new value as “DisableChangePassword“.

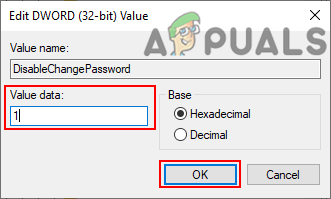
Creating value for removing change password - Double-click on the DisableChangePassword value and change the value data to 1 to remove the change password option.
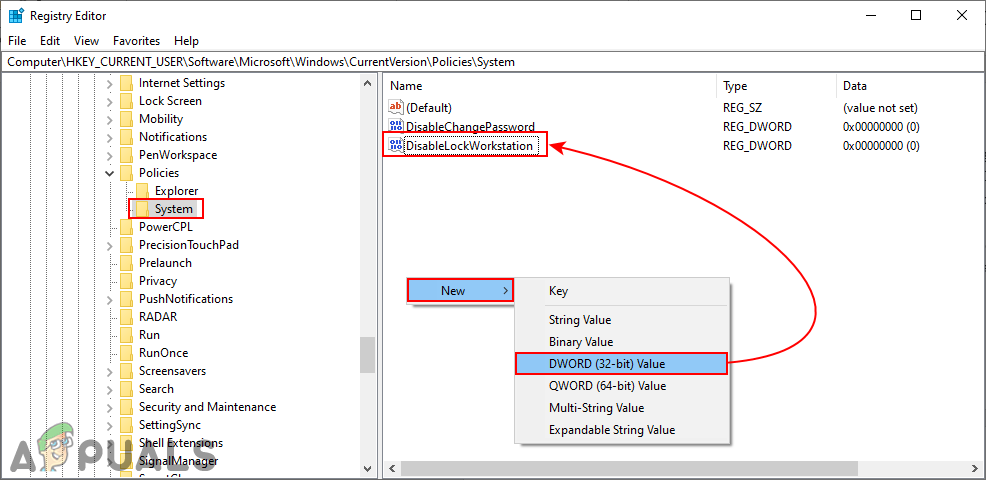
Changing value data - If you want to remove the lock option, then right-click on the empty area of the right pane and choose New > DWORD (32-bit) Value. Name this value as “DisableLockWorkstation“.
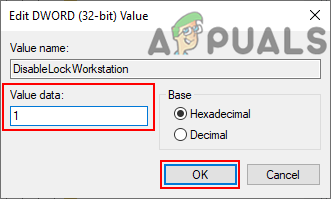
Creating value for removing lock option - Double-click on the DisableLockWorkstation value to open it up and then change the value data to 1. This will remove the lock option from the screen.
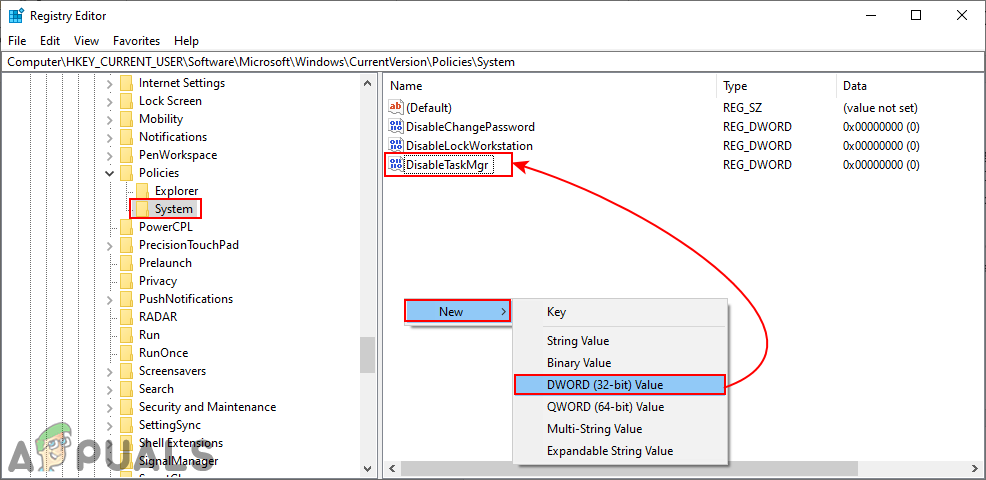
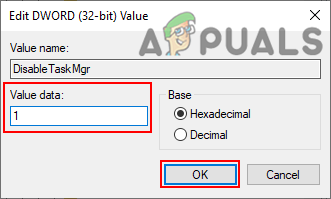
Enabling the value - To remove the Task Manager option from the system, right-click on the right pane and choose New > DWORD (32-bit Value). Name the newly created value as “DisableTaskMgr“.
Creating value for removing Task Manager - Double-click on the DisableTaskMgr value to open it. Now change the value data to 1. This will remove the Task Manager.
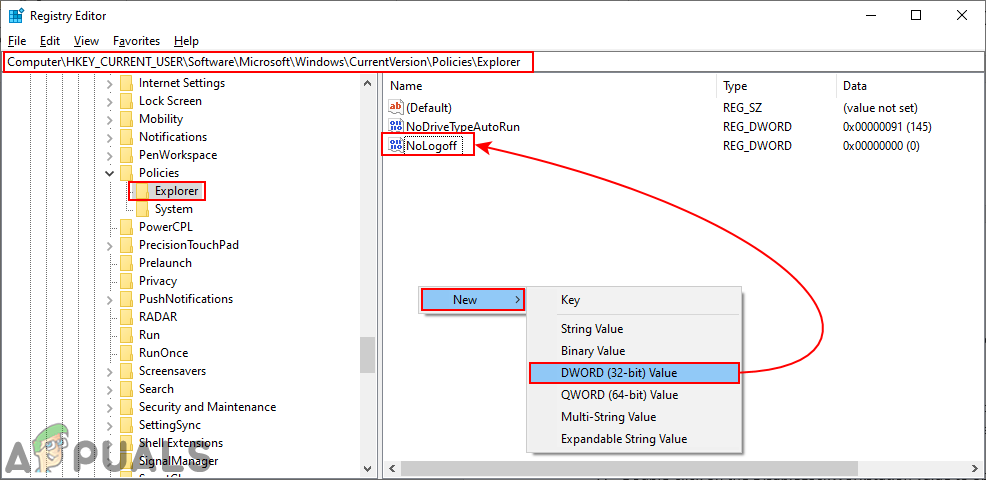
Enabling the value by change value data - For the Sign Out option, navigate to the Explorer key under Policies:
HKEY_CURRENT_USER\Software\Microsoft\Windows\CurrentVersion\Policies\Explorer
- If the Explorer key is missing, simply create it by right-clicking on the Policies key and choosing New > Key. In the Explorer key, create a new value by right-clicking and choosing New > DWORD (32-bit) Value. Name the value as “NoLogoff“.
Creating value for removing the Log off option - Double-click on the NoLogoff value and set the value data to 1. It will remove the Sign Out option.
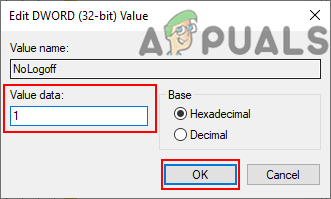
Changing the value data - After setting any one of the above settings, make sure to restart the computer to apply the changes. To disable any value back, simple change value data to 0 or remove the value.


