How to Record Audio Above Certain Levels on Android
One of the main advantages of communicating digitally is permanency. If you talk to someone over email or in an instant messaging app, you will be able to retrieve the whole exchange anytime you want. But real conversations and phone calls are a different deal – once you’re done talking with someone, there’s no easy way to prove anything about that particular conversation.
Luckily, recording sound on Android is fairly easy and highly customizable. Although there are a lot of apps that enable this function, we have found an app that is fully autonomous and fit for a wide variety of situations. You can just as easily use it for serious security purposes or mundane reasons like reminding a friend of a favor he owes you. The app is capable of recording both phone calls and ambient audio. All you have to do is configure it once and it will auto record any type of audio while running in the background.
Auto Recorder is an app developed by a community member of XDA and so far it’s only available on XDA Labs. What makes it better than other similar apps is the ability to start and stop recording when the audio reaches and drops below a certain level.
Be advised
Call recording without permission is a sensible legal issue in some countries. Before we get to the actually recording part, it’s best to consult this list with telephone recording laws to make sure you’re not breaking the law.
Once you get the legal aspects out of the way, it’s time to install and configure the app. Since the app isn’t present on Google Play Store, there are some additional steps we need to take. Follow along with the guide below to install and configure Auto Recorder on your Android device.
- Go to Settings > Security & privacy and enable Unknown sources.

Note: It’s a good idea to go back to Settings and disable Unknown sources once you’re done installing Auto Recorder.
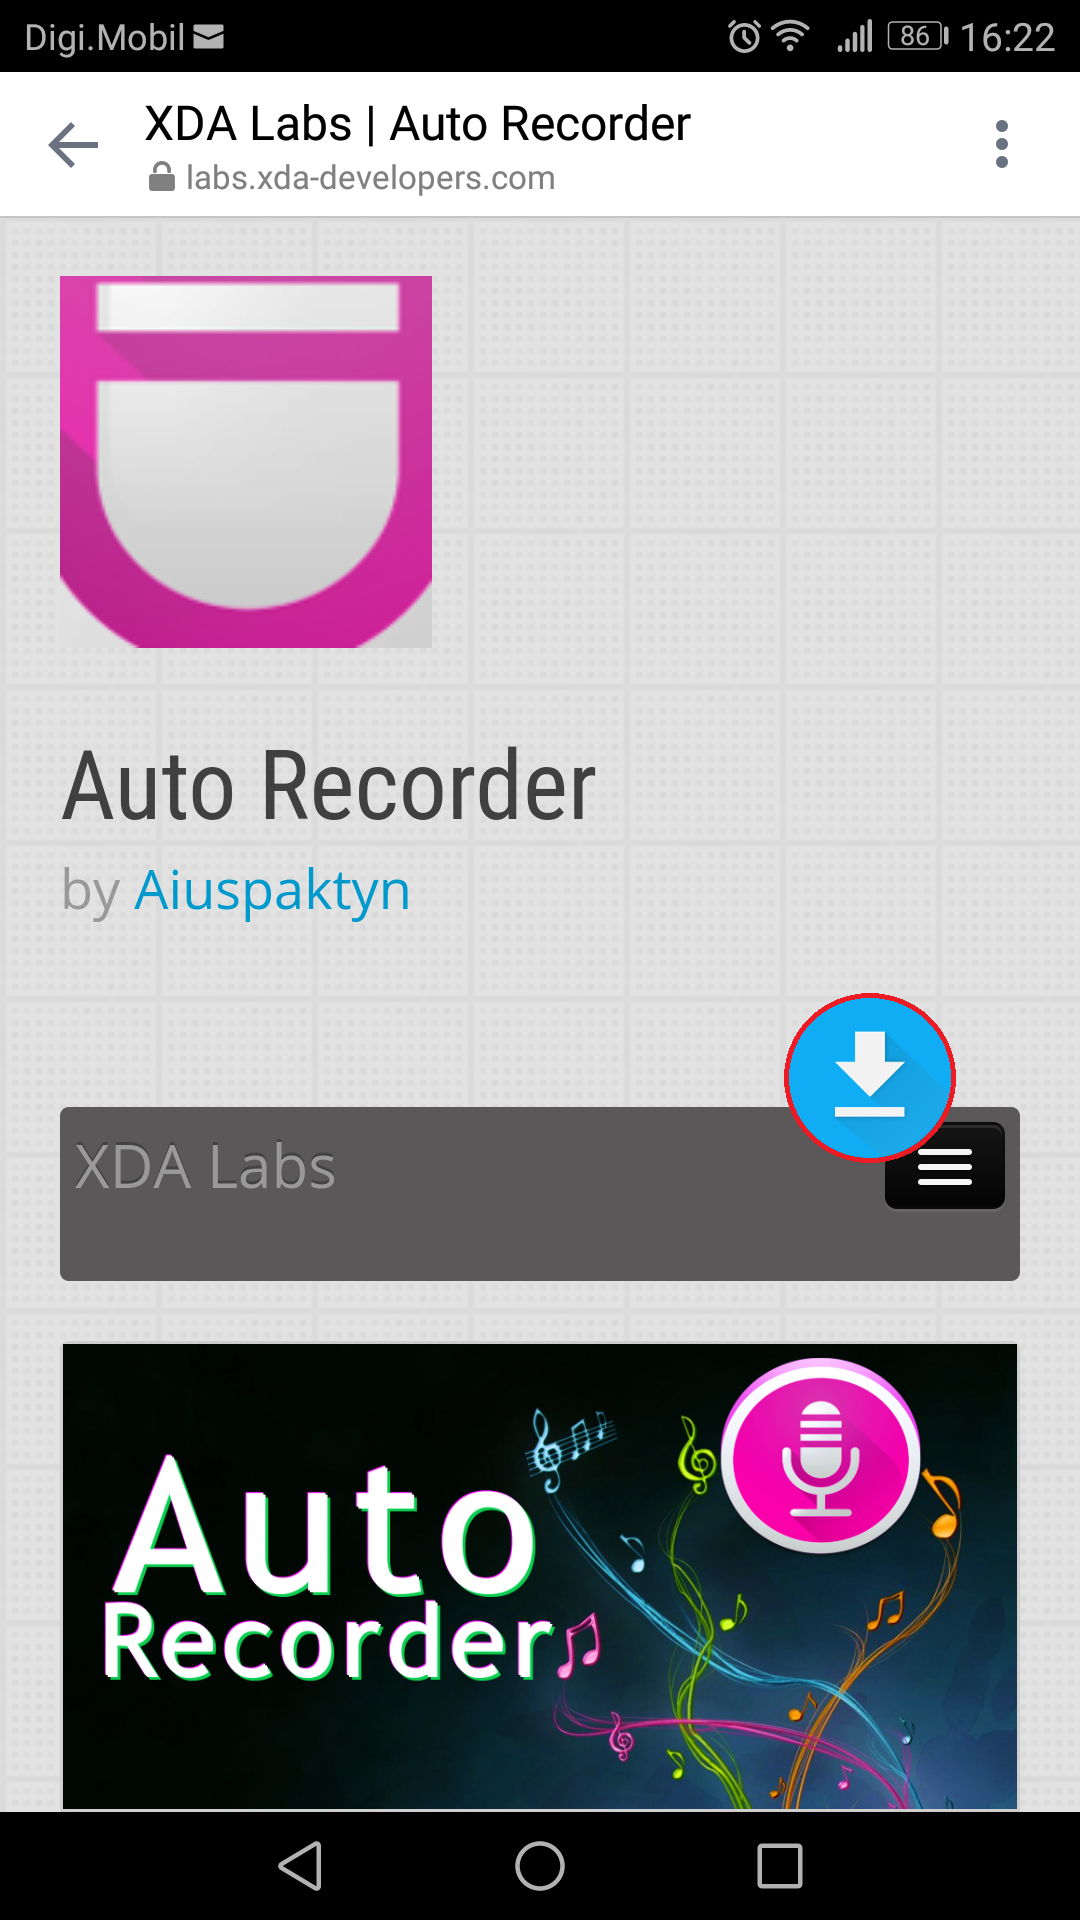
- Visit Auto Recorder’s store listing on XDA Labs website with your web browser and tap the Download icon.
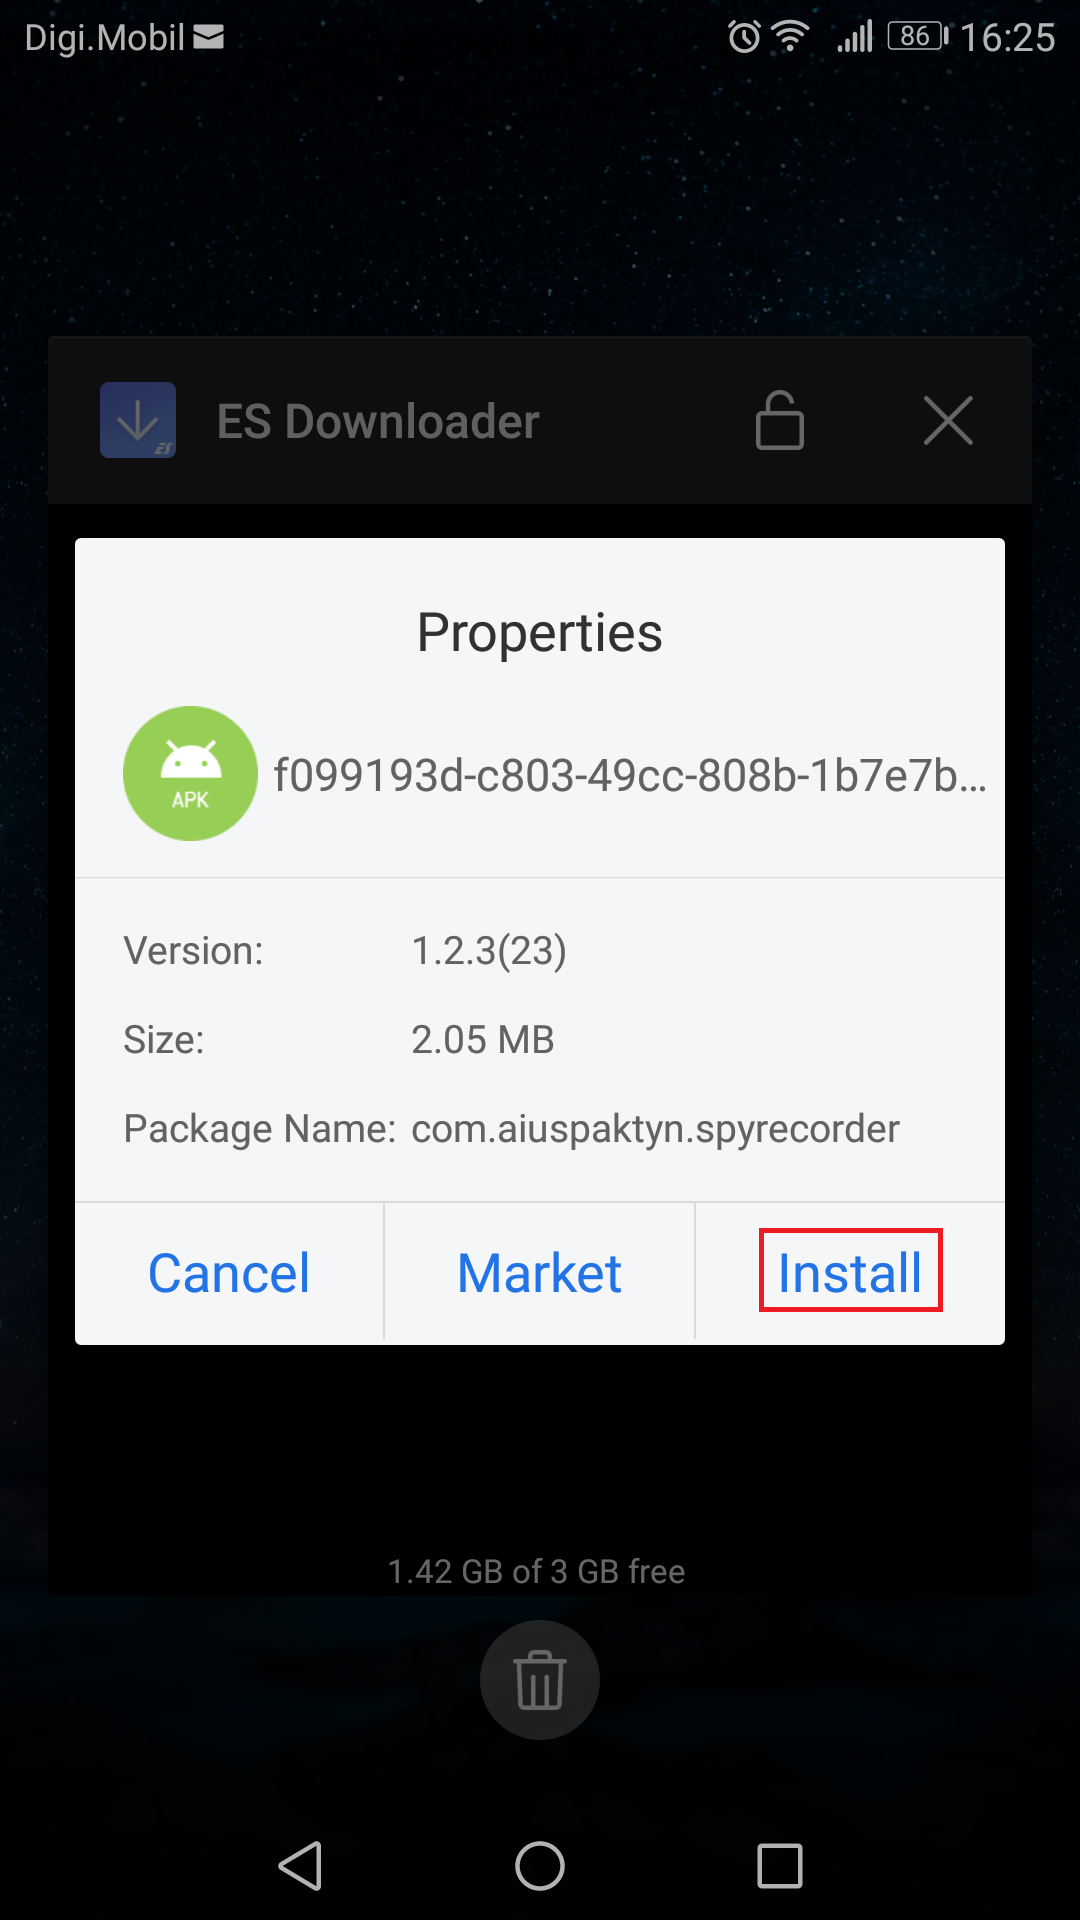
- Wait for the APK to download then install it from the Download folder.
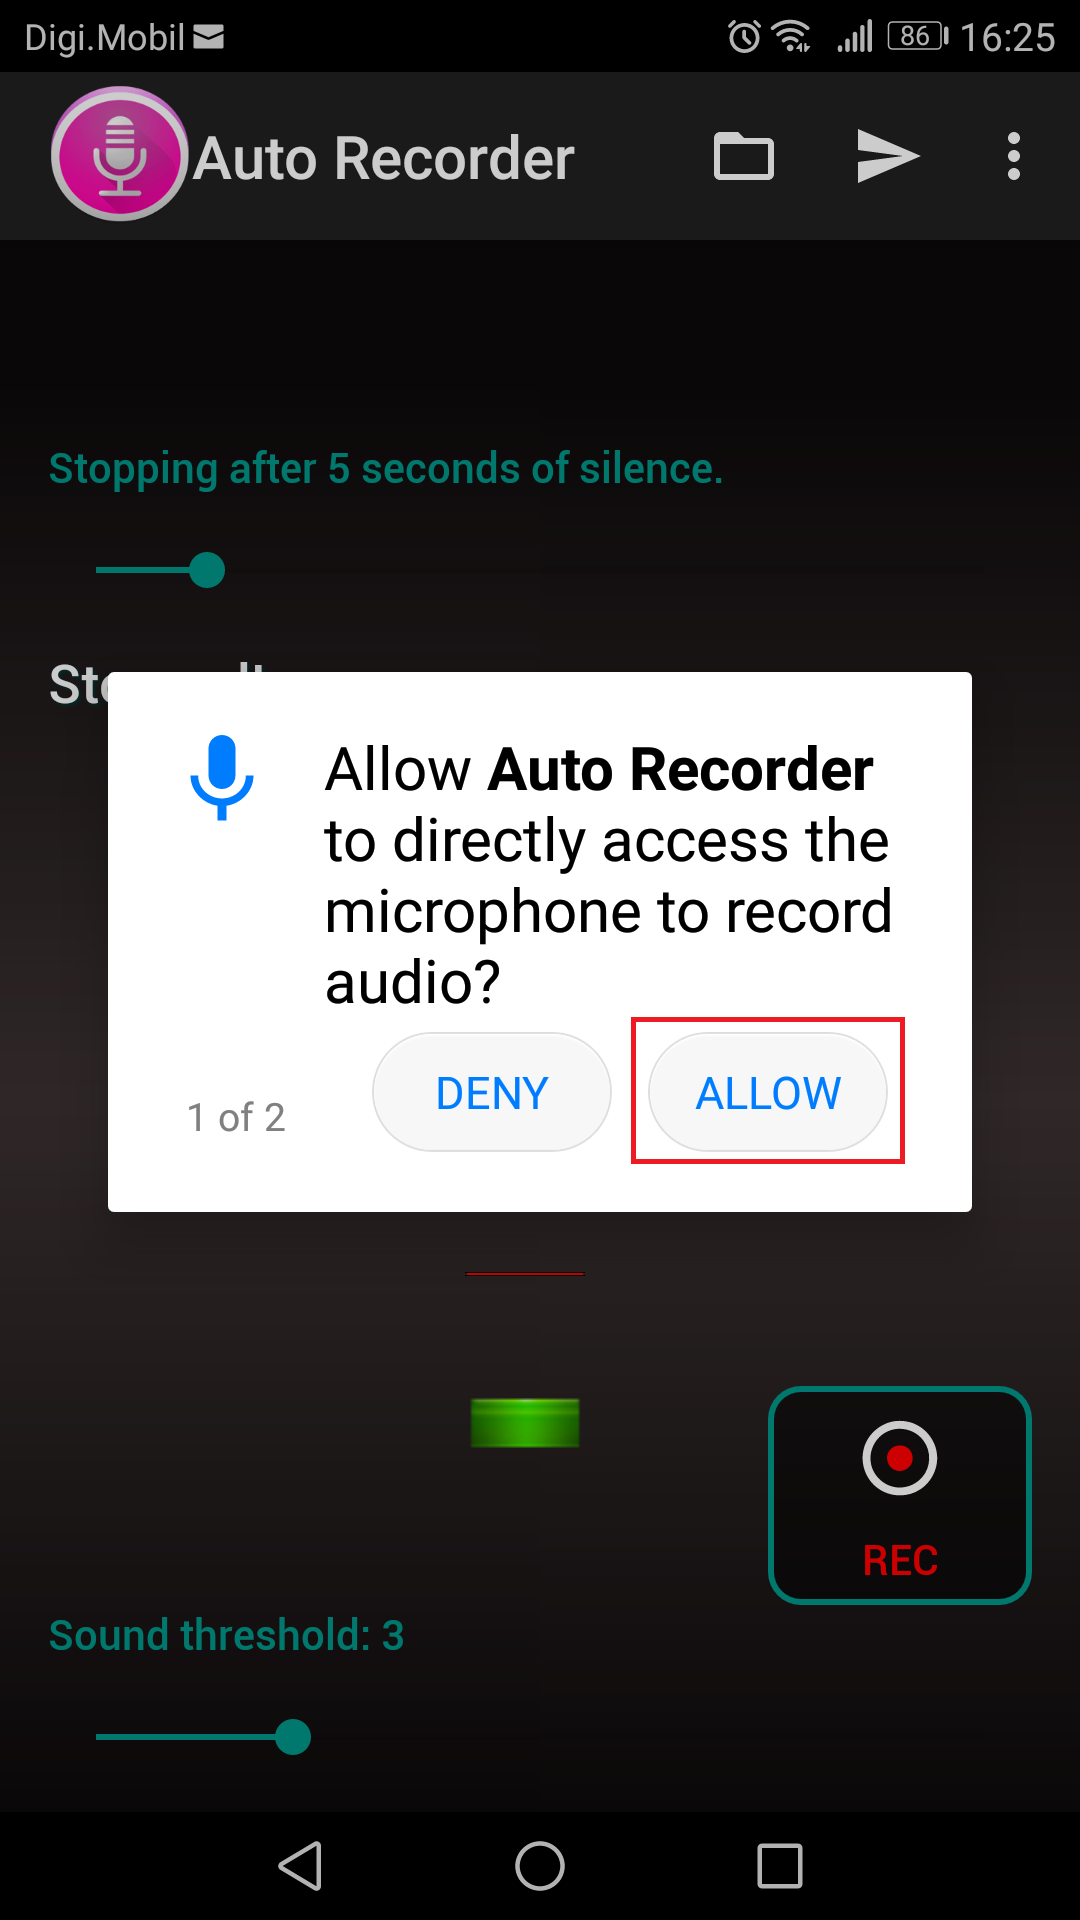
- Open Auto Recorder and allow it to access your microphone and gallery.
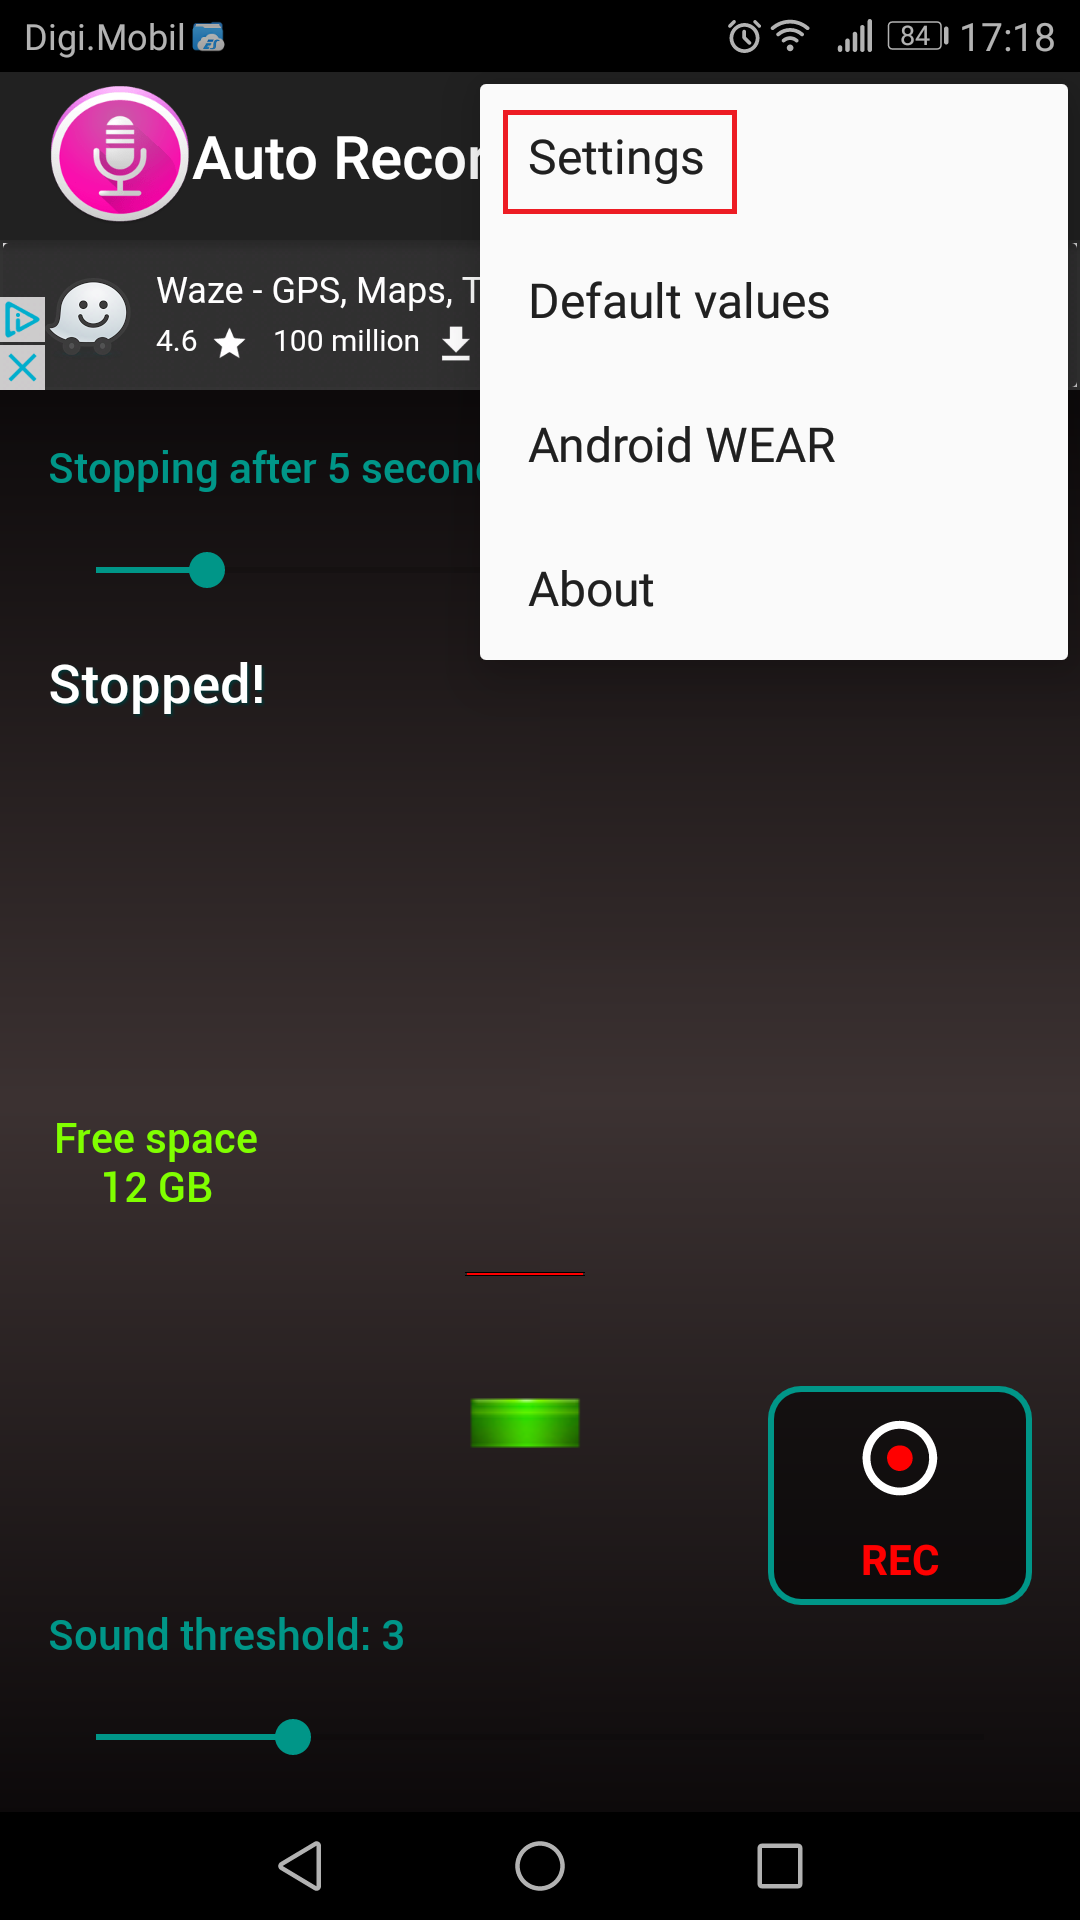
- Expand the action button located at the top-right section and tap on Settings.
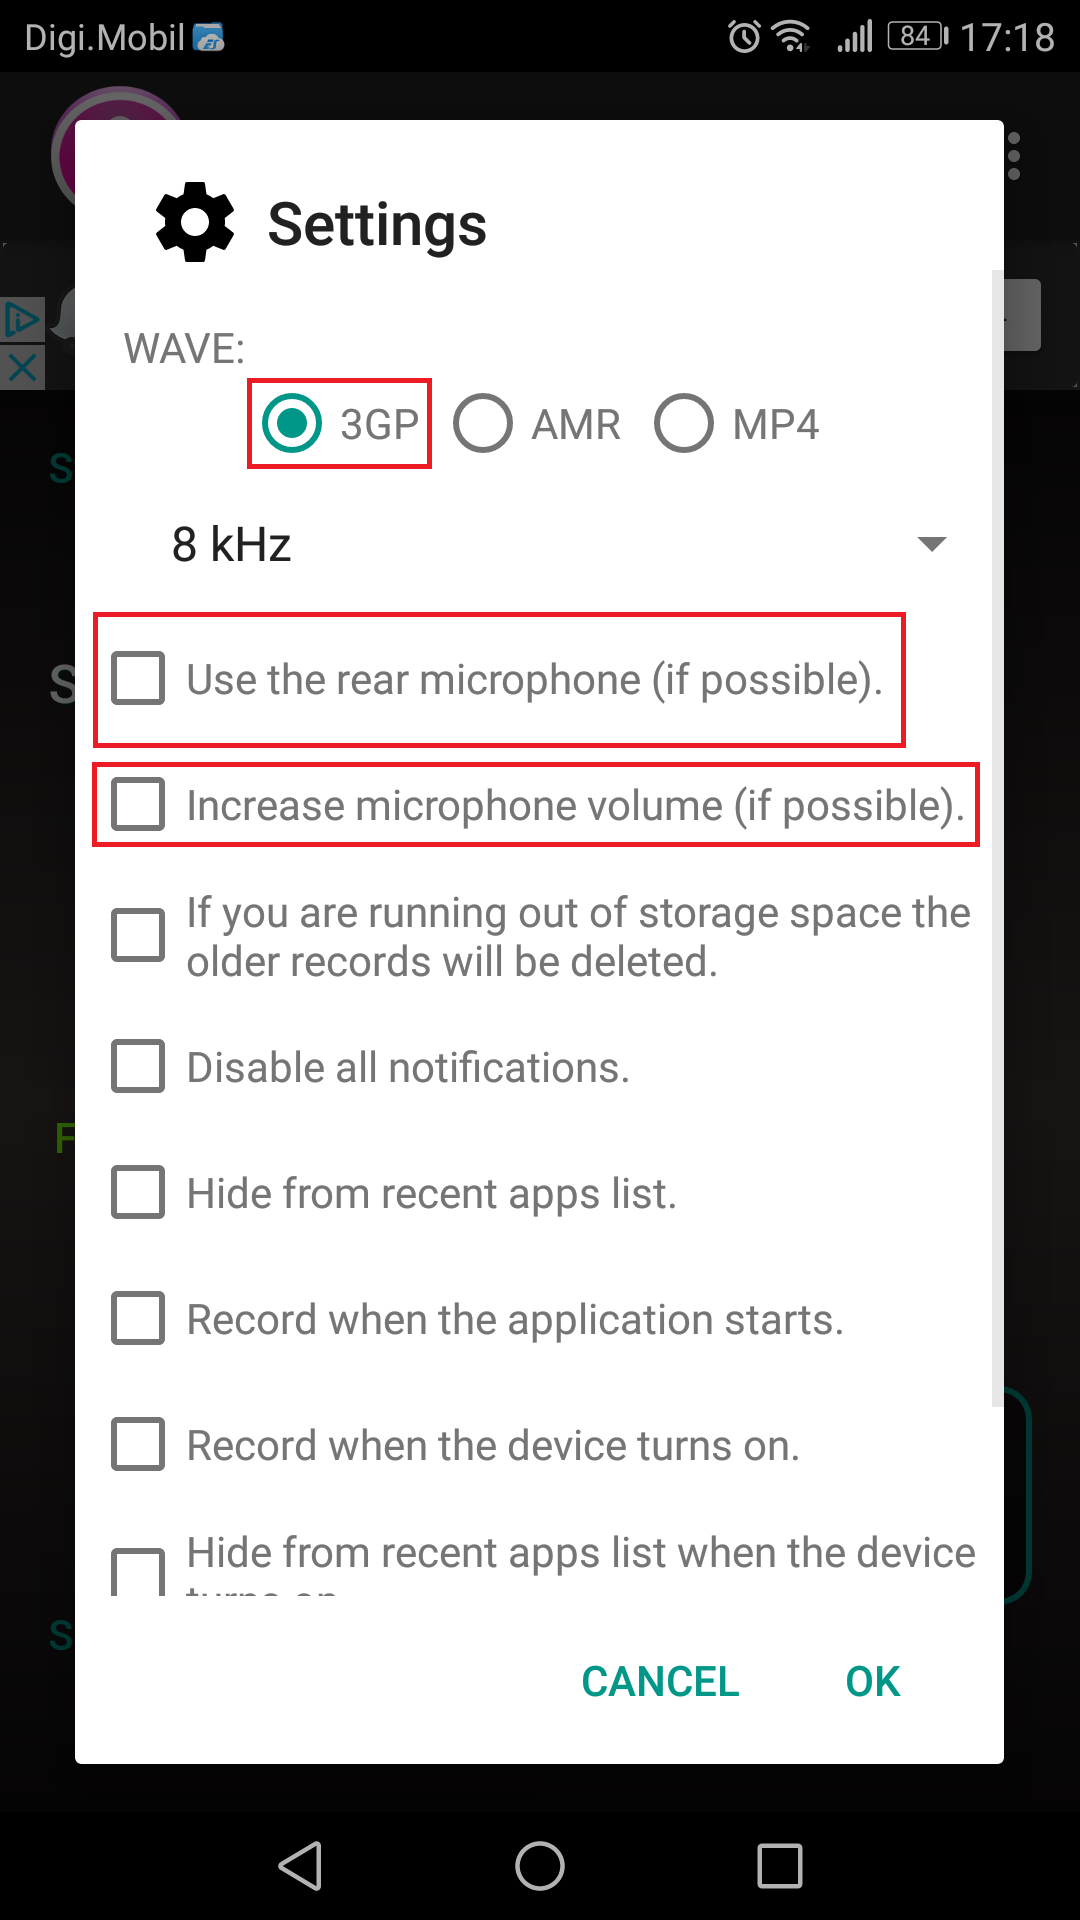
- Select the format in which you want to save your audio files. 3GP is usually the best choice since it takes up fewer space. It’s also a good idea to enable the rear microphone as well as microphone boost – highly recommended if you want to record ambient audio. Hit OK when you’re done.
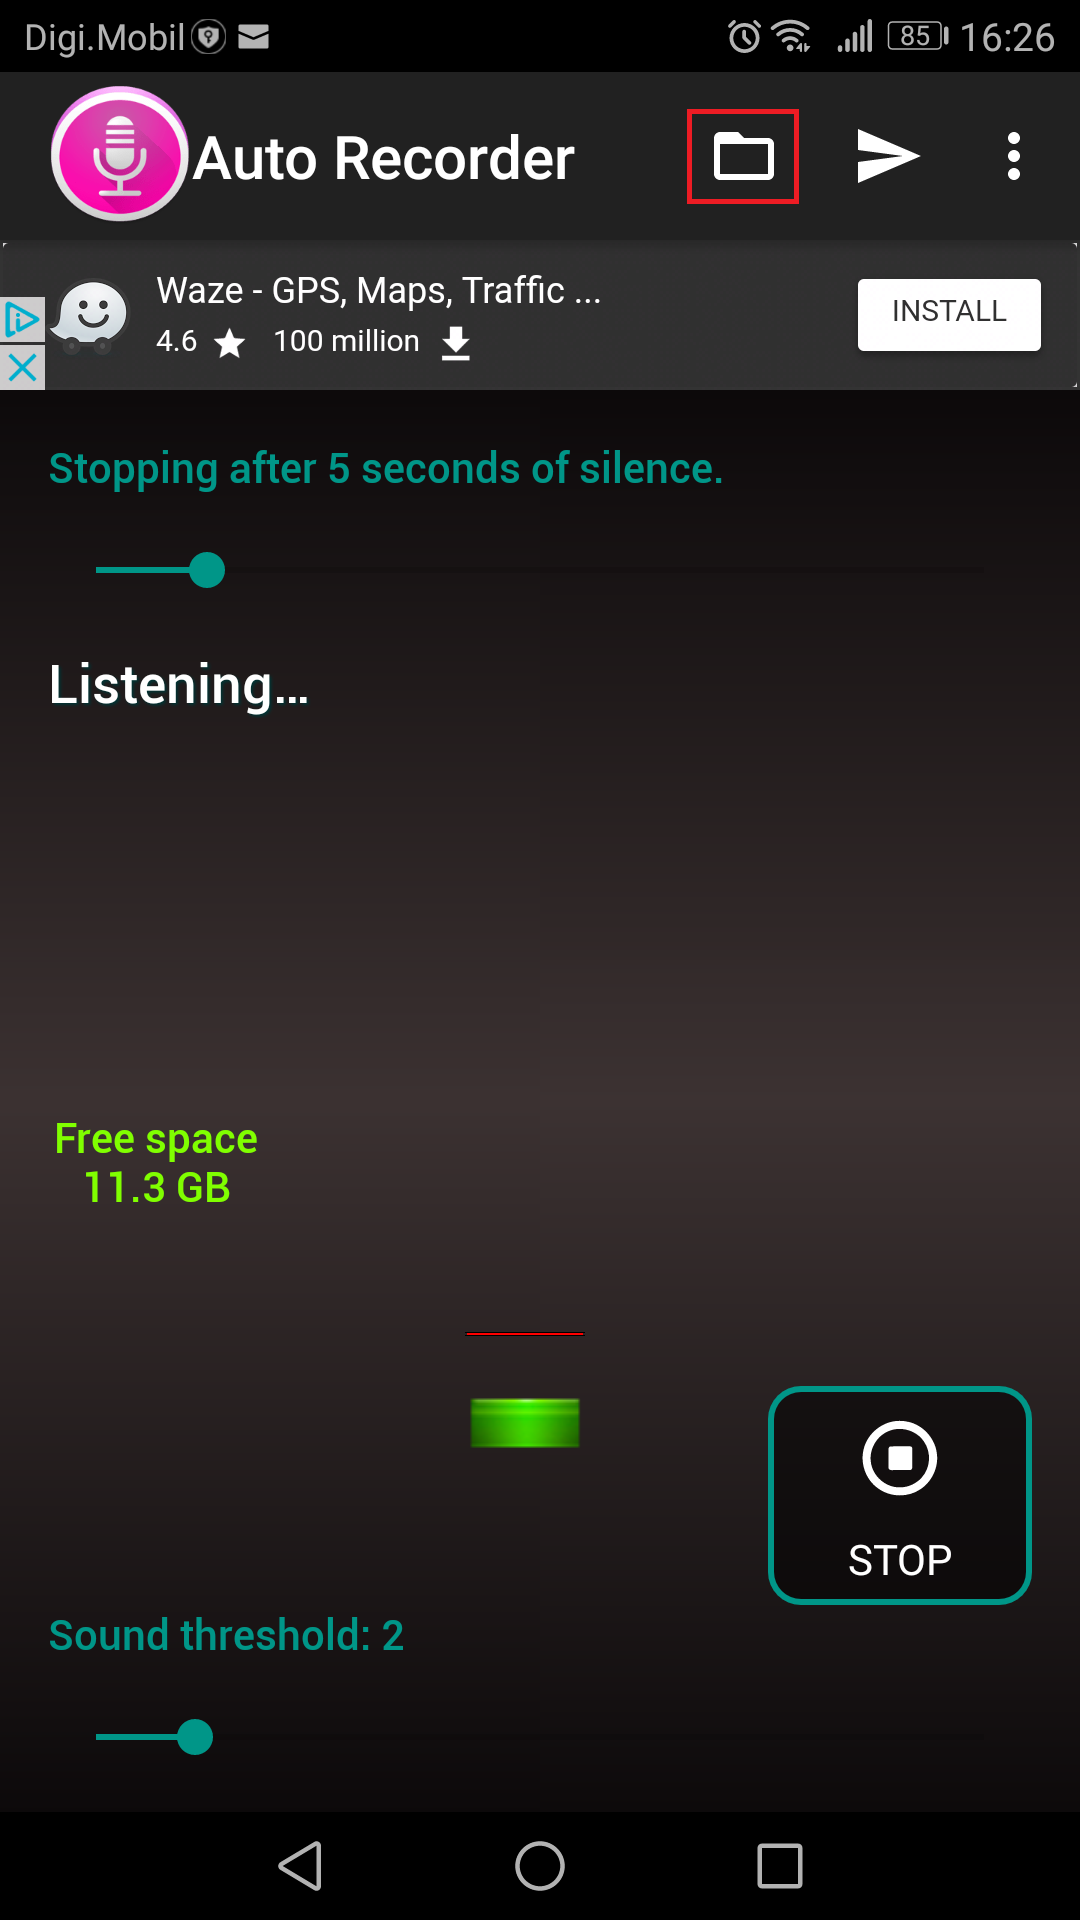
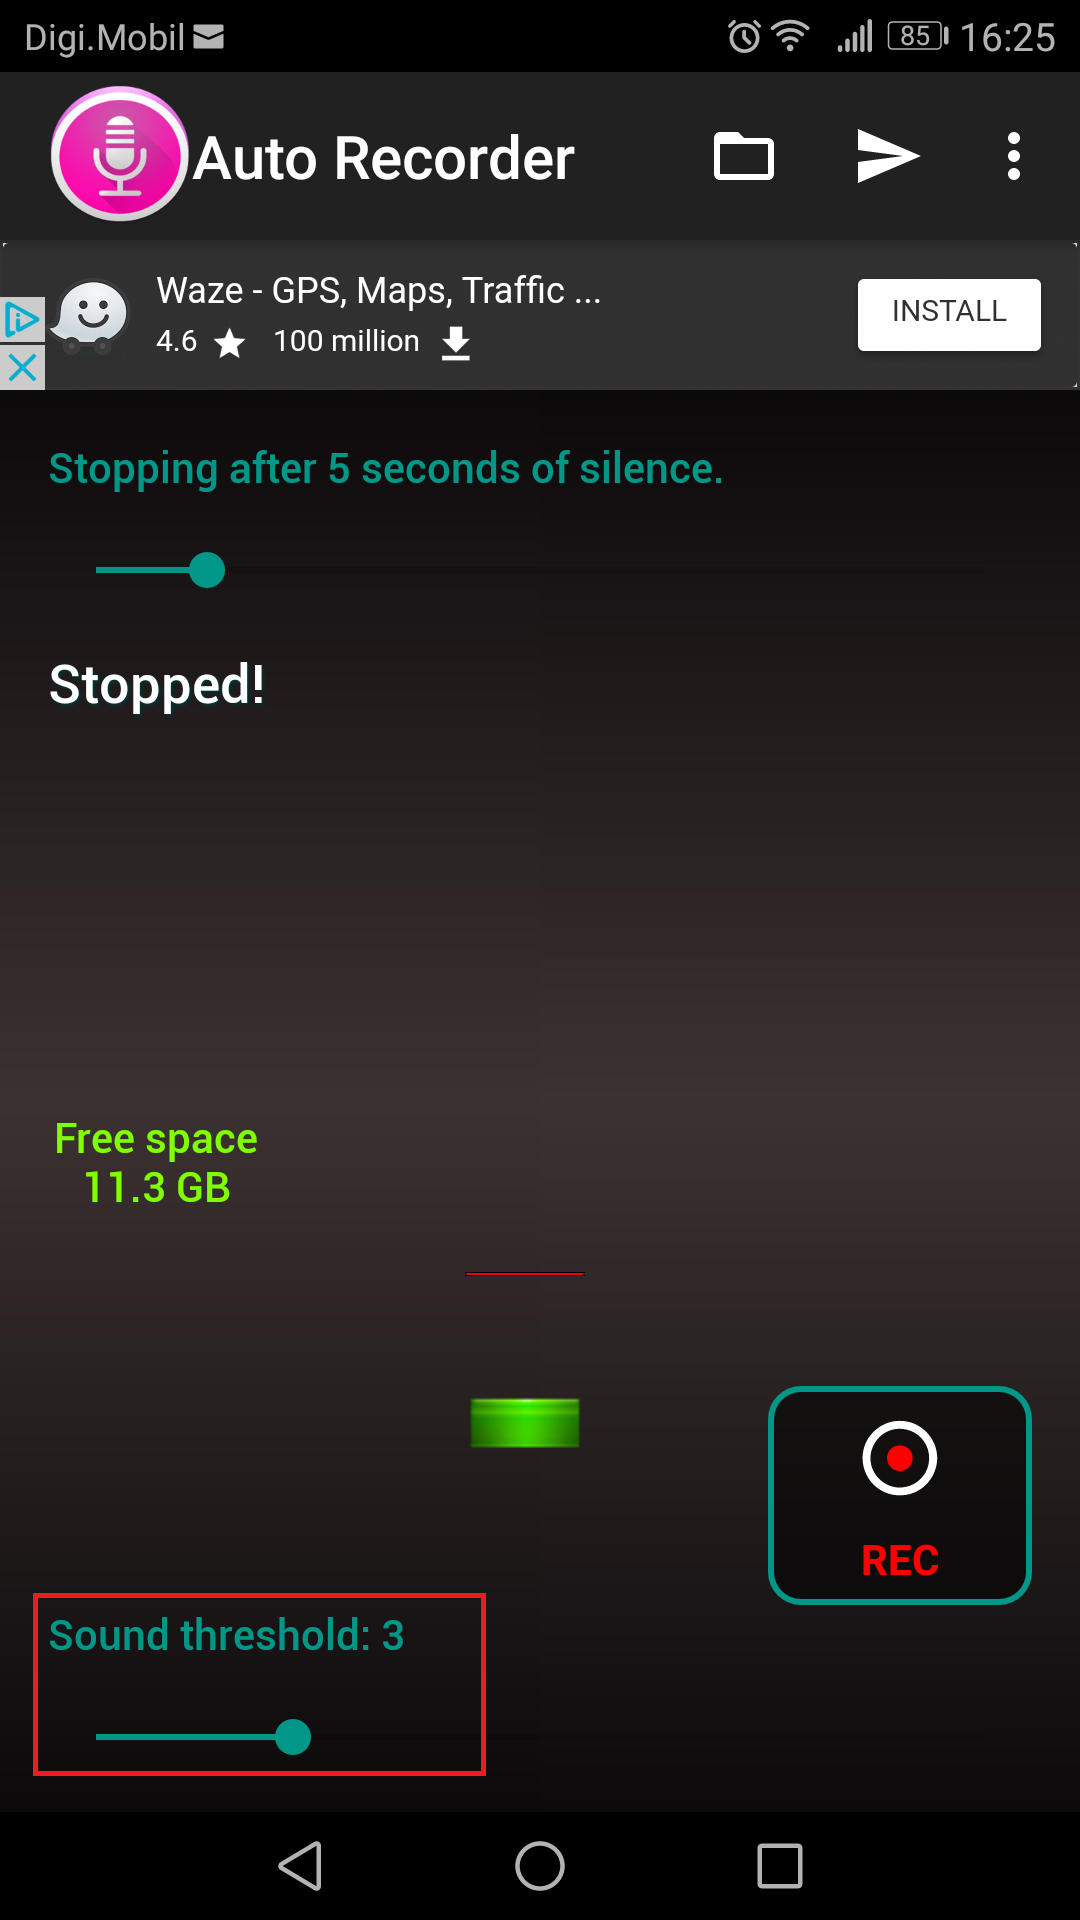
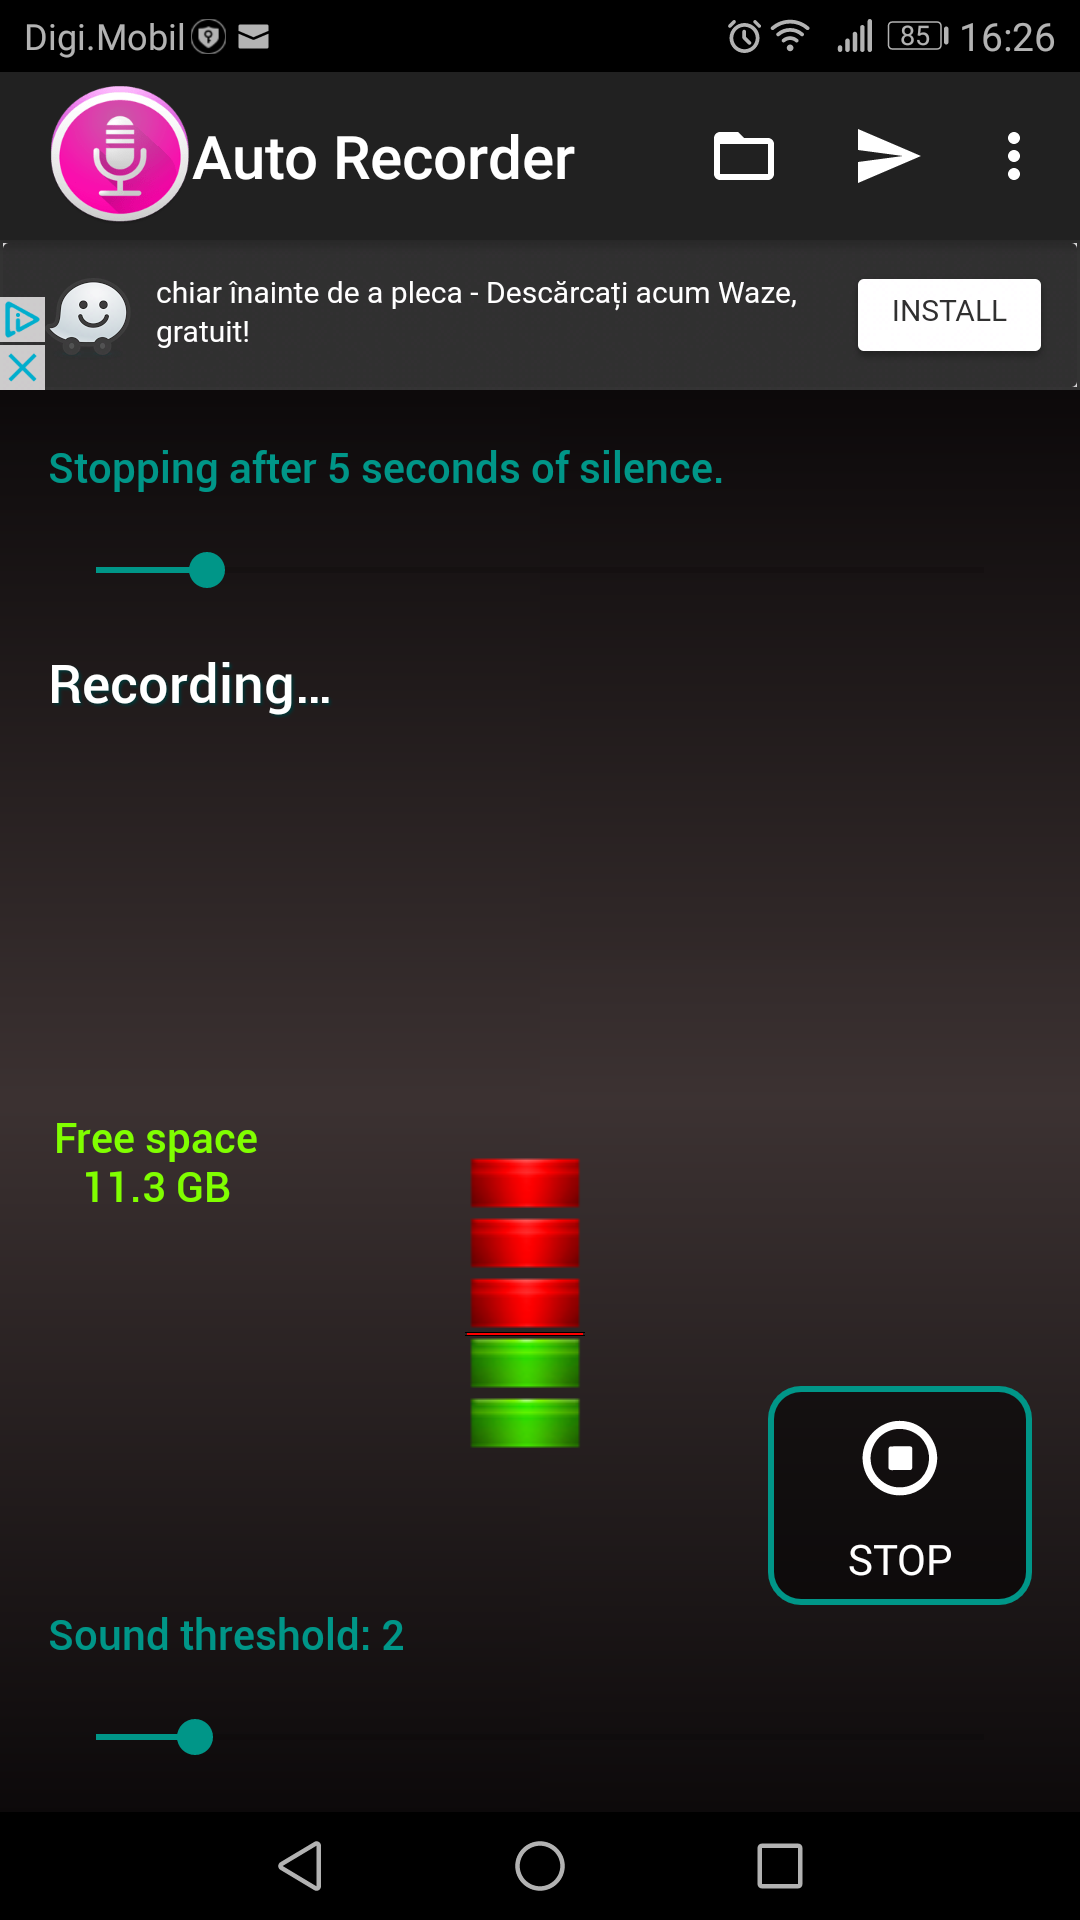
- Use the slider located at the bottom of the screen to adjust the sound threshold. A threshold of 5 would be acceptable for phone call recording. If you want to record ambient audio set it to 1.
- Hit the REC button to begin recording. Once you’ve done that, you can safely close the app and it will quietly run in the background.
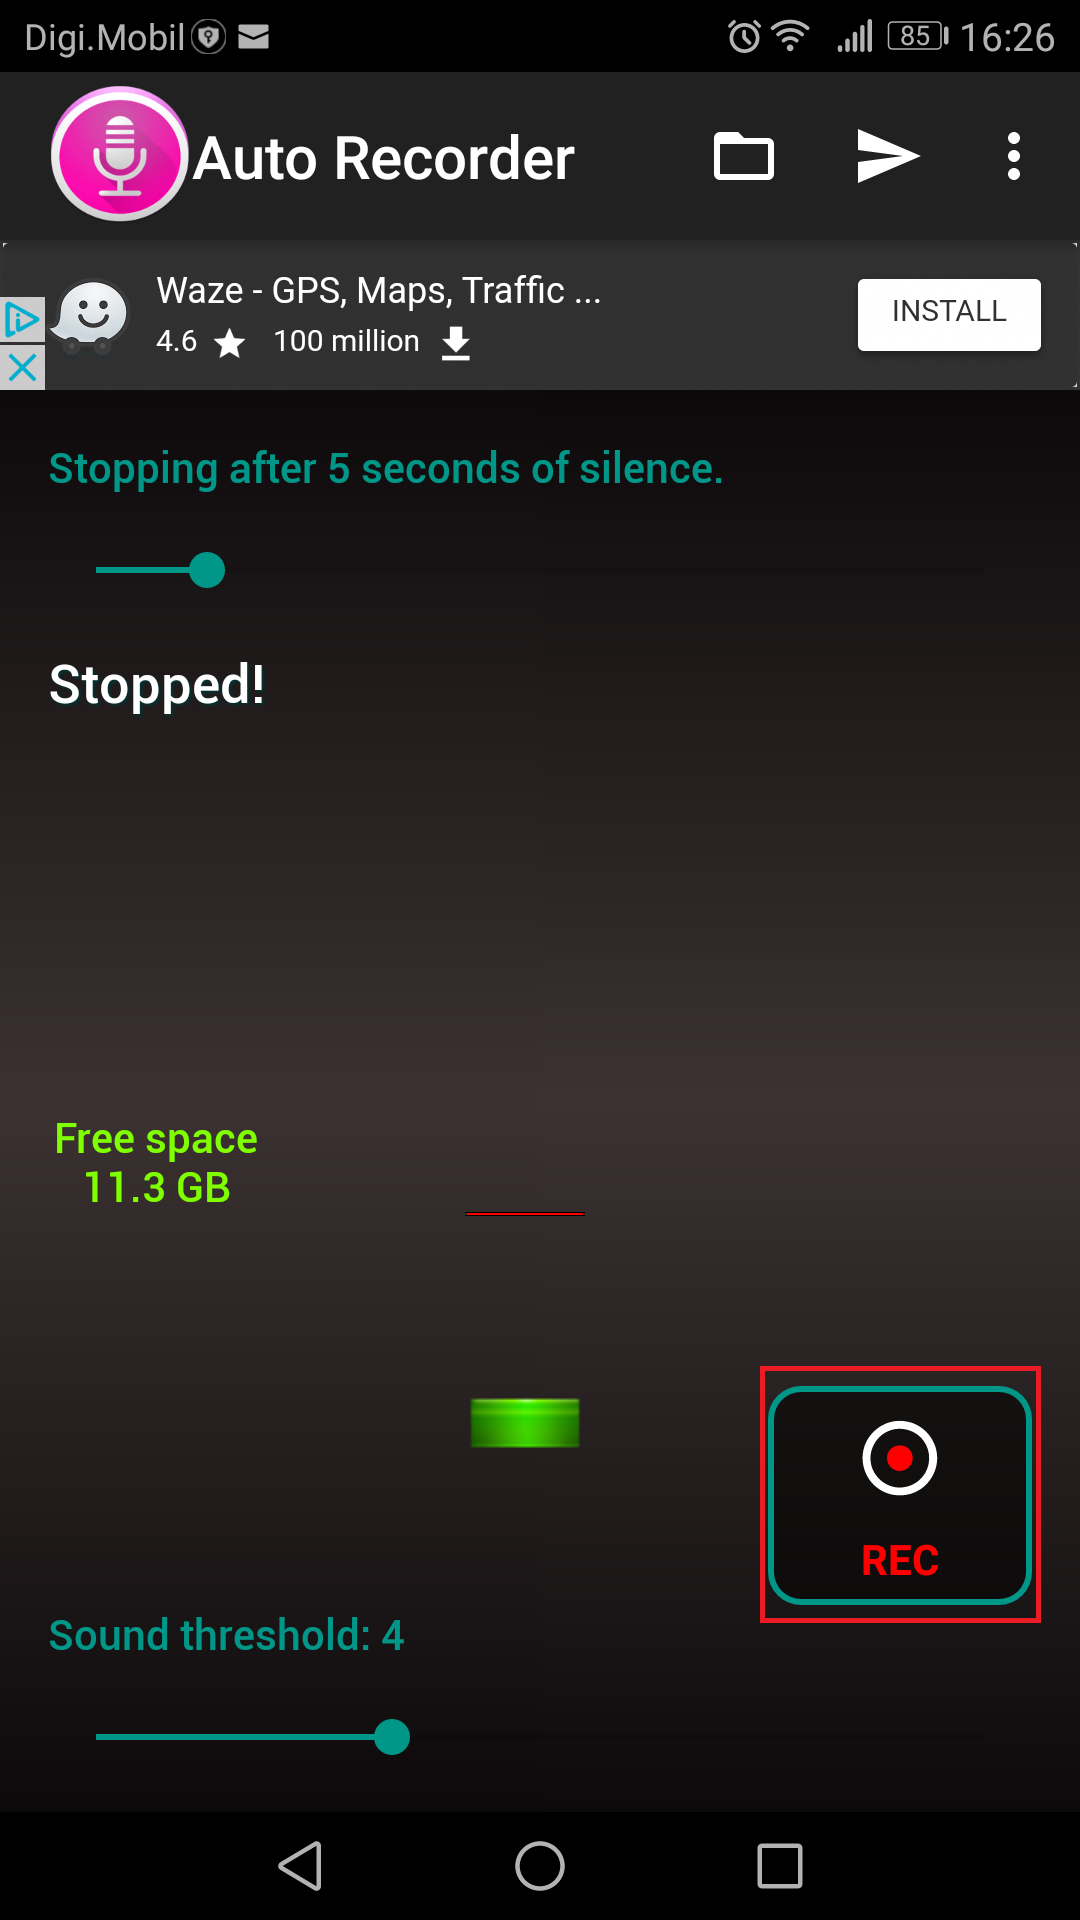
- The app will automatically start and stop recording when the audio reaches and goes under the previously set threshold.
- In order to view the audio recordings, tap on the folder icon and you’ll see a list with all of them ordered by date.