How to Restore the Missing Equalizer in Realtek Audio Console?
If the Equalizer option is missing in the Realtek Audio Console, it usually points to a problem with the driver, software conflicts, or disabled audio services. In some cases, a basic or outdated driver installed through Windows Update limits access to advanced features. Third-party enhancements like DTS can also override Realtek’s configuration and suppress the Equalizer tab.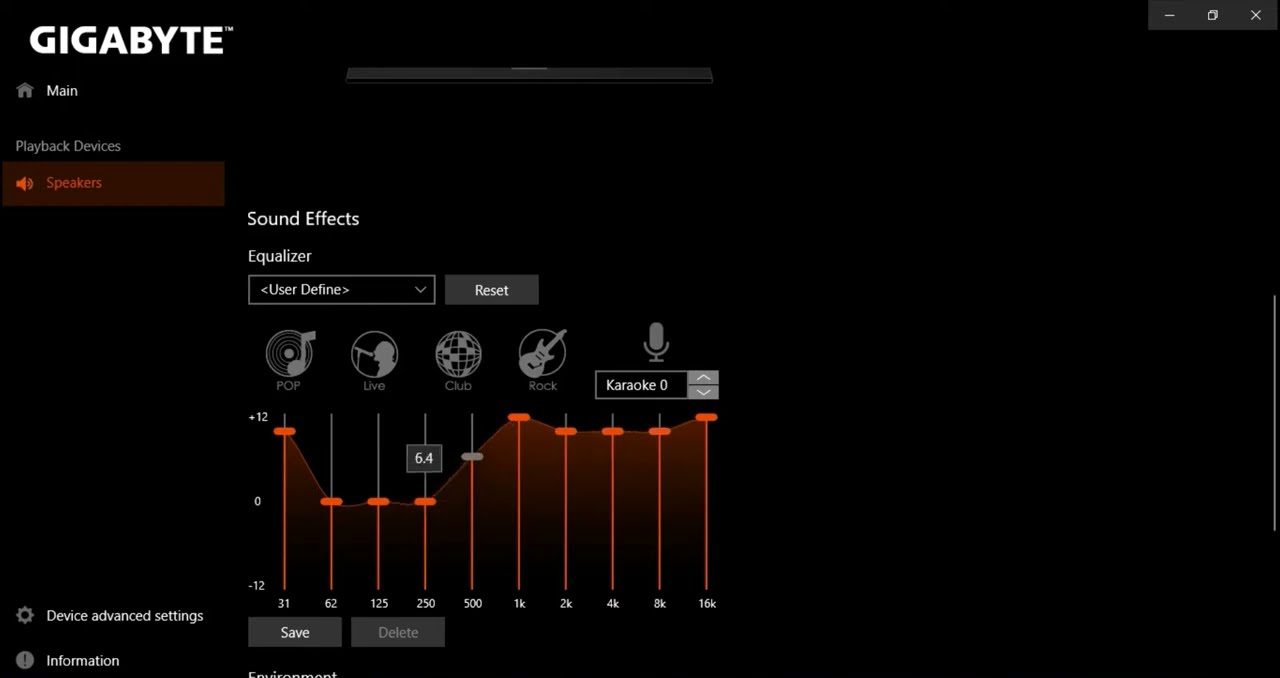
In most cases, switching to the official Realtek driver or disabling interfering services resolves the problem. Below are the most reliable ways to bring the Equalizer back in Realtek Audio Console.
1. Disable DTSAPO3Service
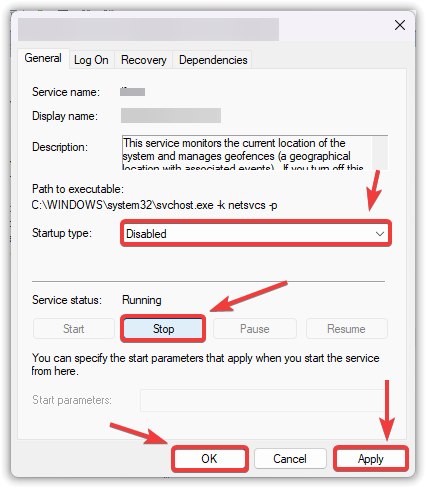
DTSAPO3Service often takes control of audio output and interferes with Realtek’s own processing modules. If it’s active, it can hide or block the Equalizer from loading in the Realtek Console. Disabling it is one of the quickest and most effective ways to fix this issue.
- Press Win + R, type services.msc, and click OK.

- Scroll down and locate DTSAPO3Service.
- Right-click it and select Properties.

- Click the Stop button under Service status.
- Set Startup type to Disabled.
- Click Apply, then OK.
- Restart your PC and check if the Equalizer tab appears in Realtek Audio Console.
2. Install the Official Realtek Driver from Your Motherboard Manufacturer
The Equalizer feature often requires specific Realtek extensions, which are only included in drivers from your motherboard manufacturer. Windows Update drivers are usually generic and stripped-down.
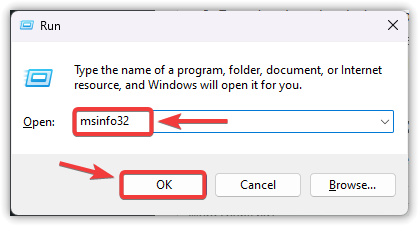
- Press Win + R, type msinfo32, and press OK.
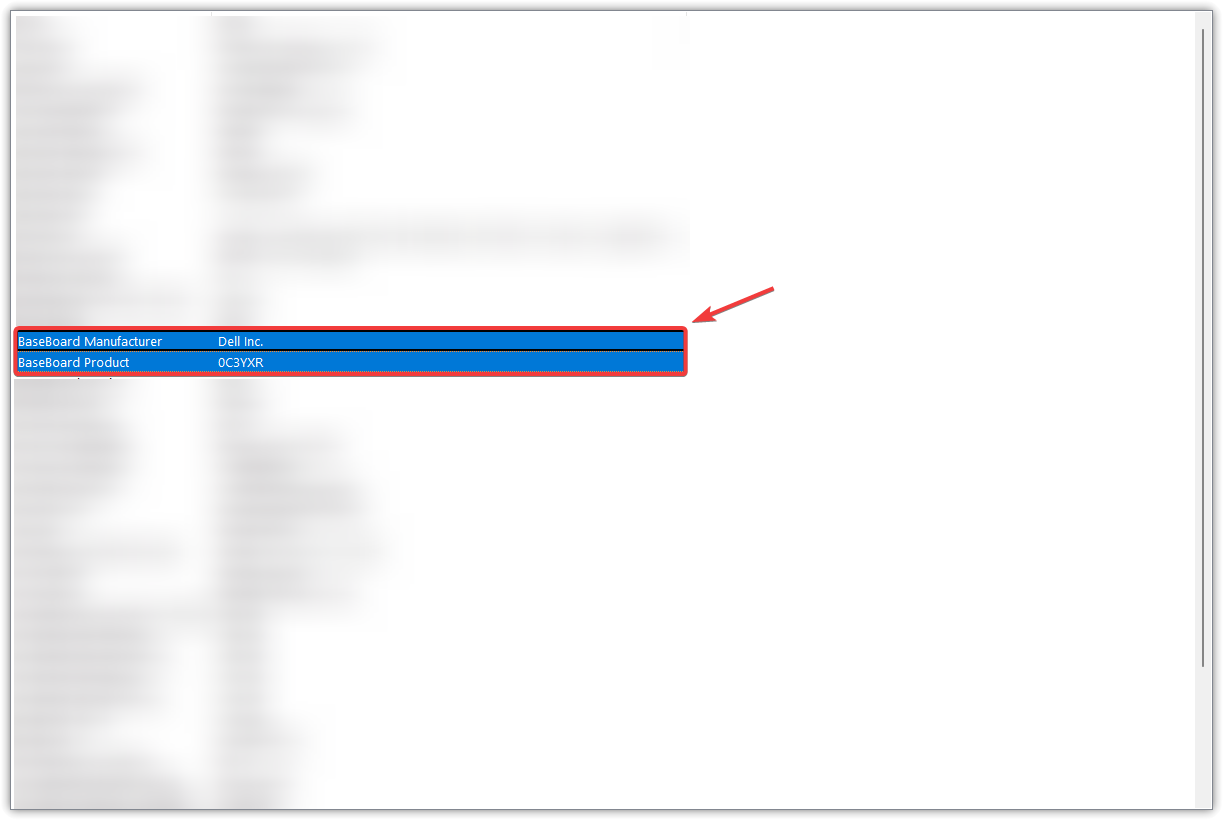
- Note your BaseBoard Product and BaseBoard Manufacturer.
- Visit your motherboard’s official support site (ASUS, MSI, Gigabyte, ASRock, etc.).
- Search for your motherboard model using the site’s search bar.
- Navigate to the Support or Drivers section.
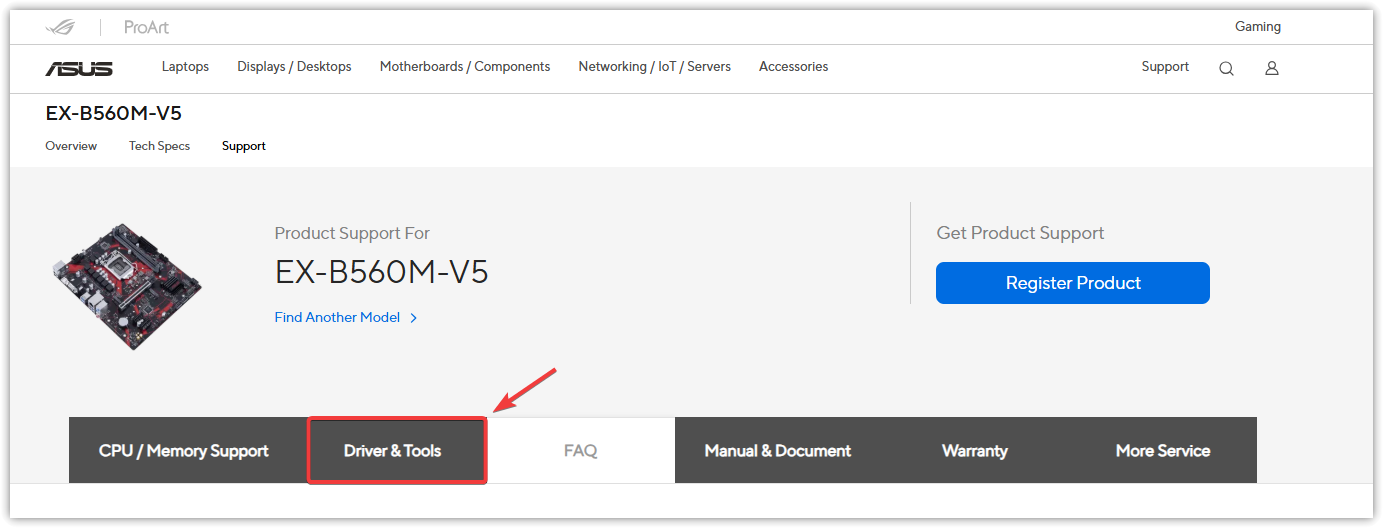
- Download the latest Realtek Audio Driver for your version of Windows (10/11 64-bit).
- Run the installer and complete the setup.
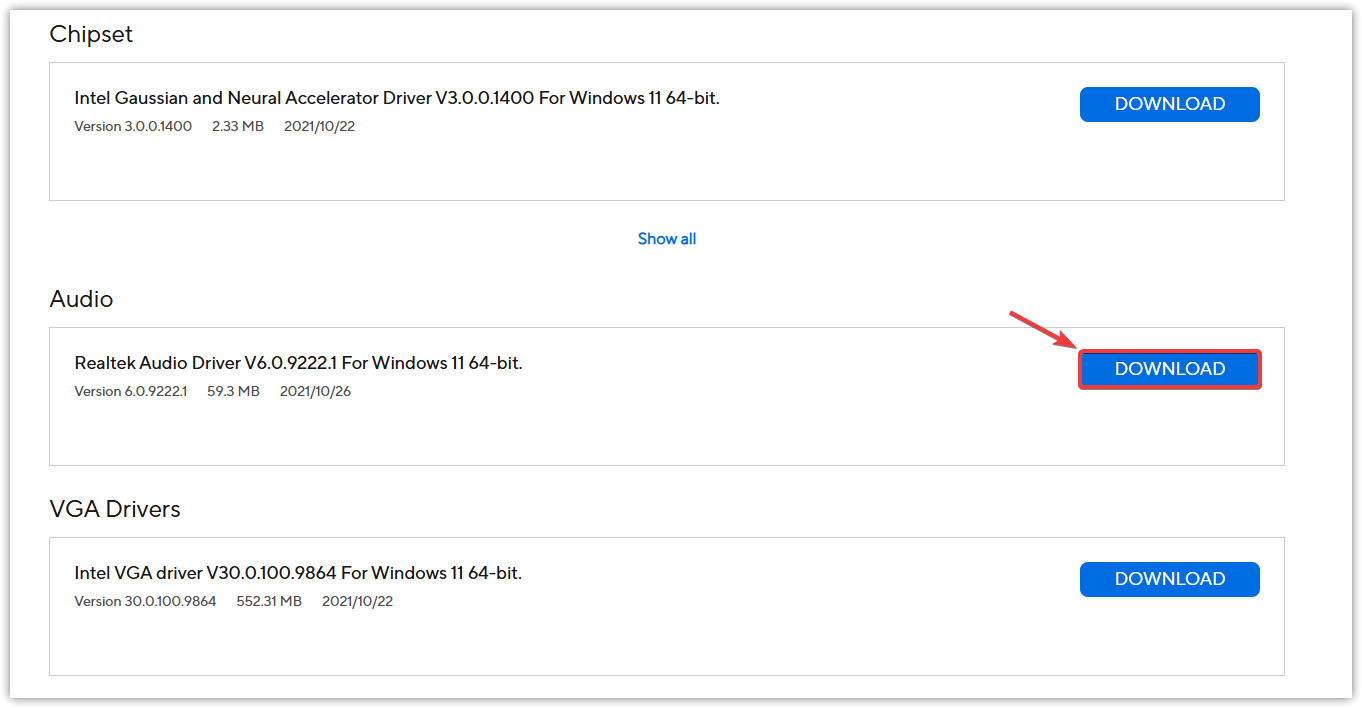
- Restart your PC once installation is complete.
- Launch Realtek Audio Console and verify if the Equalizer has appeared.
3. Reinstall Realtek Audio Console from Microsoft Store
If the Console app is broken or misconfigured, a fresh reinstall from Microsoft Store can fix it. This clears out corrupted settings and restores the Equalizer if it was missing due to a faulty install.
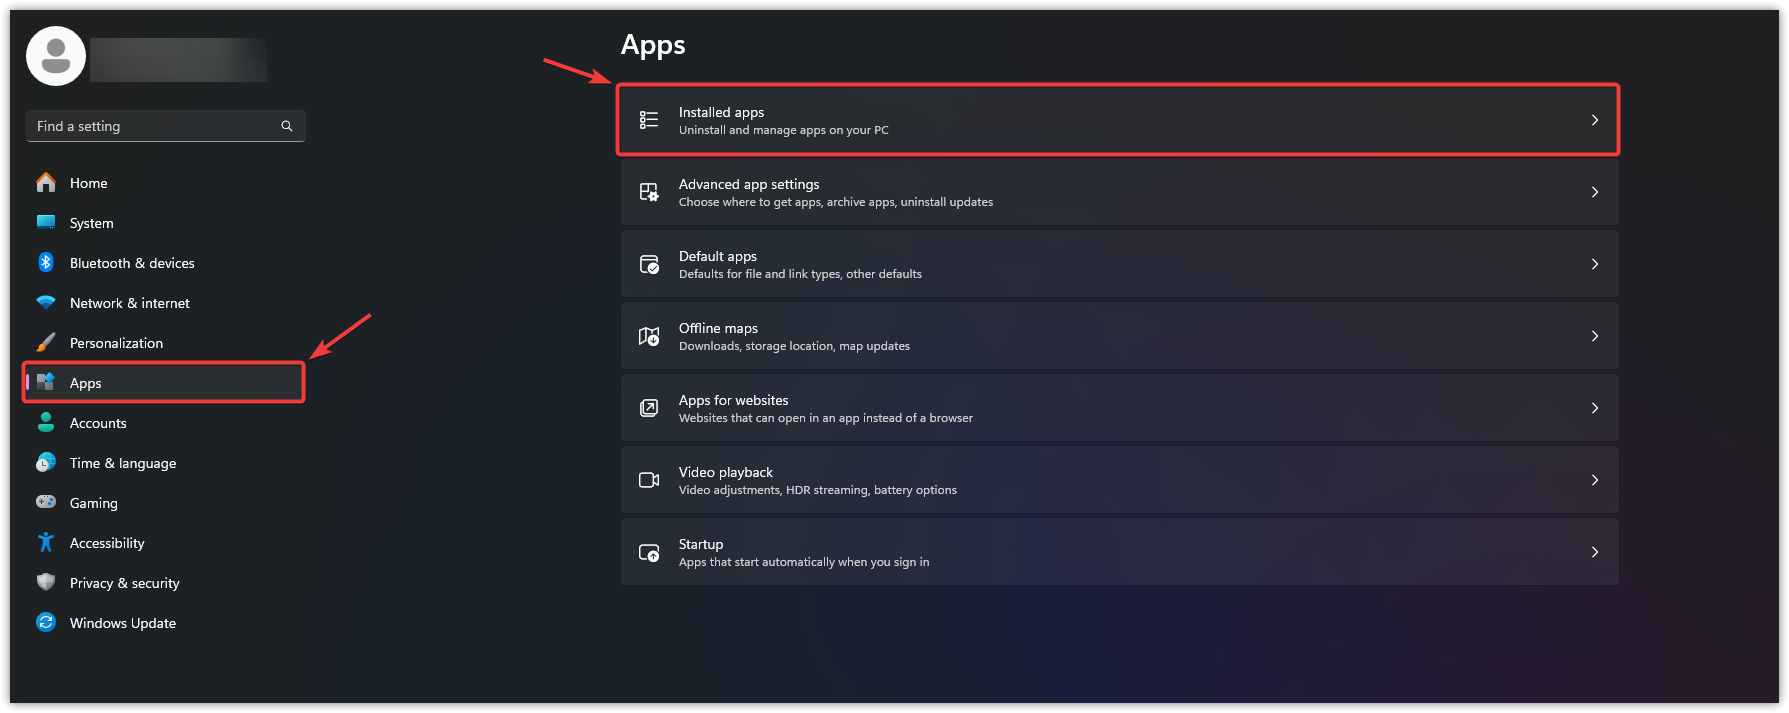
- Press Win + I to open Settings.
- Go to Apps > Installed apps.
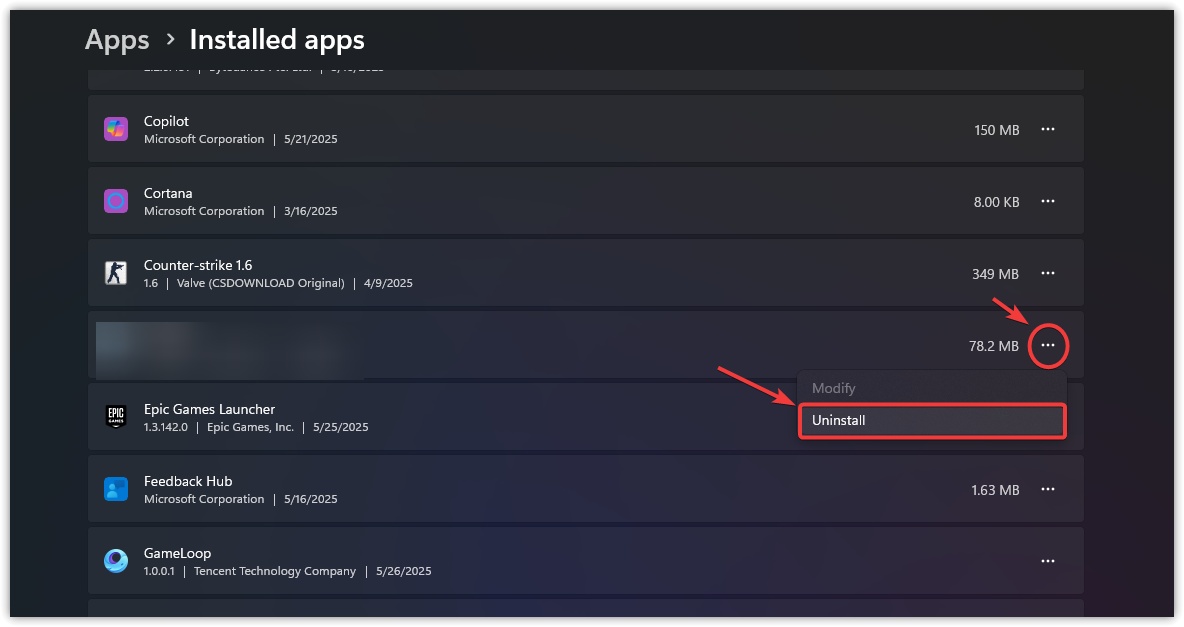
- Find Realtek Audio Console, click the three dots, and choose Uninstall.
- Visit the official Microsoft Store page and download the app again.
- Wait for the installation to finish.

- Restart your computer.
- Open the Realtek Audio Console and check if the Equalizer option is back.
4. Use Third-Party Equalizer Software (Alternative Solution)
If the Equalizer still doesn’t show up, using a third-party equalizer app is a practical alternative. These tools work independently of Realtek and allow full control over your audio output.
- Pick a trusted tool:
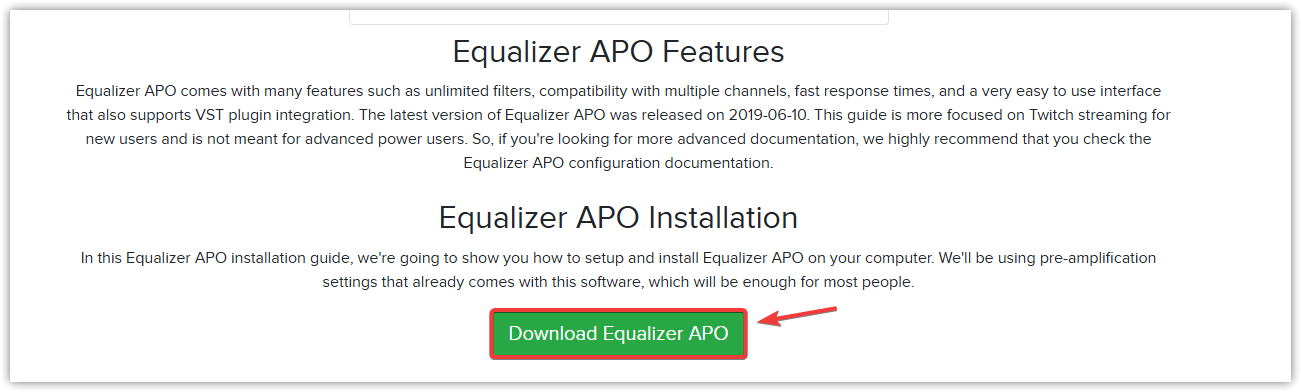
• Equalizer APO (free and deeply customizable)
• Peace Equalizer (user-friendly GUI for APO)
• FXSound
• Boom 3D
• Voicemeeter
- Visit the official site of the tool (e.g., https://equalizerapo.com for Equalizer APO).
- Download and install it by following the on-screen steps.
- Open the software and select your audio output device.
- Customize your sound preferences using the available equalizer sliders.


